Painting the chassis

General discussion of topics related to modding. Project logs go in the "Project Logs" subforum.
Post Reply
b3ast
Registered User
Posts: 63
Joined: 09 Nov 2007, 02:00
Location: Roodepoort/Centurion

Painting the chassis

Post by b3ast »

Hi guys I am busy messing with my case to try and make it a bit more presentable.
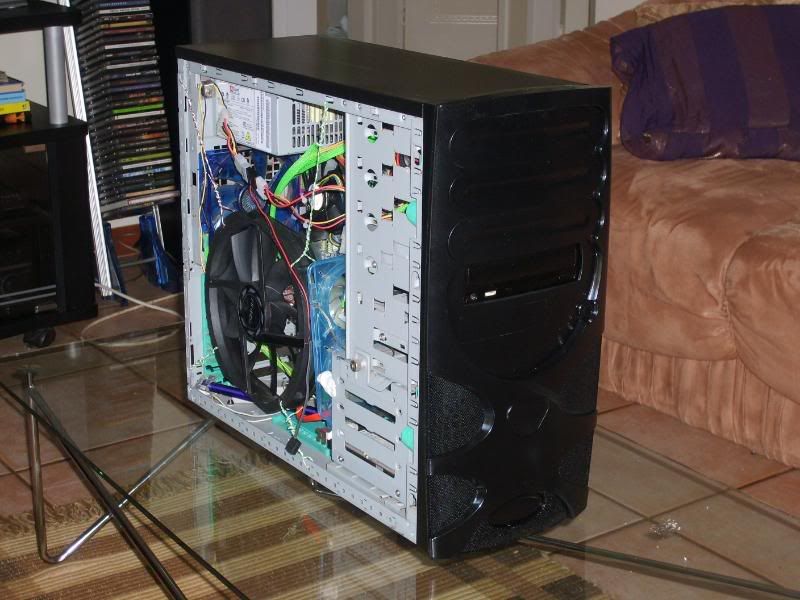
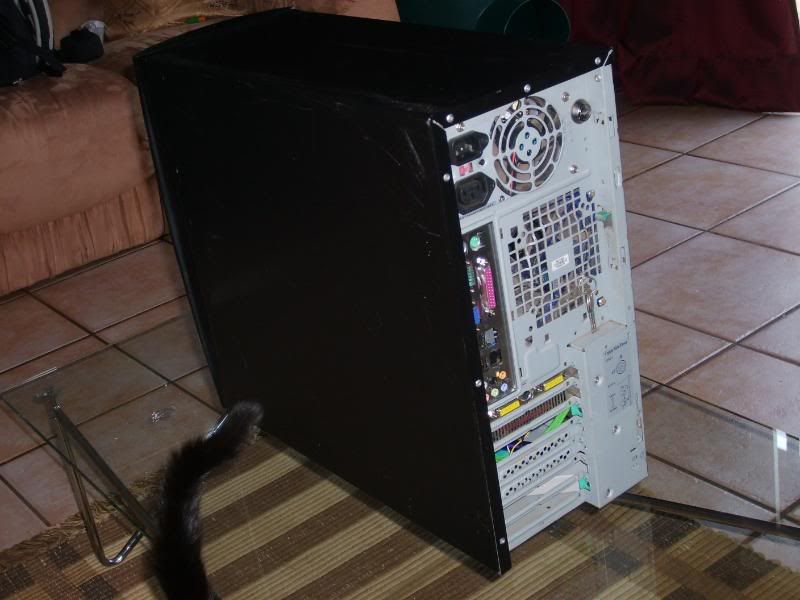
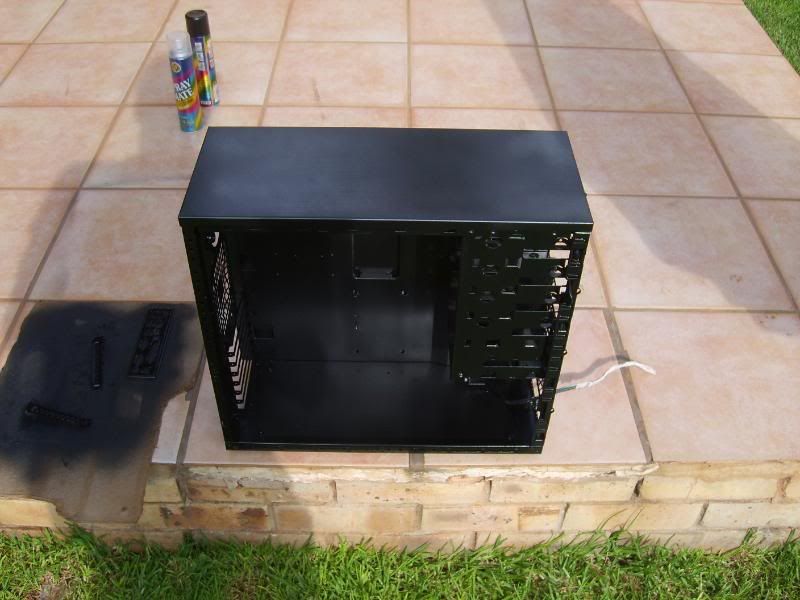
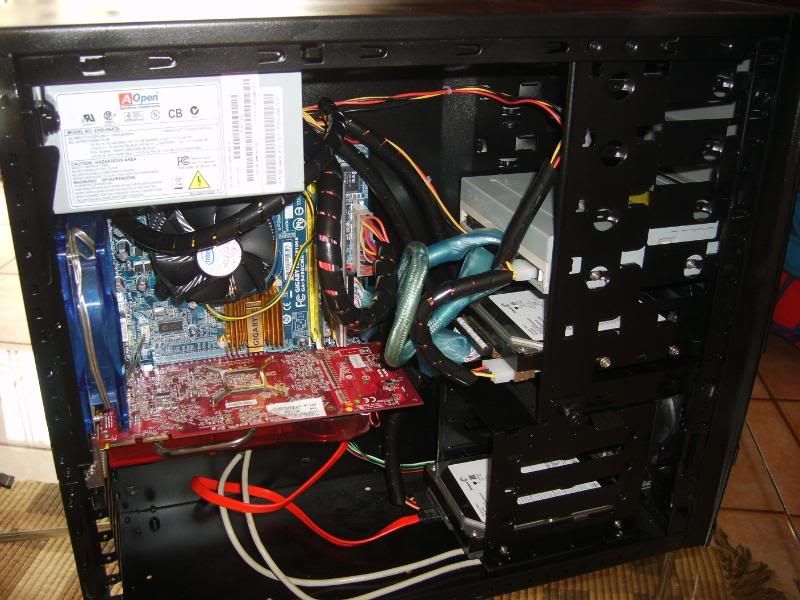
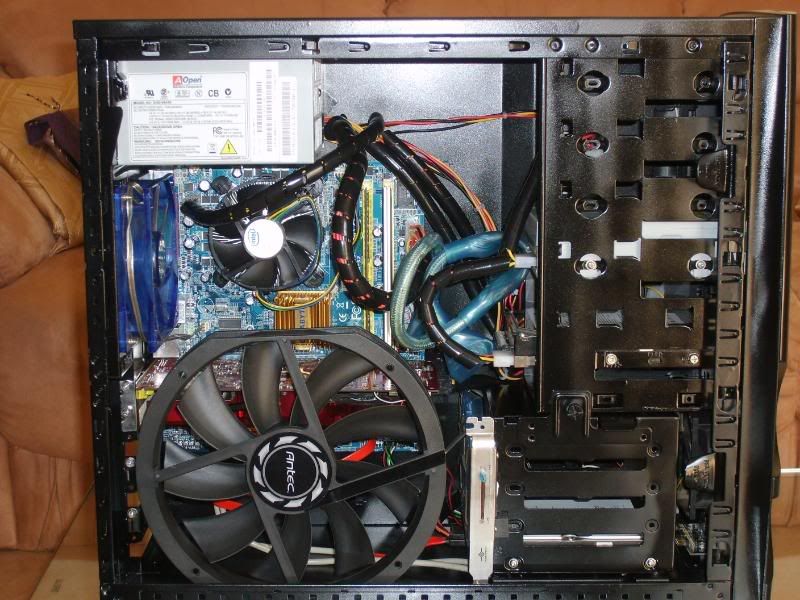
It currently looks more or less like this:

Image

Apart from the front panel being tottaly black( Was bored last night with the power shedding so did some painting) it actually turned out rather nice.

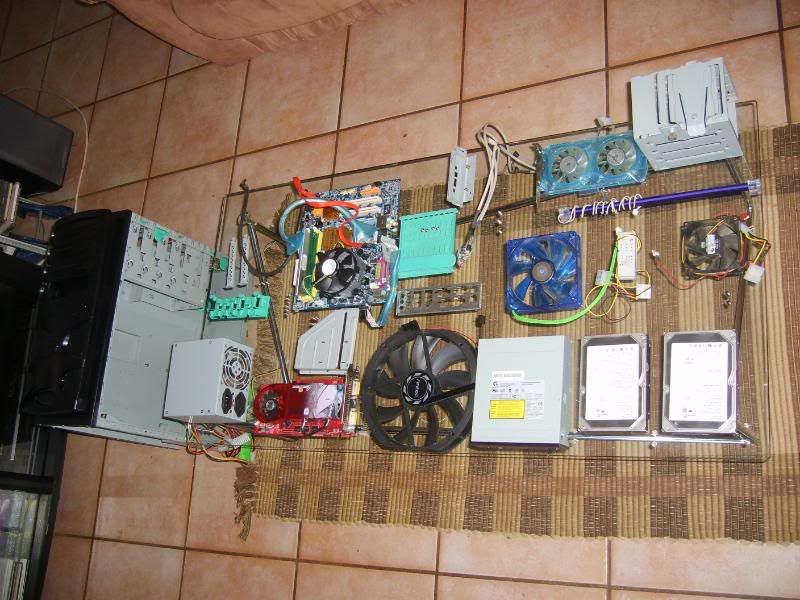
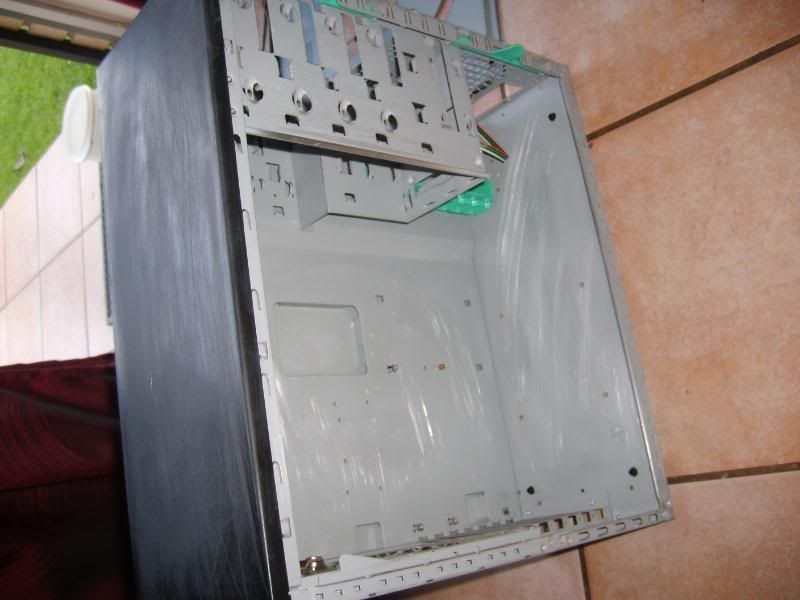
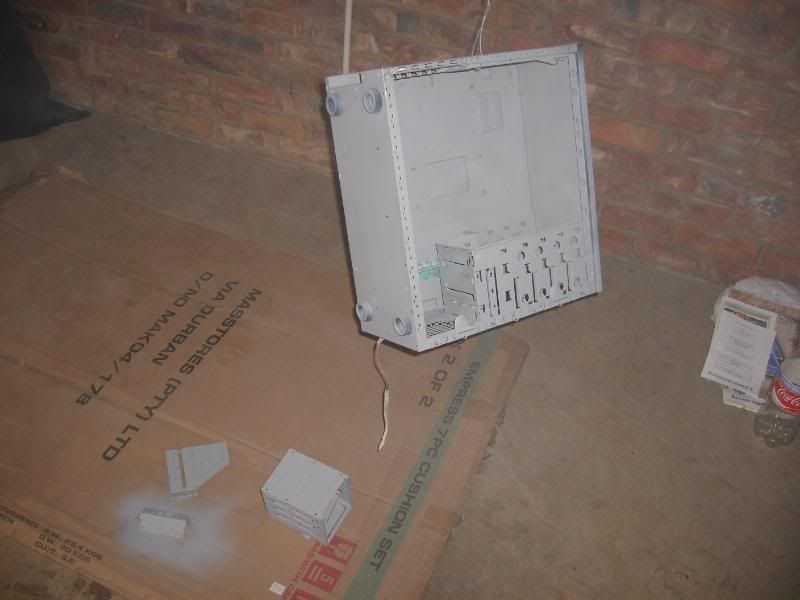
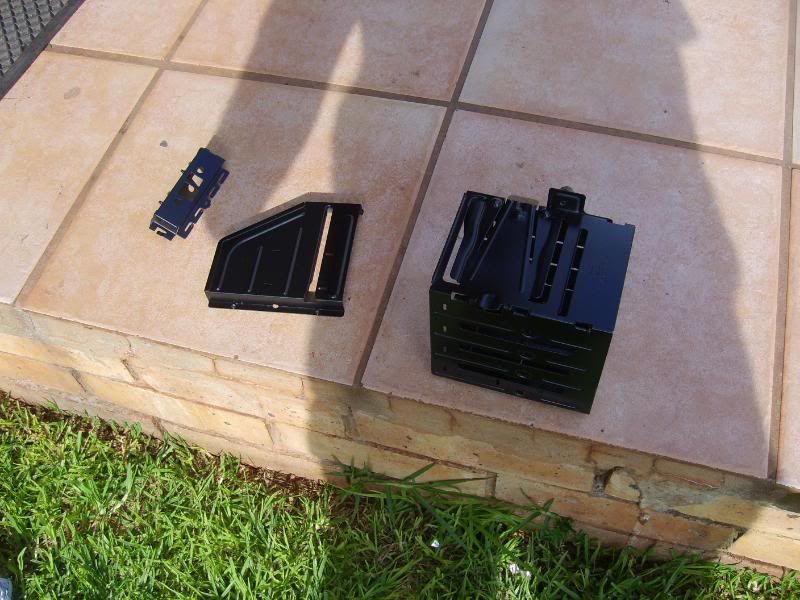
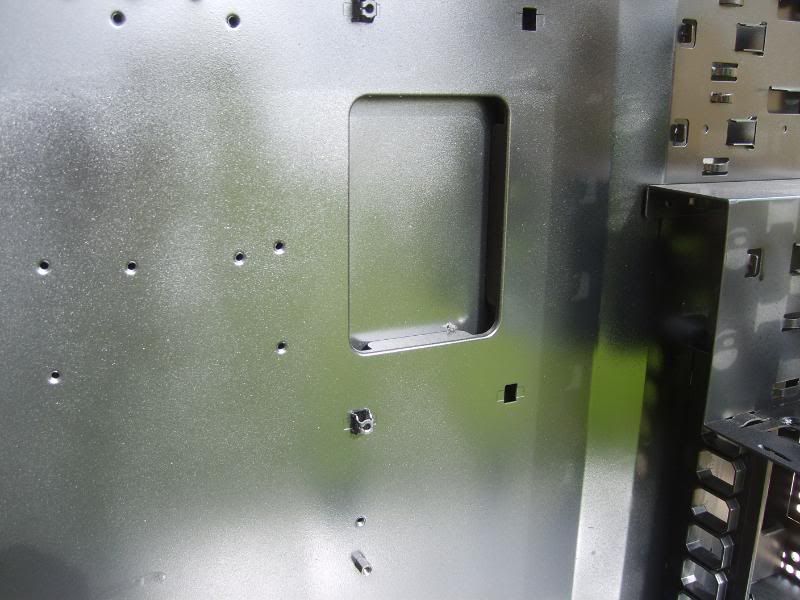
Now tonight I want to strip it down and paint the entire thing black, internal everwhere...

Is this a good idea? Or something that I will be slapping myself about the back of the head?

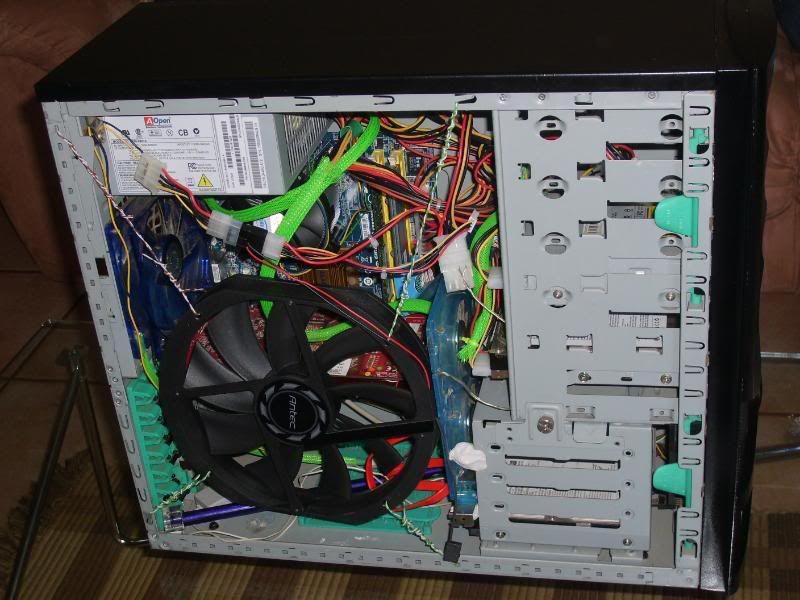
The idea is to darken the case everywhere even the cable sleeving will be black and no wires will be visible once done.
Getting the side panel cut and a perspec window mounted with the antec 200mm fan...
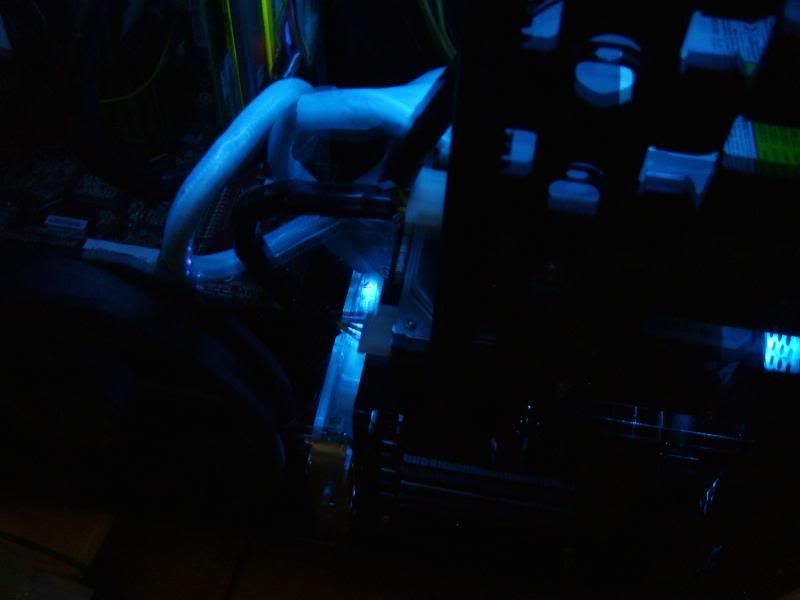
Will be putting in a blacklight as well.

Thanks in advance guys!
Samaya
Registered User
Posts: 2018
Joined: 23 Oct 2002, 02:00
Location: Not on this forum

Post by Samaya »

So you want to have everything black inside and then light it up with a UV light so you won't see any cables or wires because everything will be black :blob: :pottytrain5:
b3ast
Registered User
Posts: 63
Joined: 09 Nov 2007, 02:00
Location: Roodepoort/Centurion

Post by b3ast »

Samaya wrote:So you want to have everything black inside and then light it up with a UV light so you won't see any cables or wires because everything will be black :blob: :pottytrain5:
The cables will be hiden as best I can... the blacklight will be for effect as I am looking at a darker tinted type of perspex... the aim here is to darken the case with the perspex giving off a soft glow.

So will painting the inside of the case i.e. motherboard tray ect not affect the heat buildup inside the case? Or cause any problems with the components themselves?

I do not believe it will personally but would like a second opinion just for peace of mind.
Samaya
Registered User
Posts: 2018
Joined: 23 Oct 2002, 02:00
Location: Not on this forum

Post by Samaya »

So will painting the inside of the case i.e. motherboard tray ect not affect the heat buildup inside the case? Or cause any problems with the components themselves?
No don't worry about that. I replaced my MoBo tray with a perspex one and there was no difference in temps. Just don't paint the components :P :wink: . Remember to make sure you have sufficient airflow in any case
Dust
Registered User
Posts: 392
Joined: 12 Mar 2007, 02:00
Location: Far East (Rand)
Contact:

Post by Dust »

Man, I think that may be a nice mod. My case's wires are also hidden and I think it looks good. That's the reason for me not liking see through perspex cases, I mean, where do you hide cables?? Lol. Anyway dude, good luck with your paint job and keep us posted!
b3ast
Registered User
Posts: 63
Joined: 09 Nov 2007, 02:00
Location: Roodepoort/Centurion

Post by b3ast »

Dust wrote:Man, I think that may be a nice mod. My case's wires are also hidden and I think it looks good. That's the reason for me not liking see through perspex cases, I mean, where do you hide cables?? Lol. Anyway dude, good luck with your paint job and keep us posted!

Will do ,on leave as of t-minus 3 hours will be heading to builders straight from work but will try nd photograph the progress... hoping to have everything done late next week before x-mas.

Will be going to maizey plastics for the perspex and they have someone who does lazer cutting for them so still deciding how to mesh the perspec or even if i want to, might just try and flush mount the big fan...
b3ast
Registered User
Posts: 63
Joined: 09 Nov 2007, 02:00
Location: Roodepoort/Centurion

Post by b3ast »

Samaya wrote:
So will painting the inside of the case i.e. motherboard tray ect not affect the heat buildup inside the case? Or cause any problems with the components themselves?
No don't worry about that. I replaced my MoBo tray with a perspex one and there was no difference in temps. Just don't paint the components :P :wink: . Remember to make sure you have sufficient airflow in any case
Airflow is definatly not a problem, intake is a 80 mm unobstructe fan feeding two 70 mm's extraaction is a 120mm at the bck and the 200 mm on the side...
KillerByte
G3AR Staff Member
Posts: 5790
Joined: 08 Mar 2003, 02:00
Location: PCFormat HQ
Contact:

Post by KillerByte »

What I type has nothing to do with the people that employ me.
b3ast
Registered User
Posts: 63
Joined: 09 Nov 2007, 02:00
Location: Roodepoort/Centurion

Post by b3ast »

Saw that thread thanks, painting was never the problem my only concern was the affect painting the interior might have.
Update posting on my notebook over GPRS as my machine is in pieces on the coffee table.

The case has been roughed and primerd.
As well as now having the first layer of paint on.
Waiting for morning(or later today :lol: ) so builders opens up I need more paint already gone trough two cans of primer and two cans of black....

Pics on the DC and will upload once the machine is back together and I will then start on the side panel.

Builders are also out of stock of dremels so will have to go to another branch as well for that.
b3ast
Registered User
Posts: 63
Joined: 09 Nov 2007, 02:00
Location: Roodepoort/Centurion

Post by b3ast »

Right... this was fun.
Now apart from everything already done all that is left is the plex side panel, I haev decided to do the entire panel transparent with slots for some fans and slider controls...

Anyway let's start:
This is what I started out with:
Image

Image

Image

I then had to remove everything and i do mean everything that was not pop riveted or welded on, herewith all the glory on a coffe table :lol:

Image

I then roughed the panels all over the case

Image

Followed shortly after a good clean with the primer

Image

After a couple of coats of gloss balck paint and clear laquer this was the result

Image

Image

Image

And this was the result

Image

Image

Image

I am quite pleased how it turned out and can't wait to have the plexi side panel done...
Dust
Registered User
Posts: 392
Joined: 12 Mar 2007, 02:00
Location: Far East (Rand)
Contact:

Post by Dust »

Nice job man!!! Nice to see that you haven't had any snags!
WAJeff
Registered User
Posts: 28011
Joined: 30 Jun 2006, 02:00
Location: /dev/sda1/home
Contact:

Post by WAJeff »

Nice work man, looking good in all black, giving me ideas for my case :D
Vampyre_2099
Registered User
Posts: 1321
Joined: 04 Nov 2007, 02:00
Location: /home/jhb/fourways

Post by Vampyre_2099 »

Thats such a simple yet awesome result-wielding "mod". I like it and now I'm thinking... :lol:
mybrute
myminicity
PCformat ZA Folding Stats

ImageImage
Spoiler: (show)
Desktop: Q8200 @ 2.33GHz ~ TRUE ~ DP35DP ~ 4GB Transcend Jetram RAM ~ Nvidia 8800GT ~ 250GB HDD
Notebook: T5550 @ 1.83GHz ~ 2GB RAM ~ ATI HD 2400 XT ~ 160GB HDD
WAJeff
Registered User
Posts: 28011
Joined: 30 Jun 2006, 02:00
Location: /dev/sda1/home
Contact:

Post by WAJeff »

What was the process you followed with spraying it?

I wanna try something similar with my case
SurvivOrX
Registered User
Posts: 83
Joined: 25 Nov 2007, 02:00

Wow!

Post by SurvivOrX »

That was amazing! Such a simple idea, made it look completely remade! Well done man ;).
Samaya
Registered User
Posts: 2018
Joined: 23 Oct 2002, 02:00
Location: Not on this forum

Post by Samaya »

Have to say nicely painted. BUT for some positive criticism: Clean up the cables by rerouting them, fit that huge fan to the side panel and Fit yourself a nice plexi side panel to show it all off.

BTW the first picture I saw in your post I was thinking *afrikaans aan* My Goeie F** Waar is die moederbord? /*afrikaans af* LOL
b3ast
Registered User
Posts: 63
Joined: 09 Nov 2007, 02:00
Location: Roodepoort/Centurion

Post by b3ast »

g0ldback wrote:What was the process you followed with spraying it?

I wanna try something similar with my case
Well I started by totally stripping the case and I mean totally... everything that could be removed was.
Then I cleaned it using a scotch bad also starting roughing the existing paint and metal, this was followed by roughing the surface even further with fine grit sanding paper.

Once done I cleaned ot again to get rid of any dust(Used a garden hose and pressure cleaner)

Air dried it and then started layering on the grey primer, Leaving to dry after each layer.

Then about three layers of gloss black and a final clear laquer layer.

What you need for a midi case.

A resiprator (very important)
1 Sheet 400 grit wet dry sandpaper.
3 Spray can's primer.
4 Can's Spray paint of your choice.
1 Can Clear Laquer.
1 Bottle thinners incase of runs and mistakes.

A well ventilated area, preferably somewhere where you can suspende the items.
I used my garage and binding wires fastend to the roof beams.

I left the primer to cure overnight and started on the colour the next morning even though I bought quick drying spraypaint.

Good luck and patience is key.
b3ast
Registered User
Posts: 63
Joined: 09 Nov 2007, 02:00
Location: Roodepoort/Centurion

Post by b3ast »

Samaya wrote:Have to say nicely painted. BUT for some positive criticism: Clean up the cables by rerouting them, fit that huge fan to the side panel and Fit yourself a nice plexi side panel to show it all off.

BTW the first picture I saw in your post I was thinking *afrikaans aan* My Goeie F** Waar is die moederbord? /*afrikaans af* LOL
I ran out of cable sleeving.... :lol:
Will get some more the whole idea is for the fev cables that are visible to have black covering as seen in the power cable ect....

edith* I will be visiting maizey hopefully this coming week so as to get a whole panel made to fit the side and not just a perspex window...
They know someone close by that will do the lazer cutting for me as well.
shinji-aoi
Registered User
Posts: 218
Joined: 21 Nov 2006, 02:00
Location: Pretoria
Contact:

Post by shinji-aoi »

Bad news - Maizey will be closing (if not already closed) and will reopen 7 Jan 2008.

I already contacted some of suppliers and they are running on skeleton staff this week. If you are in Pretoria you could try Falcon (they're in Watloo). They also do signage supplies (ie. Perspex etc.) but doubt that they'll be able to cut it to size.

I have to wait till January since I'd like to have my Perspex laser cut (professional finish :wink: ).

Case looks great by the way!
Image

Go Alonso & Vettel! Forza Ferrari always!

Currently watching:
E's Otherwise

Ongoing/Running Series:
One Piece, Bleach, Naruto
Obituary
Registered User
Posts: 2063
Joined: 10 Mar 2007, 02:00
Location: JHB
Contact:

Post by Obituary »

Awesome job there WD!
http://www.transcendit.co.za/

[Intel Core 2 Quad Q6600]
[Asus P5N32e-Sli Mobo]
[8GB Hynix DDR2-800]
[750gb + 400gb + 320gb + 160gb SATA2 HDD]
[Nvidia 9800GTX]
[Raidmax Power 700W]
[Aztec Gaming Rig]
[Microsoft Razer Gaming Keyboard, Logitech MX518, 2x 300w Rocksonic Speakers + Rocksonic AMP]
[Acer 19" Wide LCD]
TheMartyr
Registered User
Posts: 593
Joined: 28 Feb 2007, 02:00
Location: Diegetic
Contact:

Post by TheMartyr »

WD man
that case looks Great
Hello im a signature
b3ast
Registered User
Posts: 63
Joined: 09 Nov 2007, 02:00
Location: Roodepoort/Centurion

Post by b3ast »

Thanks for all the positive feedback guys, :thumbup: unfortunatly i have to wait till jan for the side panel.
On a plus side the tempratures have dropped inside the case with the cables being neater.
Post Reply