What you need:
Molex Remover Tool (Comes with Molex Connector Package)
and
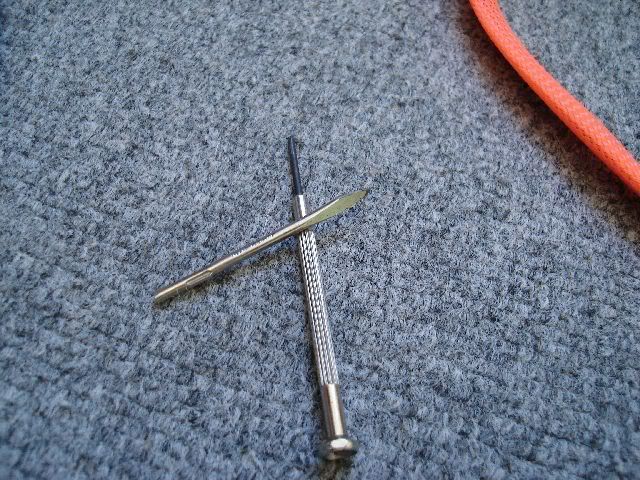
A small screw driver
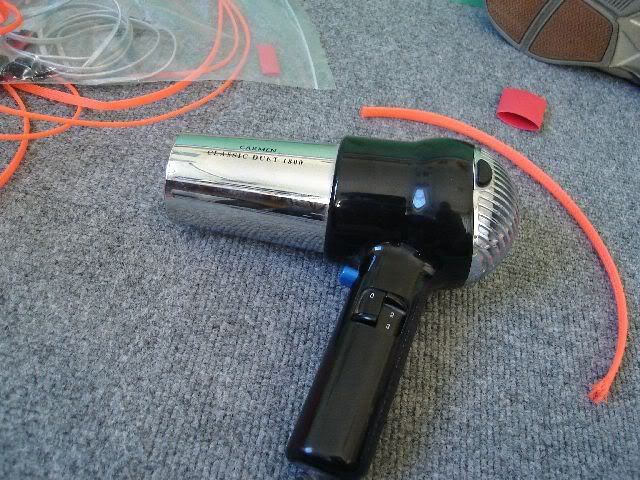
Hairdryer

Vantec EZ-Grip Molex Connector Kit

Vantec Cable Sleeving Kit
Other colours here
_____________________________
Lets get started:
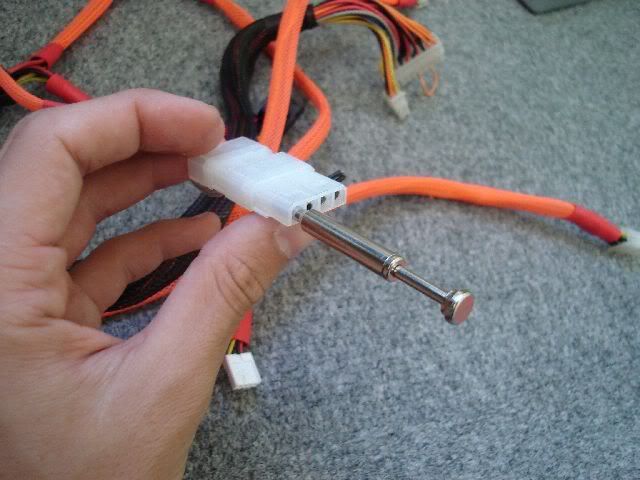
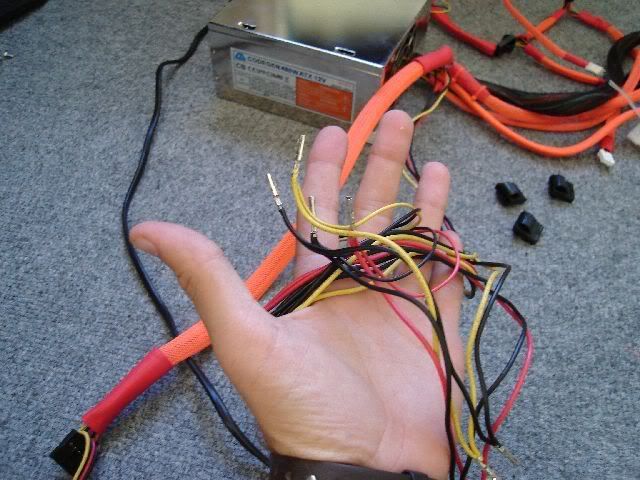
First, remove all the standard (white) molex connectors
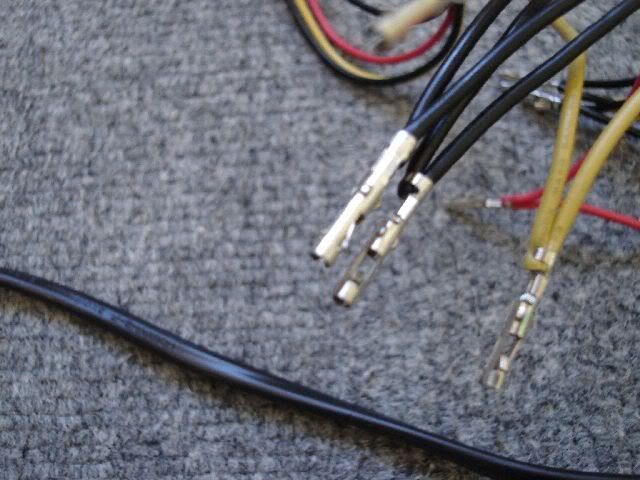
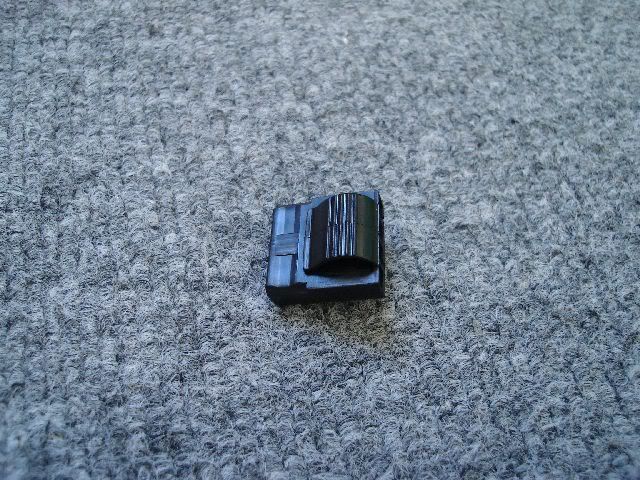
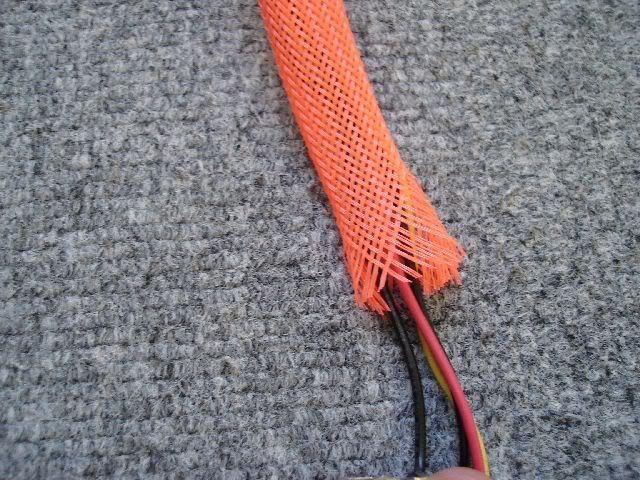
Sorry about the low quality pic, it just basically shows what the remover tool does. There are small pins on the wires that are bent back and you have to bend them back later on
Some PSU's come with cables that are cable tied together. Take them off. They might get caught on the sleeving kit and make holes
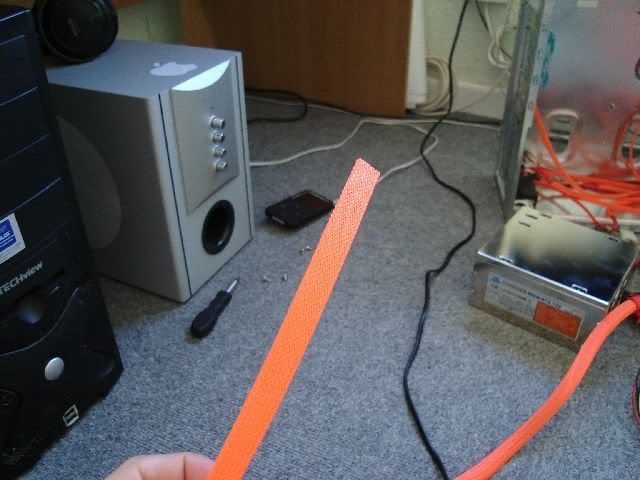
I dont have that much sleeving kit left so either use this size (the biggest) or medium seems to be a perfect fit for most of the cables
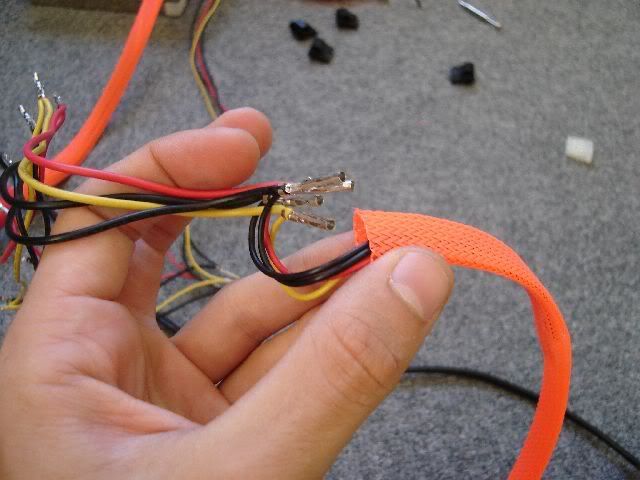
Take it one step at a time. Start right on the end of the cable and work your way up moving the wires (where the molex connectors where)
And so on...
To push the wires through, you need to push the begining of the sleeve towards the PSU so the sleeve stretches out and the wires can pass through smoothly
First bit done. All the wires have been pulled through
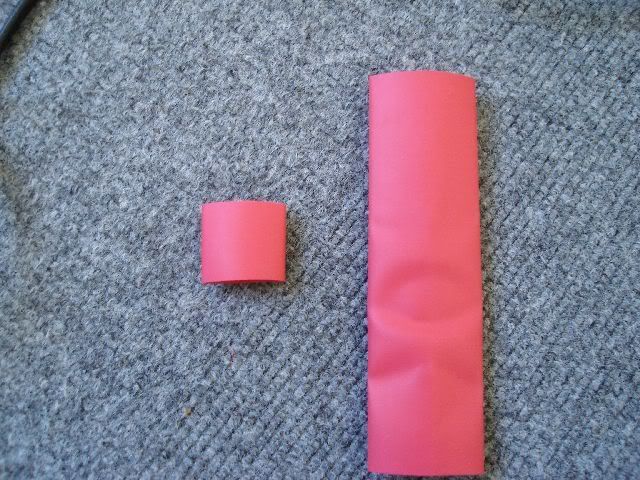
You can use 2 sizes of heatshrink. Large (Right) and Medium (Left). The medium worked the best for me. They onlt shrink to a certain size to make sure that the heatshrink shrinks tightly around the sleeve
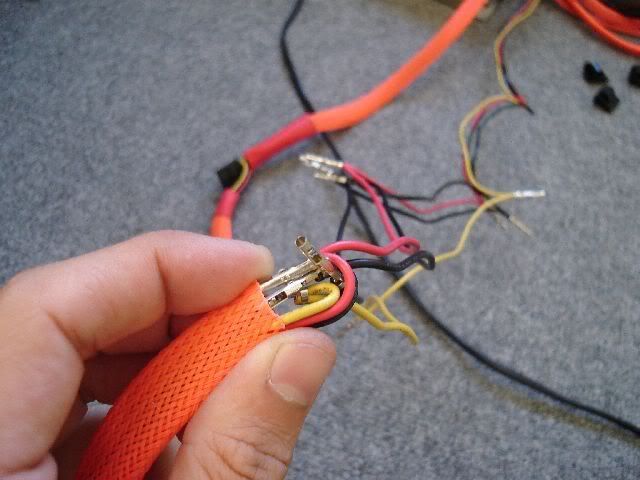
This is where the heatshrinks are going to go
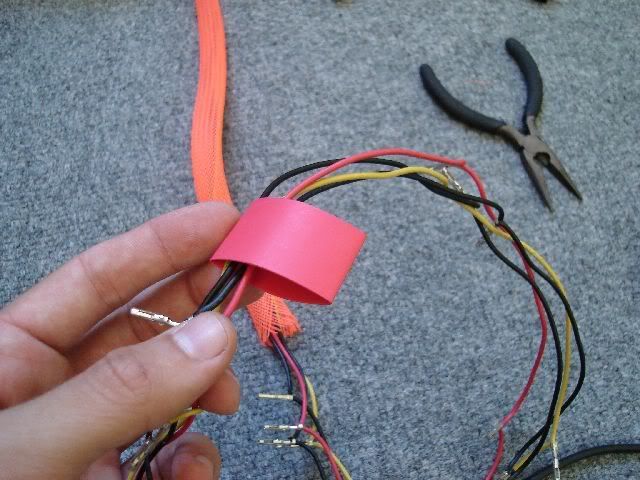
Push the heatshrinks over the original cable just like you did with the sleeve
Use the Hairdryer to shrink the heatshrink around the sleeve. Dont stop until it doesnt shrink any more!
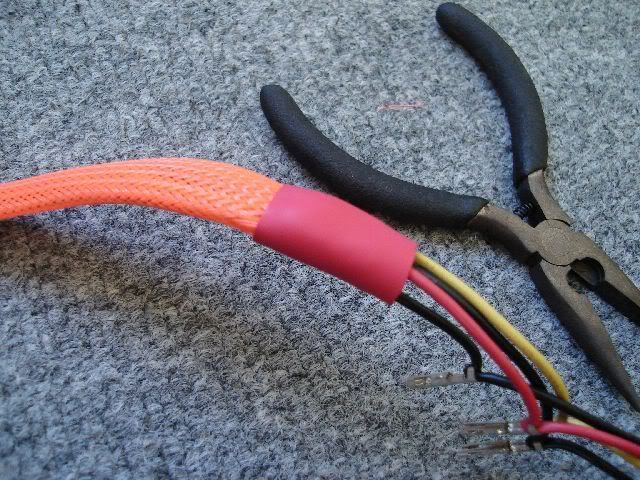
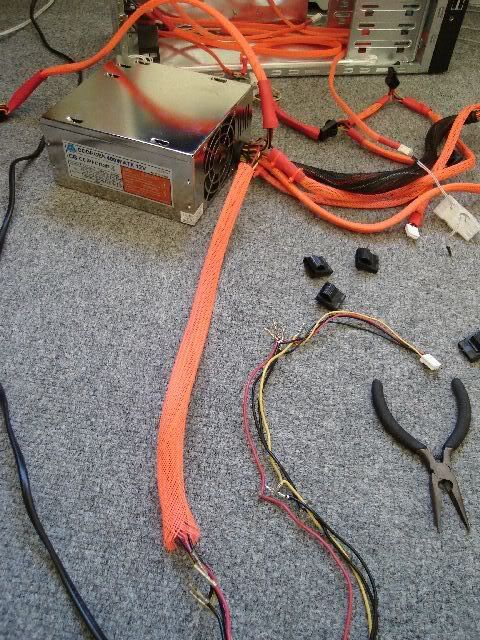
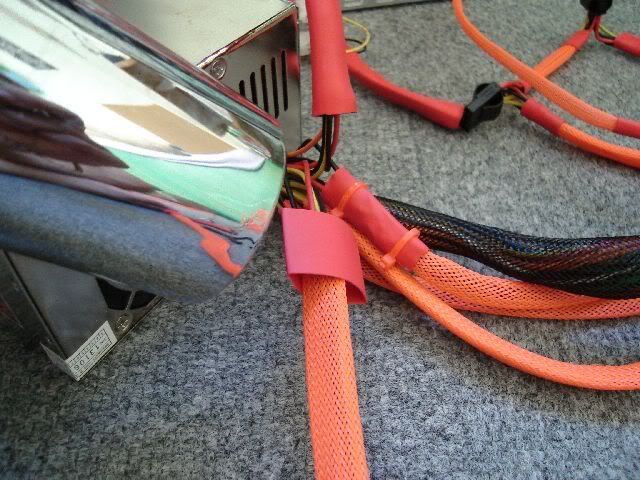
Your final product. This is what the heatshrink is supposed to look like. You can put a cable tie around the sleeve to stop it from moving around. Its up to you though...
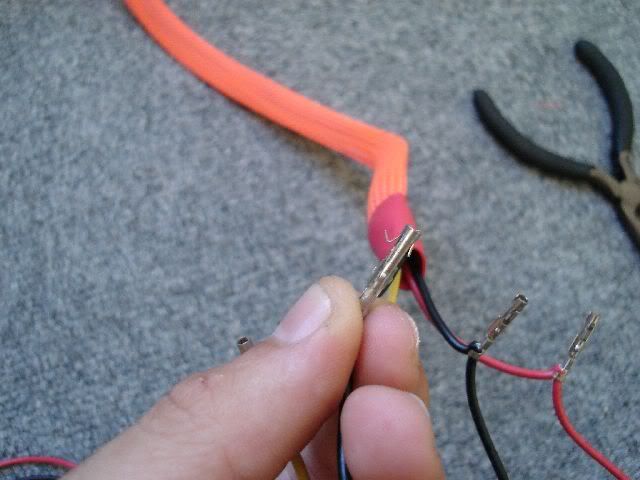
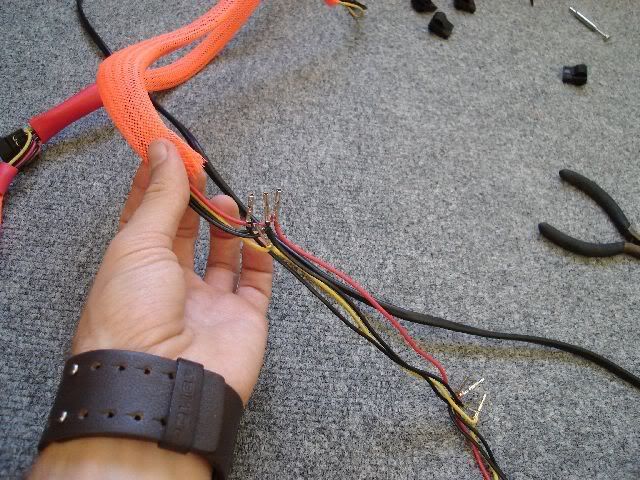
This is where you need to put the molex connectors back. FIRST you have to bend the small pins (I dont know if you can see 100% on the pic) If you dont do this, the molex cons will fall out
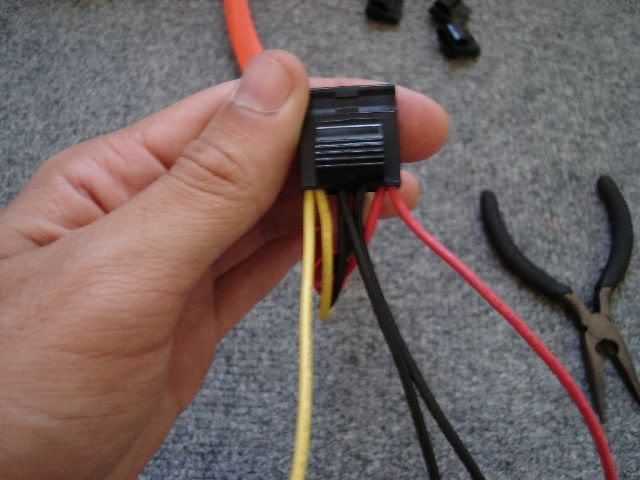
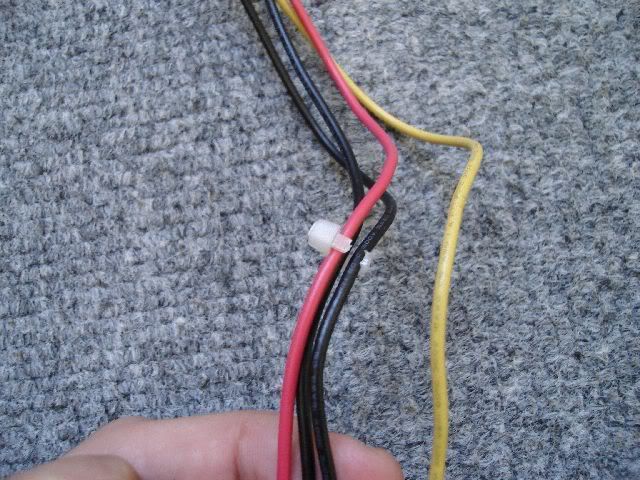
Final step: Put the wires back into your molex con. Make sure the molex con is facing you (as if you where the drive it was going to be plugged into). From your left to right: yellow, black, black and red
PSU Sleeving Guide for more info