All along, I've been planning on putting the broken off piece back in place and then filling all the little cracks. It would look fine, but it would be lots of work. Then I found someone on another forum that said he was willing to send me his console too! So I'll be using that caseSamaya wrote:Just, what are you going to do about that broken off piece?
Anyway, UPDATE TIME!!
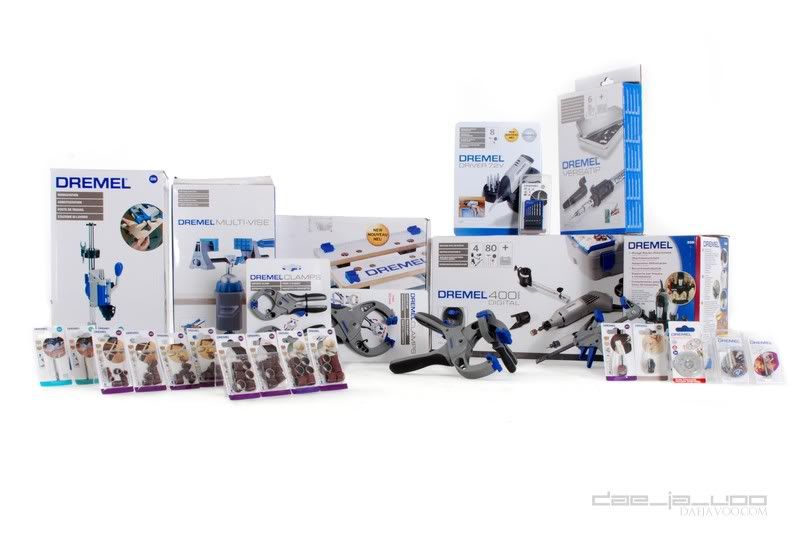
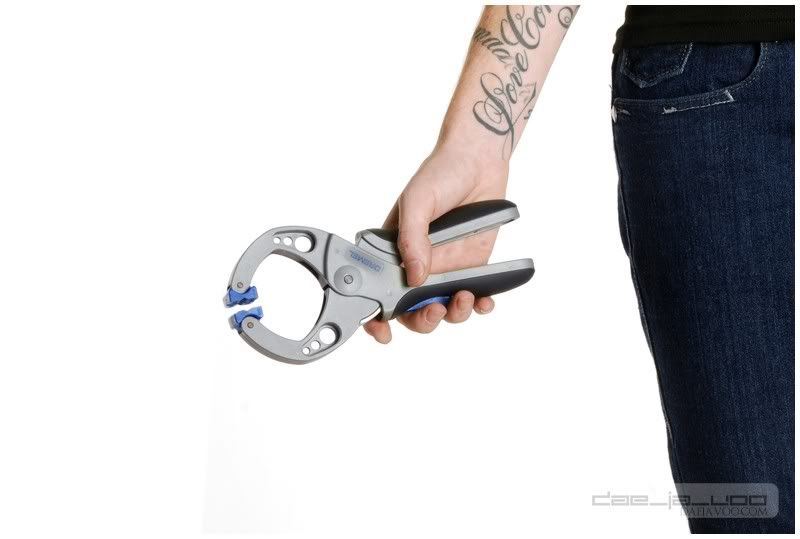
So, so much has happened since my last post. I met with Dremel again and officially signed with them. At the end of the meeting, the guy handed me a catalog and said "Drop me an email with a list of what you want". That's exactly what I did, and man, they sent me absolutely everything I wanted, except for one single routing bit, because they didn't have one in stock. Heck, they even sent me a 400 series Dremel, and I didn't even ask for one (I love my 300 Series
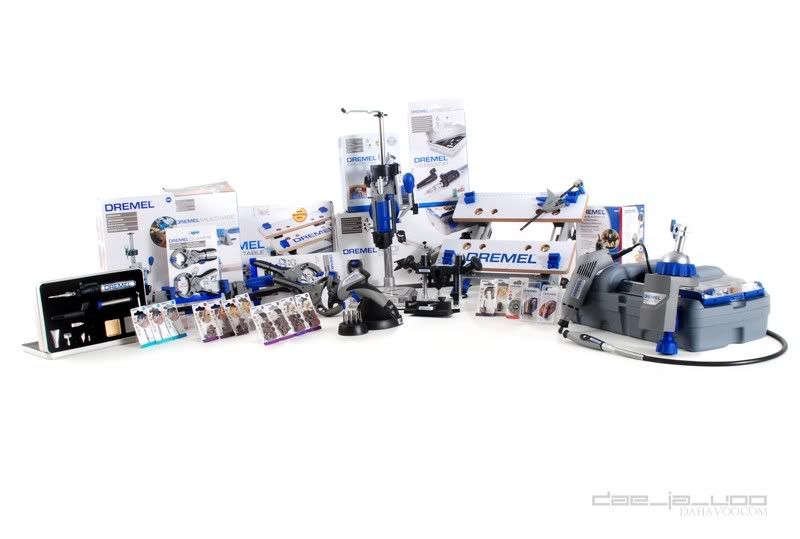
Anyway, here's what they sent me:
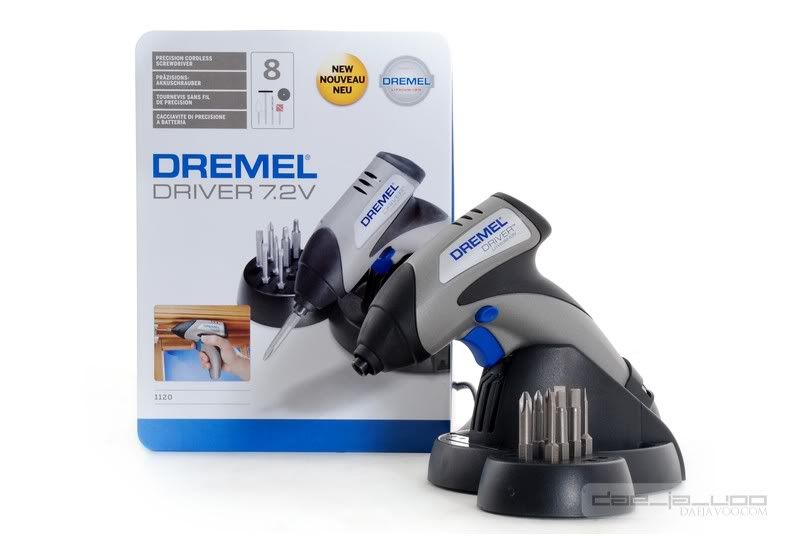
Dremel Driver:
Dremel Versatip:

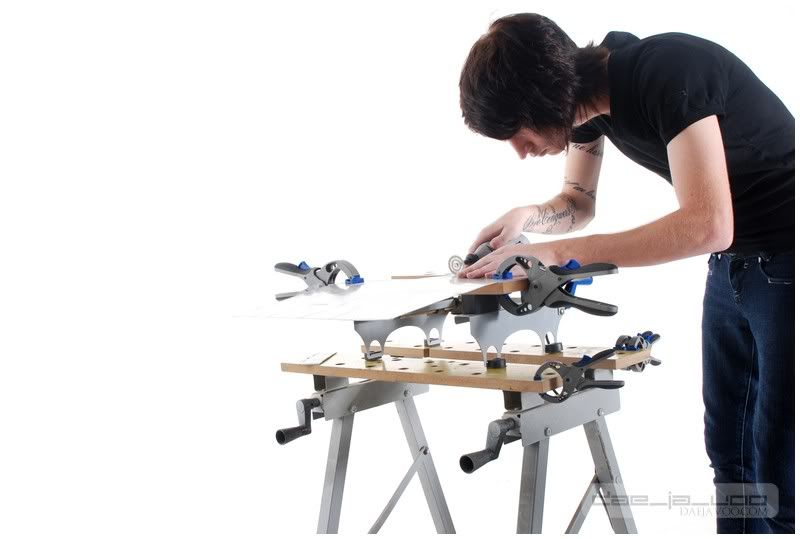
Some work:
Some more pics:


I have a few more, but they still need to be edited
Big, BIG thanks to my PixelPro Photography/Ophra Watson for taking those amazing photos, and a HUGE thanks to Dremel for the sponsorship!
And now, an update to the actual project log!
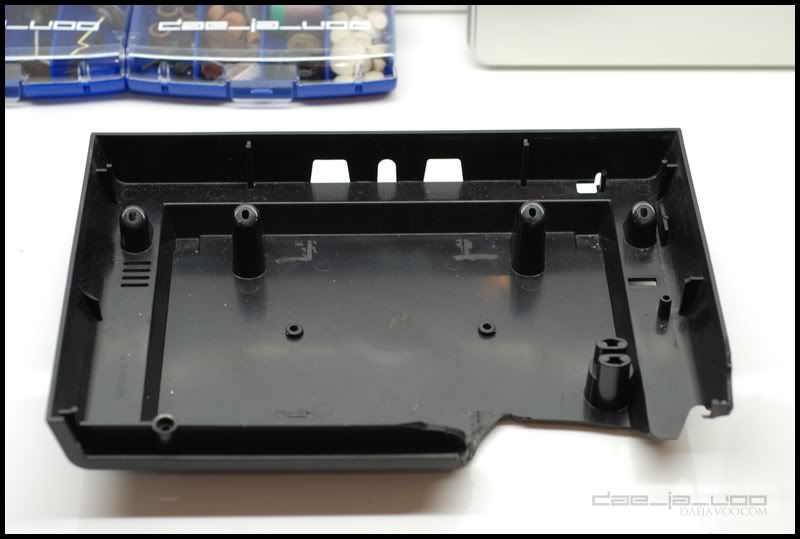
I want the case to look really good inside. Sure, I could mod the hardware in there and just close it up, but I want it all to look really good inside, so I'm doing a couple of things. First and foremost, I'm making a cover for the inside. Let me elaborate:
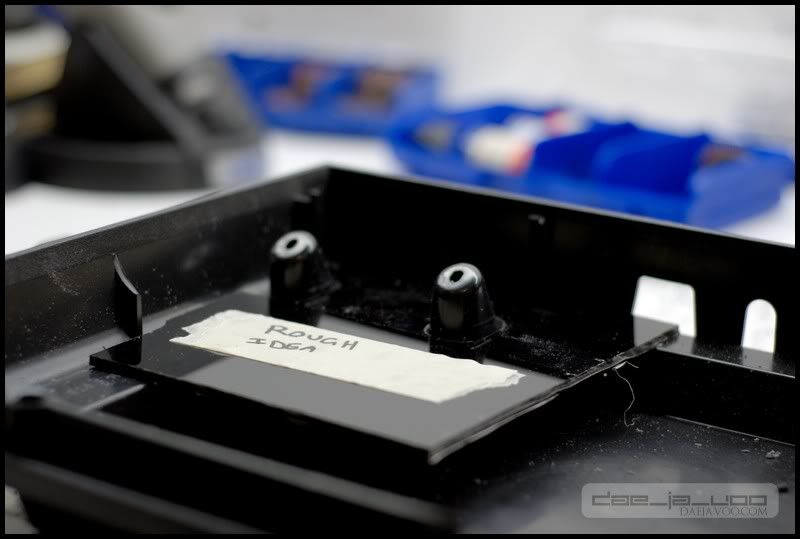
Here's the case:
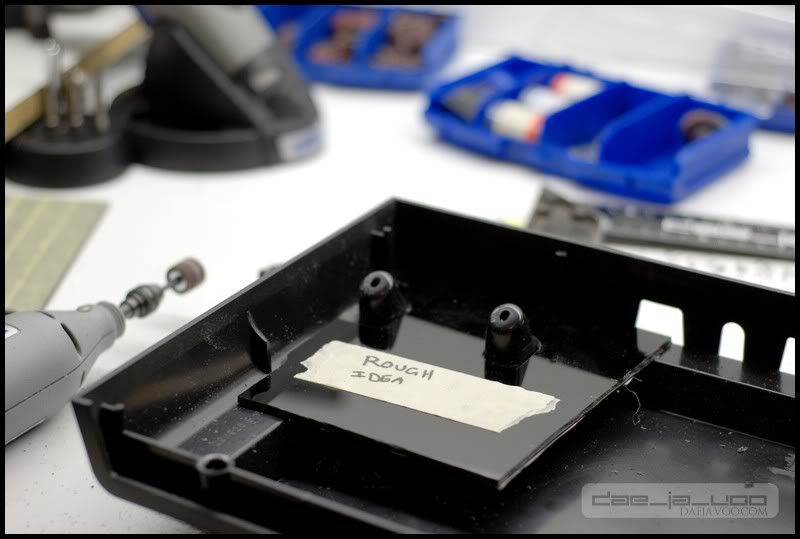
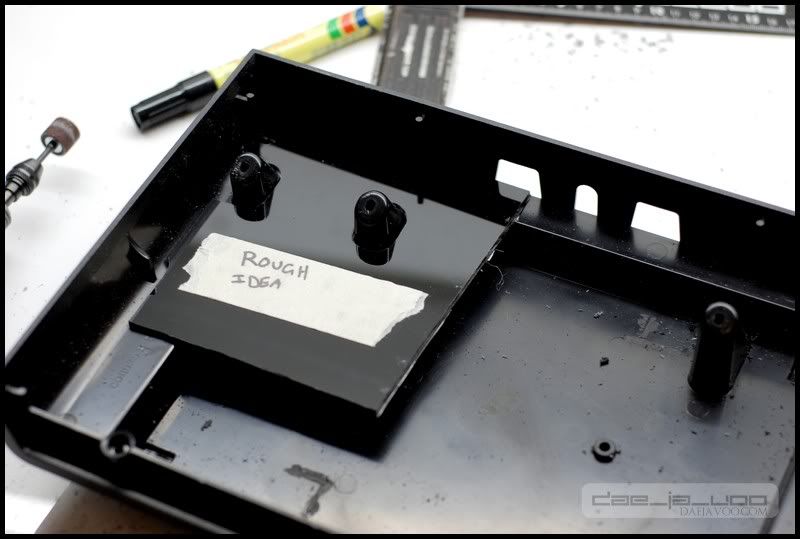
I want to do something like this, but a full piece. Please not, the piece in the photos is just a rough draft of the idea I have:
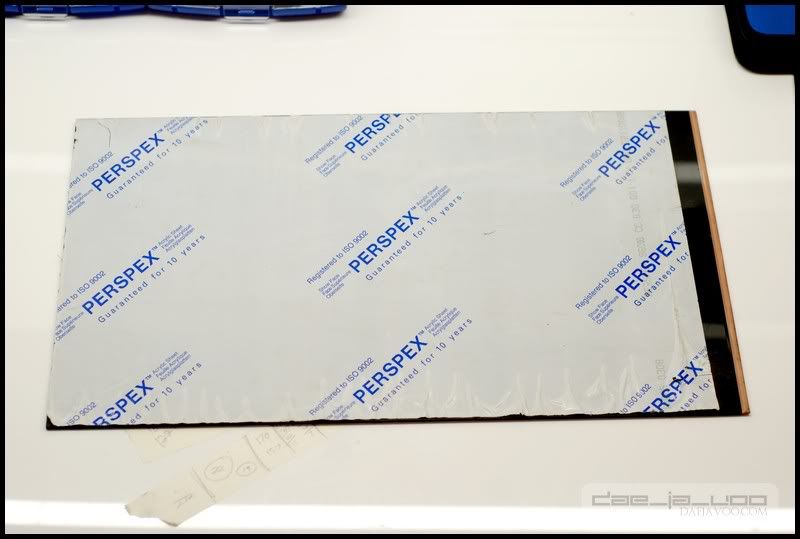
So, I set out to start. Some plexi I had lying around:
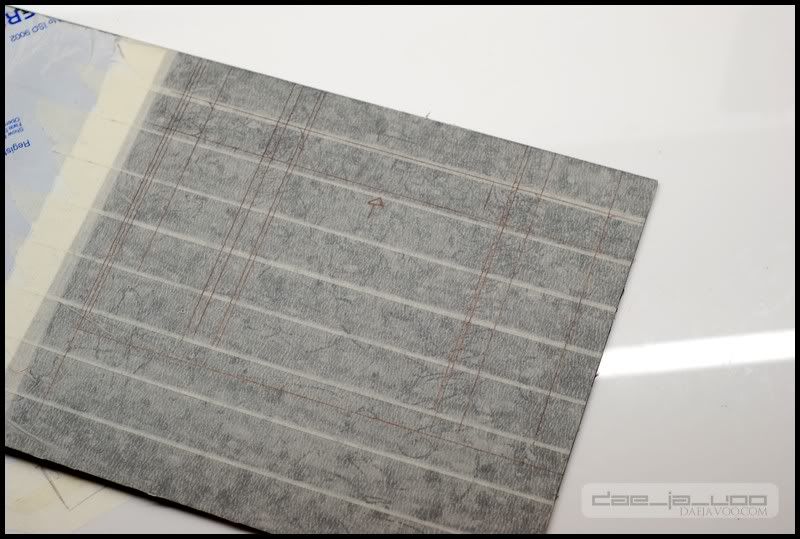
Taped up and marked for cutting. Don't worry, I know what's going on there
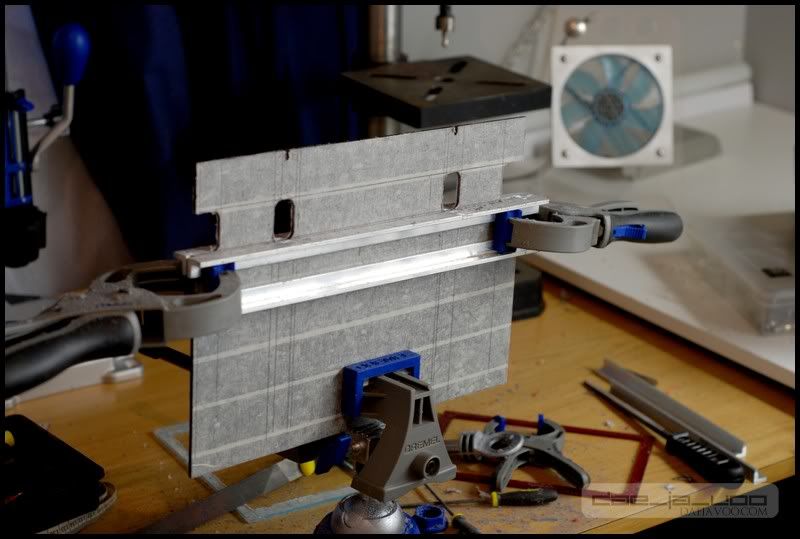
I sanded some of the stuff using one of my Dremels fixed to the Multi-Vise:
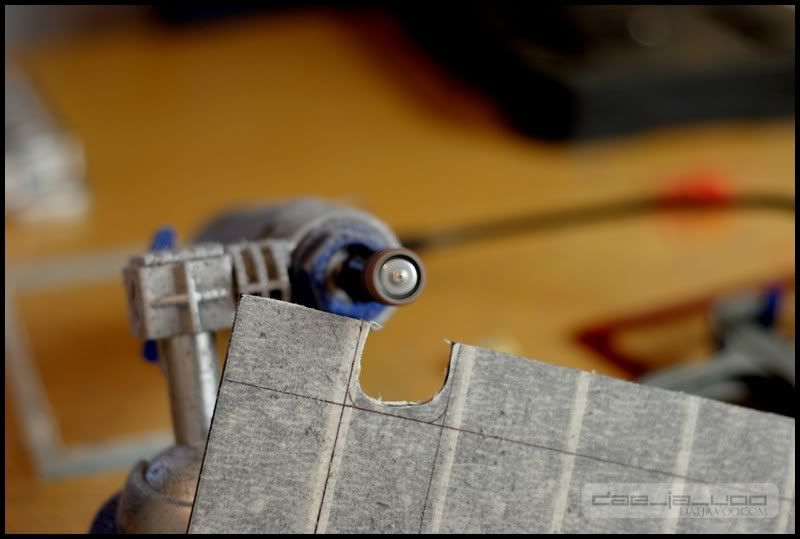
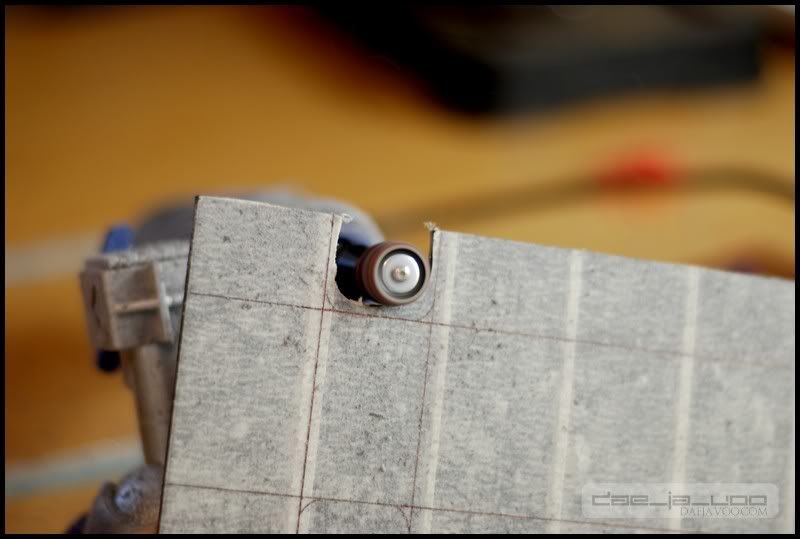
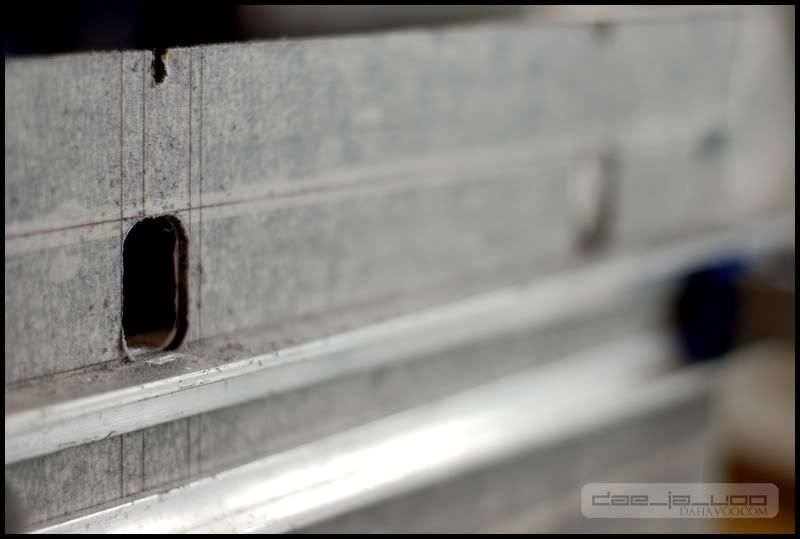
I then found that the holes in the plexi were slightly too short, so I needed a solid way to lengthen them:
Looks pretty good!
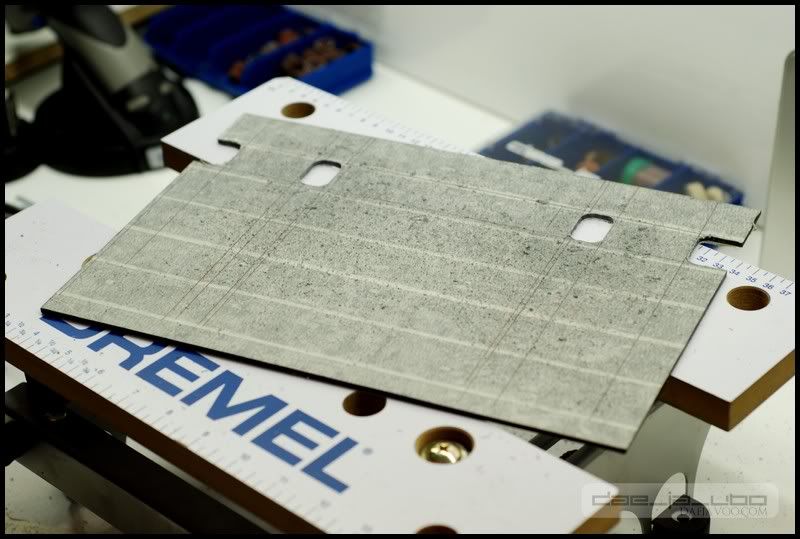
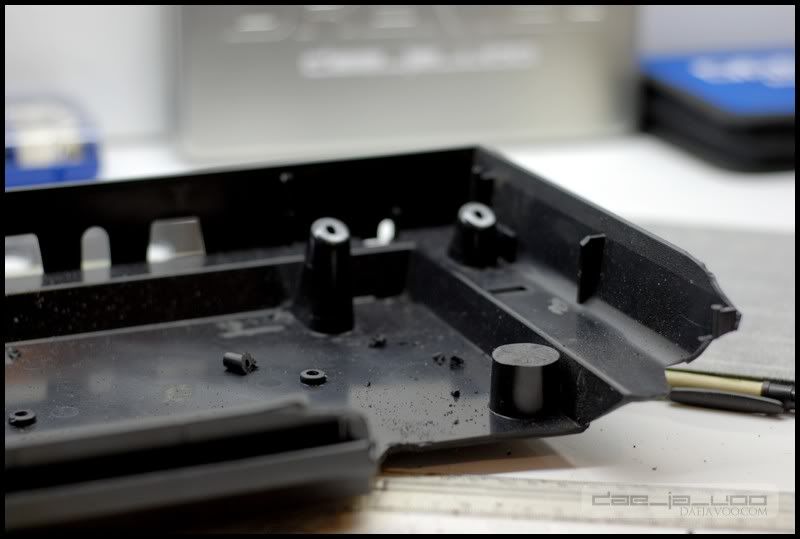
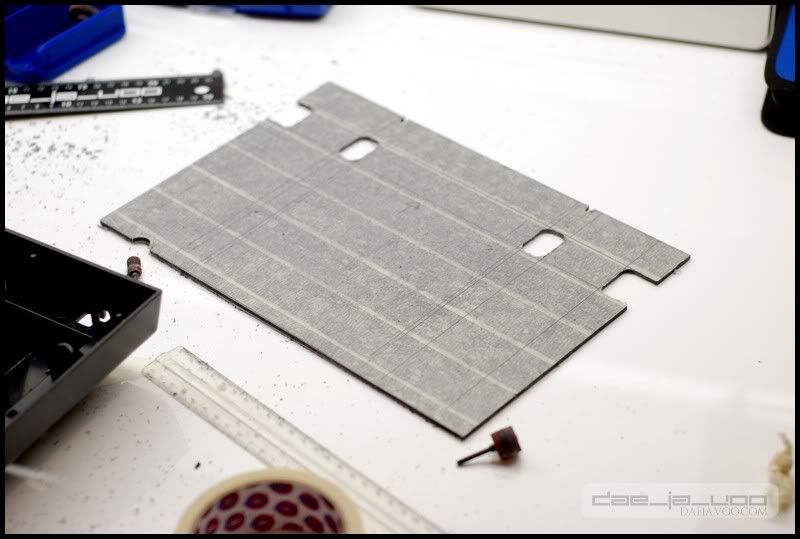
Making progress:
I also had to get this hunk of plastic out of the way:
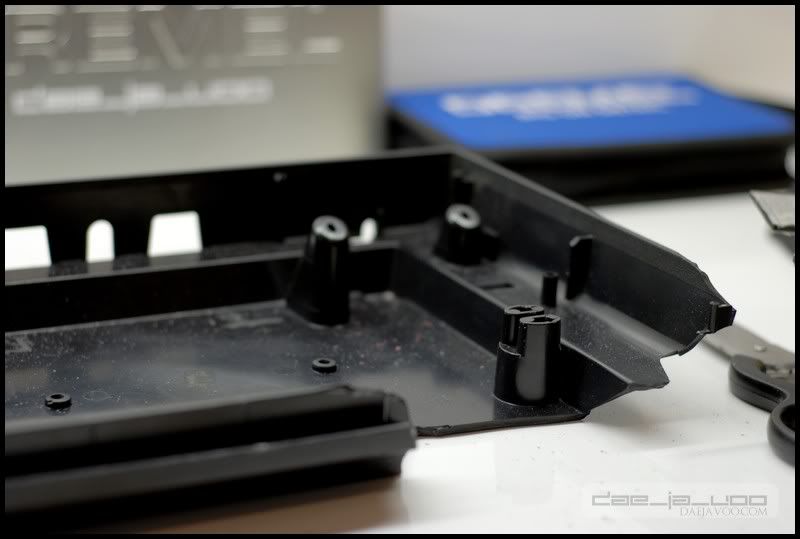
Voila!
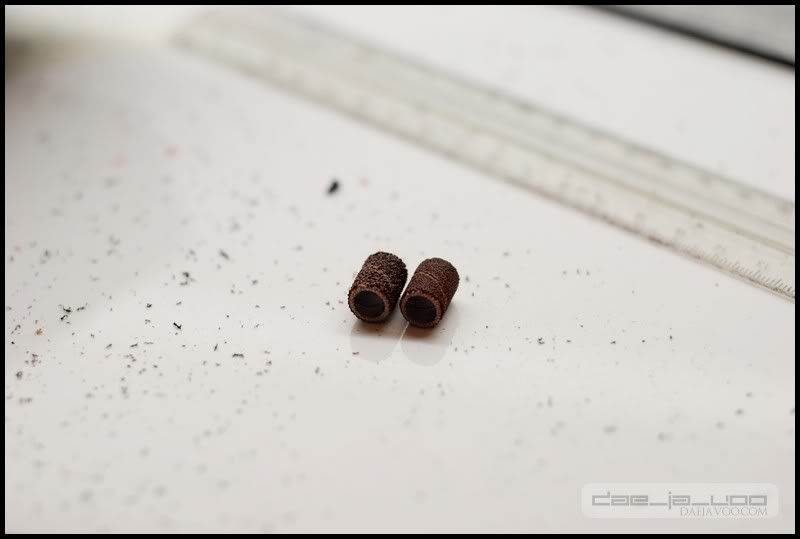
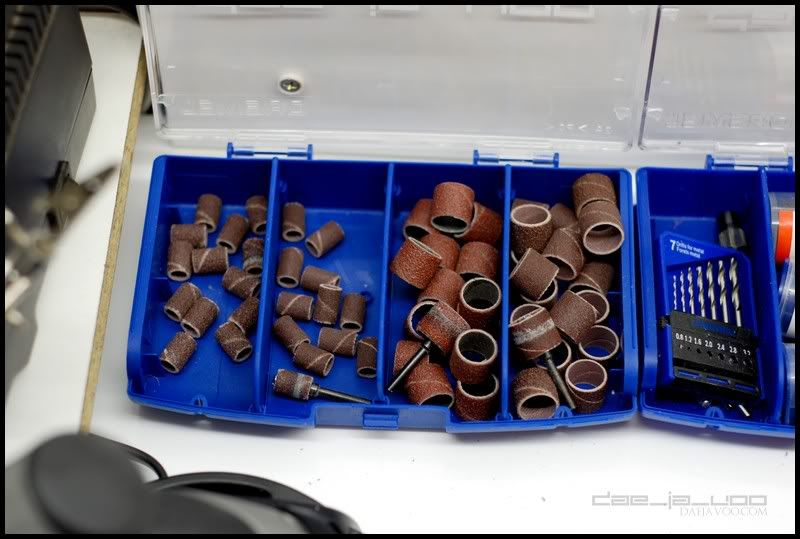
For interest sake - I use a variation of sanding bands for this work. I tend to start off with a 60 Grit and then finish off with a 120. I also have two different sizes of bands in case I'm working on something small. Here, you'll see the 60 on the left, and the 120 on the right. These are the small bands:
I use the bigger ones too:
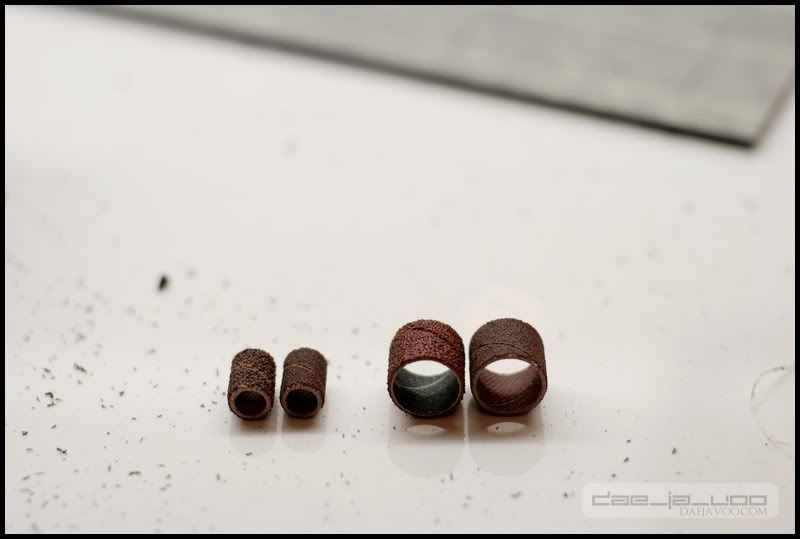
I'm pretty well stocked up on these things too. I use them quite a lot, so I need lots
So, this is where I am with the panel now. It's almost done with the first stage of its work. Lots to go still:
I've actually done a whole lot more work, but I don't have a camera to take pics with
Again, big thanks to Dremel for all the support

That's it for now