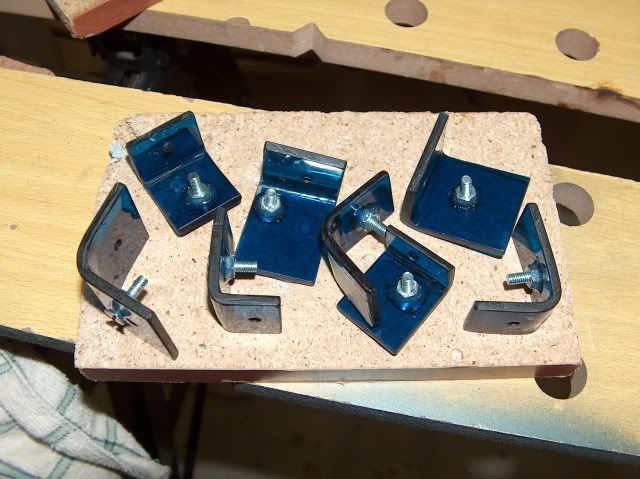
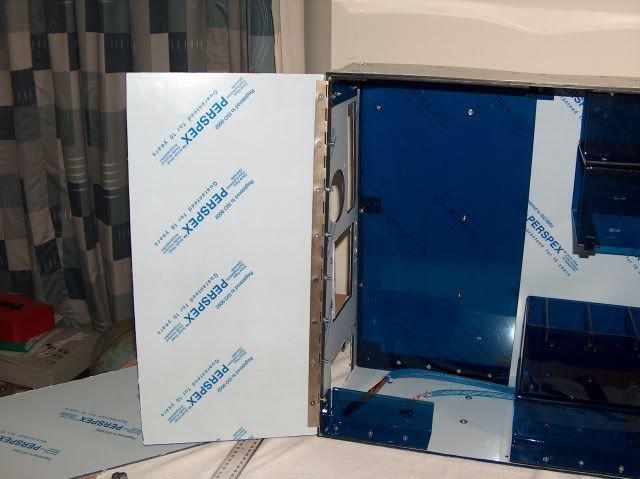
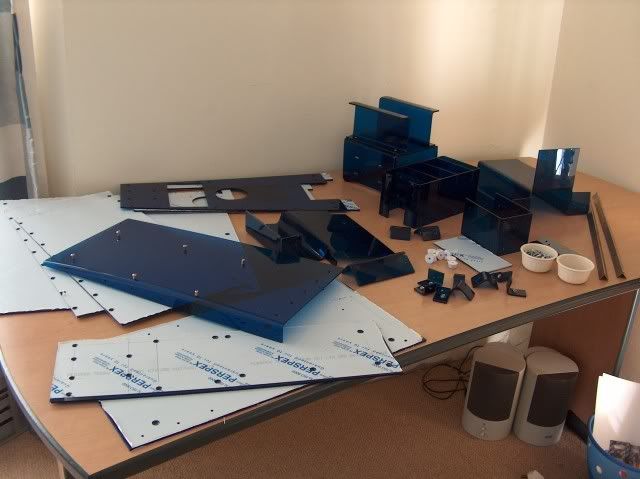
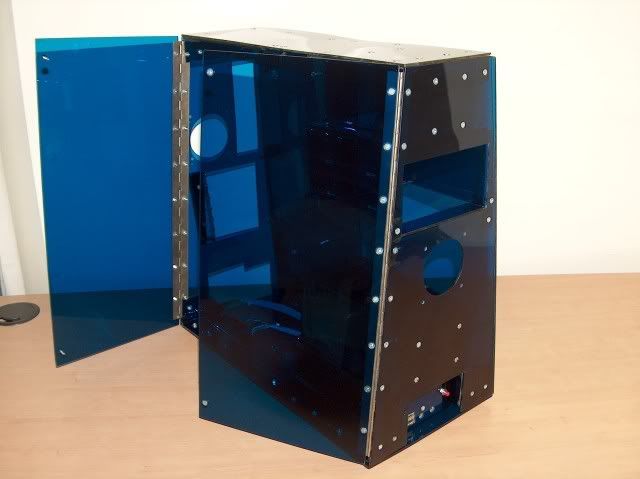
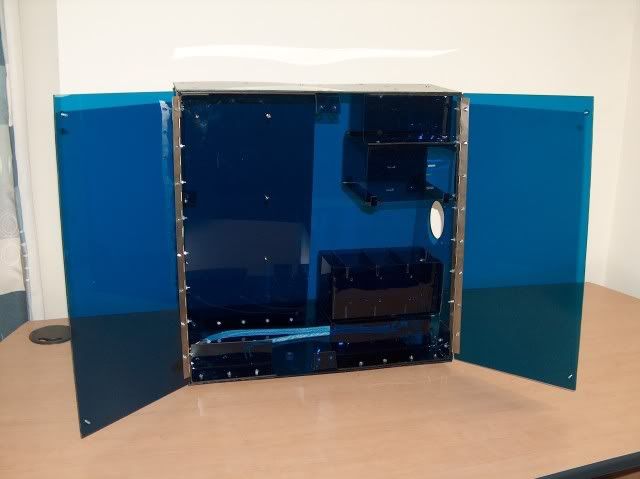
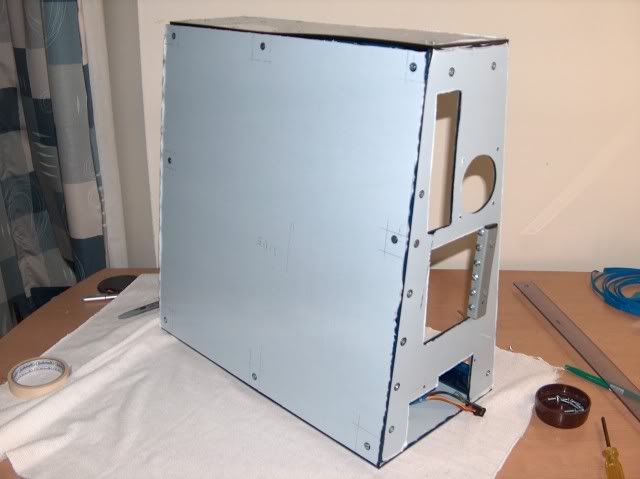
All that is left are the side panels. Today I started with the panel that will be almost permanently closed. I decided to make 8 brackets.
For some of them I had to cut other pieces shorter
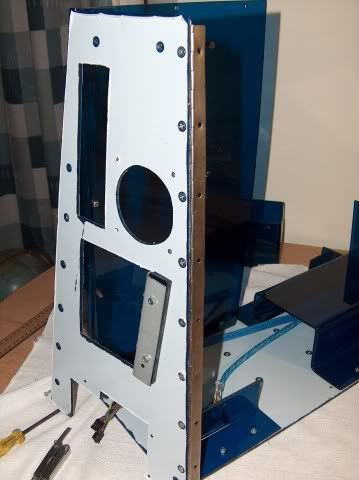
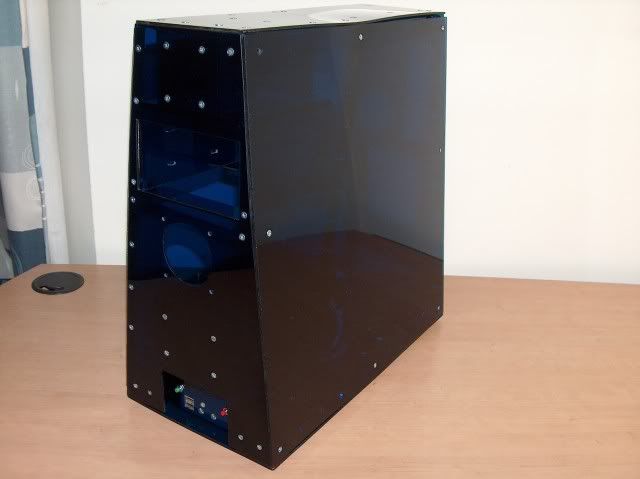
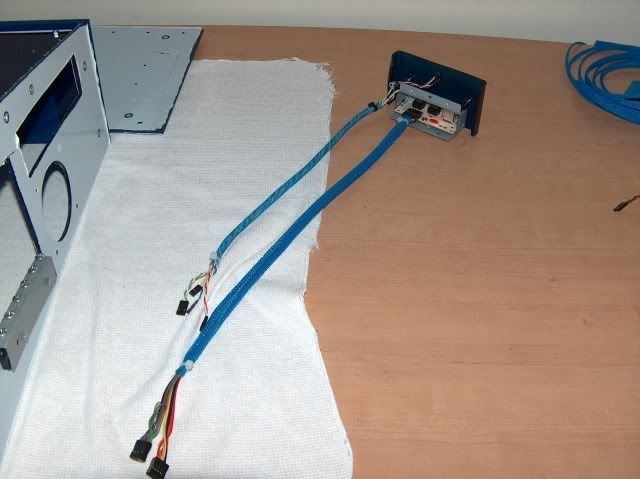
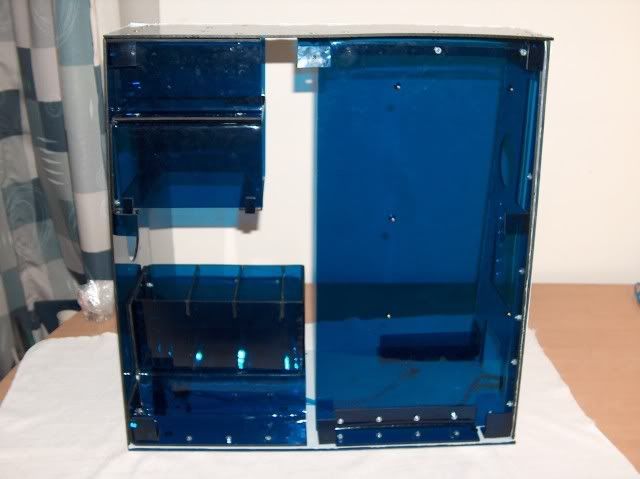
I had to take the bottom panel off so that I can drill holes in to screw on the brackets. While the bottom panel was off and I could reach the electronic controller panel, I decided to put the cables in a sleeve which looks much better!
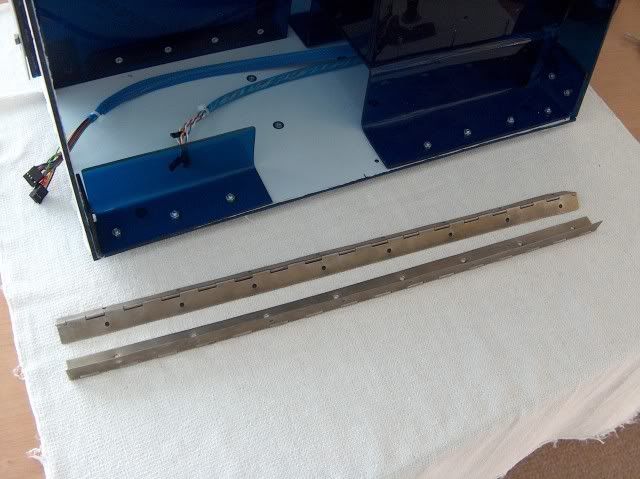
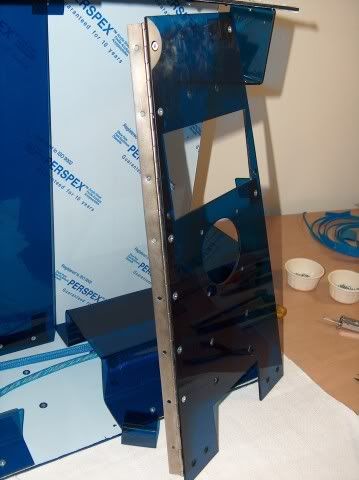
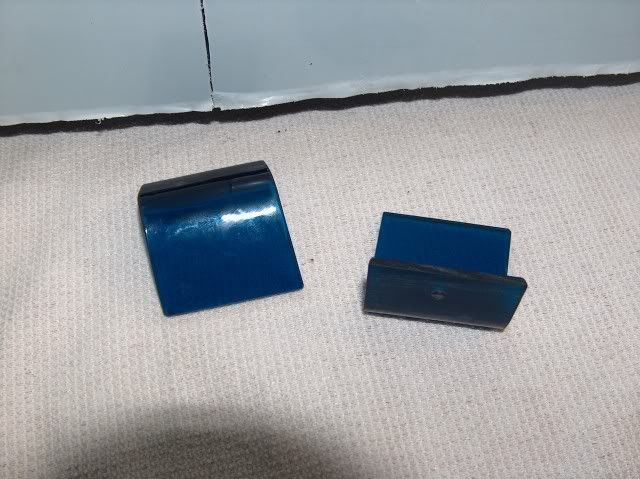
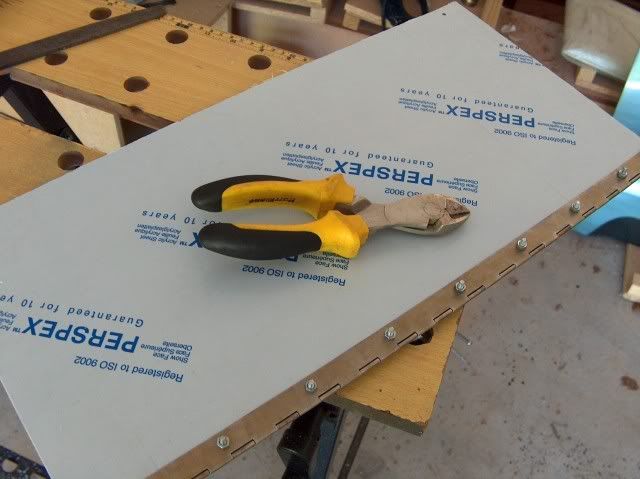
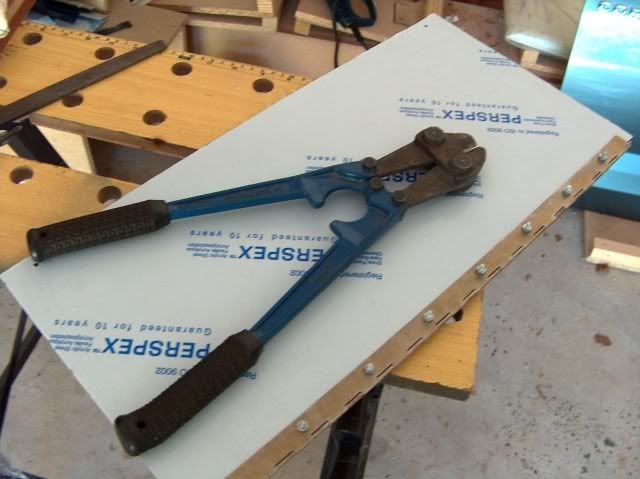
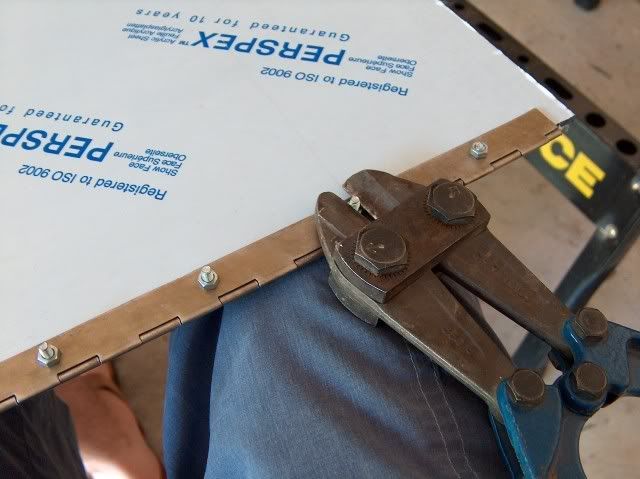
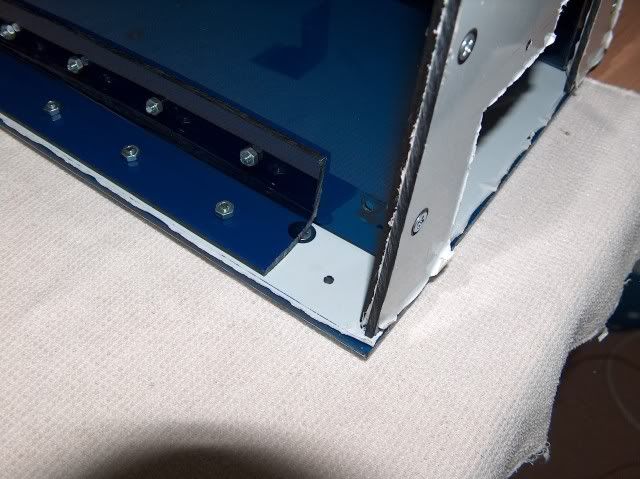
I cut all the bottom brackets from a previously bent piece that has the correct angle.
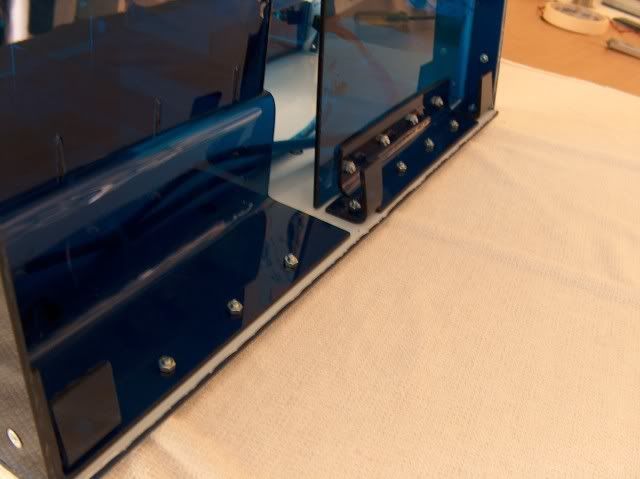
For the side brackets, I used the offcut from the HDD bay
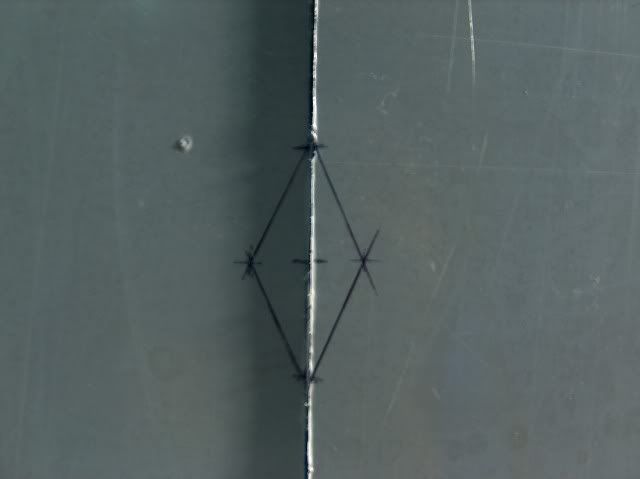
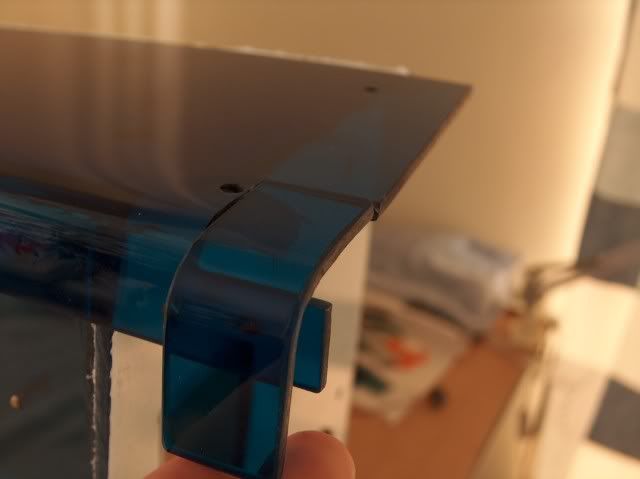
The top right corner bracket couldn't just go in, I had the cut a groove in the panel that was in the way.

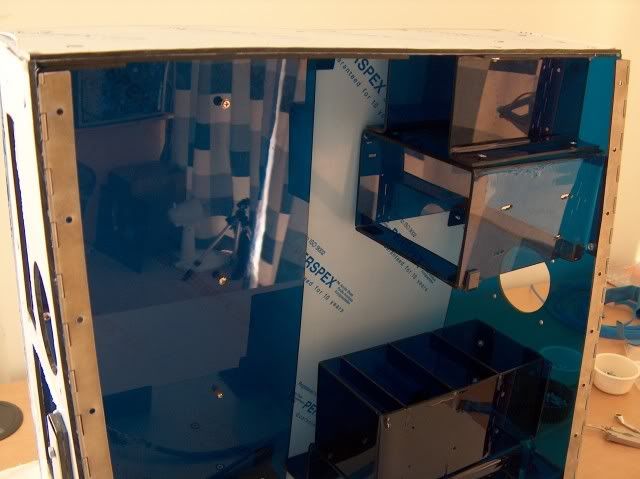
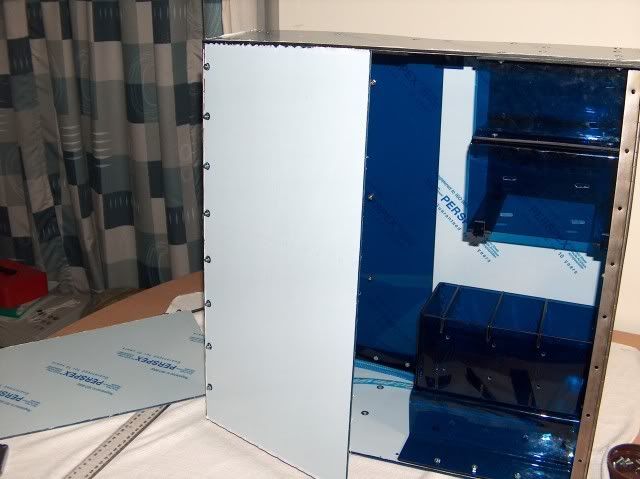
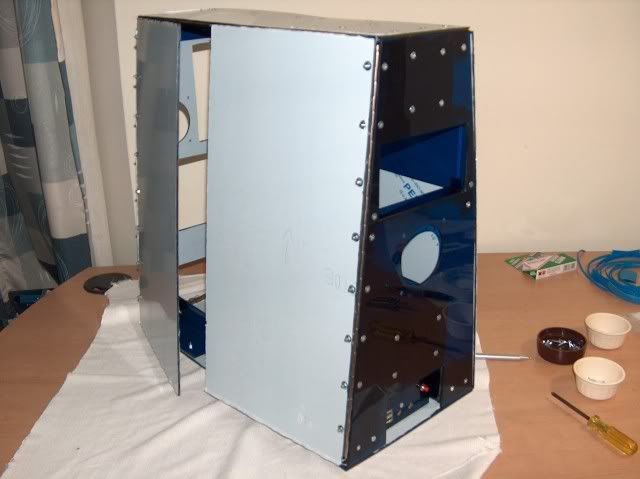
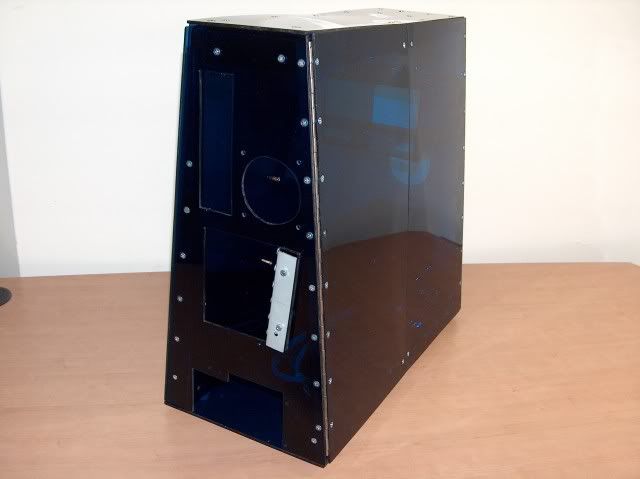
Here all the brackets are now in places.
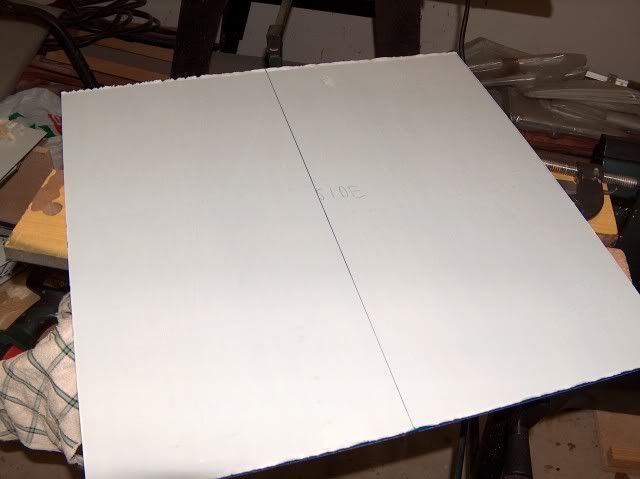
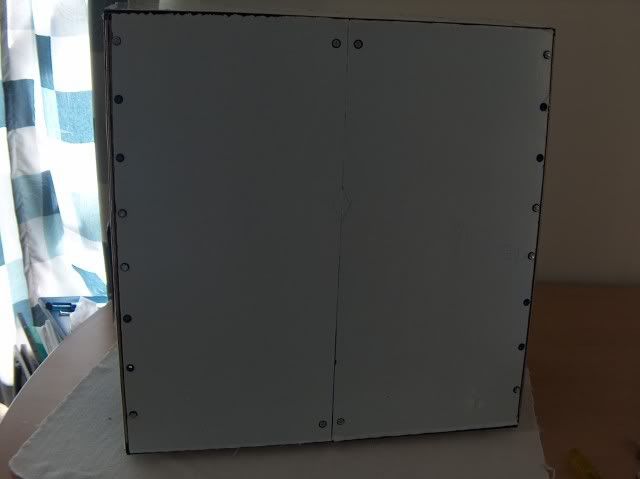
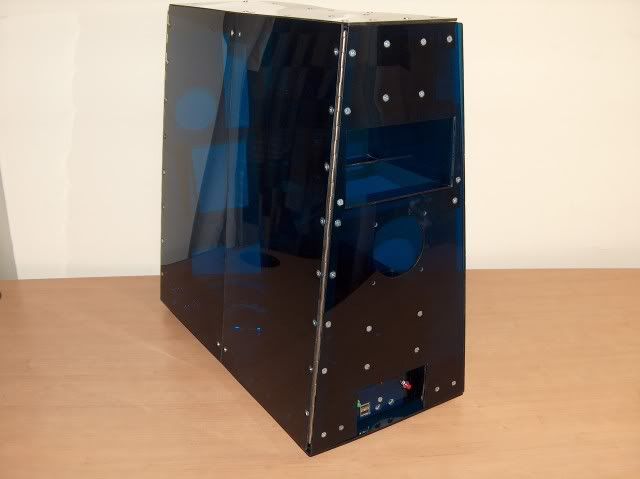
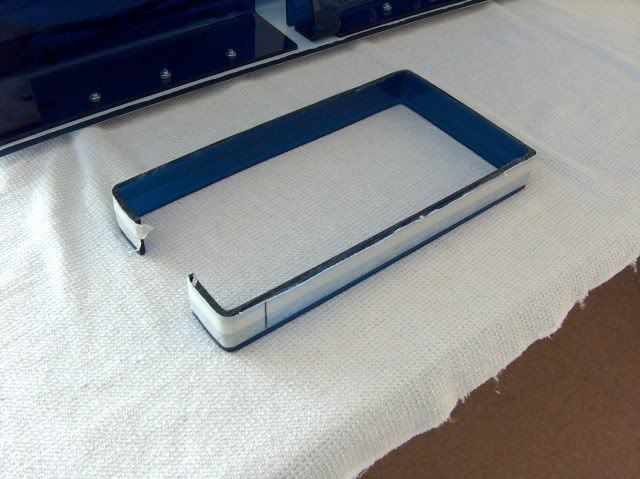
Now for the side panel. I first marked out where the brackets are, and then drilled holes in the side panel.
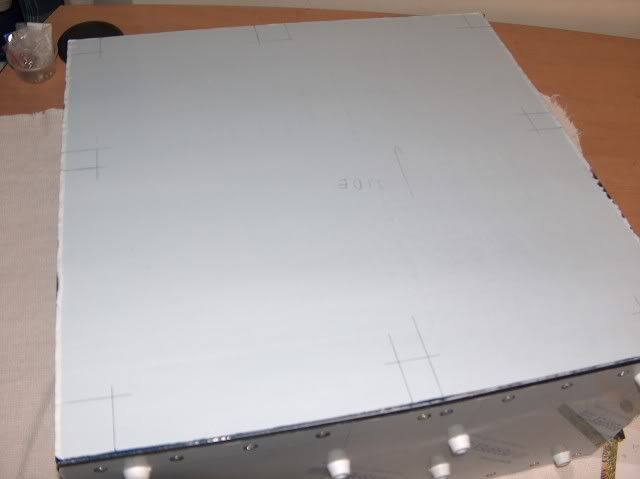
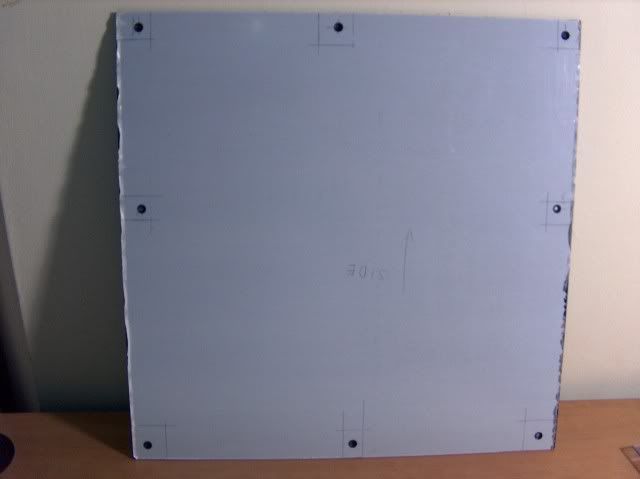
After the side panel had holes in it, I marked out where to drill holes in the brackets.
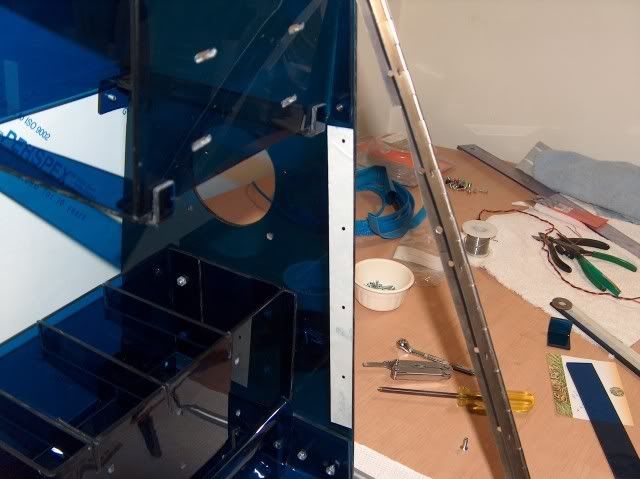
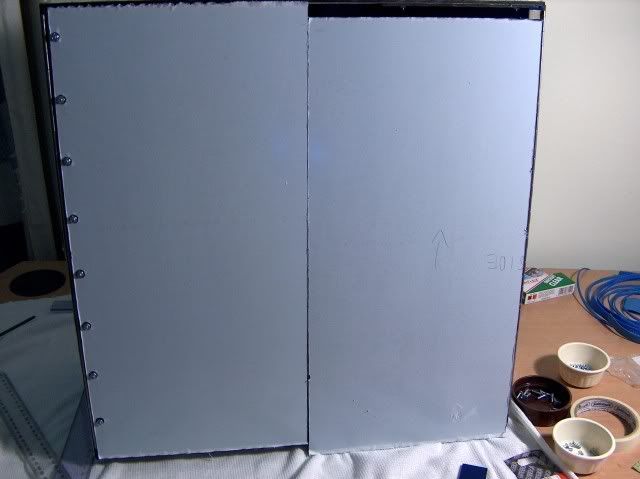
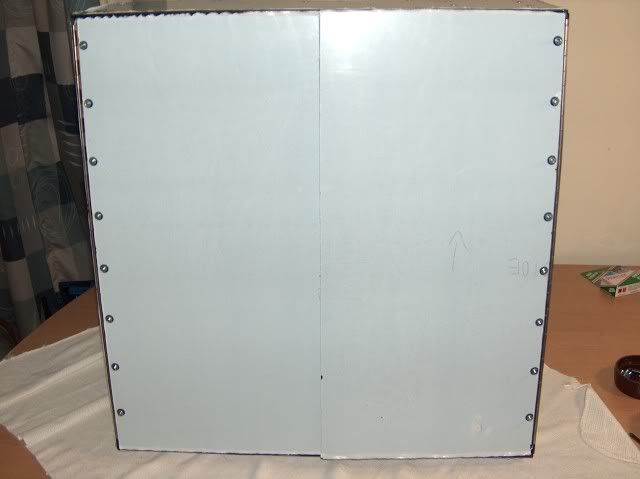
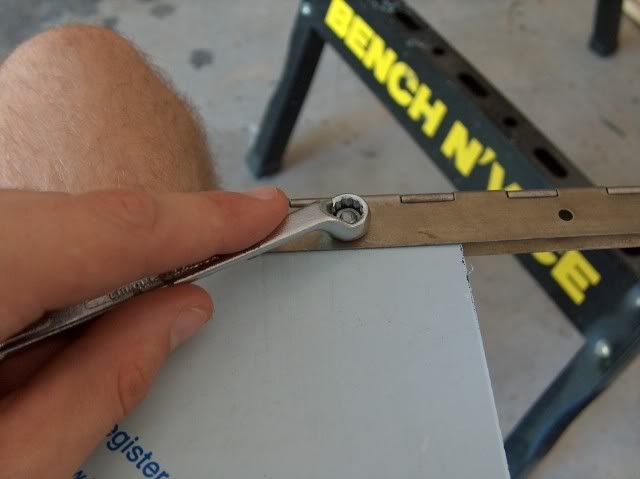
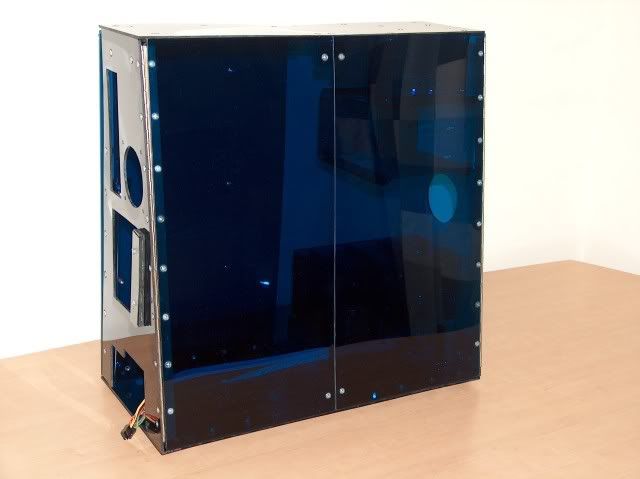
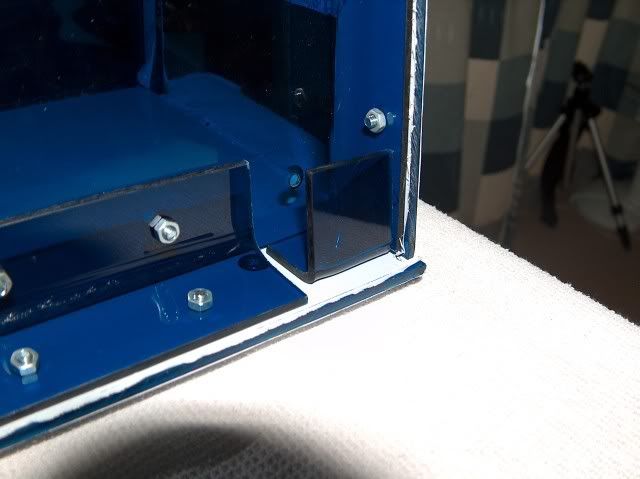
The side panel can now go in its place, but still not screw on because I can't reach everywhere to place a nut.
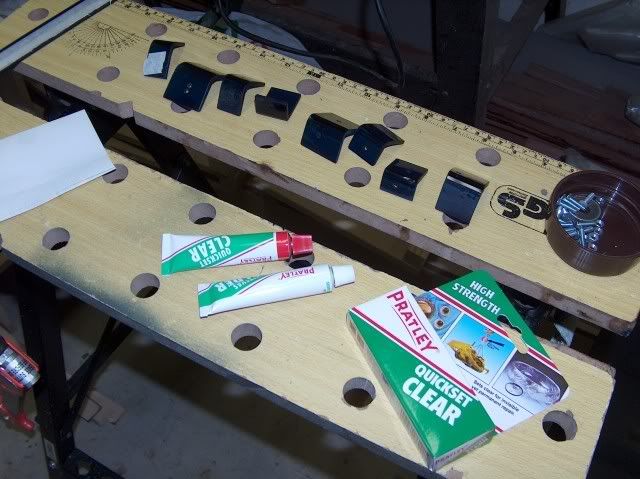
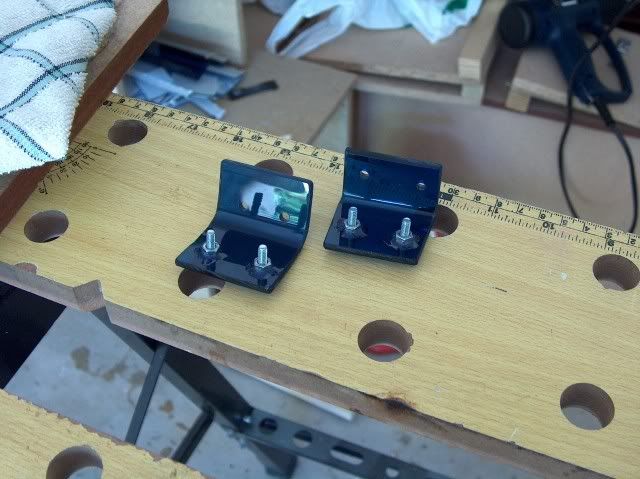
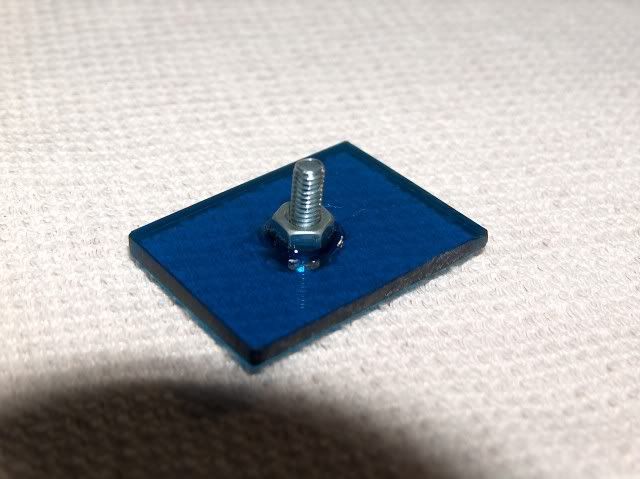
The simplest way I can think of is to glue a nut to the back of the bracket and then simply screw the panel on.
I first tested this with an offcut.
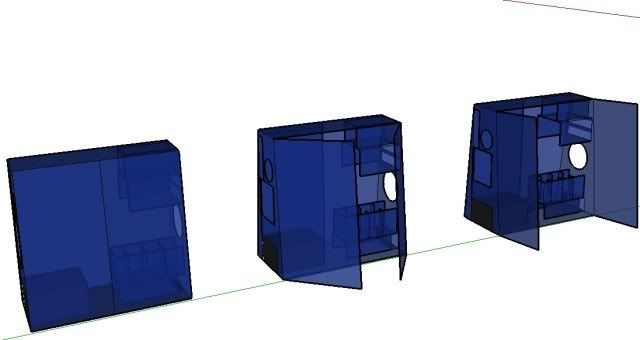
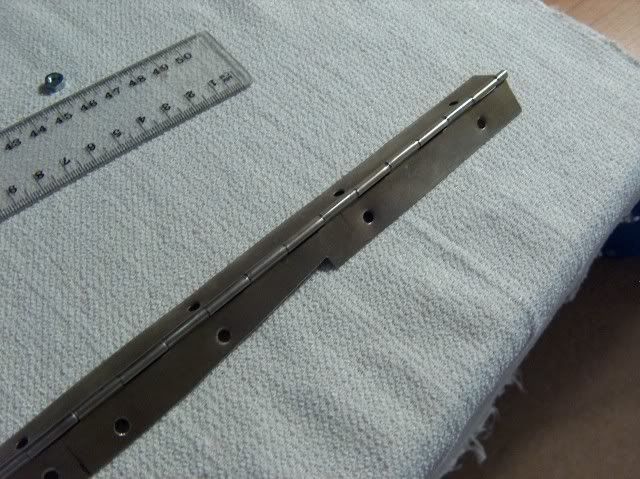
Tomorrow I should finish by mounting the last side panel. This is how I thought of putting it on hinges