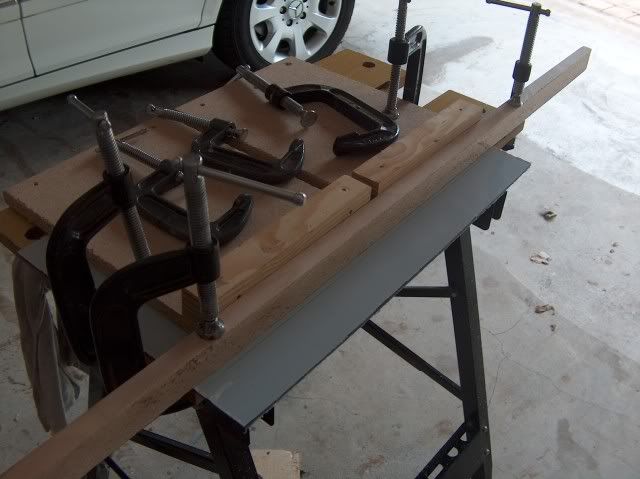
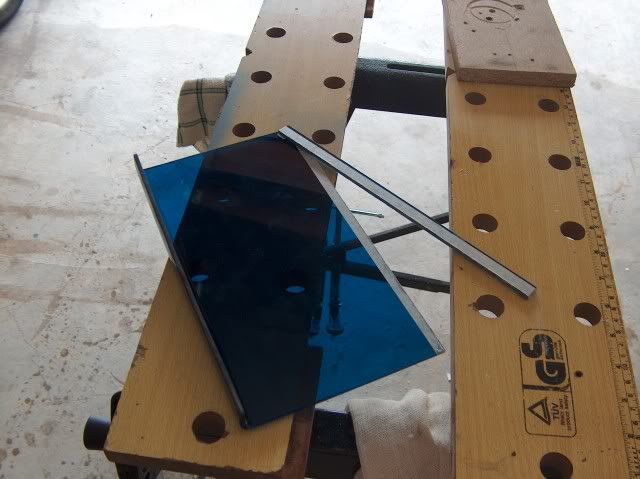
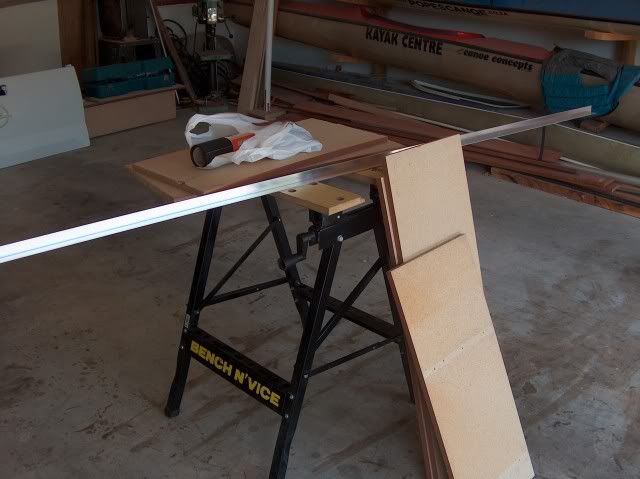
This morning I went shopping, and got some screws, sanding paper and aluminum angle. I also salvaged some wood from old book cases.
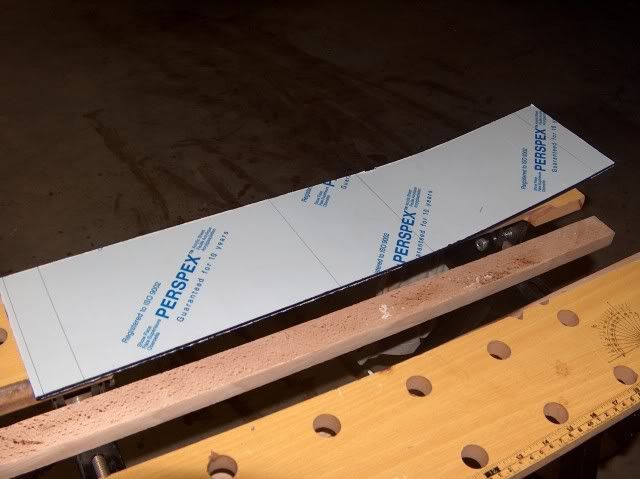
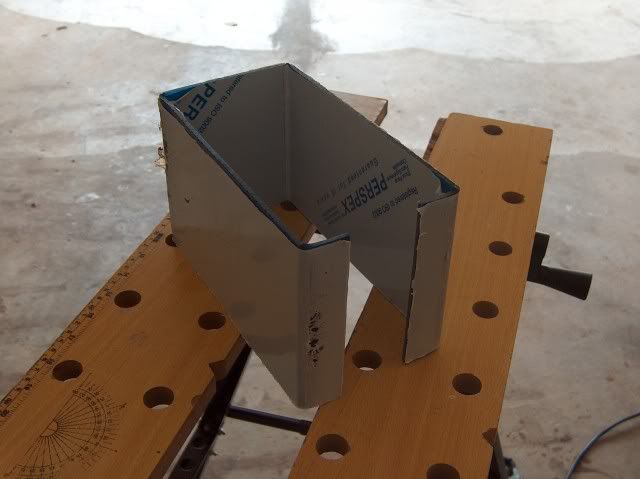
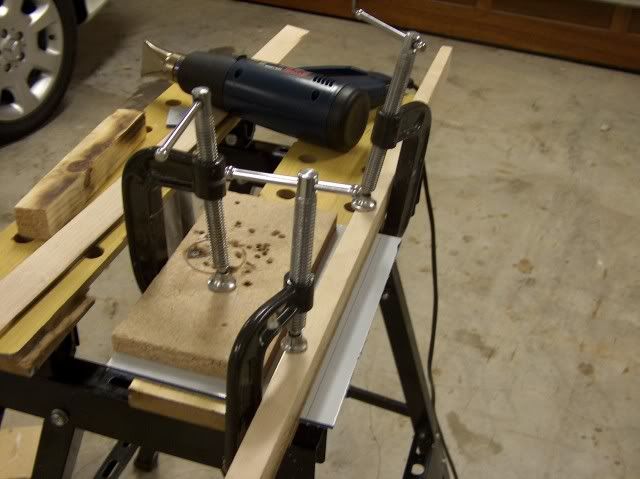
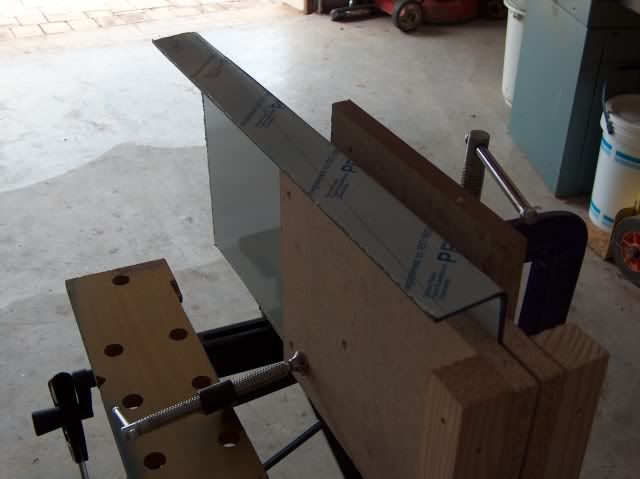
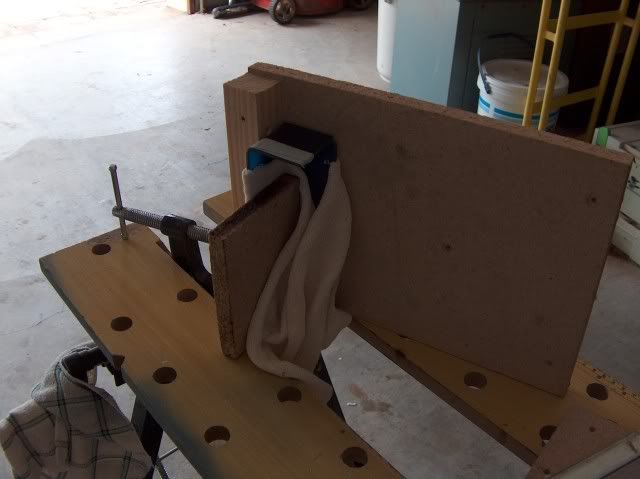
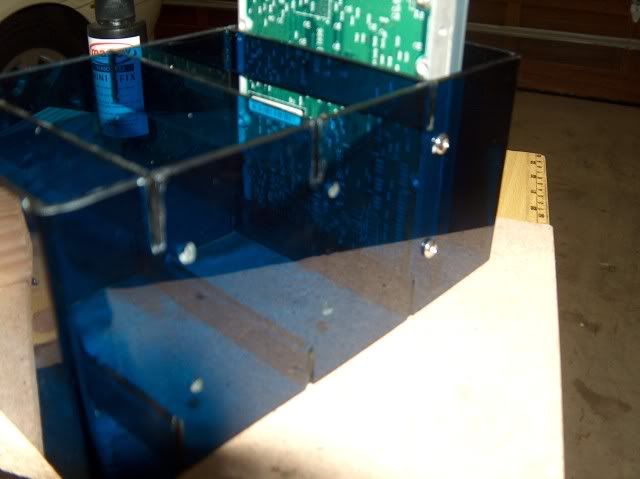
From the wood, I made a structure which I used to bend the plexi side panels.
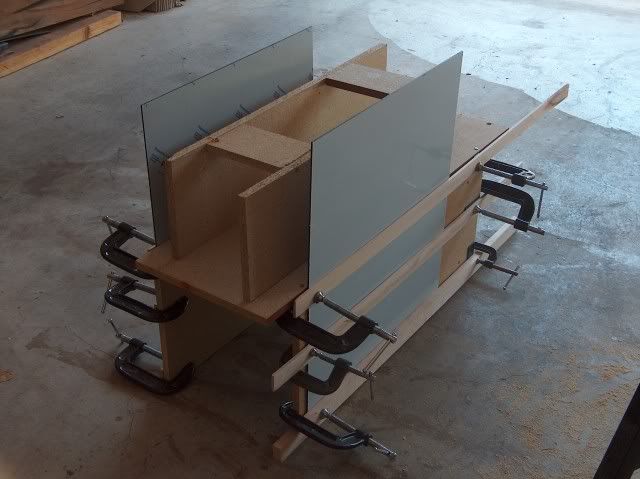
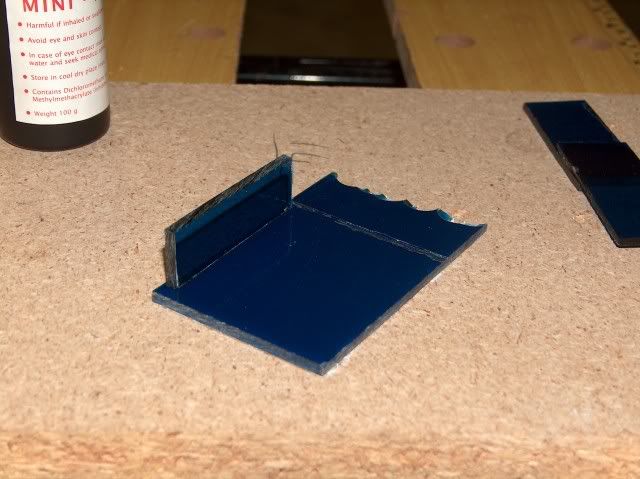
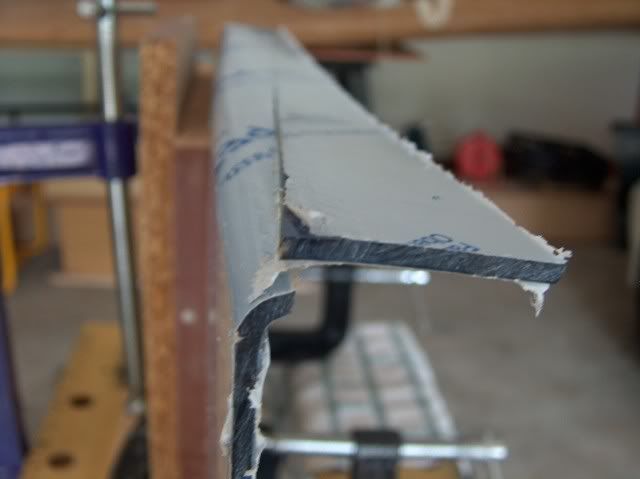
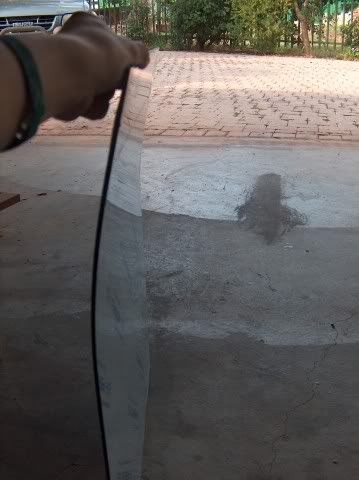
But they didn't bend very easily and didn't stay that way after I treated them with the heat gun.
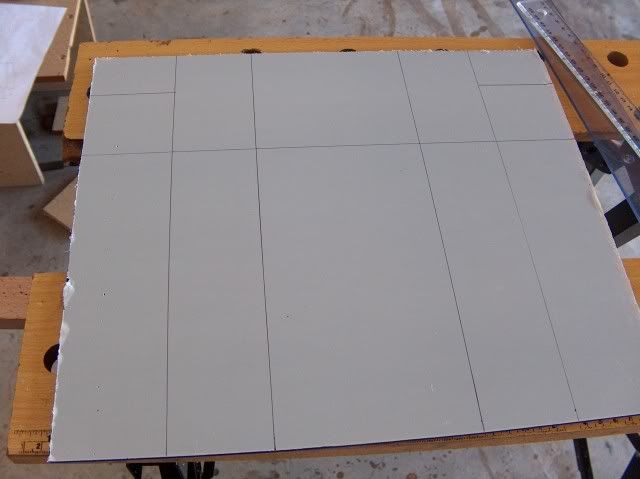
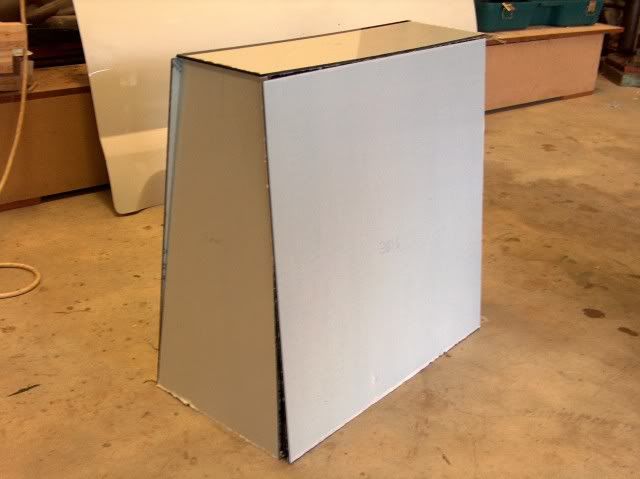
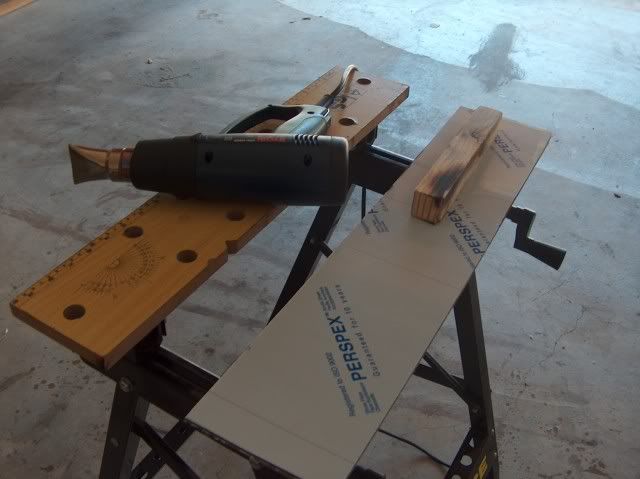
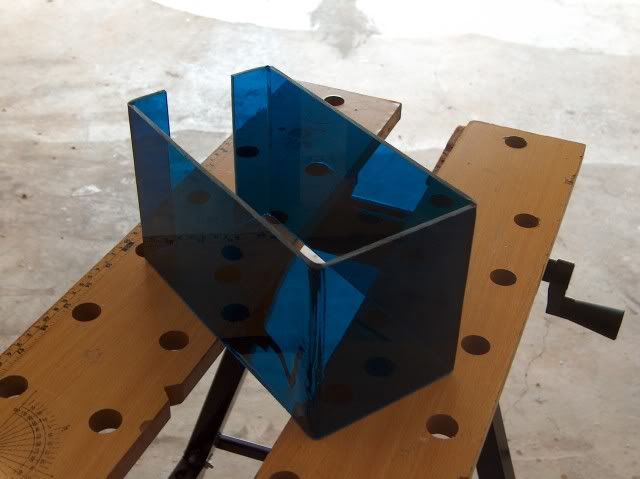
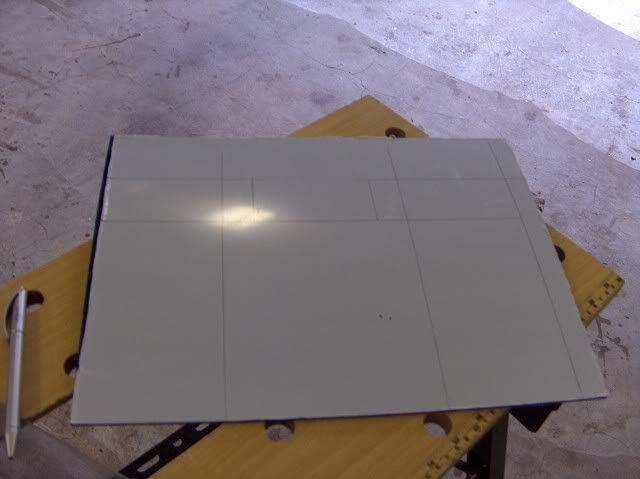
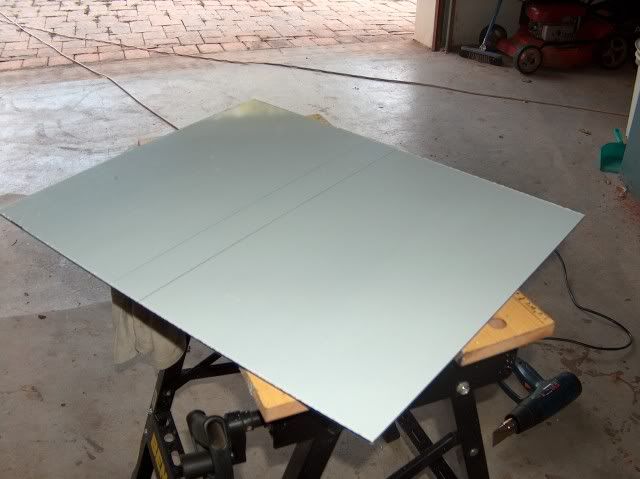
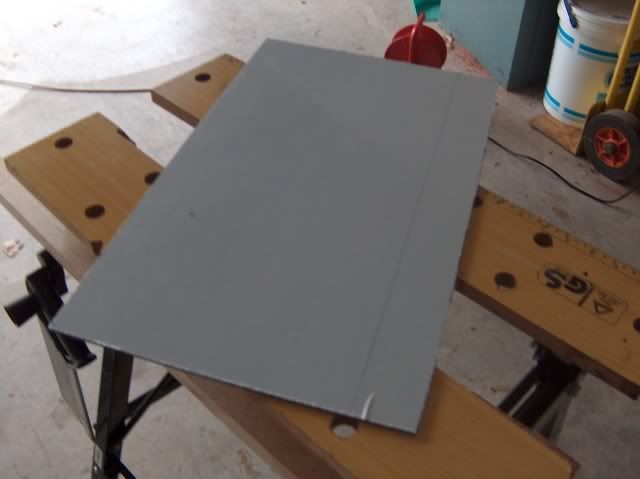
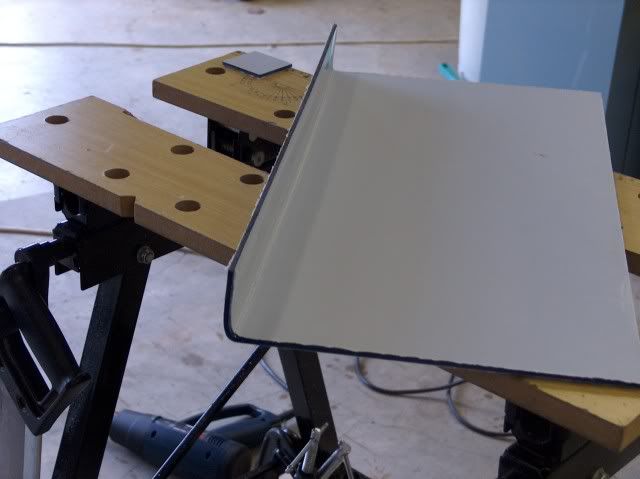
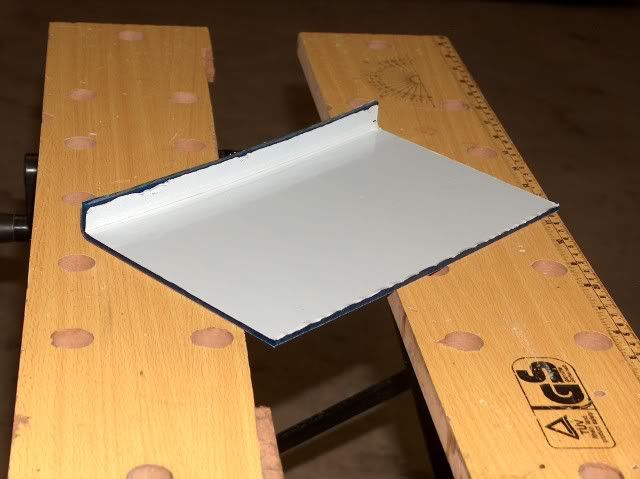
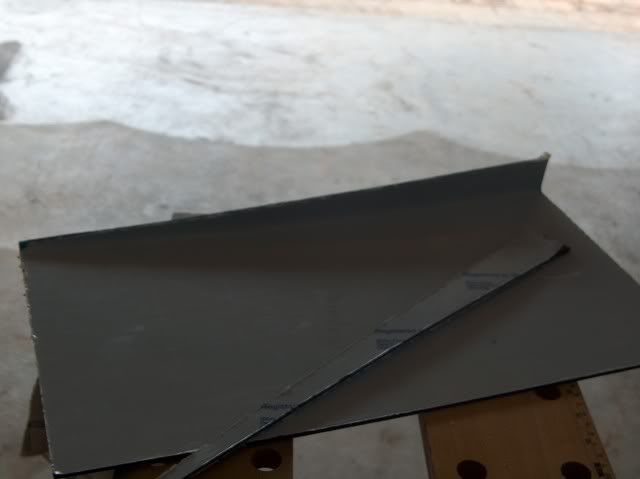
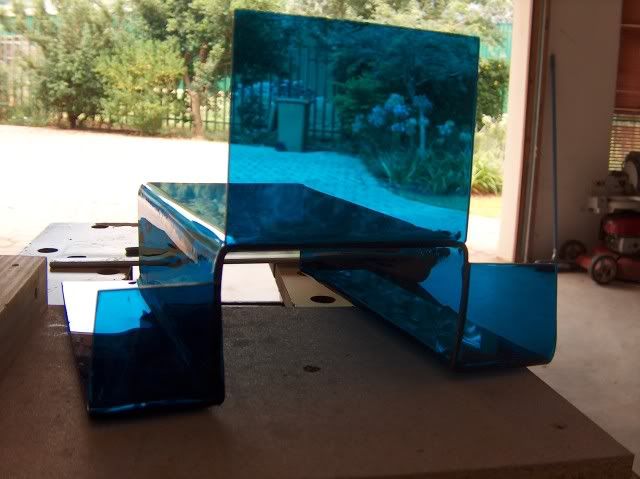
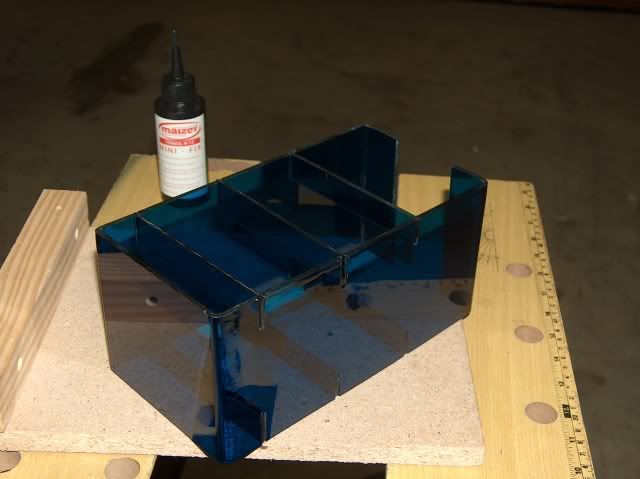
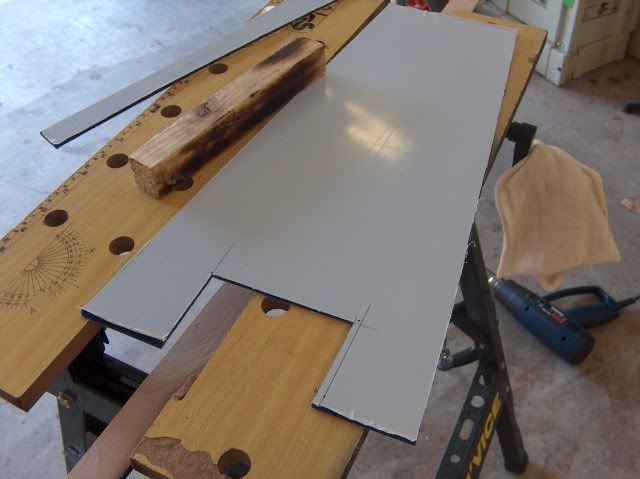
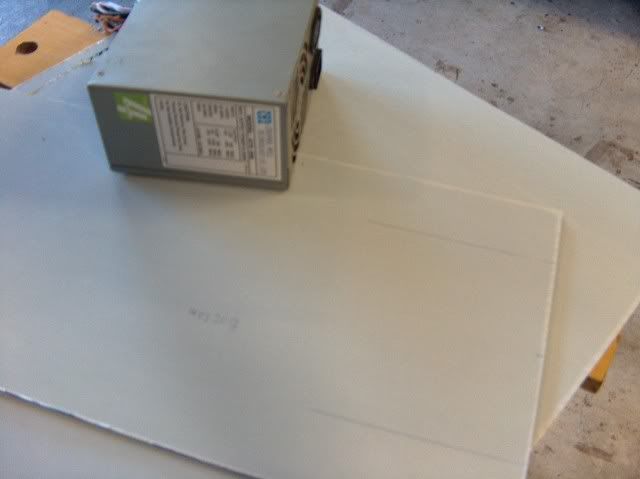
So I changed my design and went for straight side panels. Now I could do the front and rear panels before the sides.
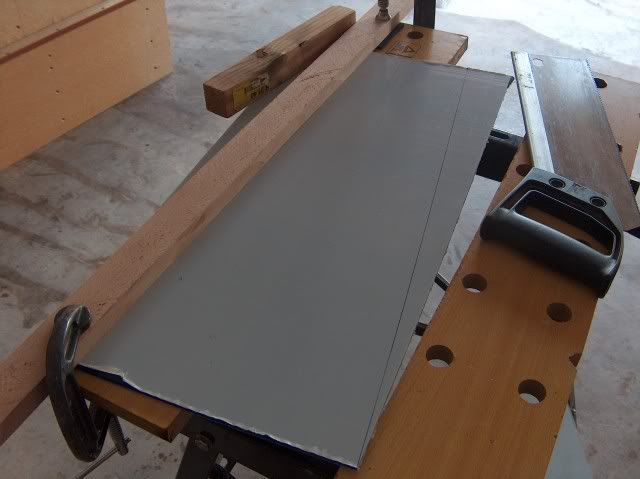
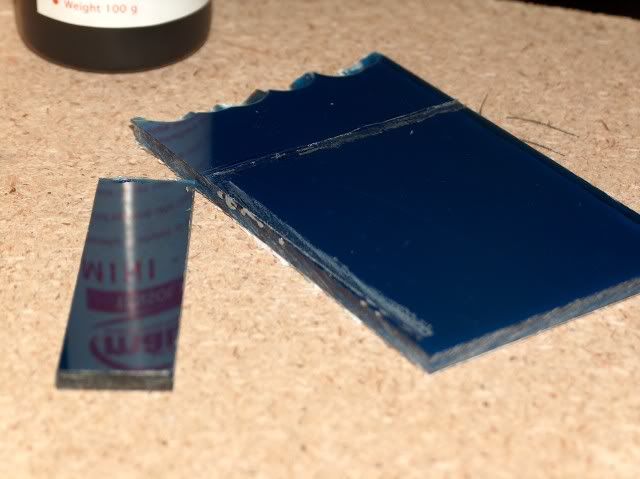
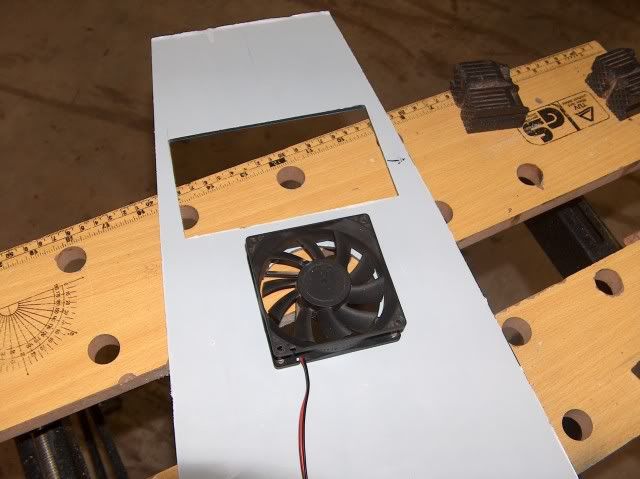
With the front panel, I could measure how long the side panel needs to be.
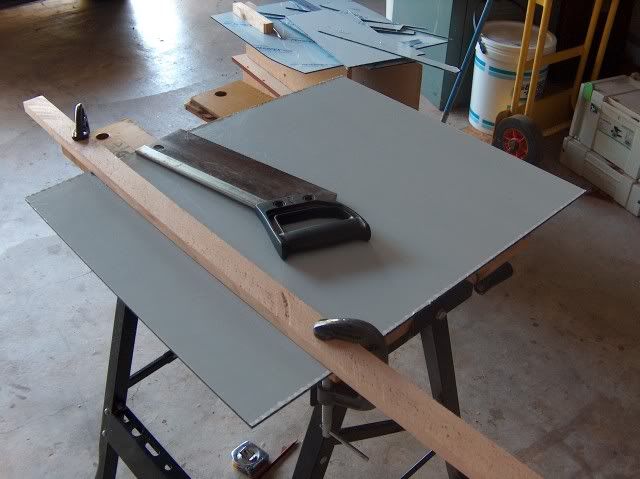
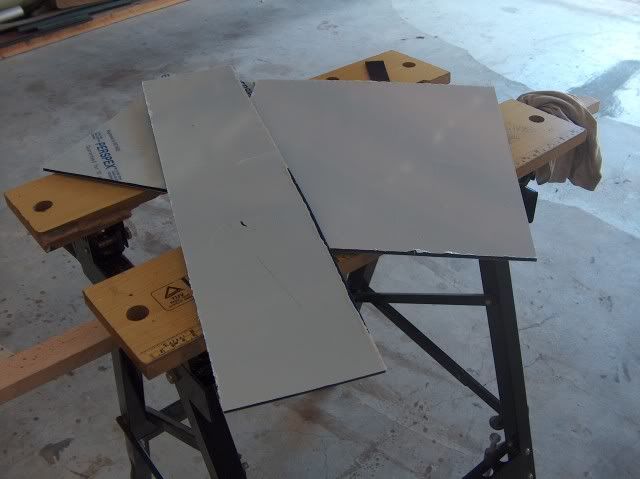
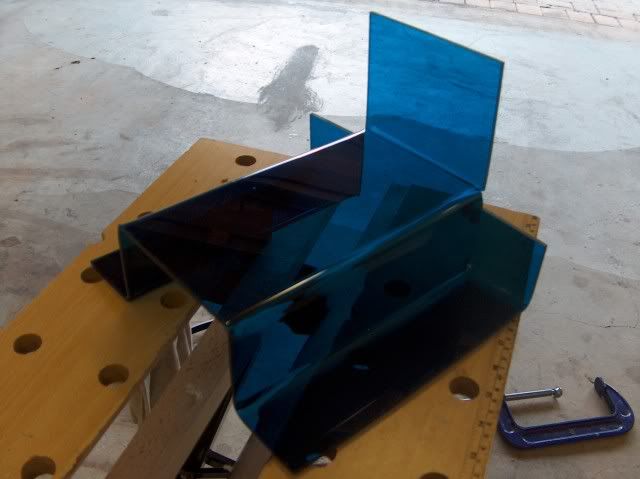
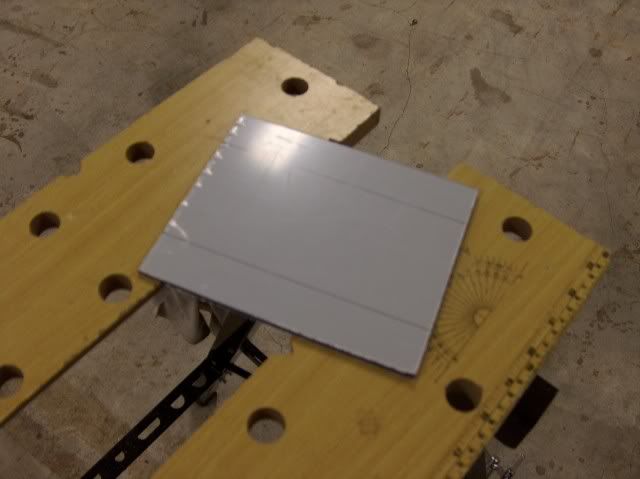
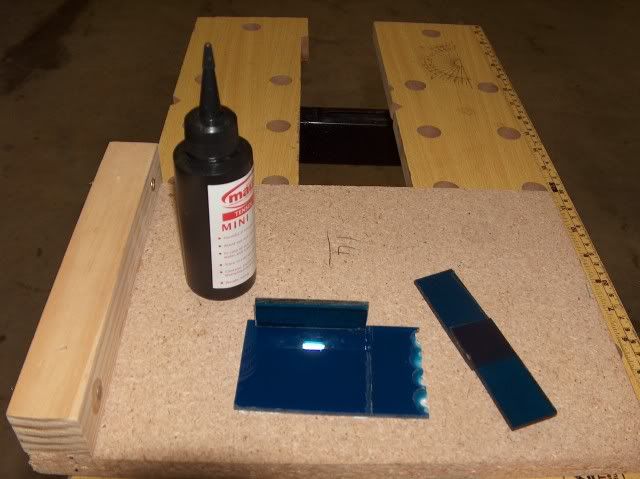
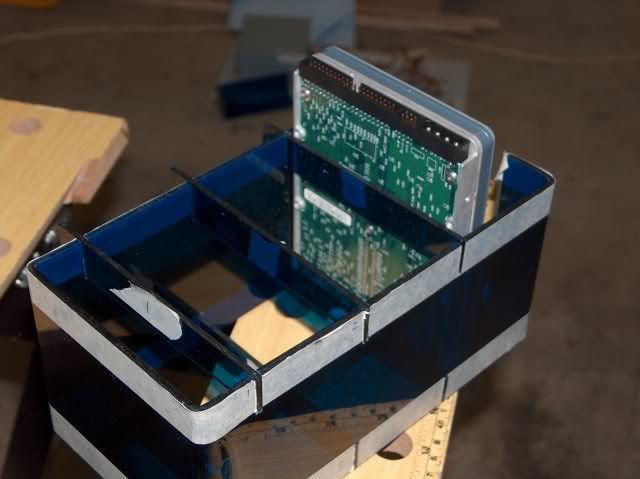
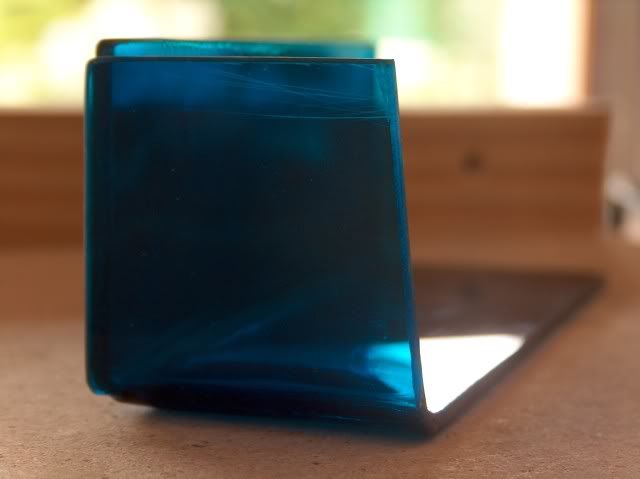
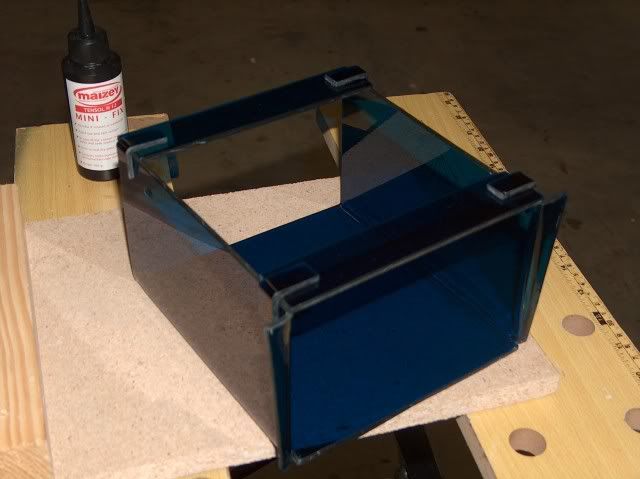
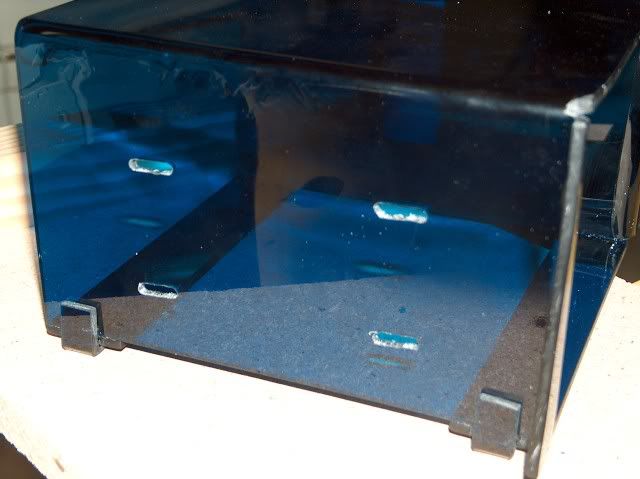
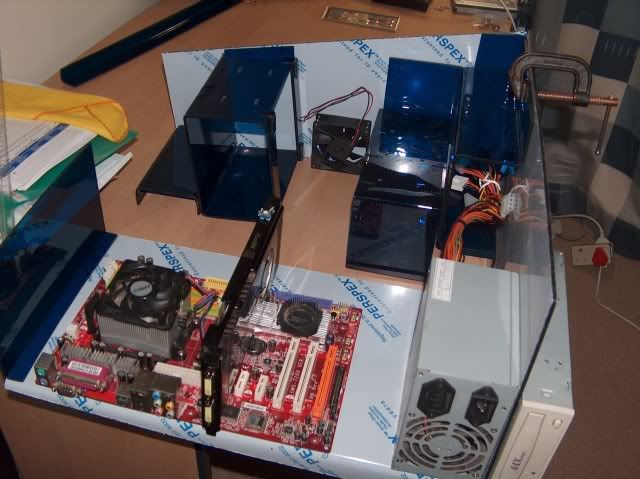
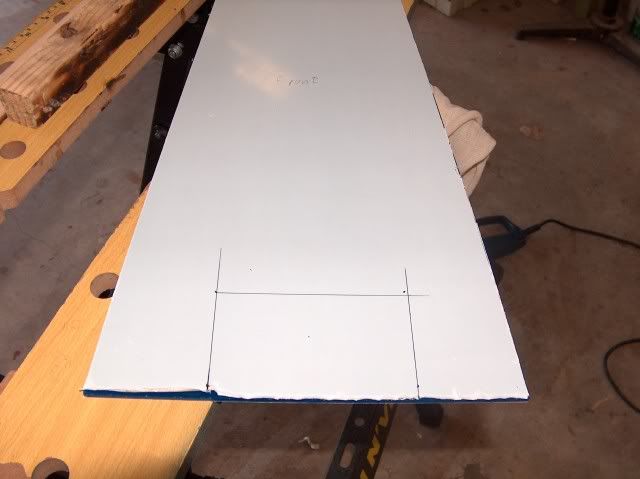
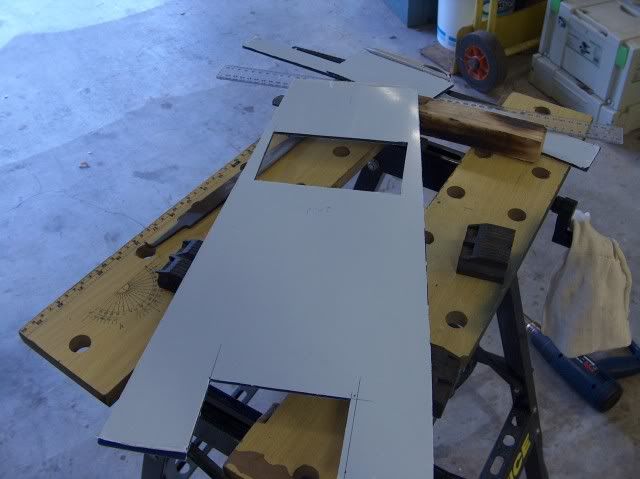
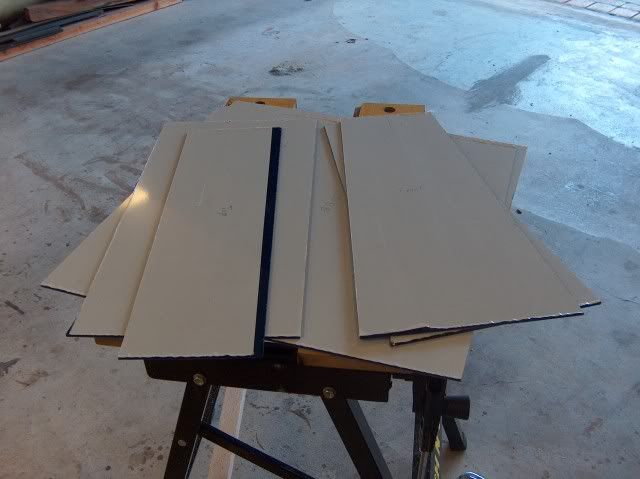
After a whole lot of sawing, all the exterior panels are done
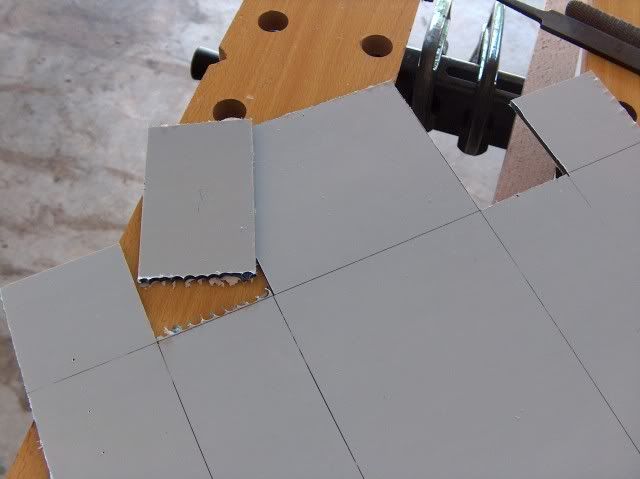
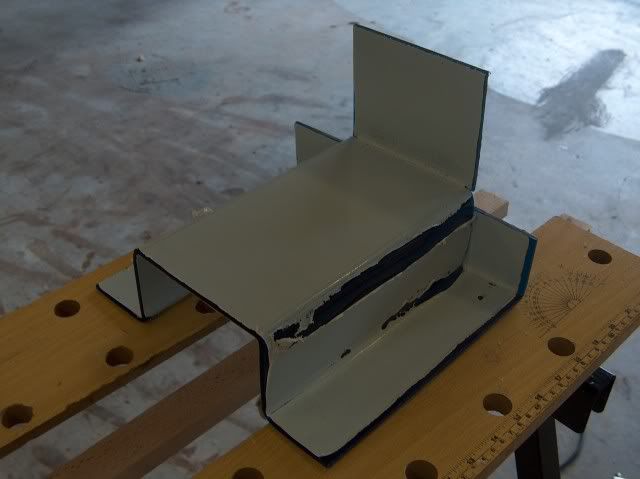
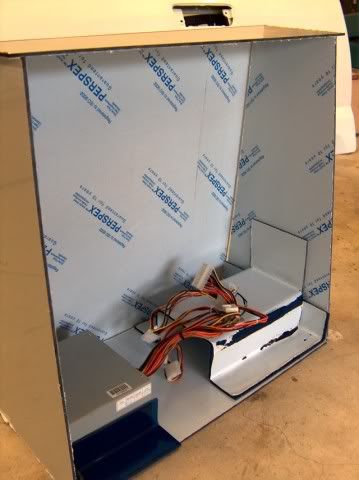
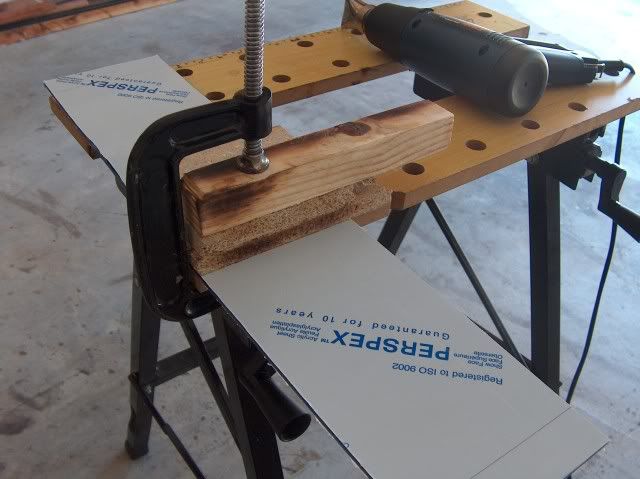
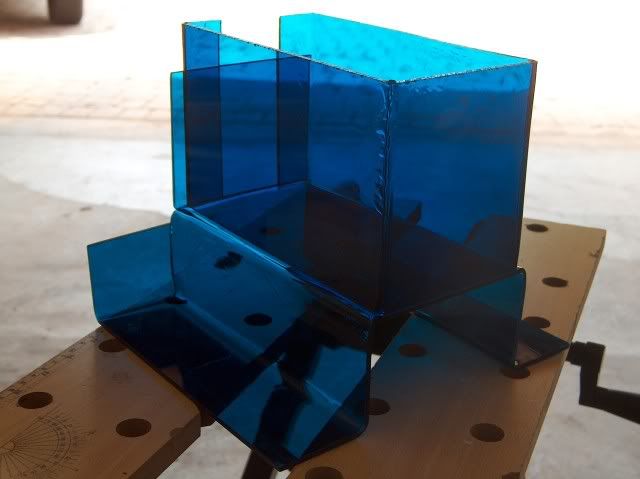
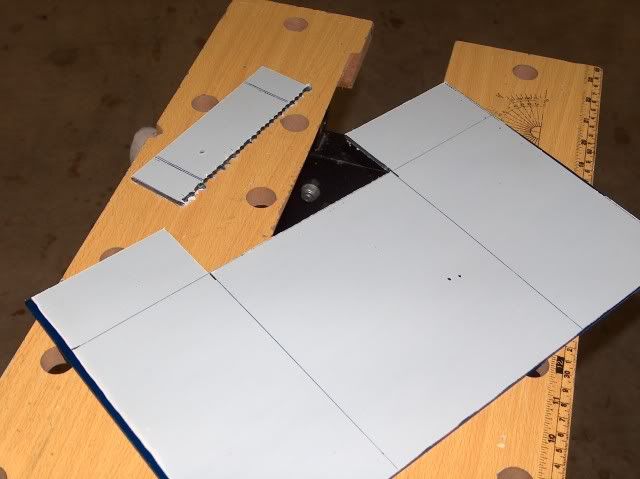
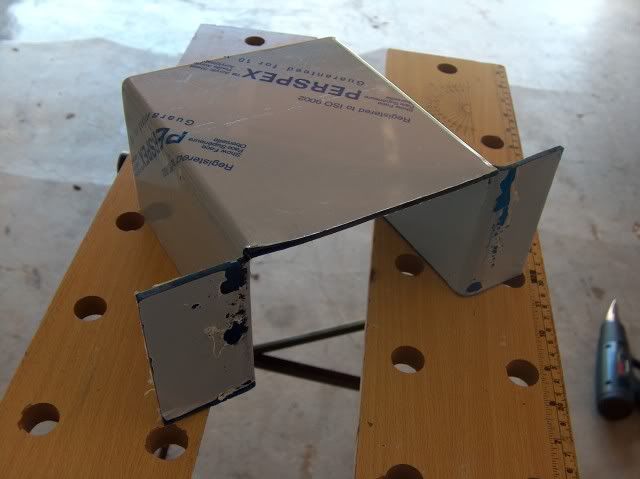
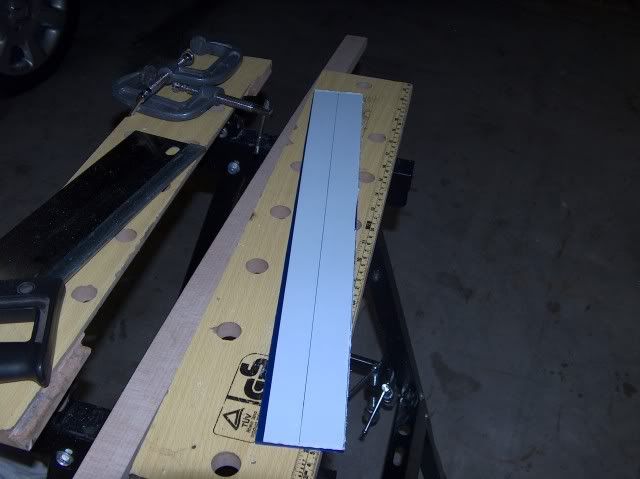
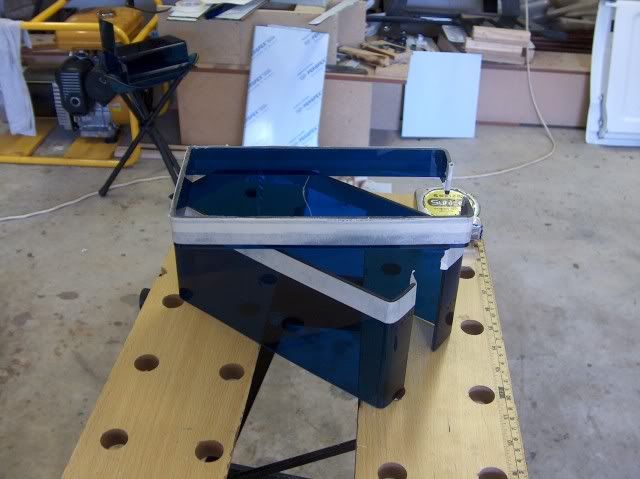
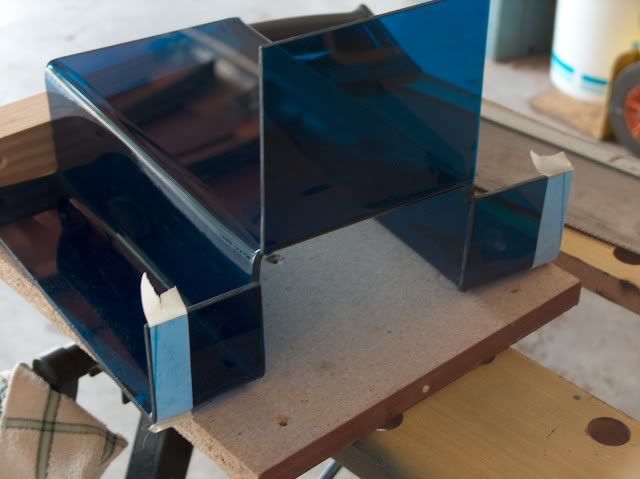
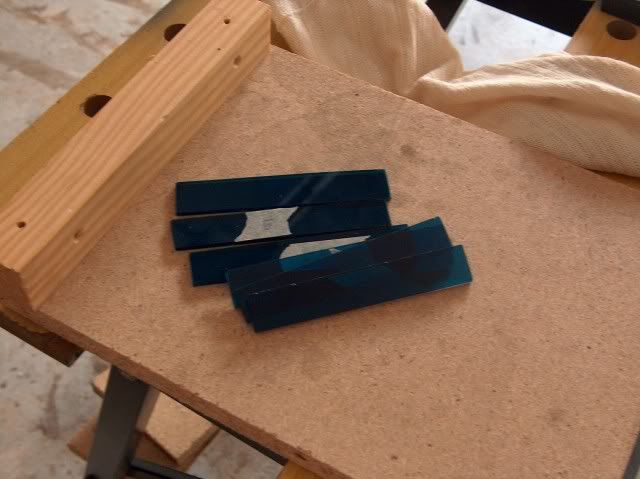
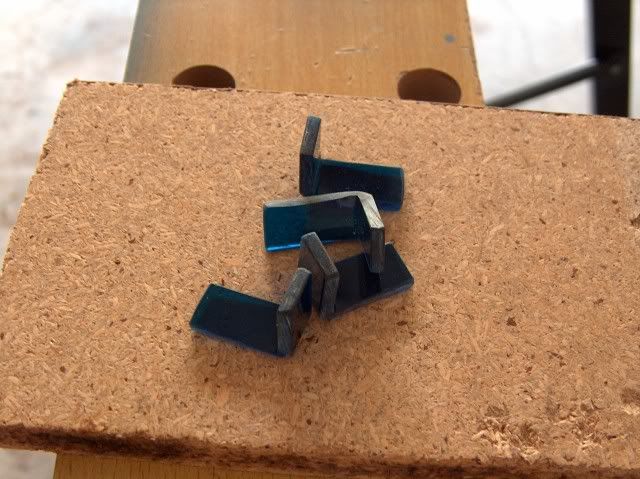
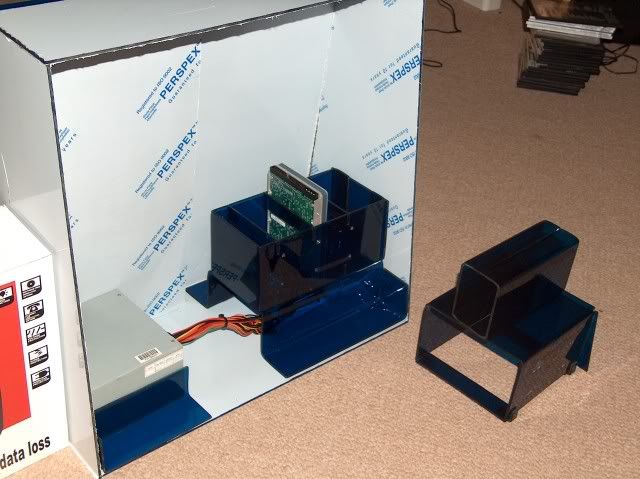
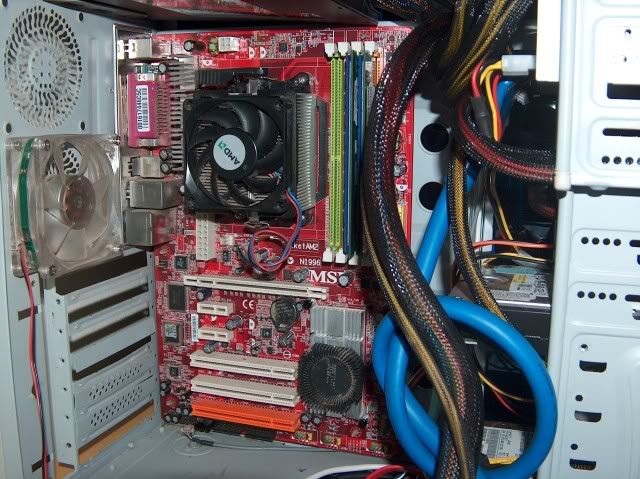
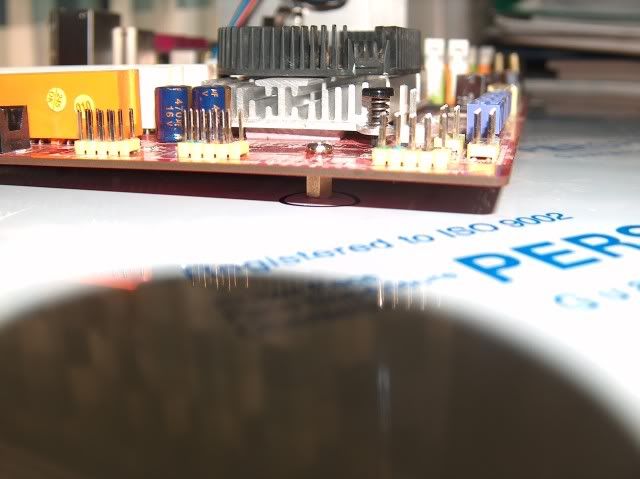
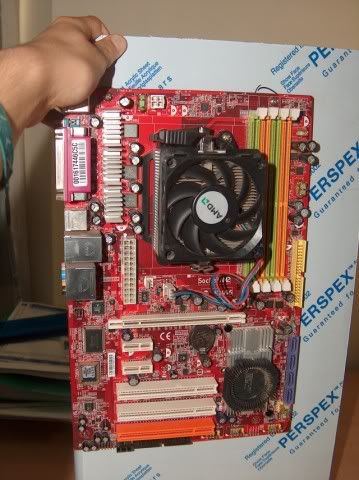
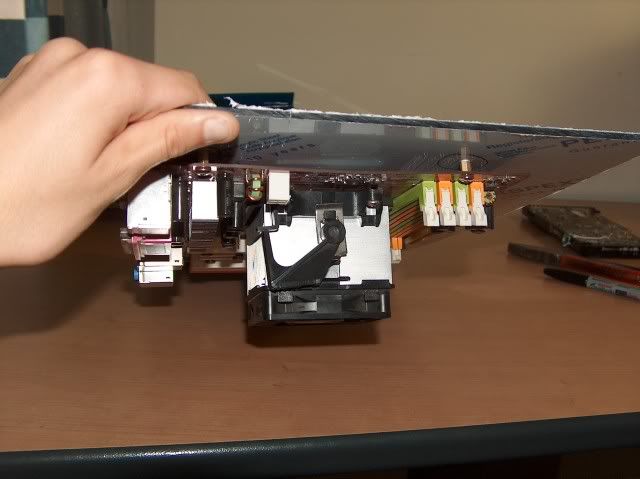
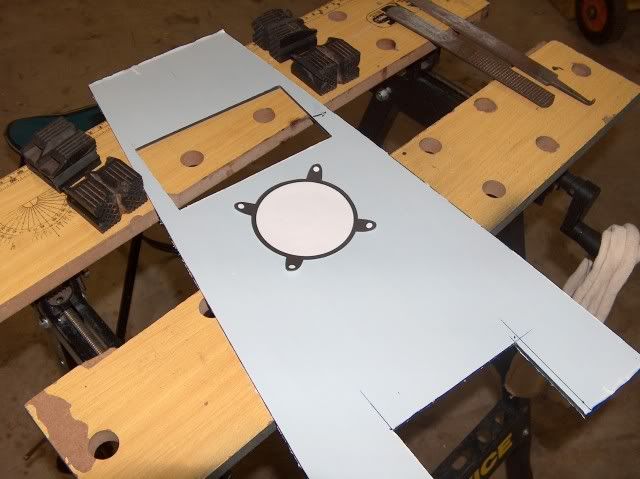
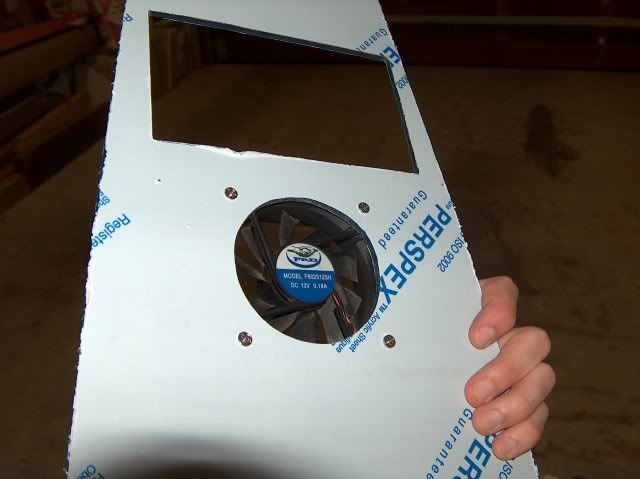
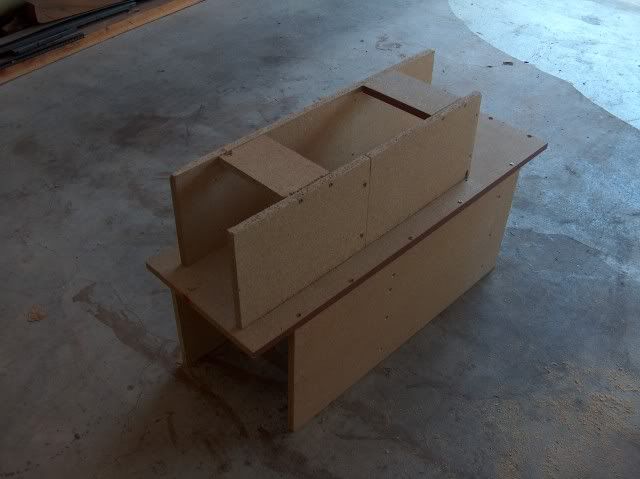
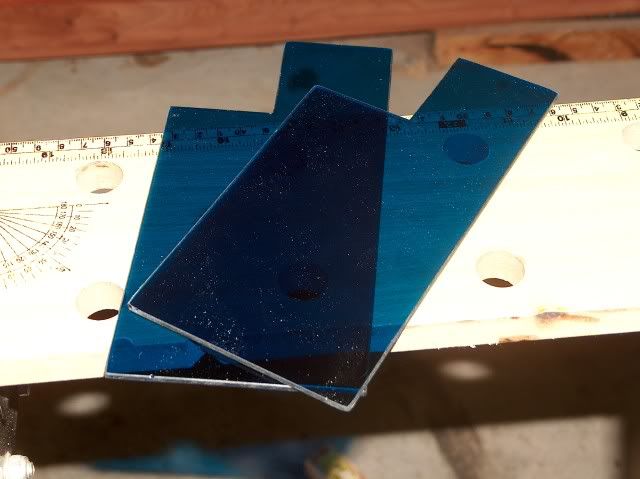
I will mount my PSU on the bottom back part of the case.
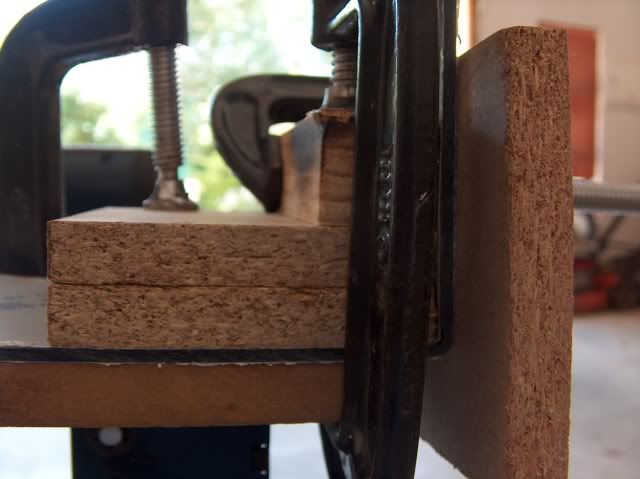
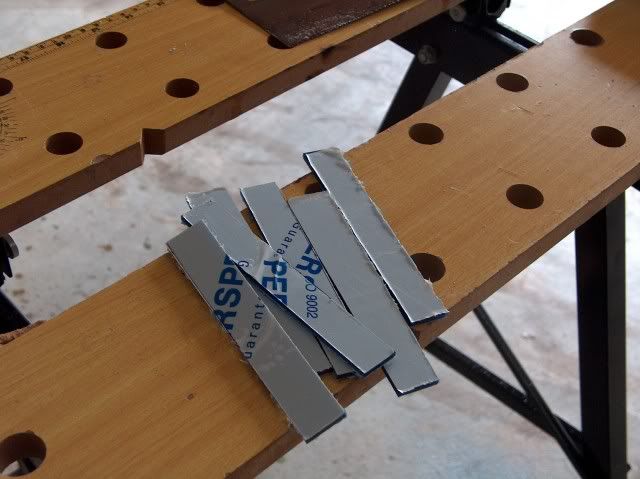
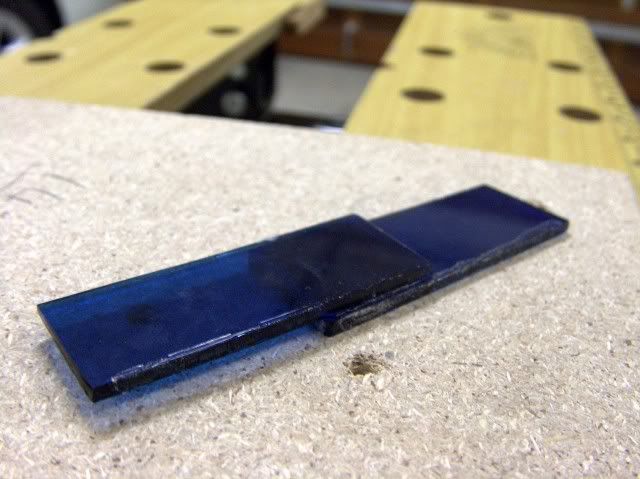
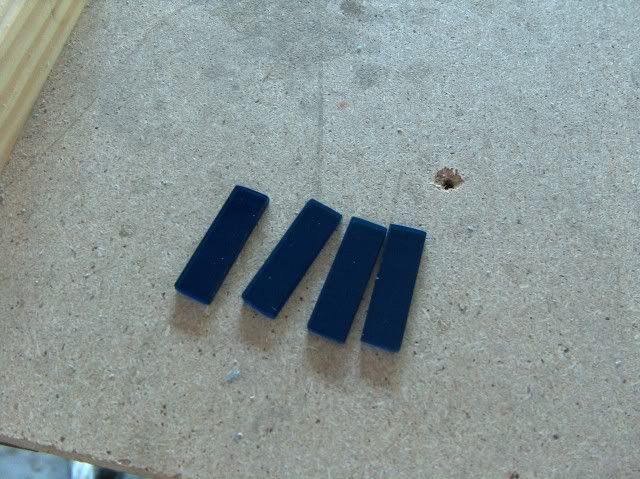
So I cut these pieces with which I can screw/glue the bottom to the back panel, and they will keep the PSU in place.
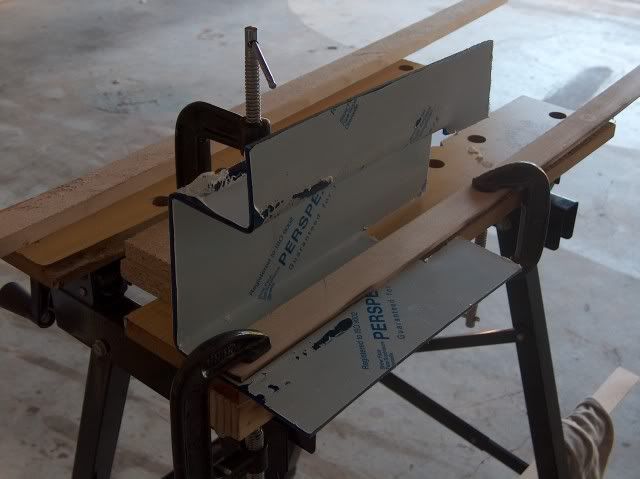
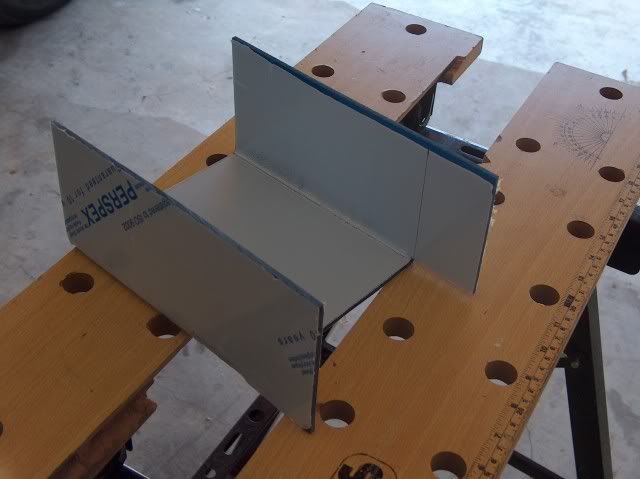
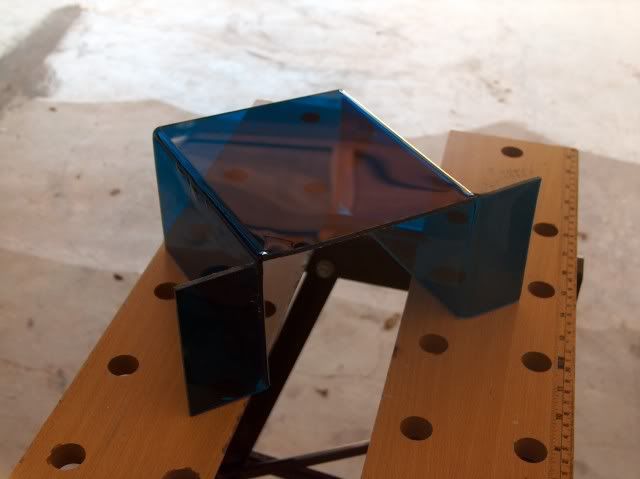
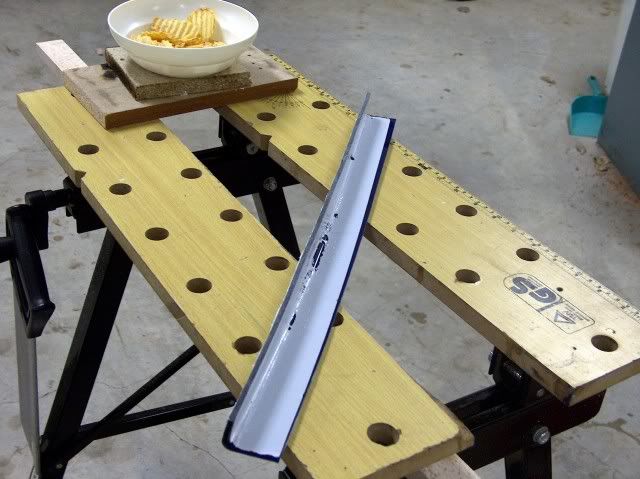
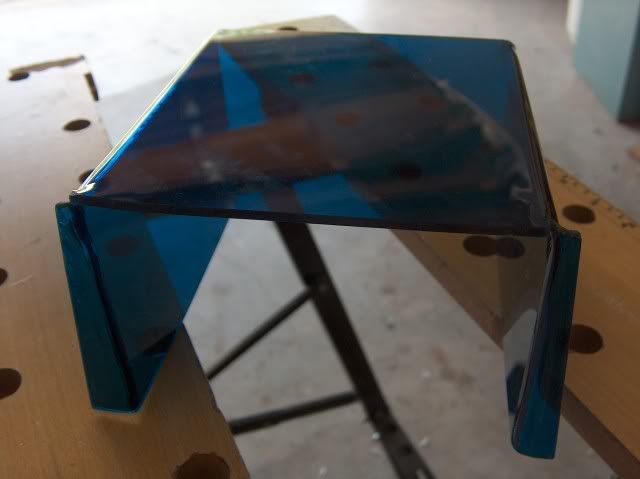
This is how they will look:
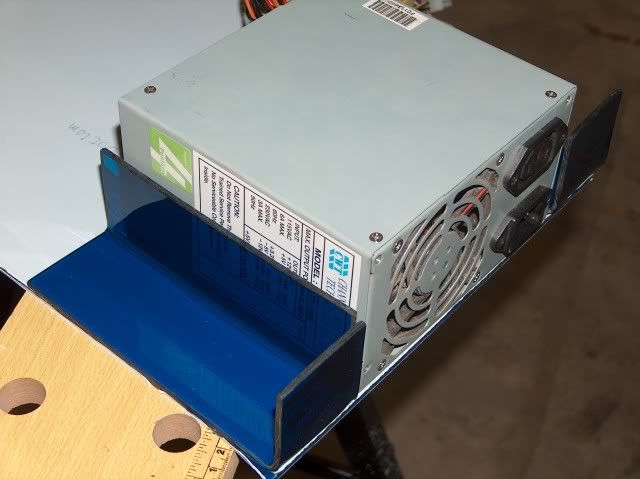
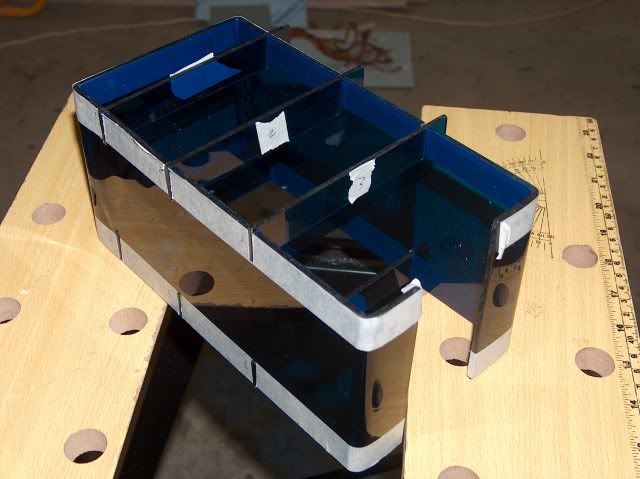
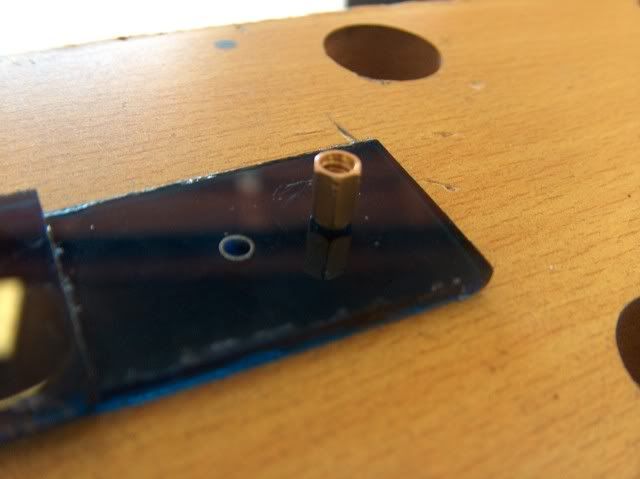
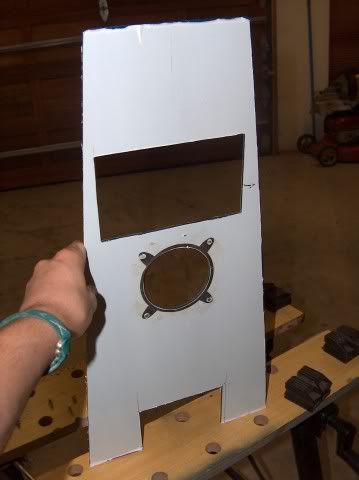
Tomorrow I will fix one of those brackets, as it came out a little too big. I'll also try to figure out a way to keep all the parts together and stiff. But now I'm tired, I'm not used to manual labor.
Btw, am I posting too much images?