Project : Infinity CM Stacker (Reservoir In Case)
-
DoOb
- Registered User
- Posts: 2478
- Joined: 02 Aug 2006, 02:00
- Location: Durban, Bluff, Here by the ocean
- Contact:
Hey guys, Well i struck some Modding action just now. Went to Non Ferrous Metal Works here in Jacobs, Durban....
Dam you wanna see all the different types of off cuts of metal they have at the back, I can get some Copper sheeting if i want, or if i wanna Do some LN2 extreme cooling or even DIY watercooling blocks, all different size junks of copper, brass cylindrical or square , rectangler its all there.
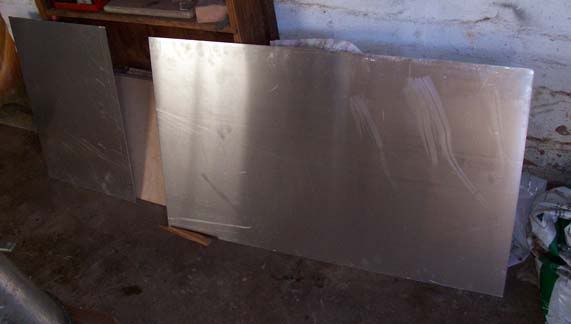
Anyway. here is what i got from NFM's, for R188 i got a sheet of aluminum that was 2m X 1m. Bloody cheap... wanna where im going next time for all my metal needs... yea you guessed it.
This piece has been cut in half, the other piece is on my work bench.
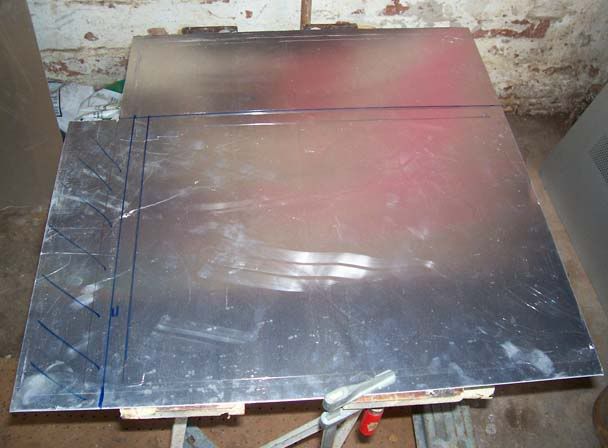
All measure up to size and in the progress of cutting...
Ok sorry didnt show it cut, i went straight to bending it, this is the first bending that is needed...
Here you can see the piece sticking out the back.... needs to be bent...
And the back side of the motherboard tray....piece sticking out as mentioned...
Ok time to get the other piece bent, all measured up....
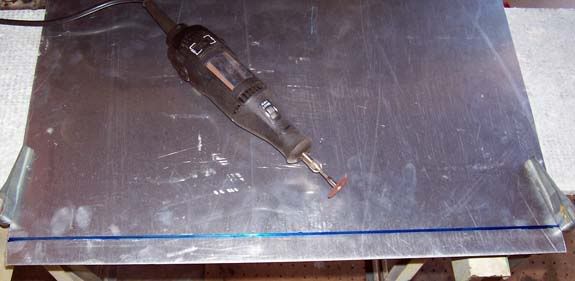
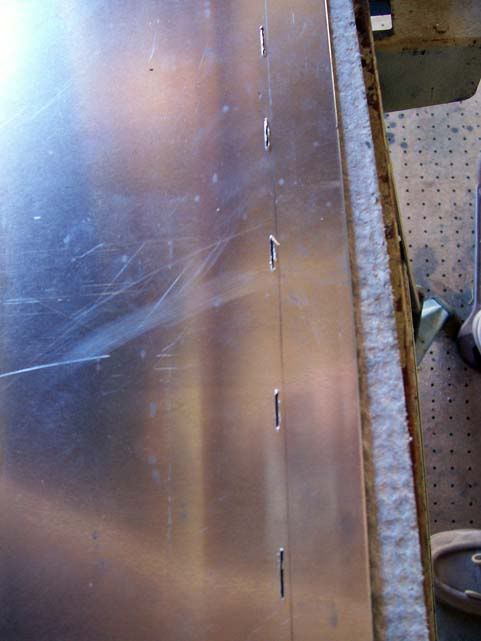
This time i made starter slits so its was easier to bend..... as this pic shows you
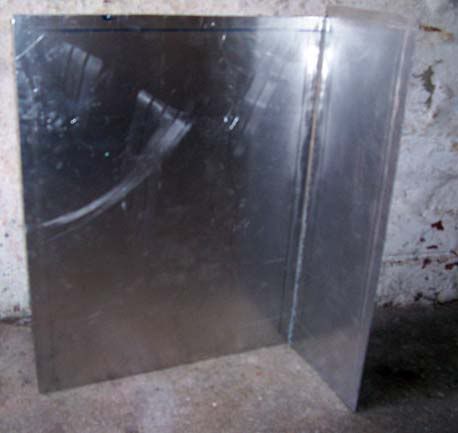
Now all done, and bent, ok i used a hammer and a piece of wood, but then just used a hammer, hehe
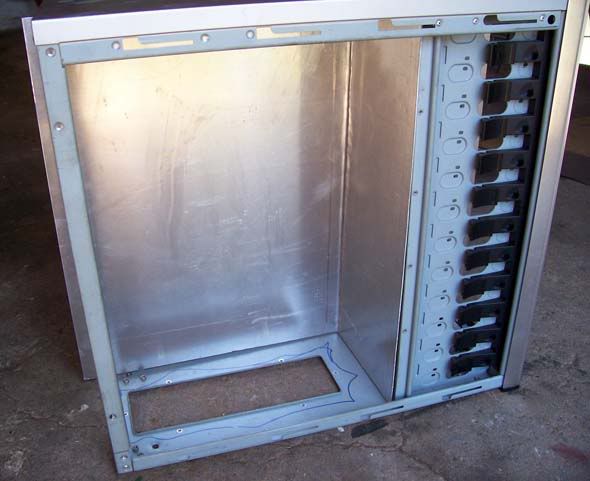
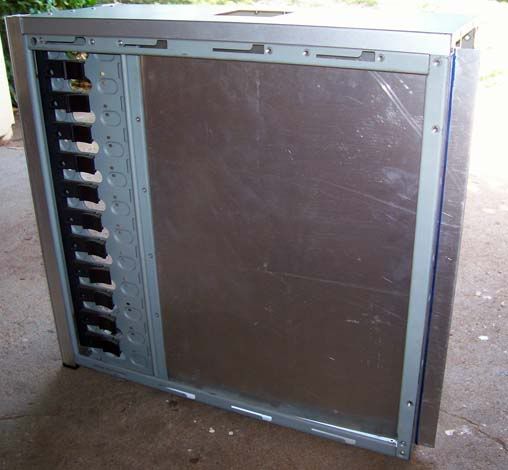
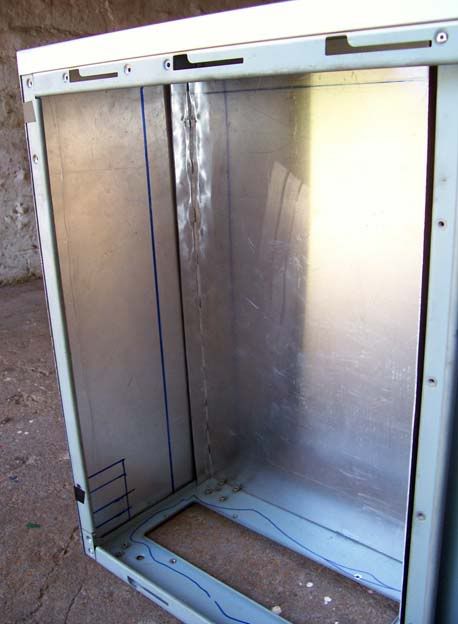
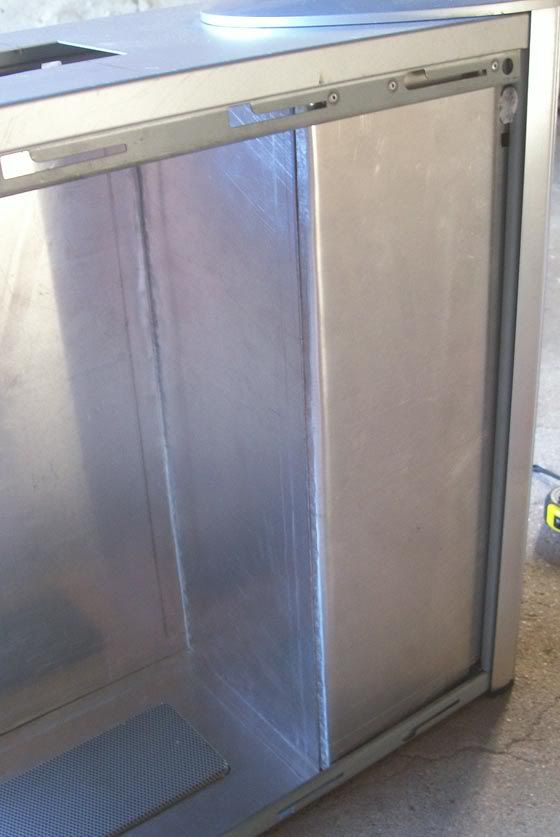
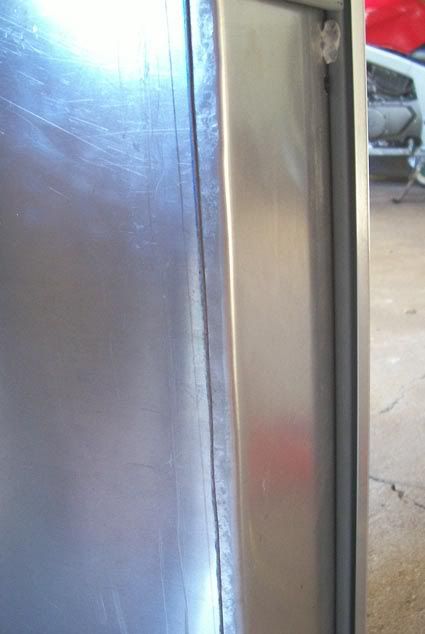
All nicely snuggled inside my case, perfect tight fit
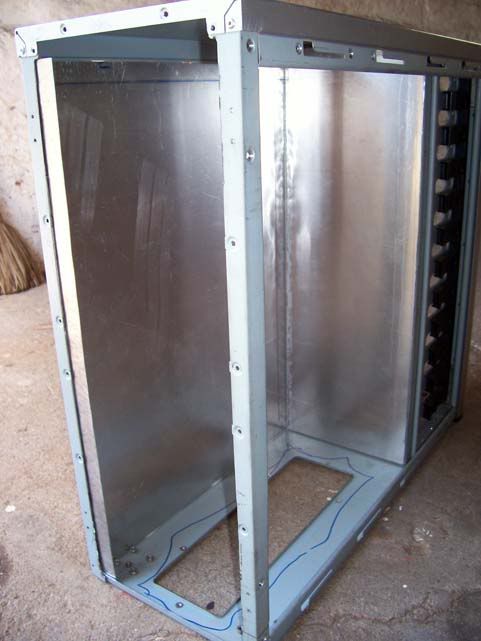
Back panel on to show you how it looks.
And then the final view of the back panel on....to show you...
Couldnt help not cropping my bike out the way, heheh

Thats all for now, gotta do some design work.. update lil later today i think.. will see
Dam you wanna see all the different types of off cuts of metal they have at the back, I can get some Copper sheeting if i want, or if i wanna Do some LN2 extreme cooling or even DIY watercooling blocks, all different size junks of copper, brass cylindrical or square , rectangler its all there.
Anyway. here is what i got from NFM's, for R188 i got a sheet of aluminum that was 2m X 1m. Bloody cheap... wanna where im going next time for all my metal needs... yea you guessed it.
This piece has been cut in half, the other piece is on my work bench.
All measure up to size and in the progress of cutting...
Ok sorry didnt show it cut, i went straight to bending it, this is the first bending that is needed...
Here you can see the piece sticking out the back.... needs to be bent...
And the back side of the motherboard tray....piece sticking out as mentioned...
Ok time to get the other piece bent, all measured up....
This time i made starter slits so its was easier to bend..... as this pic shows you
Now all done, and bent, ok i used a hammer and a piece of wood, but then just used a hammer, hehe
All nicely snuggled inside my case, perfect tight fit
Back panel on to show you how it looks.
And then the final view of the back panel on....to show you...
Couldnt help not cropping my bike out the way, heheh
Thats all for now, gotta do some design work.. update lil later today i think.. will see


-
DoOb
- Registered User
- Posts: 2478
- Joined: 02 Aug 2006, 02:00
- Location: Durban, Bluff, Here by the ocean
- Contact:
Hehe thanks Ravenlord, Skidd, and Samaya
@ Ravenlord, you might, all depends on how much i can do... if i do bring it its not gonna be anywhere near finished... but i will have my stuff in just to show... if i dont have it at the LAN, im gonna be bringing my pc in a box. LOL
@ Samaya... Well i used a piece of asbestos that i had lying in my garage which was clamped to hold the aluminum down.
So it was like this
Workbench ---- Wooden base
Then the aluminum faced the right way to get bent.
Then the Asbestos on top which was clamped from the asbestos to the workbench...
Then i first used my strength which is kinda crappy and bent the aluminum up until i couldnt go an further...
From there i used a hammer and gentle tapped the aluminum at the corner edge of where is was getting bent. And just keeped doing that until i had it nice and 90.
 Tomorrow i will be doing the holes for the back panel bracket for the motherboard, where it will sit etc.
The front panel for the front of the case.
Im gonna make a base for the inside of the case.
Cut another piece for the side where you see the drive bay clips, so its covers that up, or might not have to becoz of the step below...
And a piece for a new side panel window which is gonna stick out kinda ( about 1cm from the side panel)
And then when i have the power suppy in place im gonna make a cover for that so you dont see any cables.
Stealth baby
@ Ravenlord, you might, all depends on how much i can do... if i do bring it its not gonna be anywhere near finished... but i will have my stuff in just to show... if i dont have it at the LAN, im gonna be bringing my pc in a box. LOL
@ Samaya... Well i used a piece of asbestos that i had lying in my garage which was clamped to hold the aluminum down.
So it was like this
Workbench ---- Wooden base
Then the aluminum faced the right way to get bent.
Then the Asbestos on top which was clamped from the asbestos to the workbench...
Then i first used my strength which is kinda crappy and bent the aluminum up until i couldnt go an further...
From there i used a hammer and gentle tapped the aluminum at the corner edge of where is was getting bent. And just keeped doing that until i had it nice and 90.
And then when i have the power suppy in place im gonna make a cover for that so you dont see any cables.
Stealth baby
-
DAE_JA_VOO
- Registered User
- Posts: 12310
- Joined: 28 Nov 2005, 02:00
- Location: That other place
- Contact:
-
DoOb
- Registered User
- Posts: 2478
- Joined: 02 Aug 2006, 02:00
- Location: Durban, Bluff, Here by the ocean
- Contact:
@ DAE, thanks for the comment mate.
@ Pienke Thanks for the comment man
Hey guys another update...
I was doing the back tray opening for the motherboard and my Dremel is seizing up, i dont think its going to last much longer....
But on a good note, I was able to use ....... NO ANGLE GRINDER ...... my jigsaw to cut the hole for the motherboard tray......
Using Clamps and my gran ballies work bench.... i was able to cut the hole.
Here we go guys....
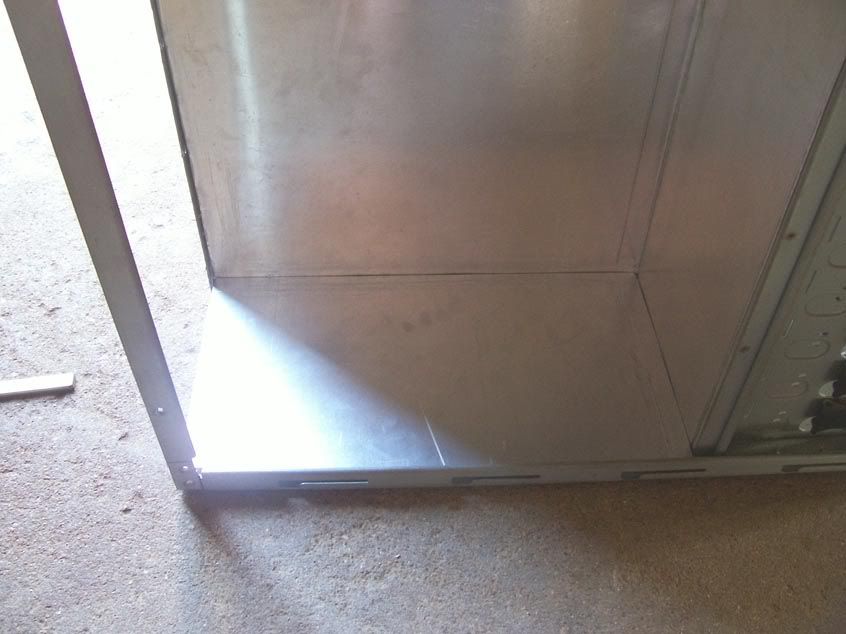
Ok here it is outside the case you can see how thin it is on the one side... pretty good jigsaw work
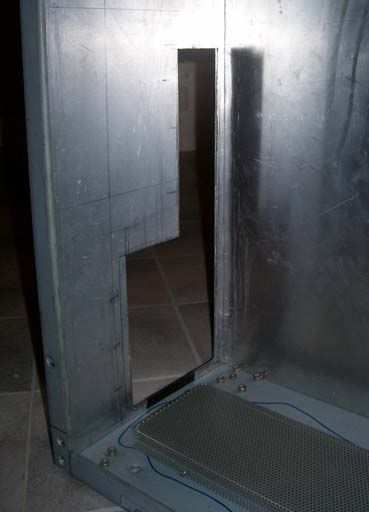
Inside picture of the cut out.
Inside with the RedDevil case Donor so you can see how it looks
Outside with the cut out...
Outside pic of the cut out and RedDevil's donor....
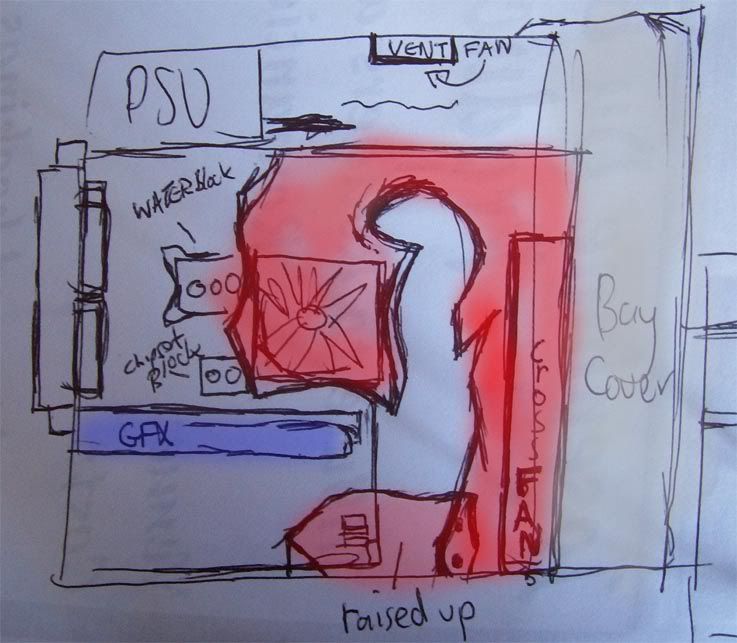
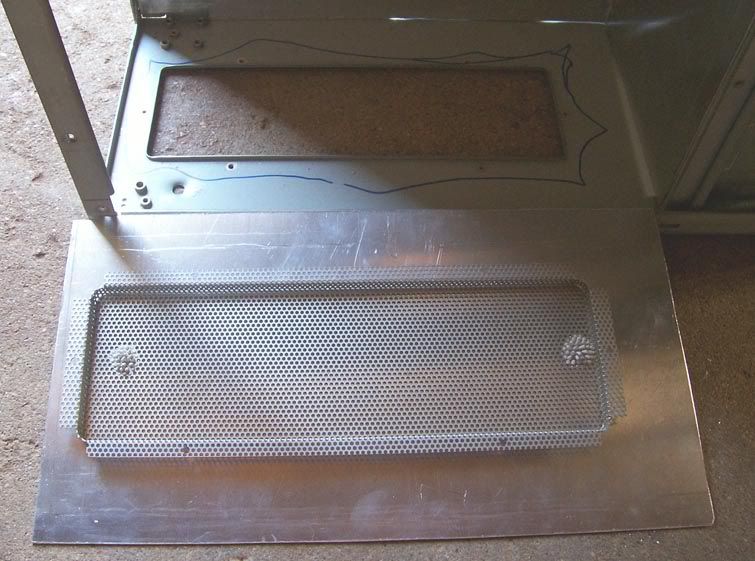
Then you guys remember that hole, well ive got an idea... im gonna use that mesh grill and make a cover for it so you dont see the base of the case... maybe some LED's lighting yea you guys feeling me....
One exciting case mod this is turning out to be....
Tell me what you guys think....
@ Pienke Thanks for the comment man
Hey guys another update...
I was doing the back tray opening for the motherboard and my Dremel is seizing up, i dont think its going to last much longer....
But on a good note, I was able to use ....... NO ANGLE GRINDER
Using Clamps and my gran ballies work bench.... i was able to cut the hole.
Here we go guys....
Ok here it is outside the case you can see how thin it is on the one side... pretty good jigsaw work
Inside picture of the cut out.
Inside with the RedDevil case Donor
Outside with the cut out...
Outside pic of the cut out and RedDevil's donor....
Then you guys remember that hole, well ive got an idea... im gonna use that mesh grill and make a cover for it so you dont see the base of the case... maybe some LED's lighting yea you guys feeling me....
One exciting case mod this is turning out to be....
Tell me what you guys think....

-
DoOb
- Registered User
- Posts: 2478
- Joined: 02 Aug 2006, 02:00
- Location: Durban, Bluff, Here by the ocean
- Contact:
lol i need some of those, well upper body. Got cycling legs so no worries there.Skidd wrote:Awesome doobs, This is really looking cool. What colour scheme are you going to go with?
Also this case is not going to be light when its done. So you will be able to build some muscle while going to some lans
No serious
-
DoOb
- Registered User
- Posts: 2478
- Joined: 02 Aug 2006, 02:00
- Location: Durban, Bluff, Here by the ocean
- Contact:
Oops oh ya, Im and thinking Black and Red.... But the again... Black and White would also looking Sick..Skidd wrote:LOL still didnt answer my question doobs
But i will see down the line. Right now i wanna get everything planned out, this for example, this is gonna look wicked inside once ive got to this stage.
Im actually thinking LED lighting all the way.PSU can handle i rate.
AS for the front panel which im gonna cut now, im actually also thinking light there aswell. like instead of the panel being flush with the tall aluminum sides pieces, im thinking of overlapping the cover for that, will draw something up on that idea
-
DoOb
- Registered User
- Posts: 2478
- Joined: 02 Aug 2006, 02:00
- Location: Durban, Bluff, Here by the ocean
- Contact:
Alright another update.... things have been going smoothly using a jigsaw to cut all my aluminum. Got about 4 more things to cut then mainly all the cutting is done for the case....
Ok here is a little update:
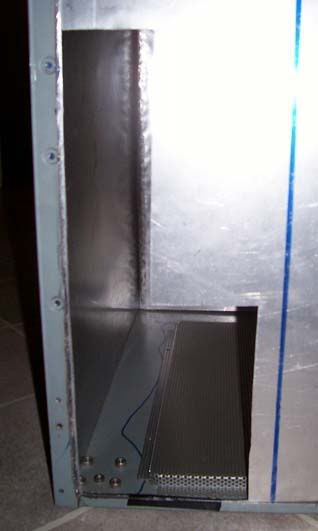
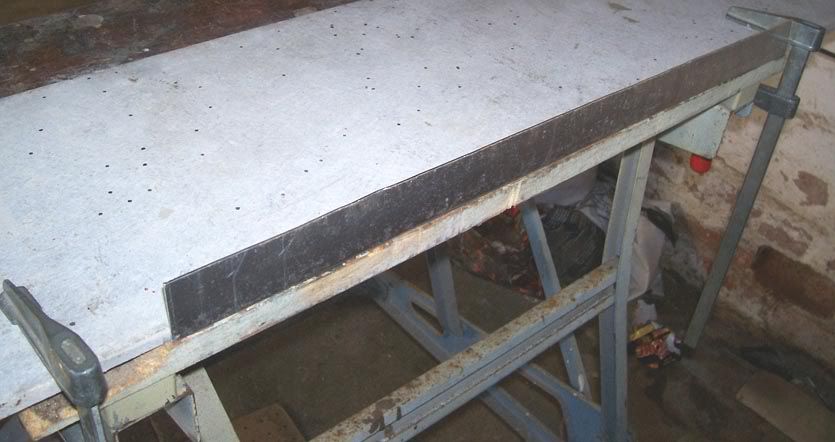
Cut the bottom base that as you can see fits pretty well inside there.
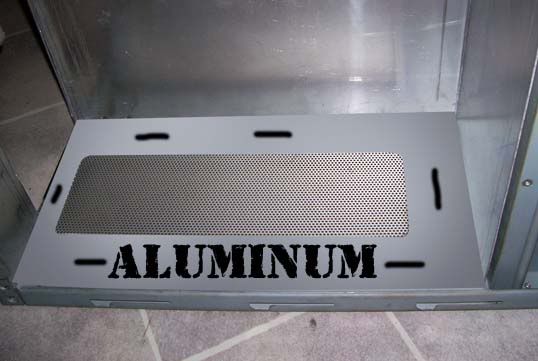
But what you dont see is that i've used prestic to stick the bottom base to that mesh grill at the bottom. This will give me the exact place where i must cut the hole for the grill to pop through...
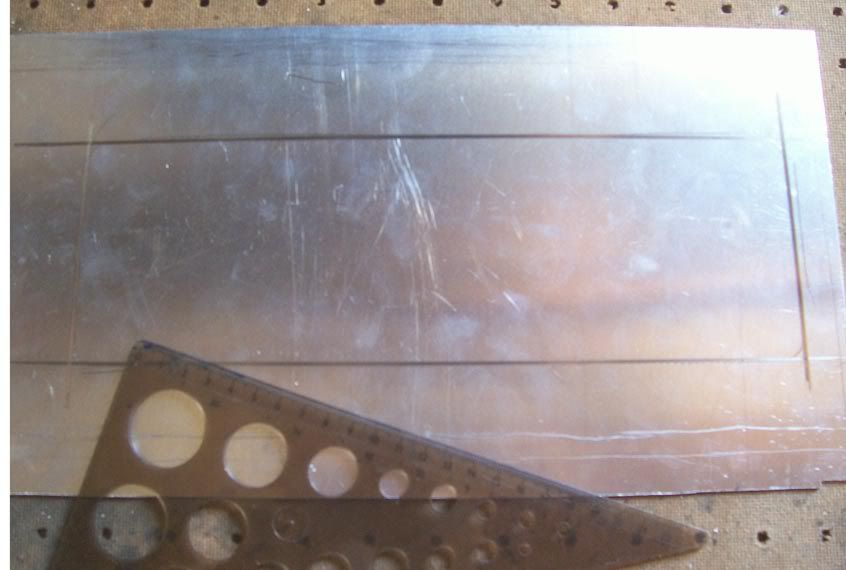
All measure up and ready to get cutting....
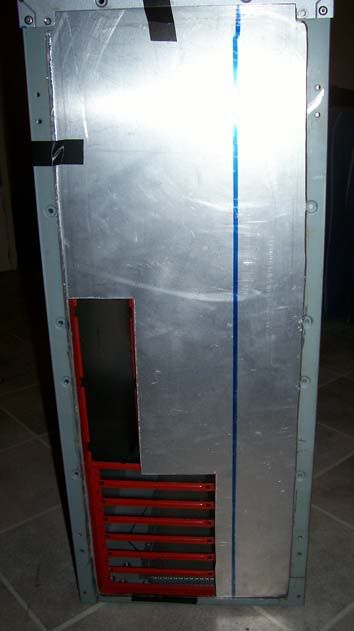
Ok just speed the pace up a little, and show you the final product...( I had to cut more off in the insides becoz it was fitting nicely. had to sand the outside piece so that the back panel fitted inbetween the each other..)
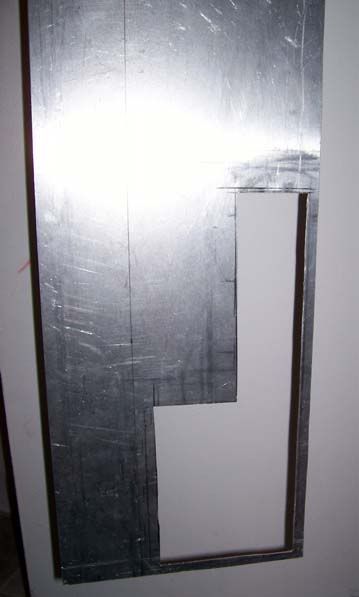
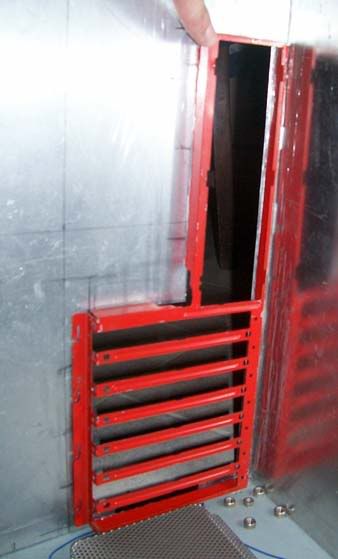
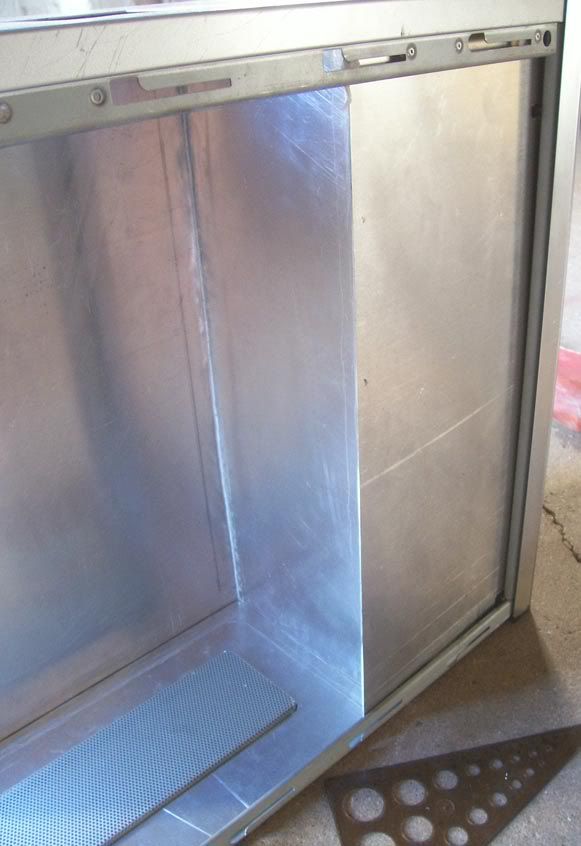
As you can see here ive cut the HDD/CDrom cover. Where you see it sticking out like that, im gonna bend it to a 90.45 degree bend so where the motherboard tray meets at the end they will sit flush on top of one another..
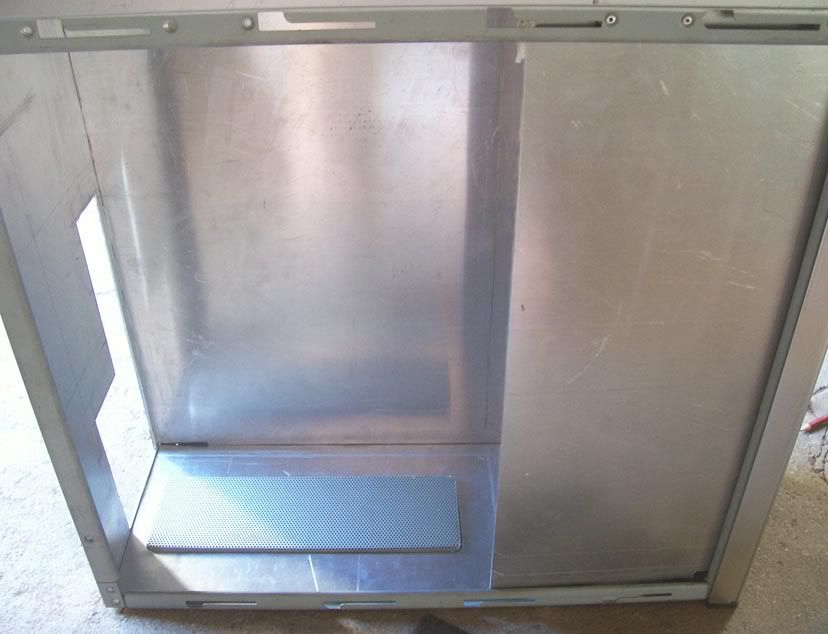
Again another view showing the piece sticking out, and also another view of the Grill sticking through the base of the case...
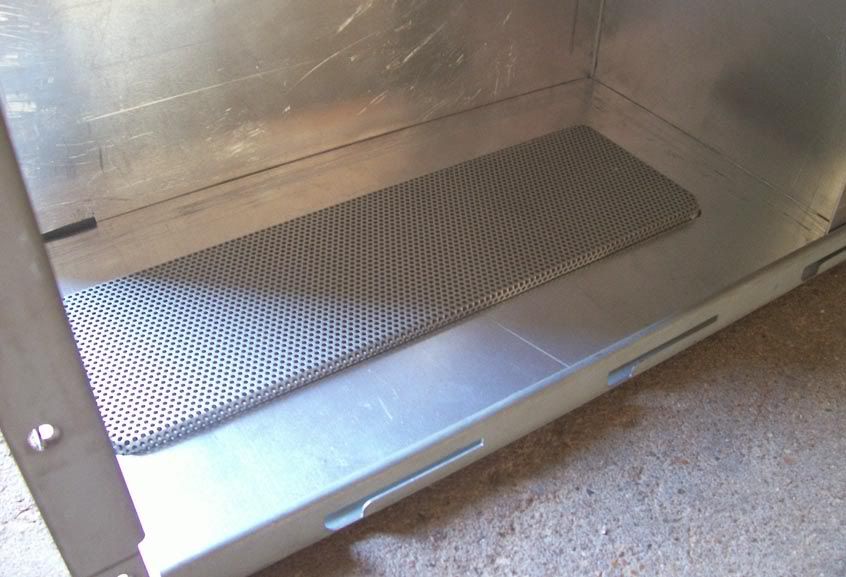
And then lastly a back picture of the grill and the backpanel fitting nicely there
Thats all for now, should have another update today... and then yea, see what other ideas pop into my head during the course of the day
Enjoy
DoOb's
Ok here is a little update:
Cut the bottom base that as you can see fits pretty well inside there.
But what you dont see is that i've used prestic to stick the bottom base to that mesh grill at the bottom. This will give me the exact place where i must cut the hole for the grill to pop through...
All measure up and ready to get cutting....
Ok just speed the pace up a little, and show you the final product...( I had to cut more off in the insides becoz it was fitting nicely. had to sand the outside piece so that the back panel fitted inbetween the each other..)
As you can see here ive cut the HDD/CDrom cover. Where you see it sticking out like that, im gonna bend it to a 90.45 degree bend so where the motherboard tray meets at the end they will sit flush on top of one another..
Again another view showing the piece sticking out, and also another view of the Grill sticking through the base of the case...
And then lastly a back picture of the grill and the backpanel fitting nicely there
Thats all for now, should have another update today... and then yea, see what other ideas pop into my head during the course of the day
Enjoy
DoOb's
-
Lithe_Joint
- Registered User
- Posts: 802
- Joined: 06 Sep 2006, 02:00
- Location: WTF?
- Contact: