Update time!!
Okay, so this weekend I did it all....well, almost...
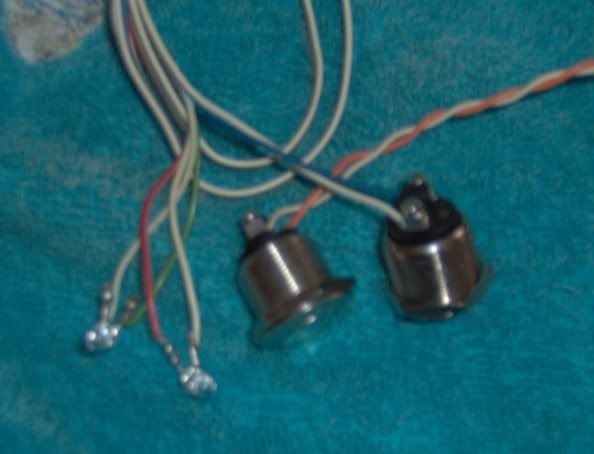
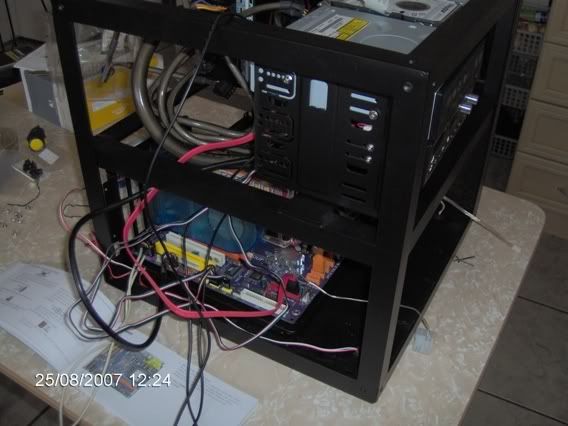
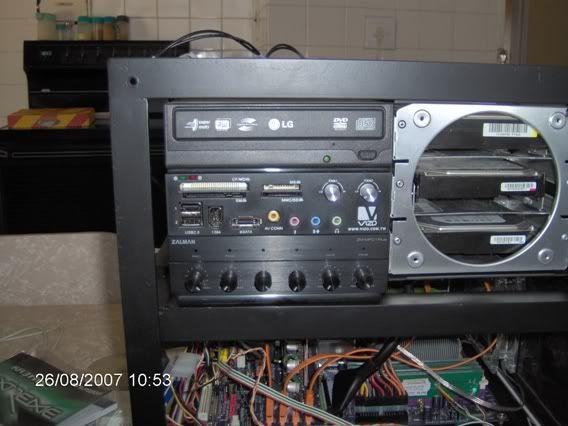
First, I soldered the front leds and wired the buttons.
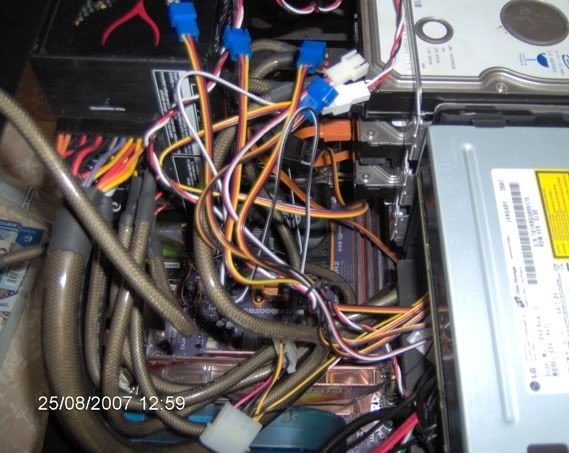
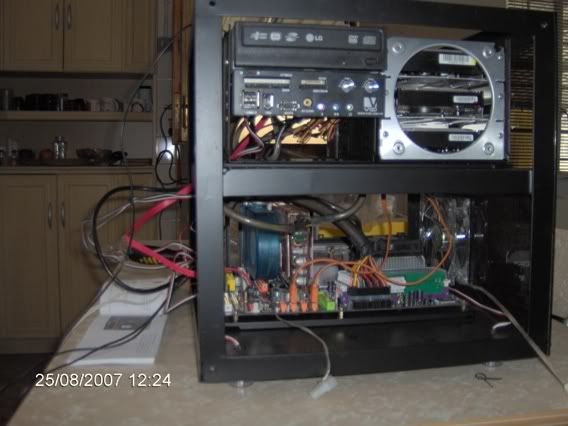
Then I installed the Zalman fan controller and the Vizo control panel. Just look at all the cables!!
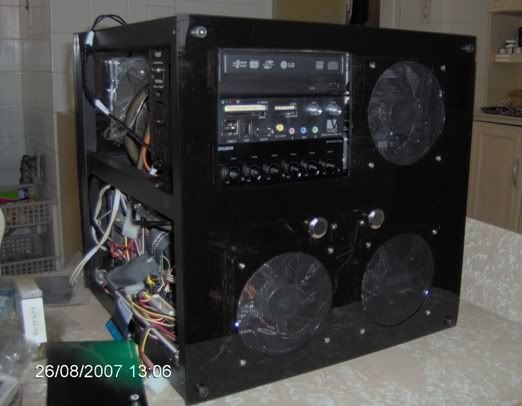
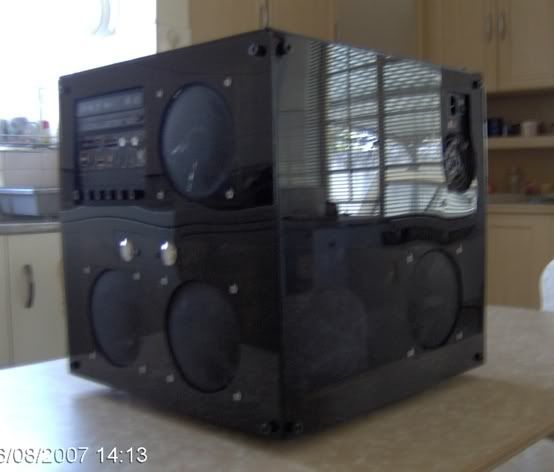
I also did the front panel:
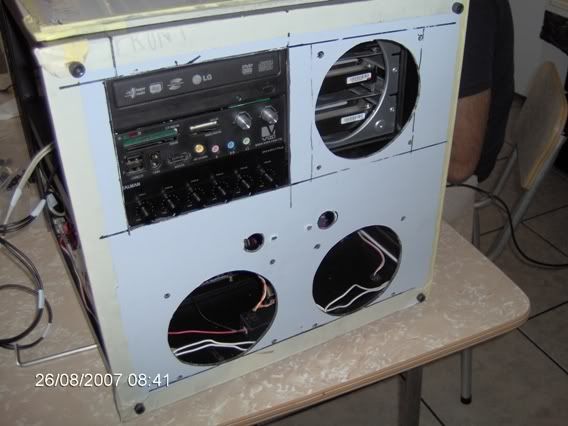
Oh man! That one was a
B to do. So much sanding and fitting and sanding and fitting, but in the end, it was worth it.
For some reason, my dvd rom was a tad thinner than the Vizo and the fan controller, so I smoothed a piece of plexi and slotted in between the drive and the Vizo:
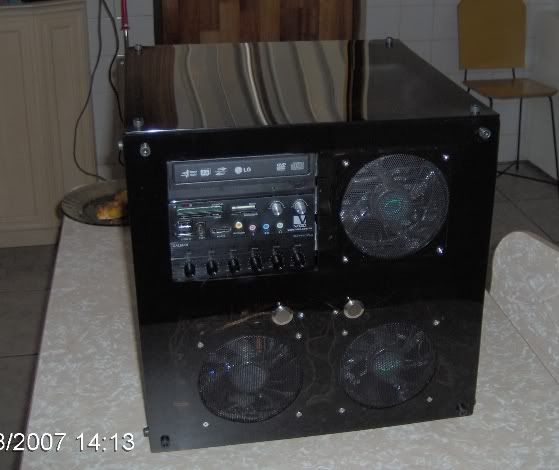
Okay, front panel done and looking awesome!!
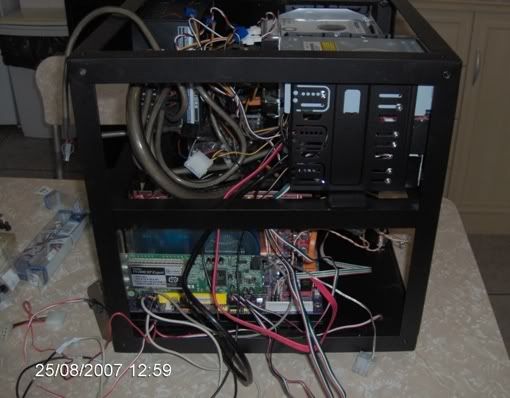
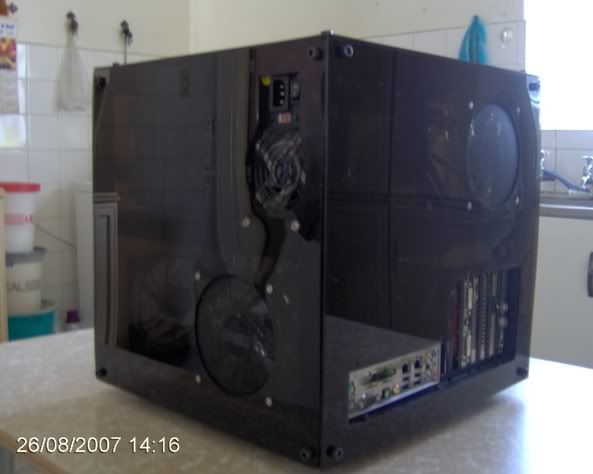
Then I was left with the cables. I totally need to buy myself a cable tidying kit somewhere. Guys, where would I find one?? I tried my best to tidy it up, but I really need to get some cable ties and those little squares you use to attach the cable ties to the case.
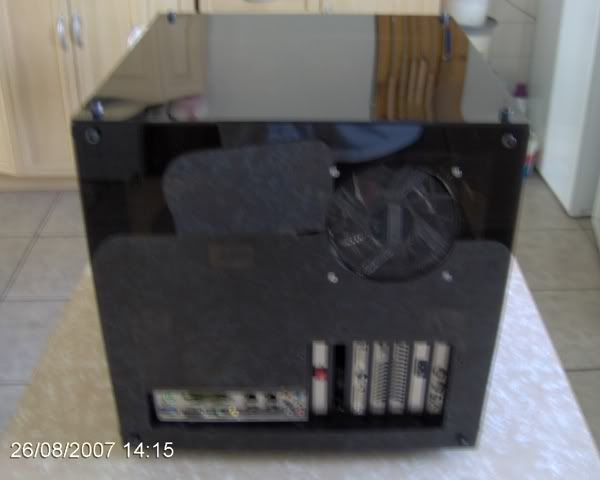
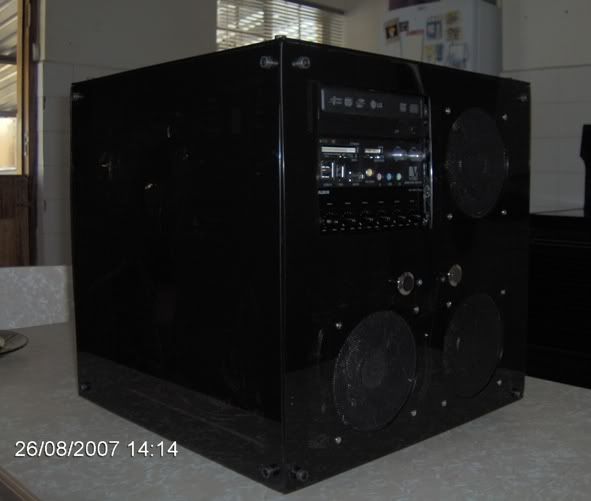
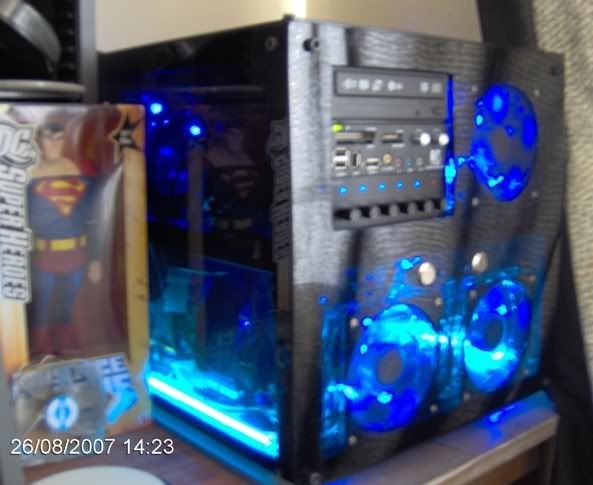
Okay, so the entire outside is complete now:
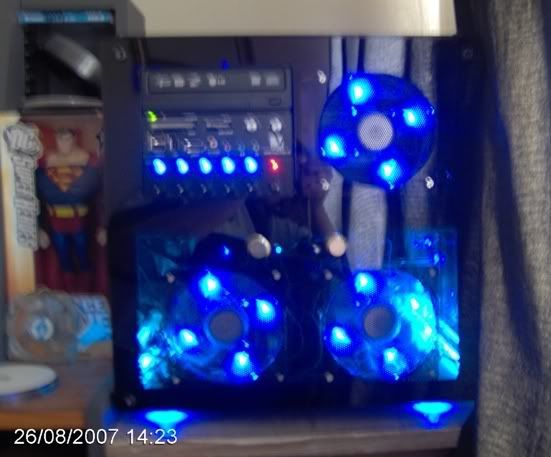
And with the power on:
From the top:
Case feet:
Really sorry about the very bad quality pics when the interior case lights are on. For some reason my camera really sucks at taking pics of bright objects. I will try and take better ones and upload them.
So, the case looks complete, but I still need to add a few more finishing touches, especially on the inside.
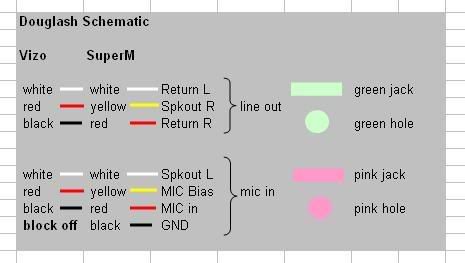
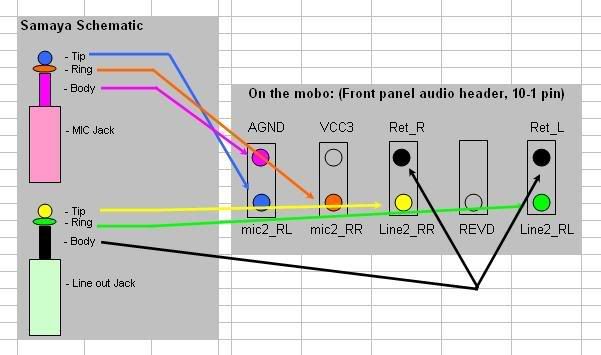
The cables really dont look that bad, but I am still gonna try and hide all the small cables. Then, the front panel audio... i can not get it to work. I tried connecting it the way Samaya AND douglash said, but for some reason it did not work. So, its either I connected it wrong to the mobo or something else. So I am still gonna fix that. Also, I need to put in a few screws at the back of the mobo plate to attach it to the pexi properly.
I am seriously very very happy how the case turned out. The photos really dont do this baby justice!! It looks amazing! The plexi looks awesome! Thank you again Dae Ja Voo!!
Oh, and for those that were wondering, she is absolutely quiet! Really guys, I cant believe how quiet these coolermaster fans are, you can barely hear the computer is on!
And the final weight for this baby: 16.8 kgs. Not too bad hey.