Done on 22 July:
Hi all!
I eventually stopped planning and started doing some real work on my new case today.
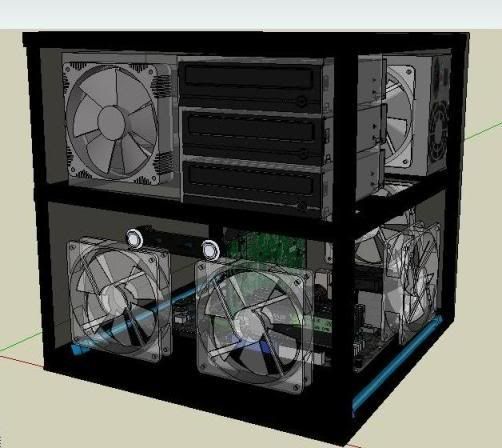
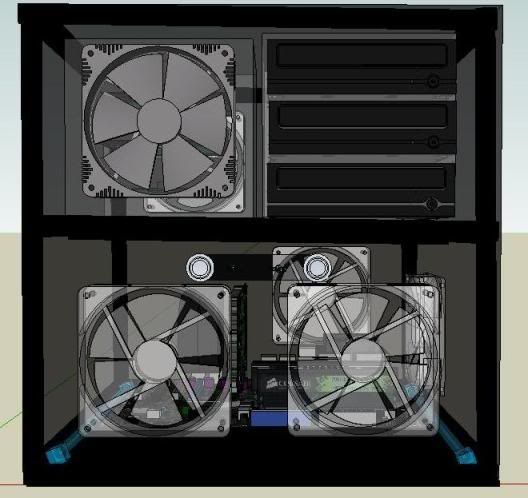
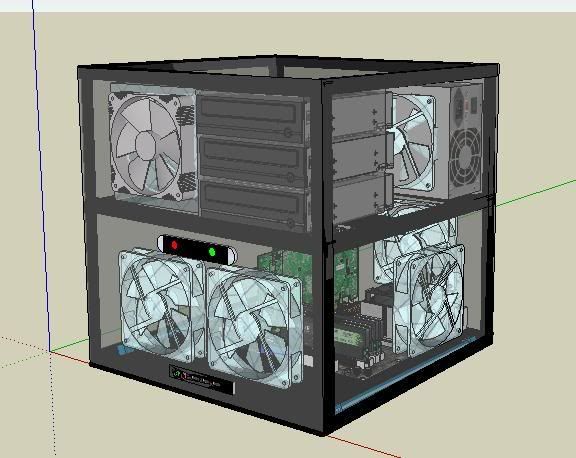
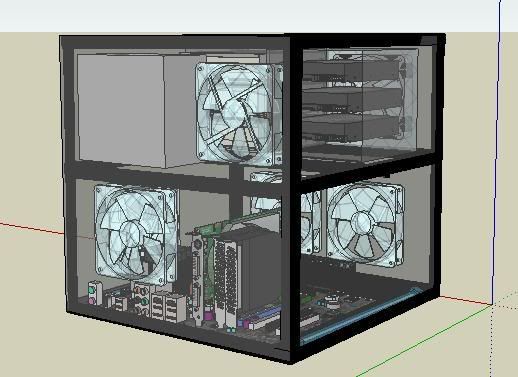
Firstly, here is some Sketchup pics of my new case I am gonna build:
Front:
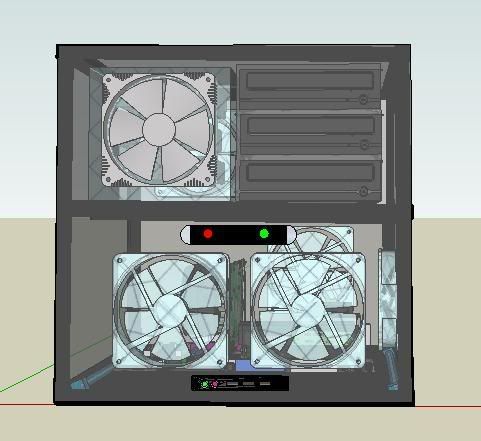
Front Angled:
Back Angled:
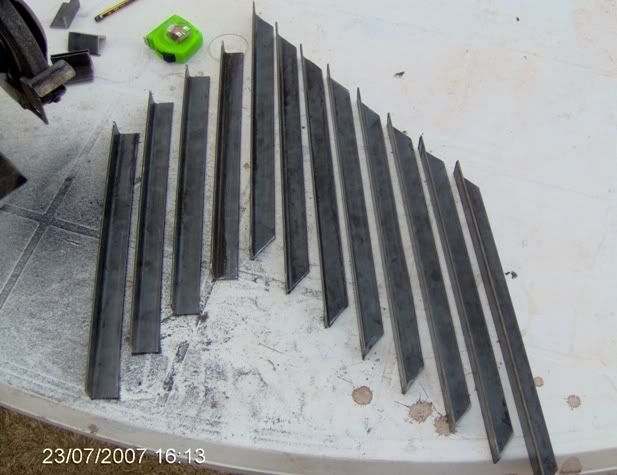
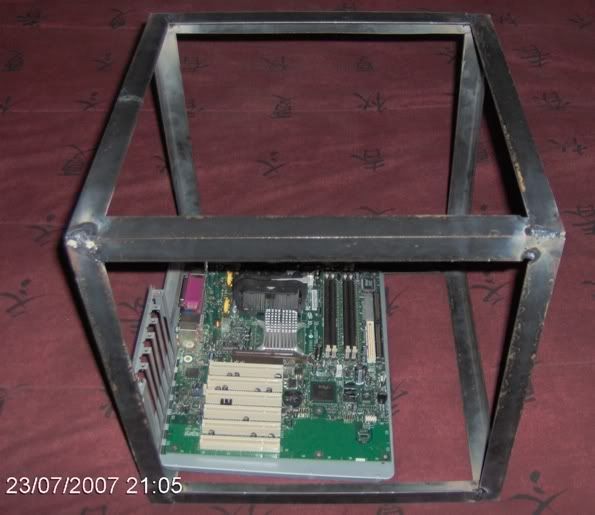
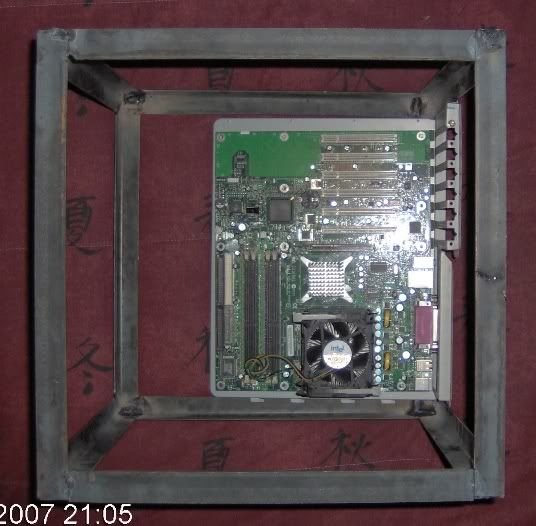
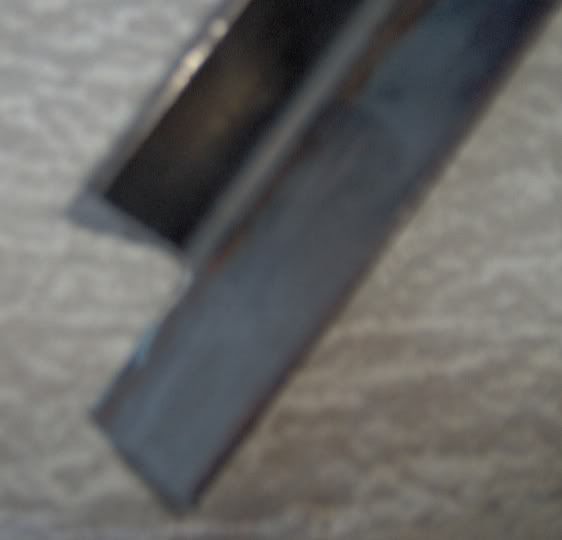
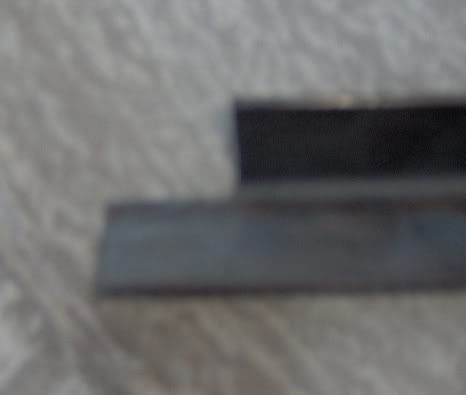
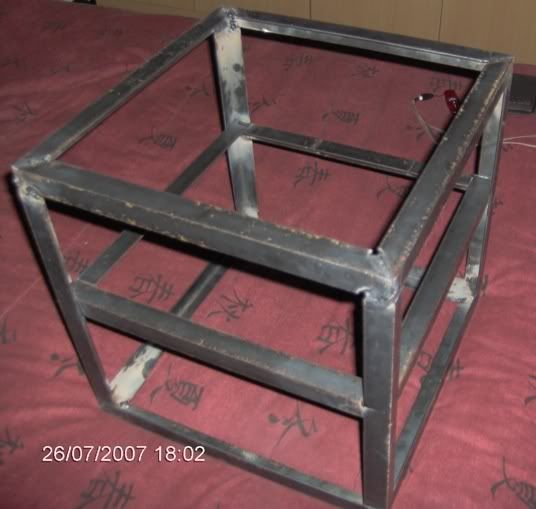
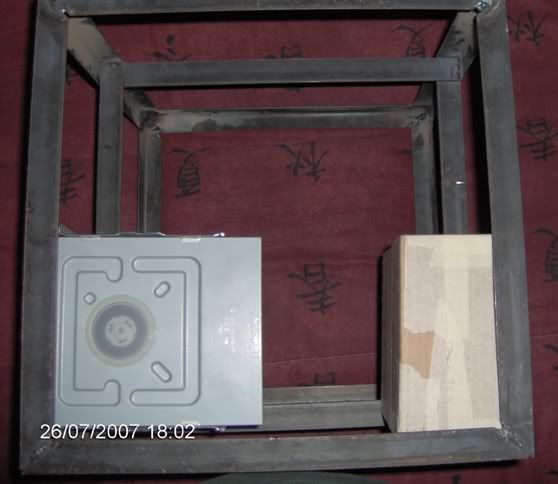
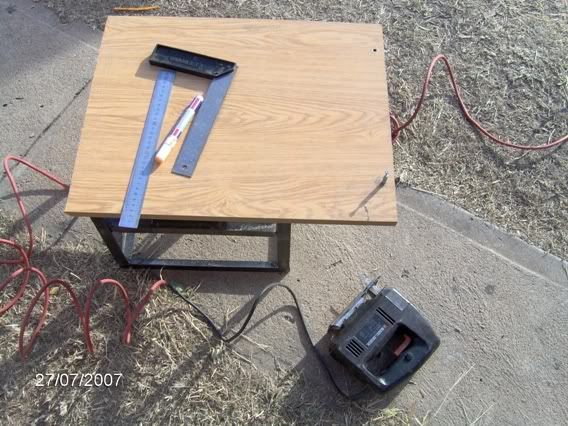
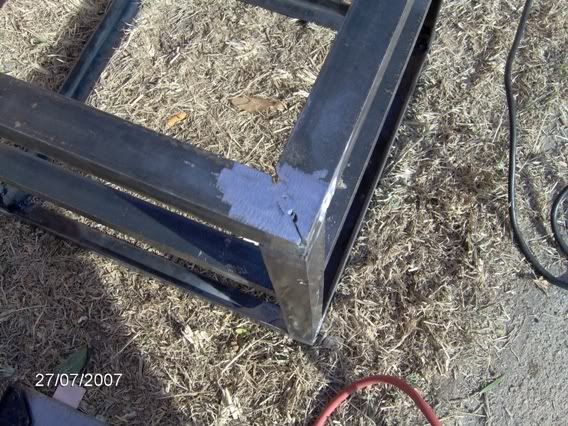
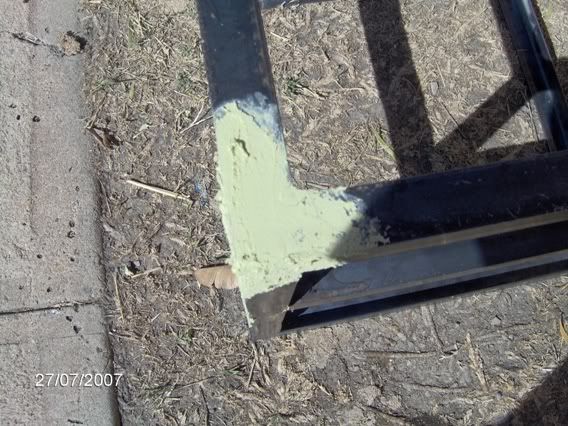
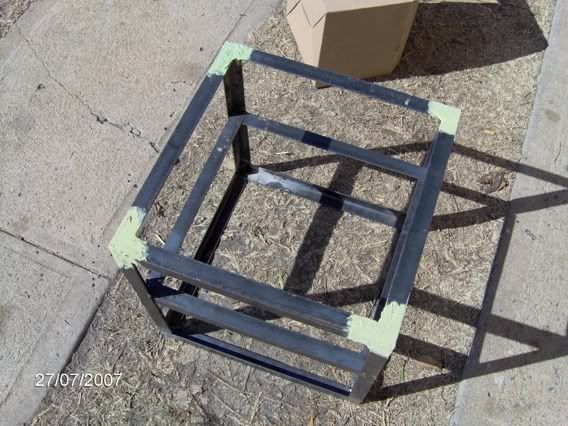
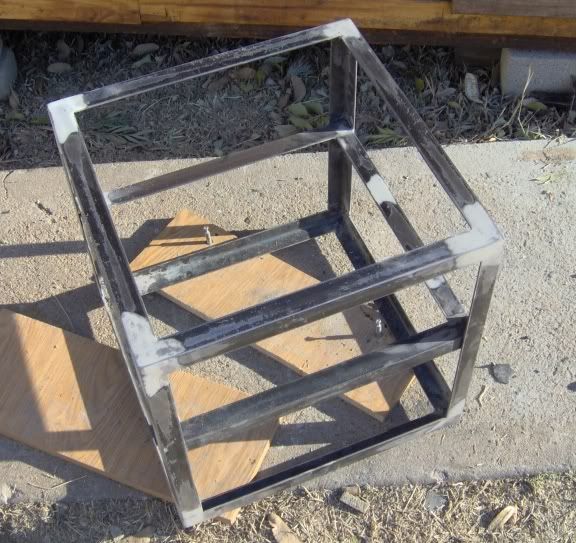
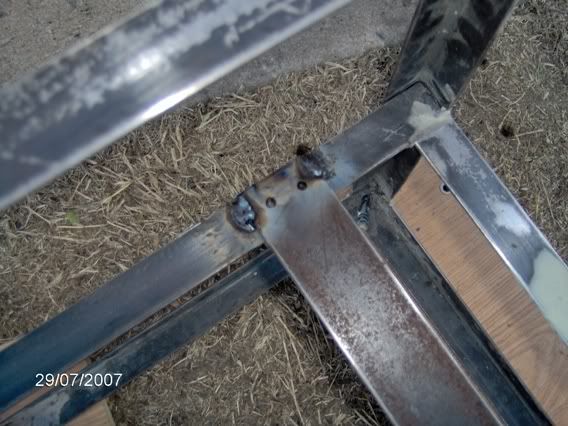
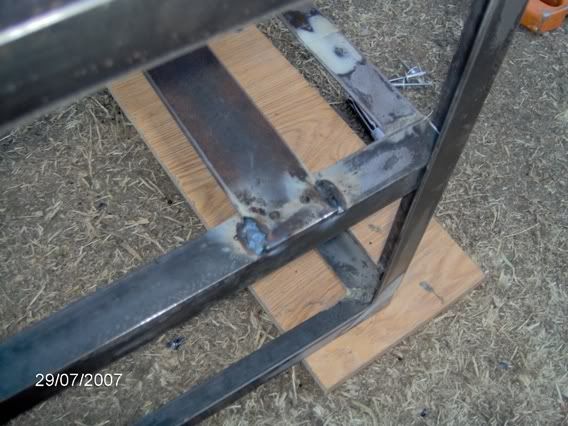
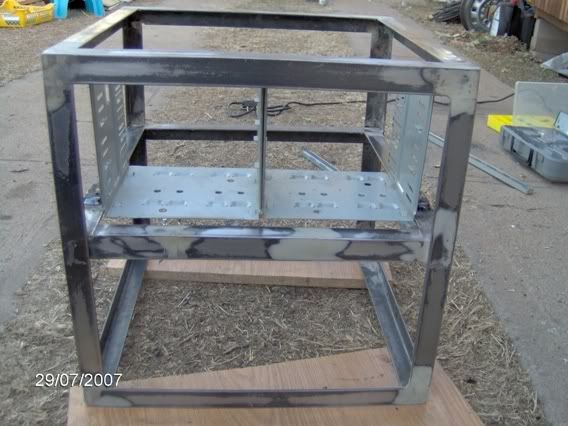
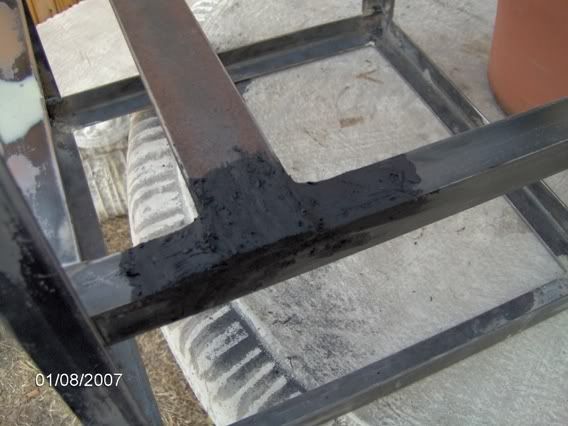
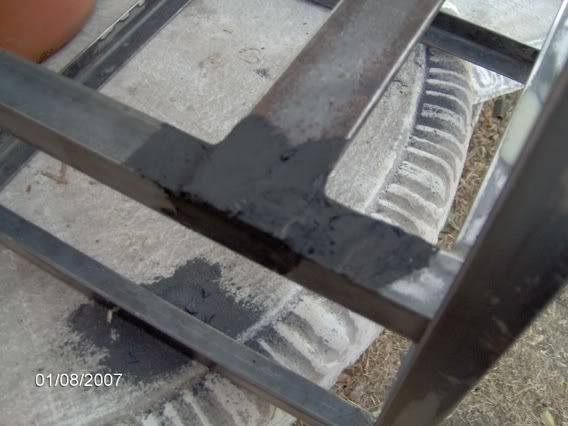
So, I started off today by cutting and grinding a 6 meter Angle Iron into smaller pieces (37cm each) to make the structure of the case.
Here they are, all ready to be welded together: (This took me several hours to do!)
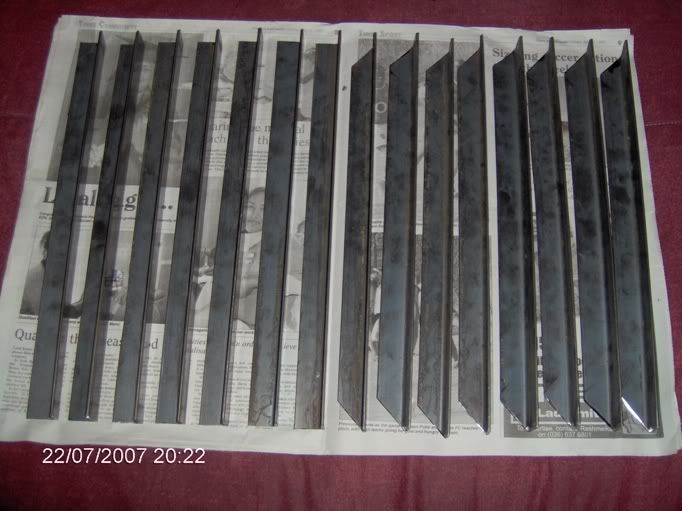
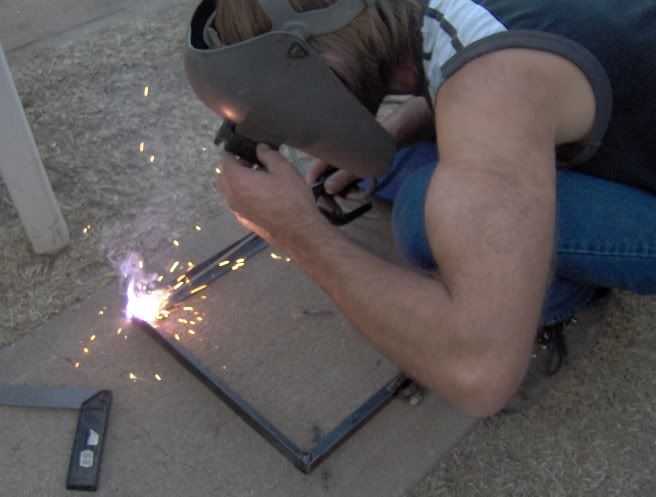
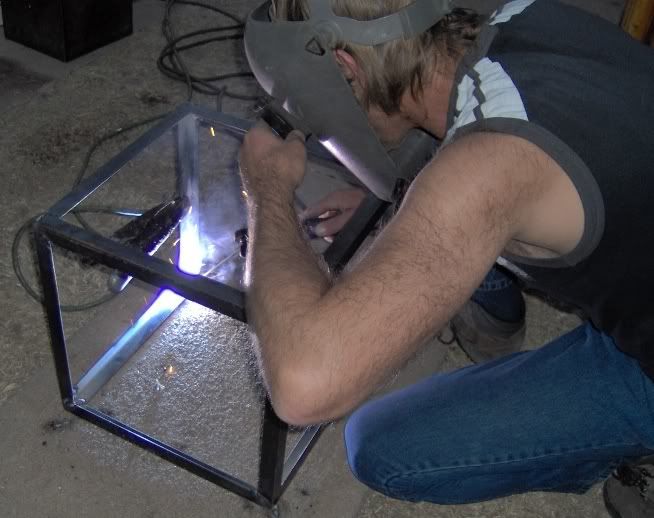
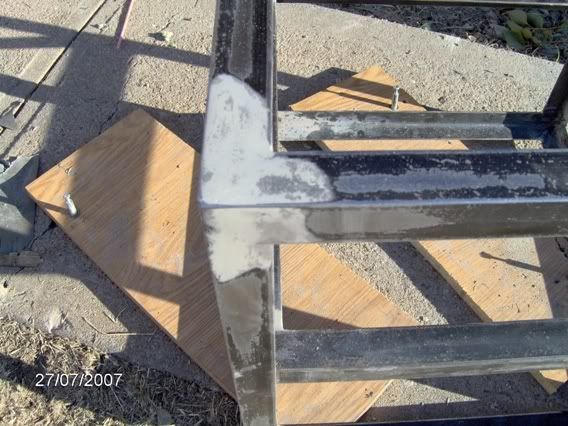
As I know absolutely nothing about welding, my dad will weld the pieces together for me tomorrow.
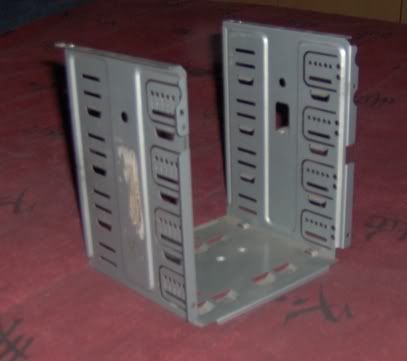
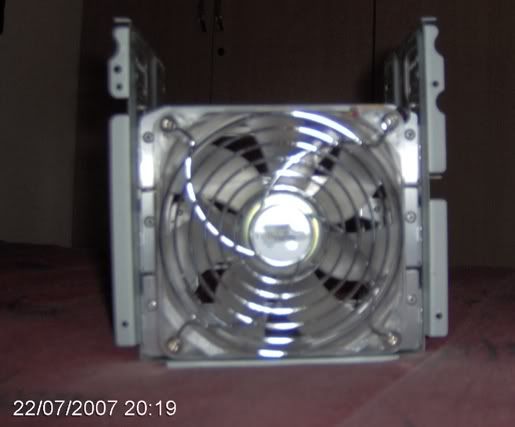
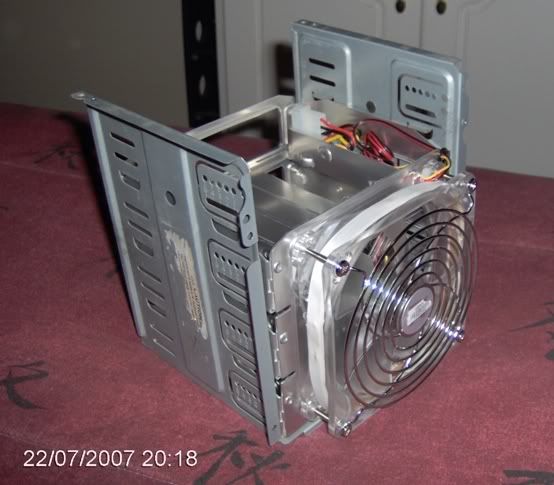
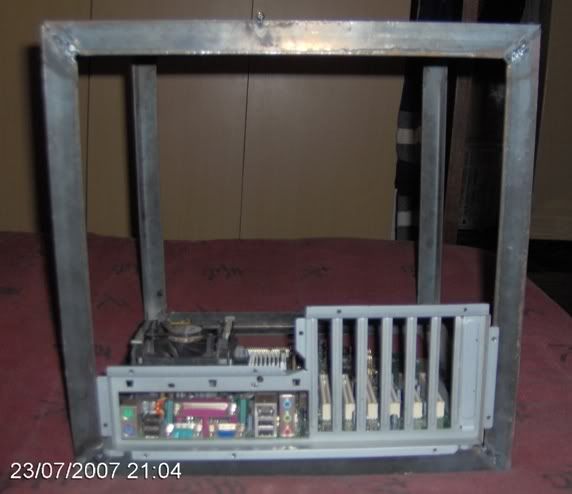
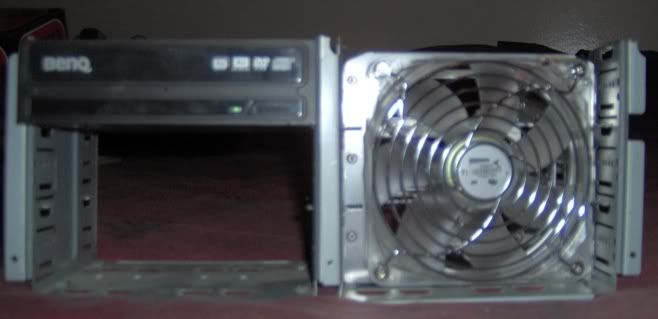
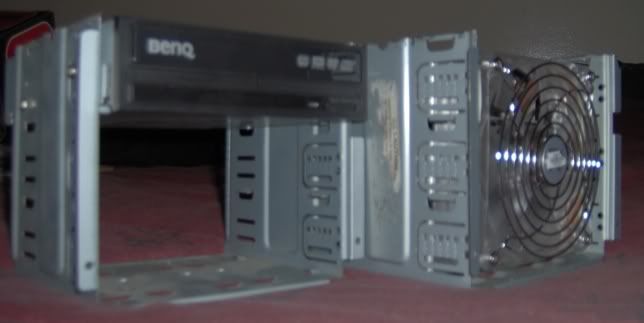
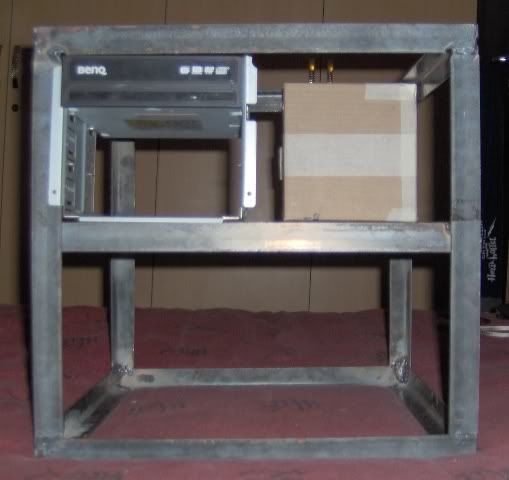
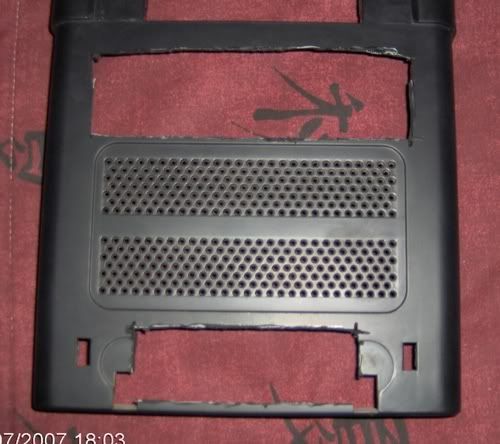
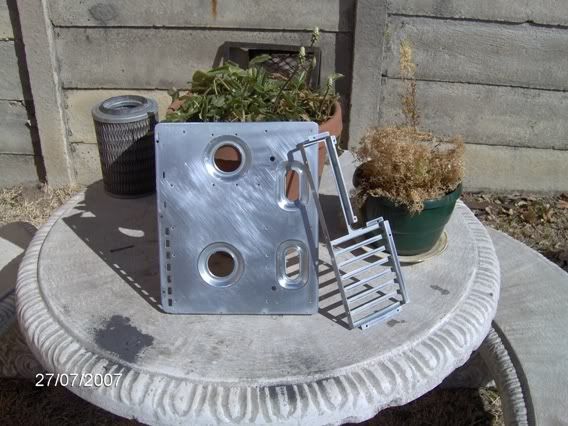
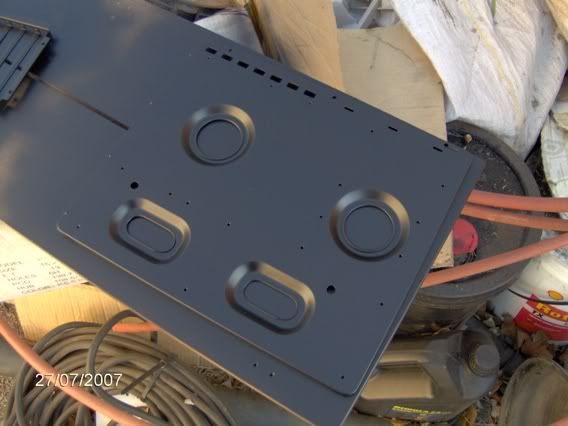
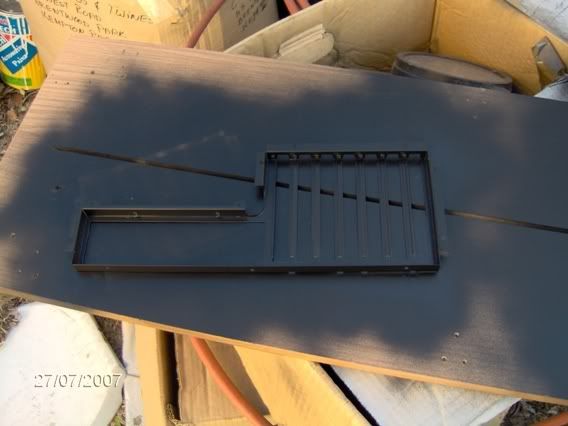
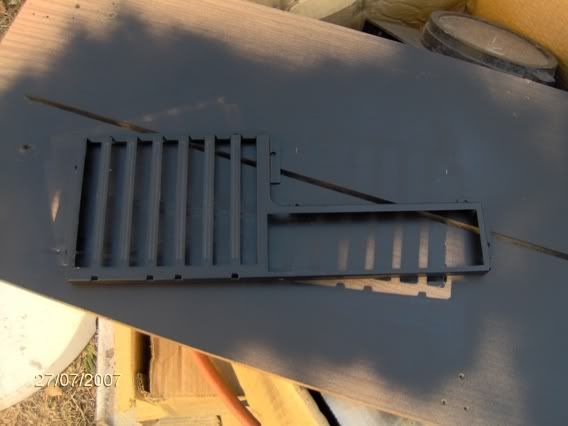
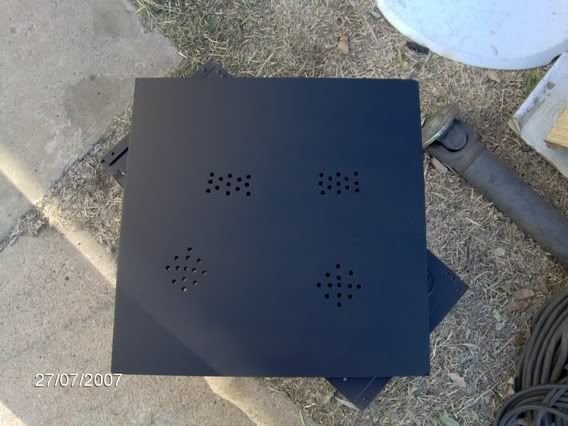
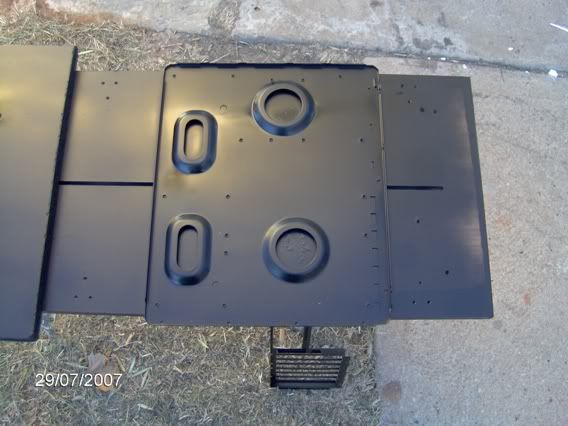
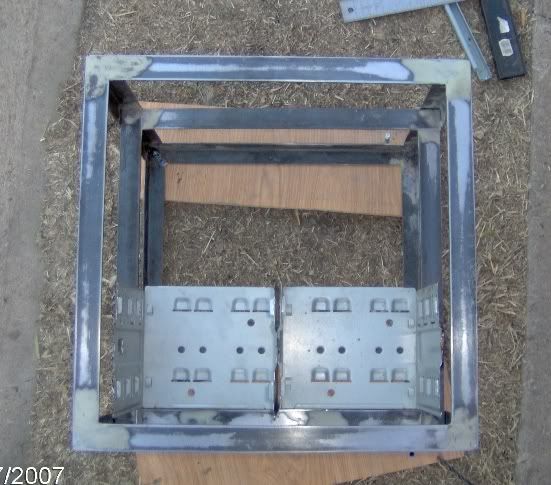
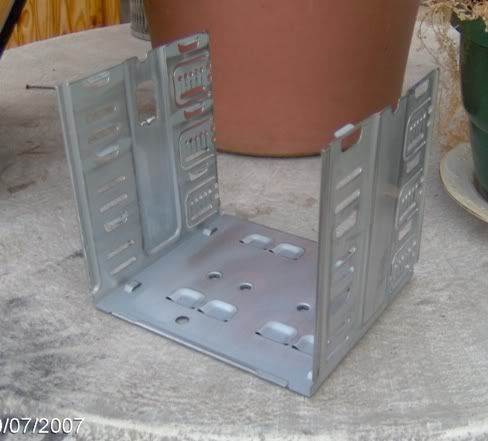
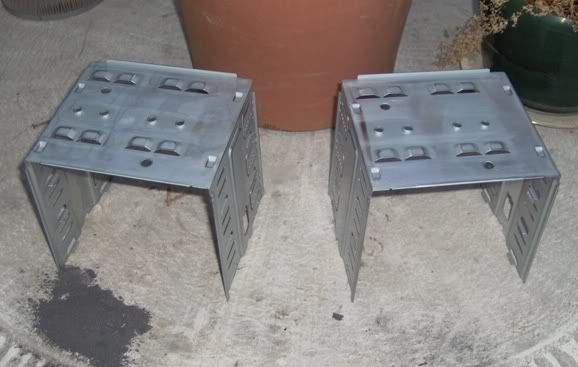
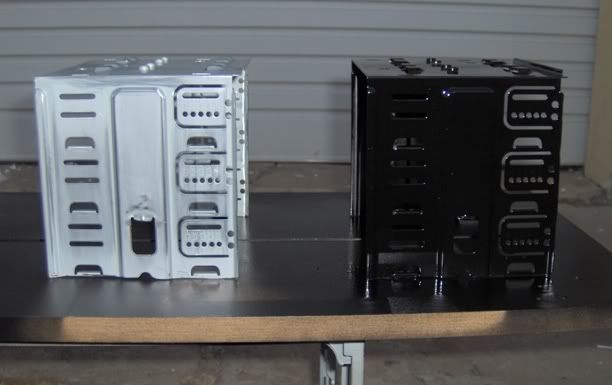
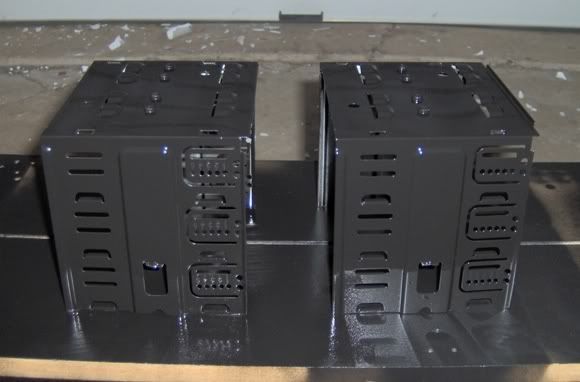
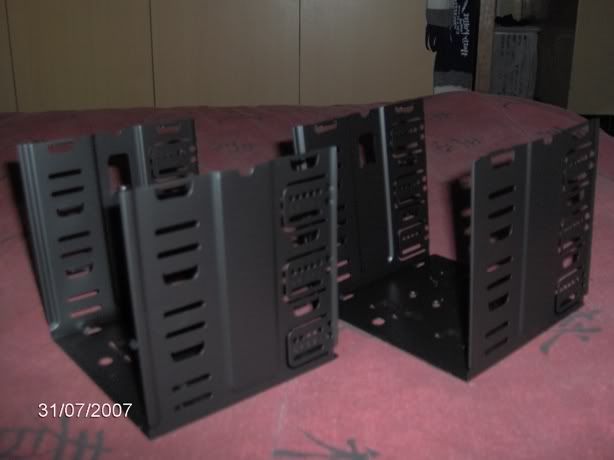
So, I also need 2 drive cages and a mobo plate - luckily for me I found 2 cases willing to take one for the team and donate their inners
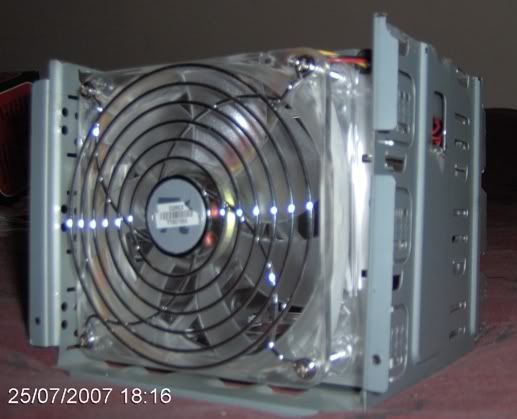
Donor 1:
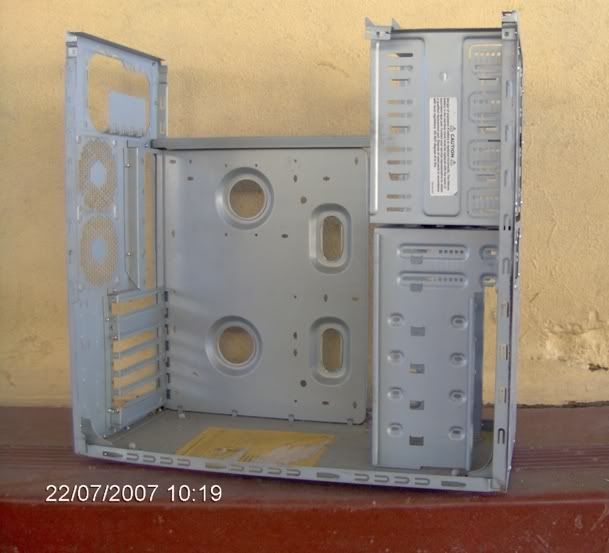
As you can see, Its already stripped for some reason I cant even remember, but oh well - the insides are still fine.
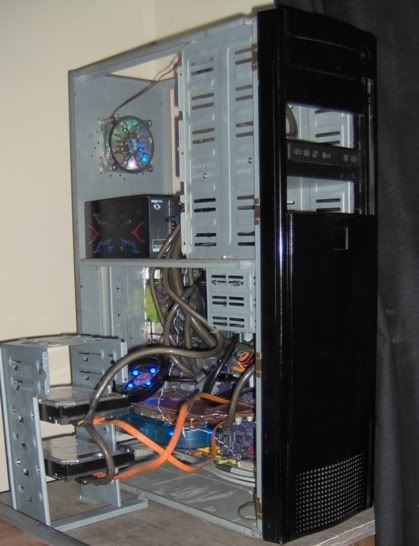
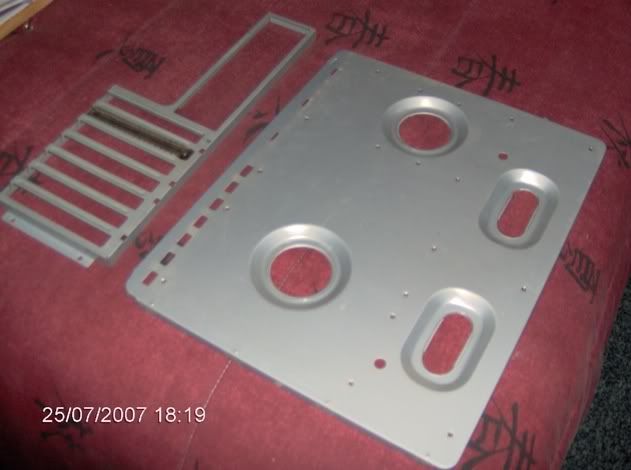
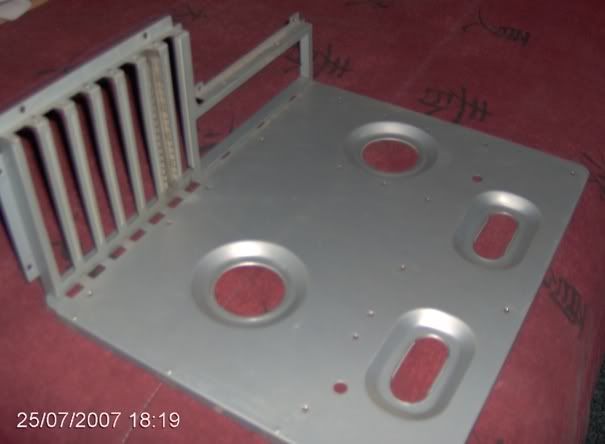
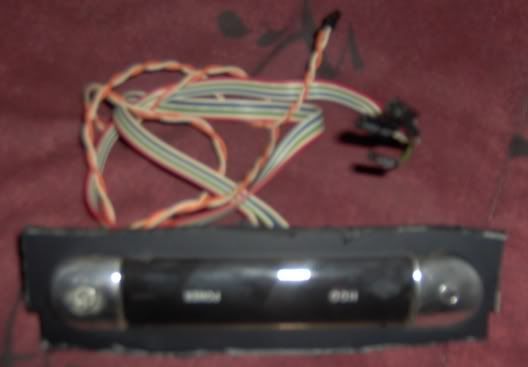
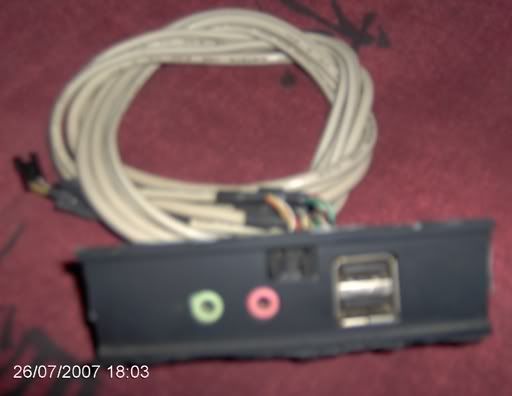
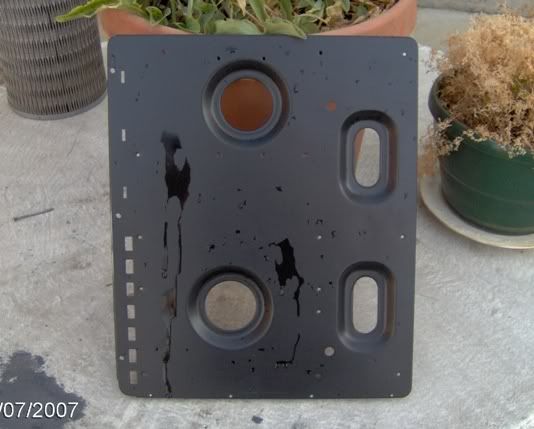
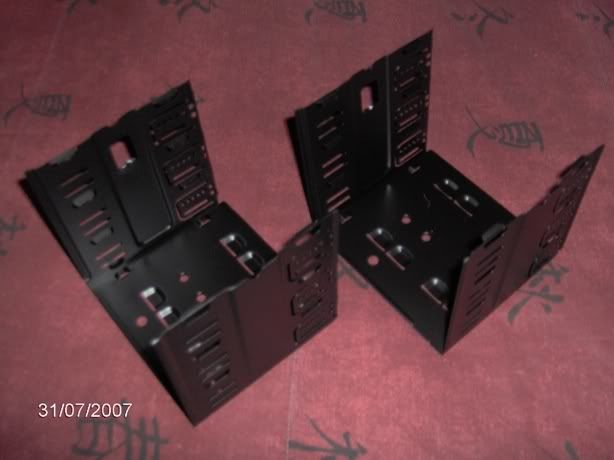
Donor 2:
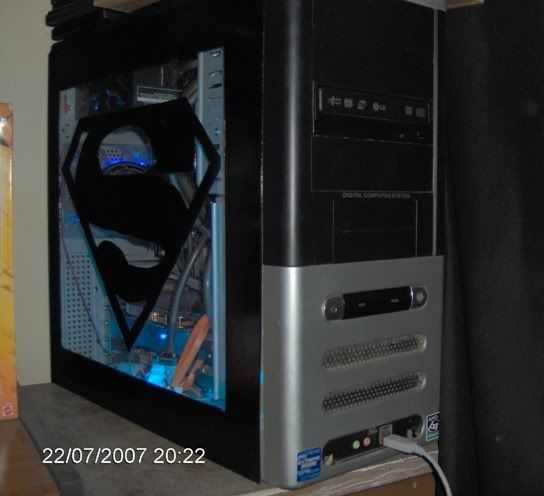
Yup, This is my current Superman case. I have a small problem now as I have to take out all my stuff, put it in some other old case laying around so I can get the insides out - but that will also only happen tomorrow. :sigh: