Hi Guys and Gals,
Update time!
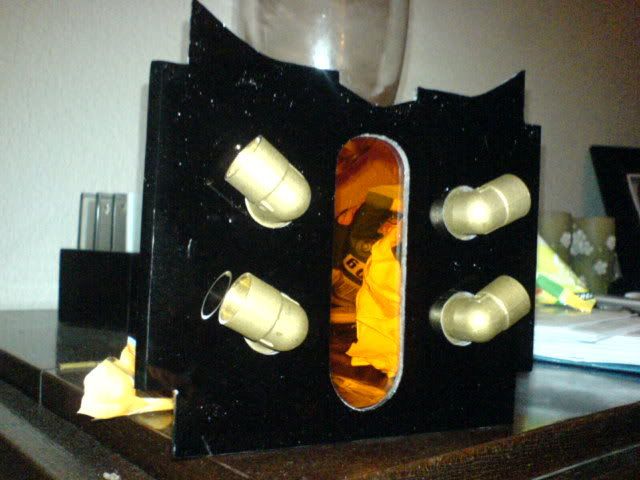
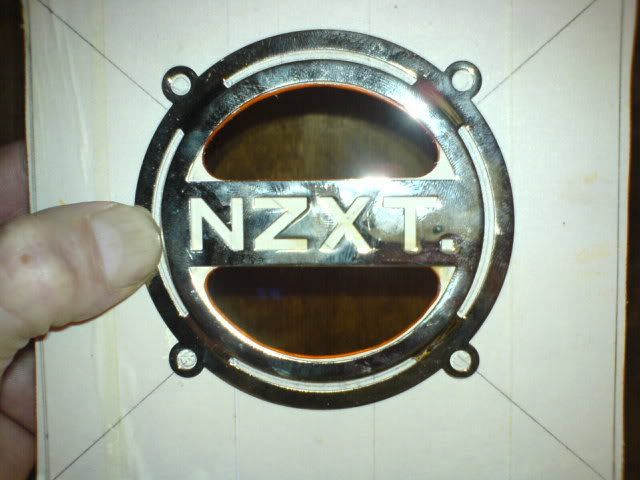
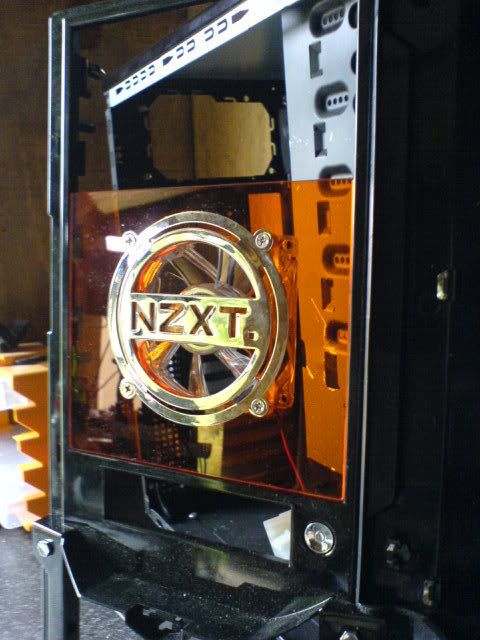
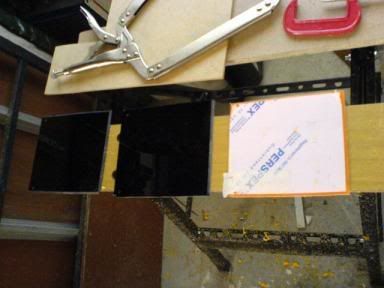
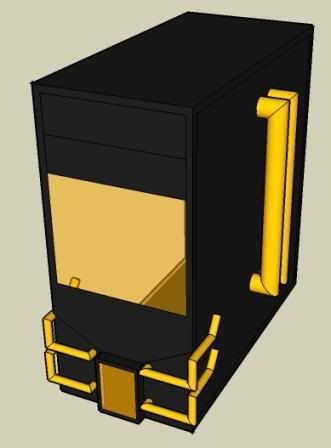
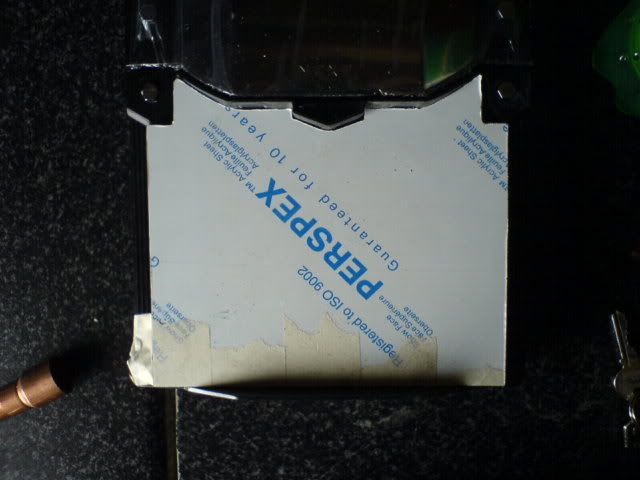
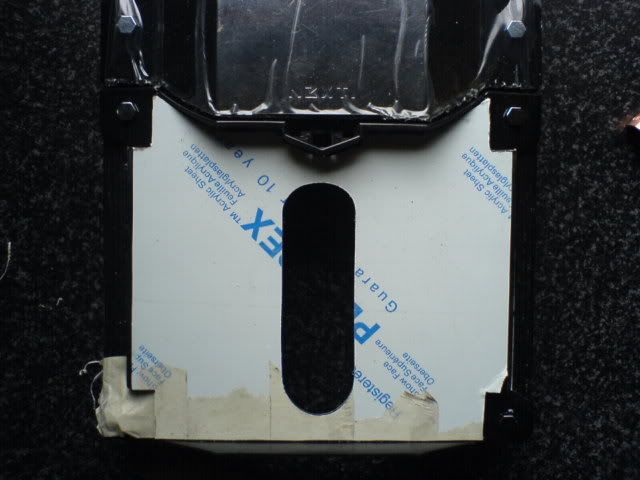
Remember the amber square which I fitted in the centre of the front panel? Well, this seemed rather at odds with the new lower piped part and after seeing what Bill was doing with Project Phenom, I decided to pay a little tribute to the case manufacturer.
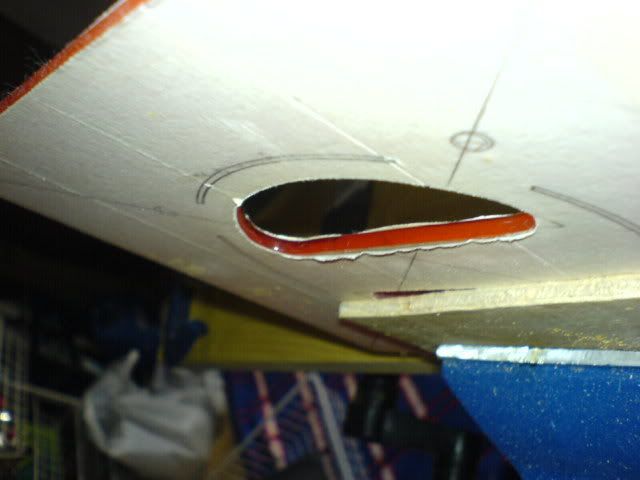
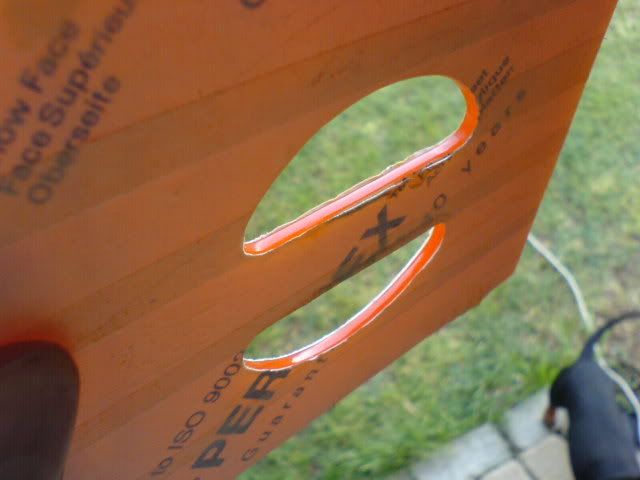
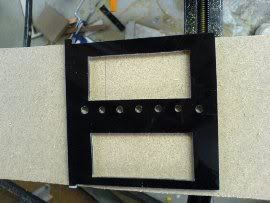
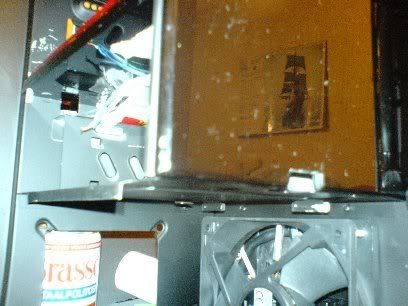
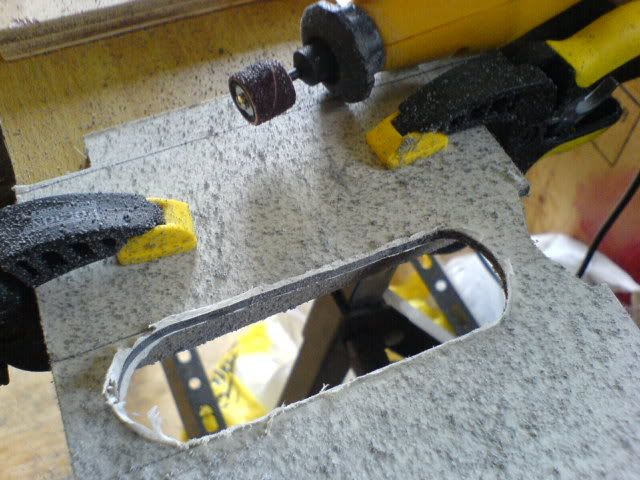
A nasty surprise and a third panel later (after figuring that using a jigsaw was too hazardous),
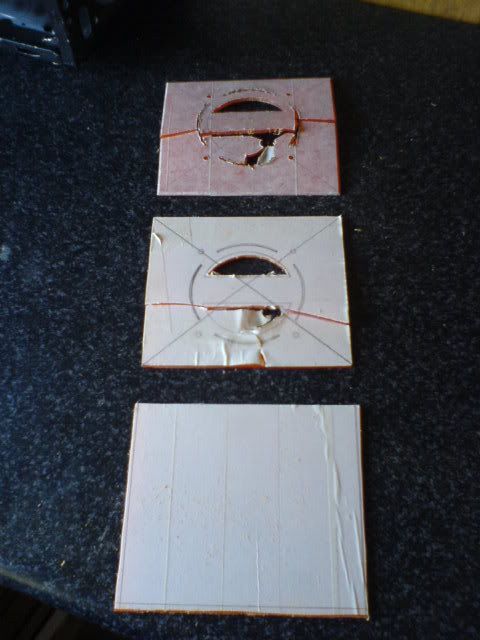
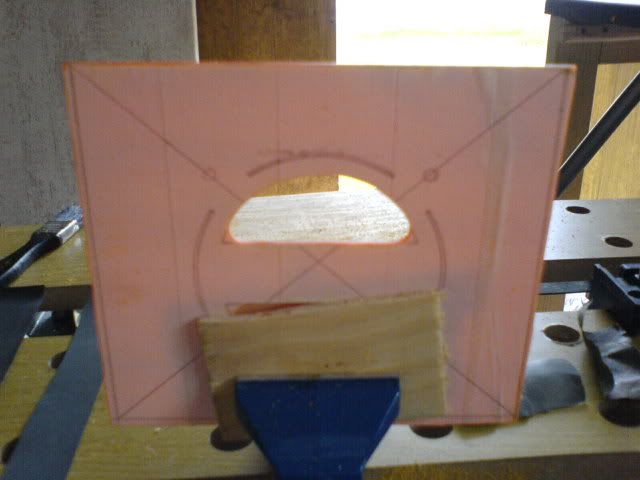
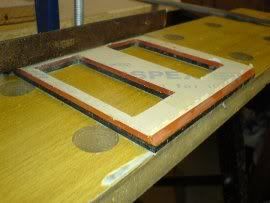
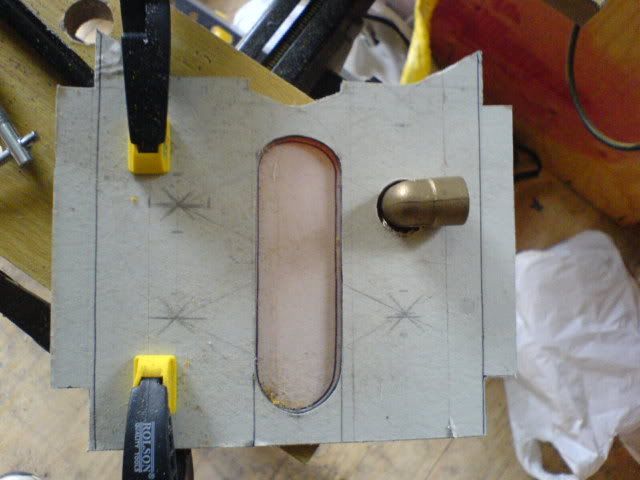
I whipped out the good old rotary tool with much better results
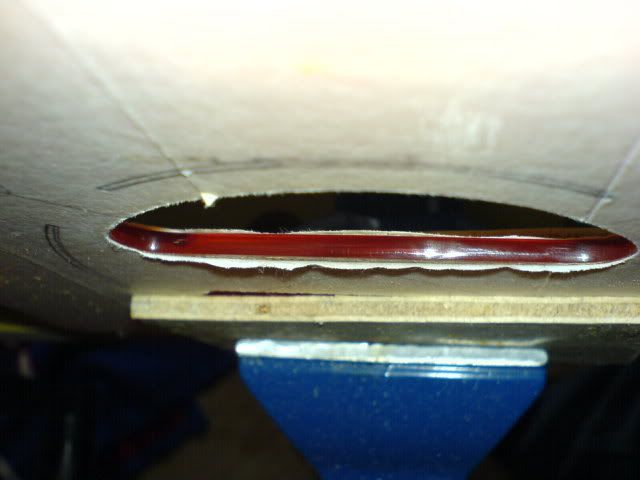
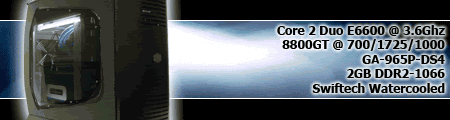
A couple of shots with which you guys will be quite familiar with:
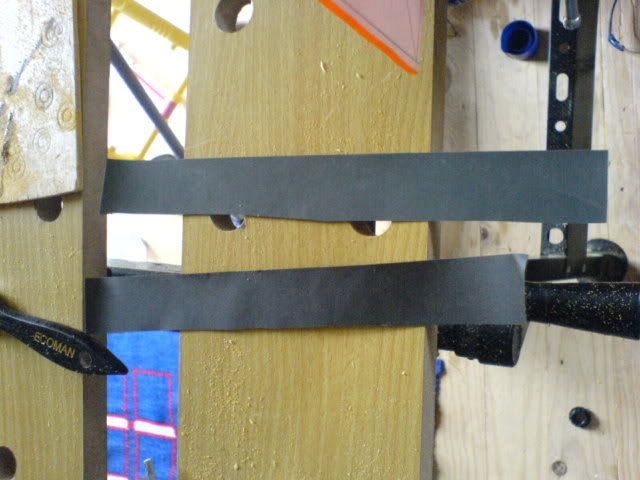
I chose a different weapon to get to the end result:
Same: 800 and 1200 grit sandpaper cut into strips
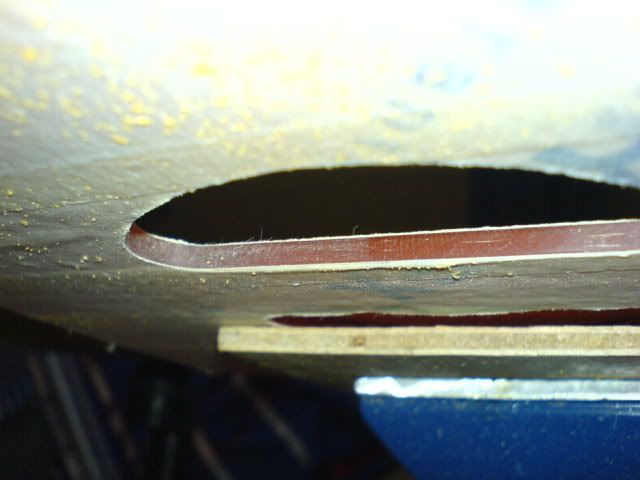
But this is a bit off the wall:
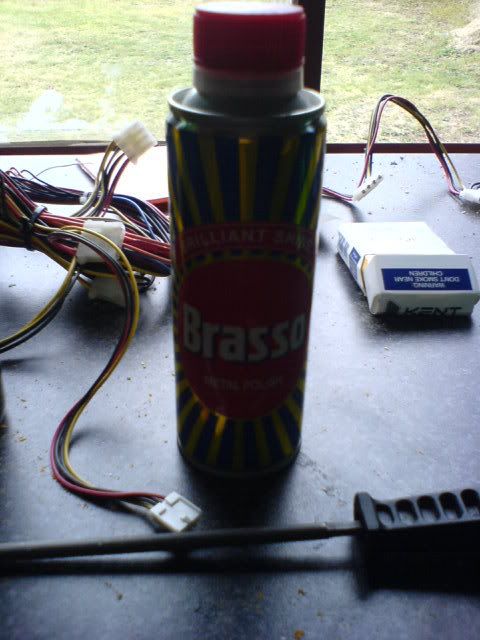
See, if you used this on a soft cloth, and you rub the particular item at the speed of light, a generous amount of heat is produced which kinda melts the edge to a super shine. A word of warning

You will need to have a high resistance to pain or use a mega thick layer of cloth between your skin and the work item 'cause the heat will get ya...(

a rotary tool with buffing wheel is just too fast- I tried- and I ended up melting the perspex instead of polishing it)
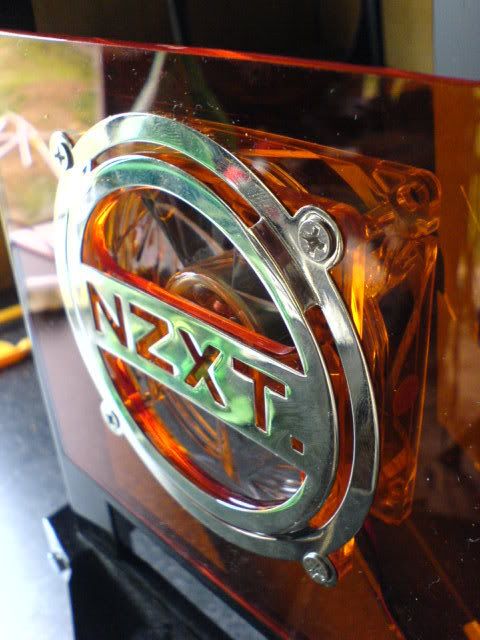
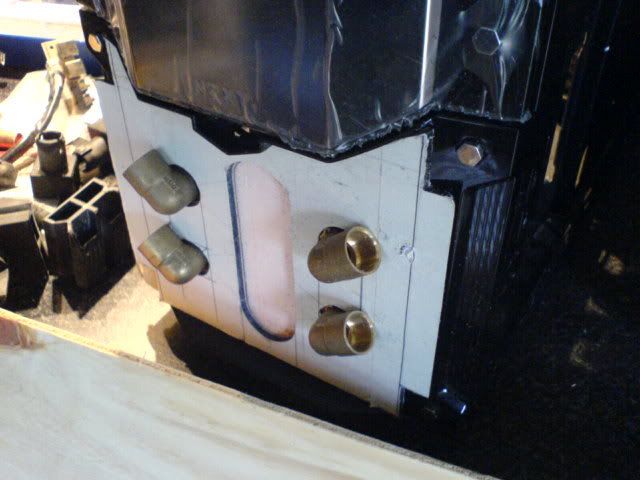
End result?
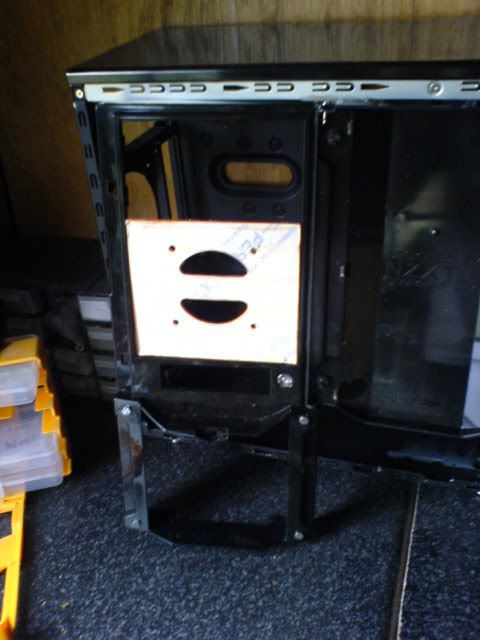
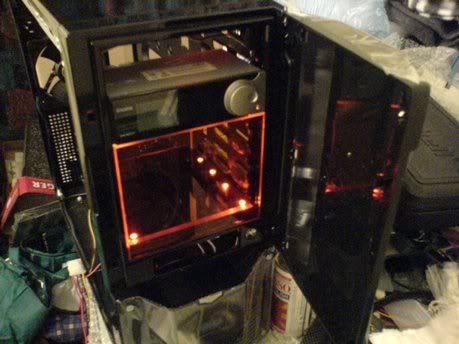
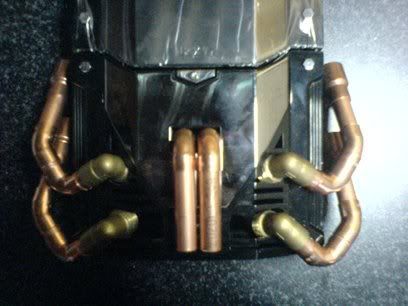
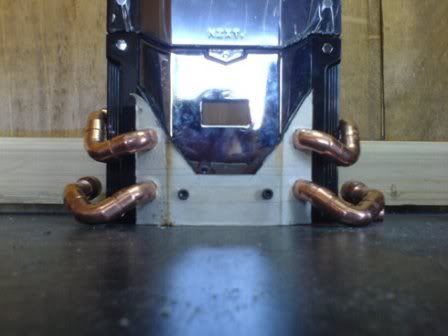
A fangril test fit...
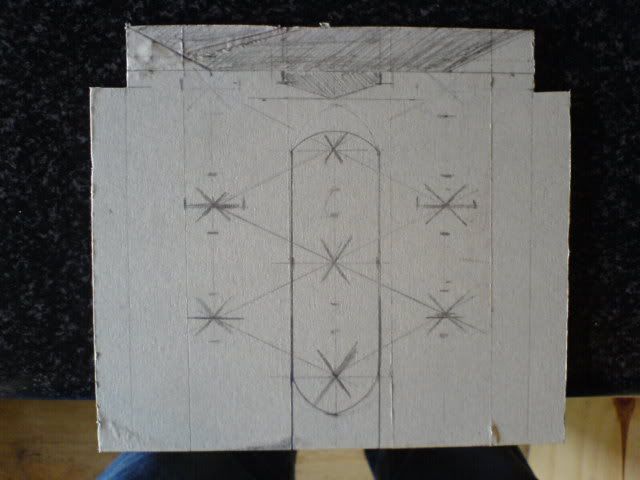
And a front panel fine-adjustment...
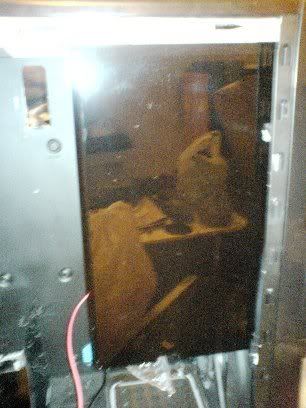
finally allowed me to be brave enough to rip the protective layers off
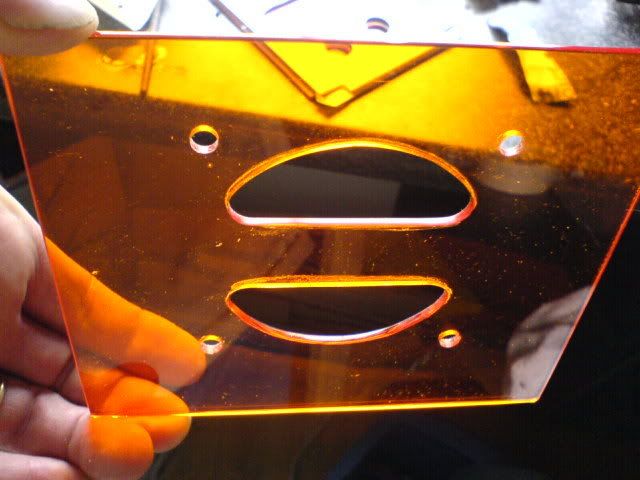
And voila, the end result:

Due to the stages that VPO is going through, a complete pic will only be revealed when every part has been premade, and when everything is ready for assembly.
Cheers,
Peter.
[/img]


 .
.