Project: Endorphin (Update! 23/01)
4 is seriously pro! I would go with 4.

Lazarus - Shattered Halls
ek se hosh. dala kulids. ghle, ho! oom, atts! hoe lyk die kambotcha? gwallafest 2007
-
DAE_JA_VOO
- Registered User
- Posts: 12310
- Joined: 28 Nov 2005, 02:00
- Location: That other place
- Contact:
-
hiphopbunny
- Registered User
- Posts: 471
- Joined: 16 Sep 2005, 02:00
- Location: ...here...

-
DAE_JA_VOO
- Registered User
- Posts: 12310
- Joined: 28 Nov 2005, 02:00
- Location: That other place
- Contact:
Sheesh i'm hacked off. I worked for about an hour on a piece of plexi that would serve as the mounting hardware for the chipset waterblock, and as i drilled the VERY LAST FRIKKEN hole...
Haven't felt this frustrated in a very long time...
Haven't felt this frustrated in a very long time...
That guy that used to mod cases. Now I take photos. True story.
-
hiphopbunny
- Registered User
- Posts: 471
- Joined: 16 Sep 2005, 02:00
- Location: ...here...


-
DoOb
- Registered User
- Posts: 2478
- Joined: 02 Aug 2006, 02:00
- Location: Durban, Bluff, Here by the ocean
- Contact:
its like that, modding is full of mistakes or misjudgement, or knowing when to take a break.... Dont worry Ettienne ive had the same problem with my modding. Just gotta leave it and come back with a free mind.
You'll get it right the next time around, as silv3rback said or even better. No knock your self over about, it happens.
Just keep doing what you do bud, thats Modding

You'll get it right the next time around, as silv3rback said or even better. No knock your self over about, it happens.
Just keep doing what you do bud, thats Modding

-
DAE_JA_VOO
- Registered User
- Posts: 12310
- Joined: 28 Nov 2005, 02:00
- Location: That other place
- Contact:
No problem guys, i came back with a vengeance 
Check THIS out! I'm so frikken amped!
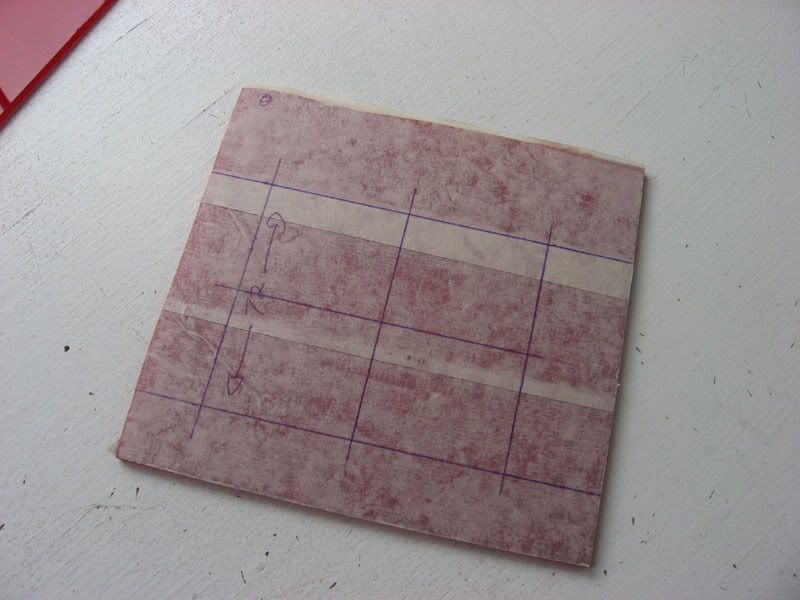
I worked the for most of today (bunked class ) on the mounting of the Chipset and CPU waterblocks. I sourced koolance blocks for the Chipset and CPU, but i didn't have the mounting hardware, so i had to make some.
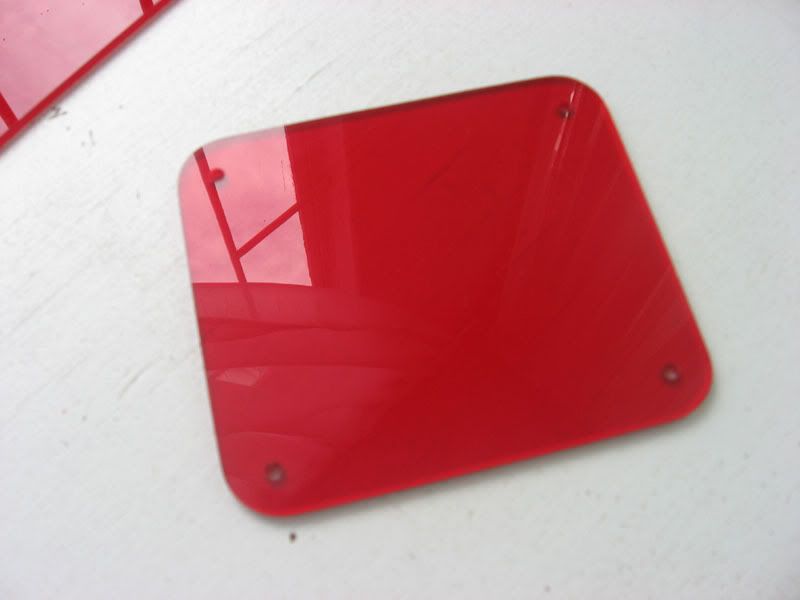
I started off with the CPU. I cut a small piece of plexi out of one of the sheets i have, masked it up, and started with some measurements:
After some intimate time with my scroll saw:
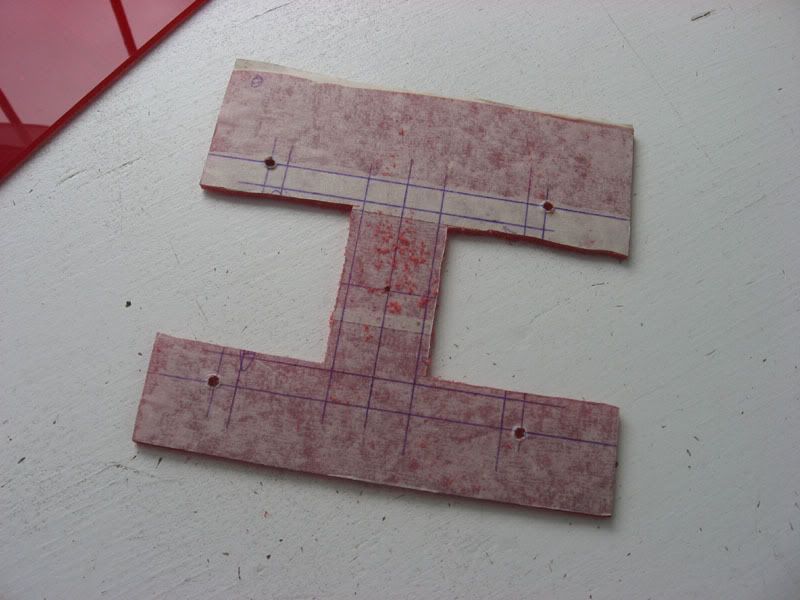
After that, it was a little more scroll saw work, and then SANDING!! Progress:
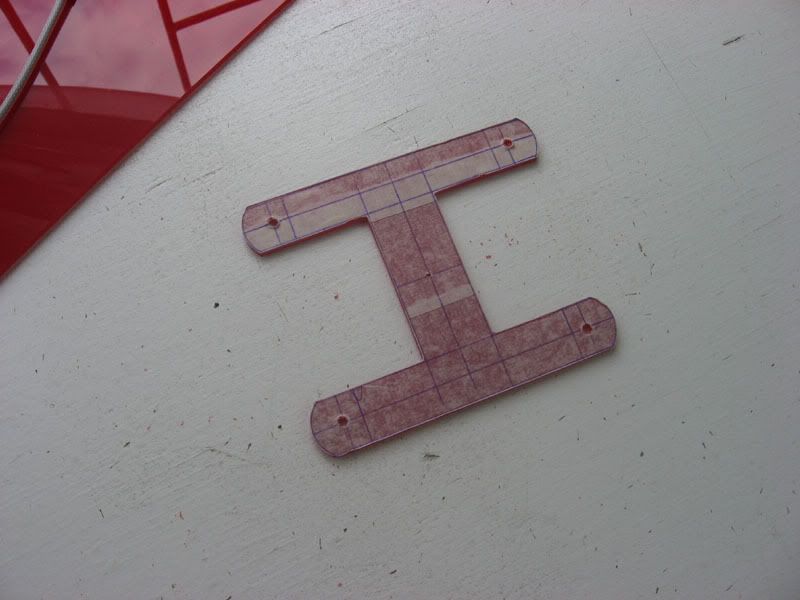
Test fitting:
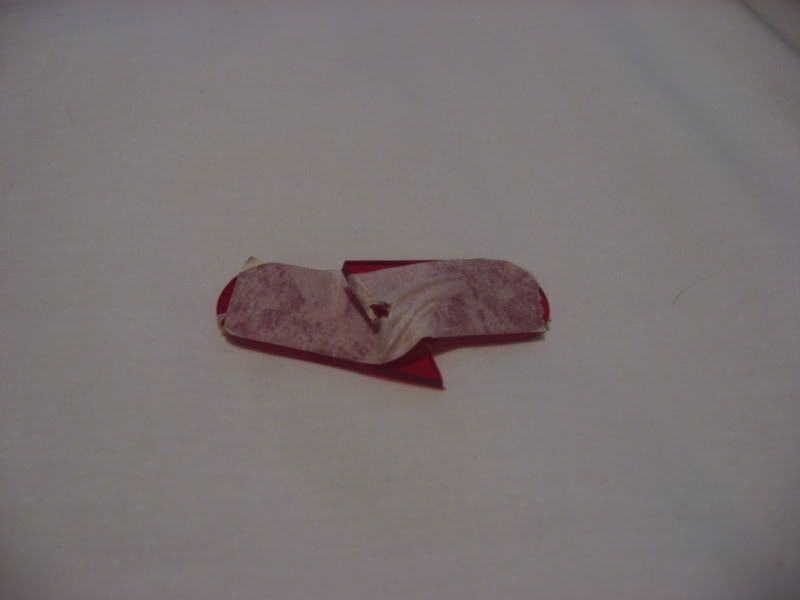
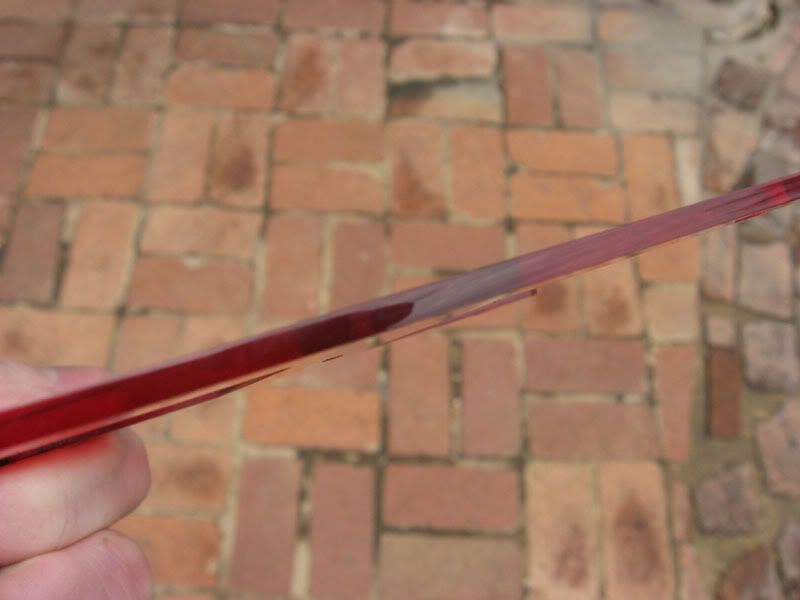
Then all i had to do was a little more sanding, and then polish the edges. End result:
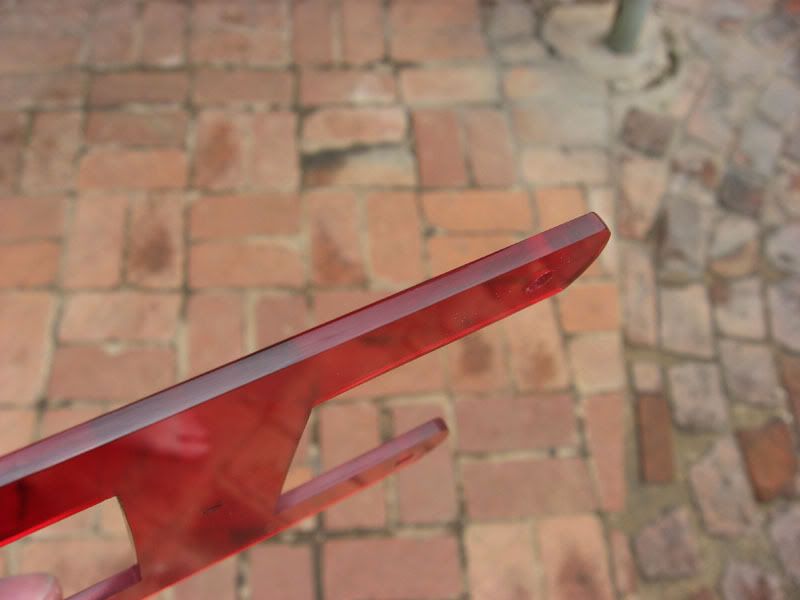
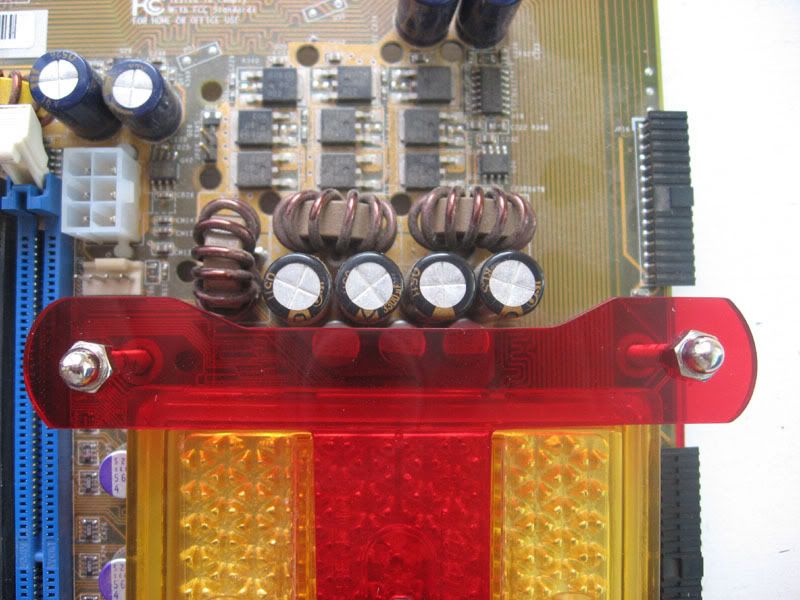
I THOUGHT i was finished, until i test fitted and saw that there are four capacitors on the motherboard that were in my way, so, i masked it up again and made some markings:

Finished:

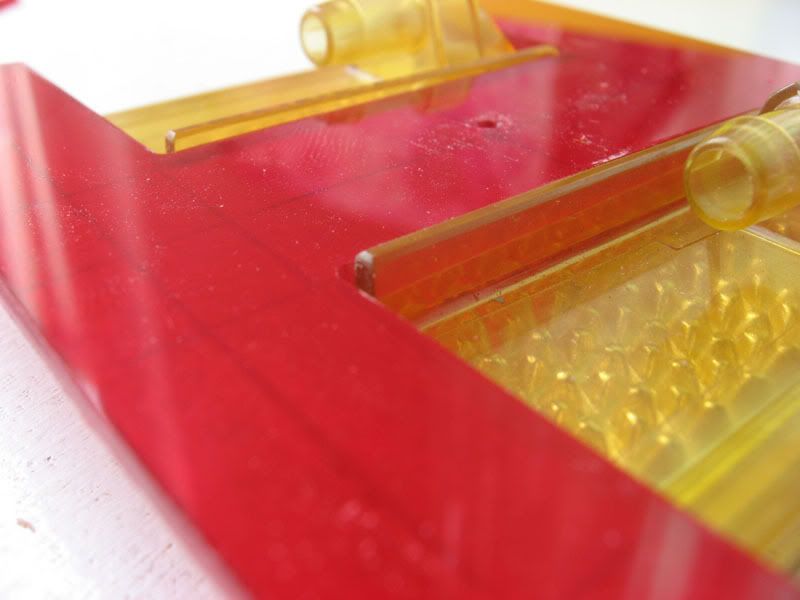
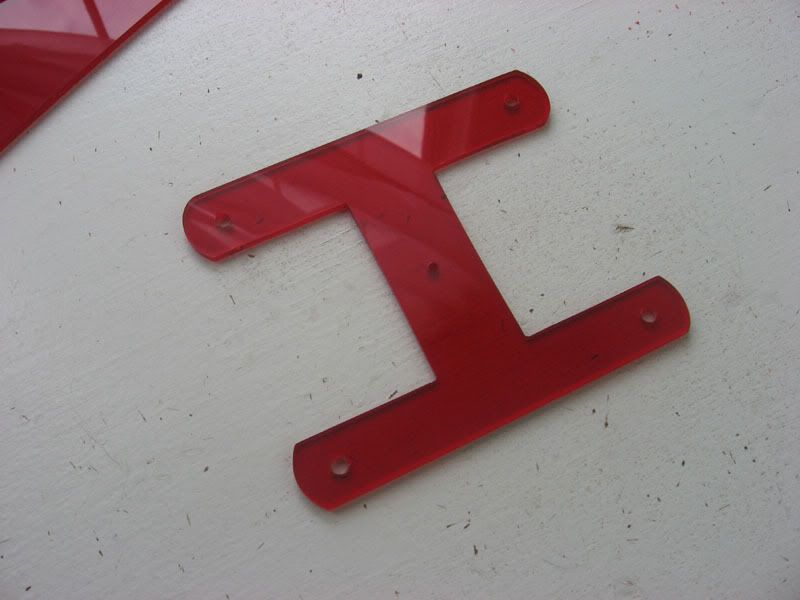
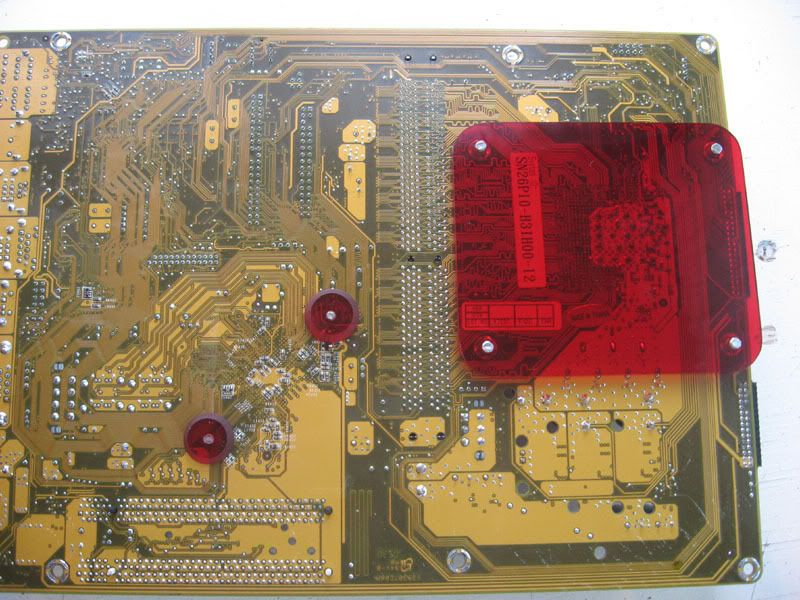
Then i had to make a panel for the BACK of the board that will hold the 4mm rods that will come up through the board into the new mounting hardware:
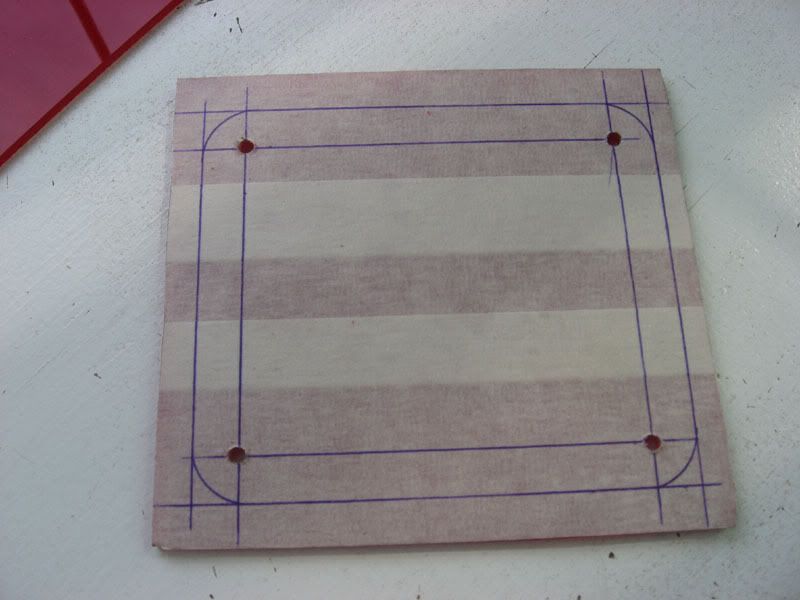
Long boring story how i did it, result:
Sorry for the out of focus image.
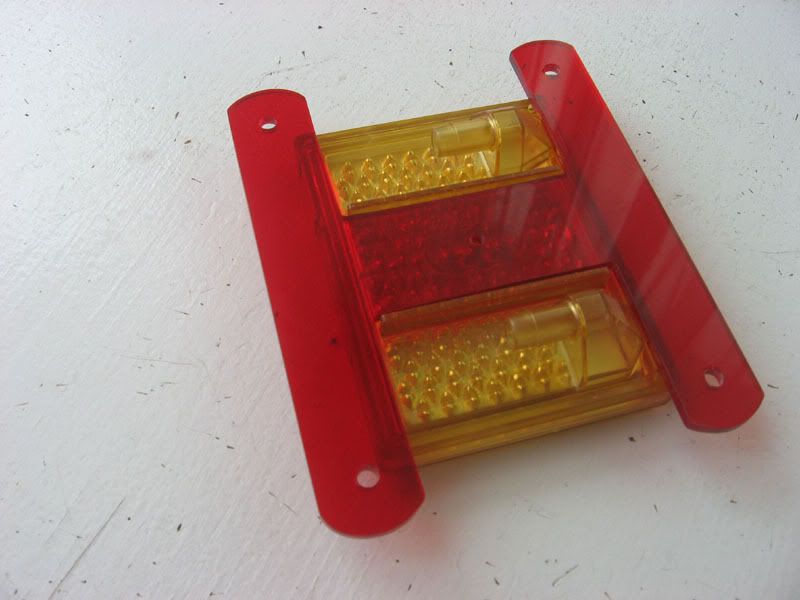
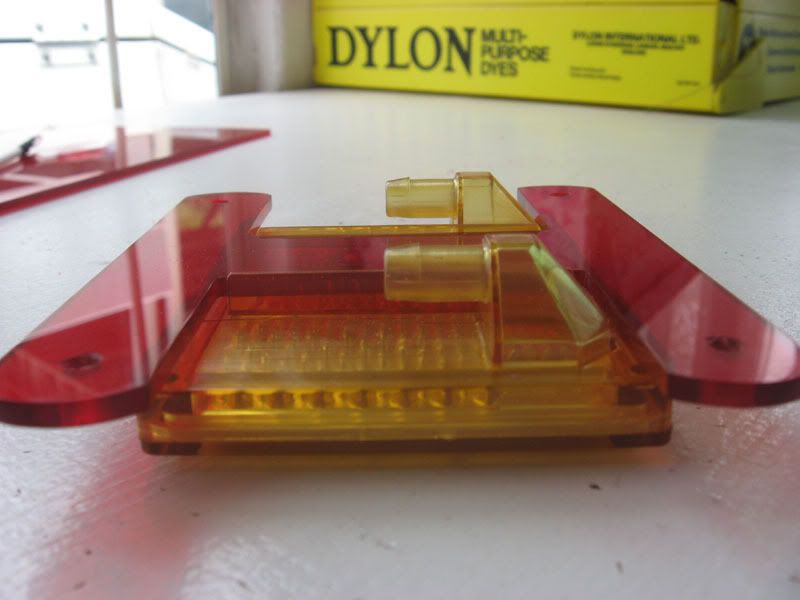
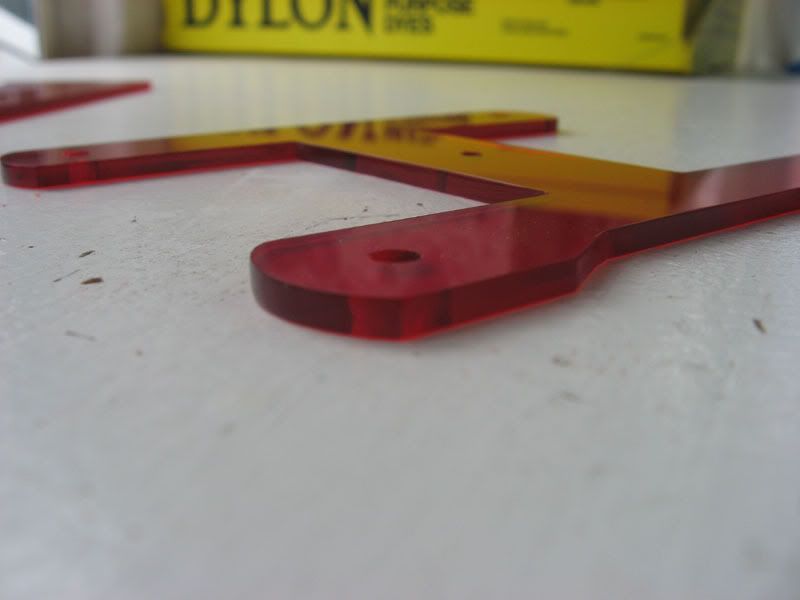
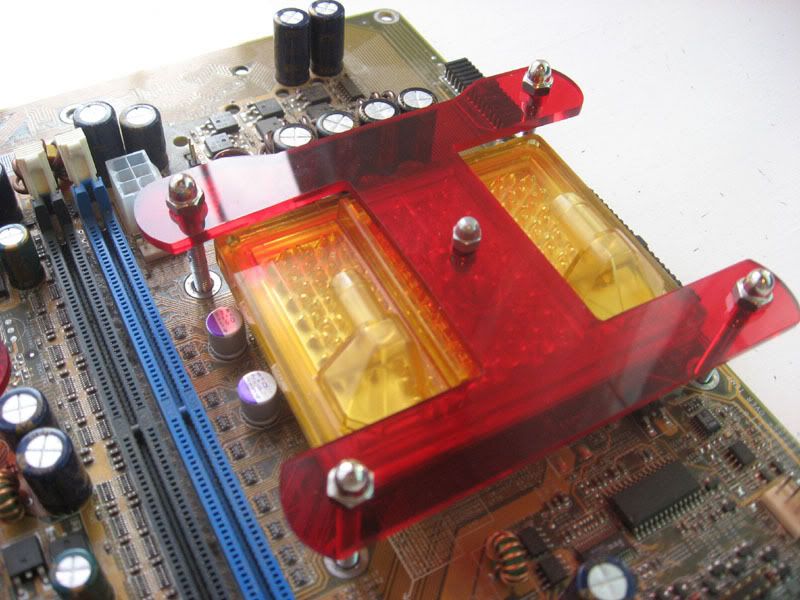
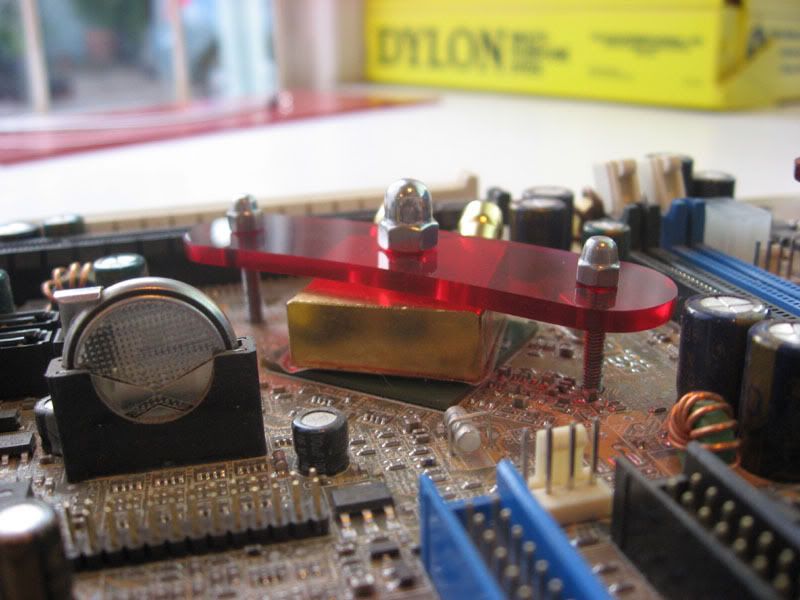
Then i made a simple mounting bracket for the chipset block. There's no need for me to explain HOW i did it because you'll see by the images that it really is a simple bracket.
Anyway, here's the final result of today's work:
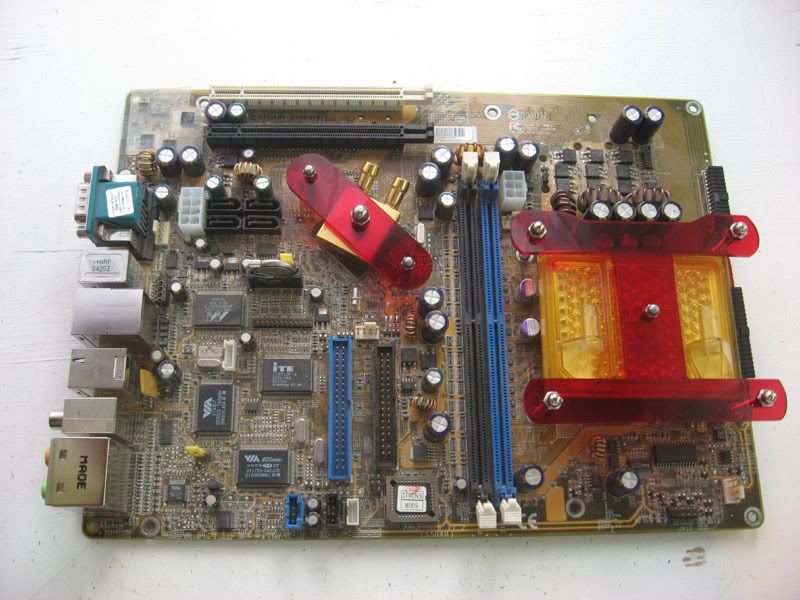
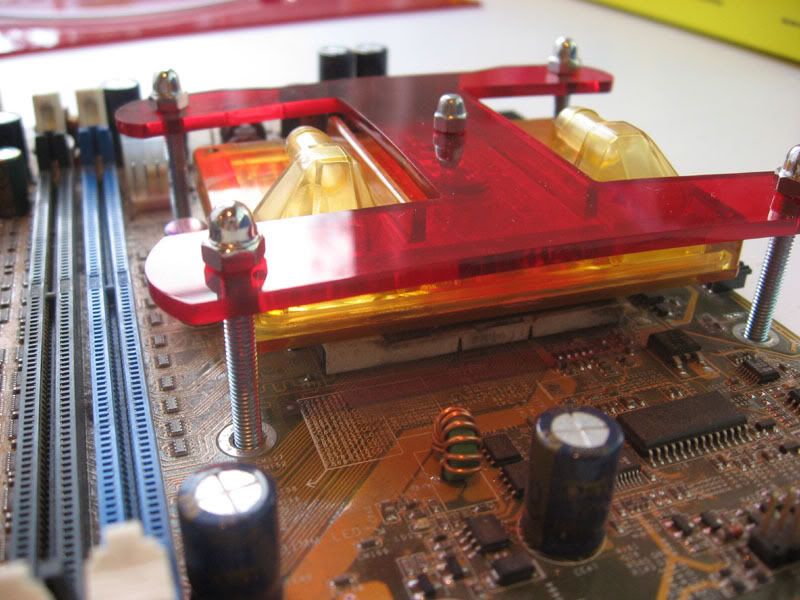
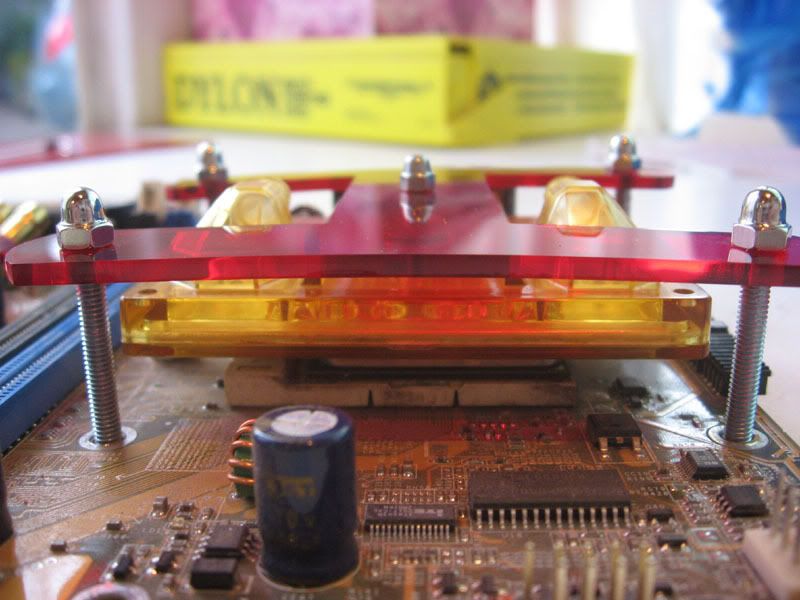

This is probably the most chuffed i've been with my own work in a while. These pic really don't do it justice. In real life it looks like it was made in a factory.
Too bad nobody will ever see this. lol. Oh well, i'll KNOW about it.
That's it guys
God Bless
Ettienne
Check THIS out! I'm so frikken amped!
I worked the for most of today (bunked class
I started off with the CPU. I cut a small piece of plexi out of one of the sheets i have, masked it up, and started with some measurements:
After some intimate time with my scroll saw:
After that, it was a little more scroll saw work, and then SANDING!! Progress:
Test fitting:
Then all i had to do was a little more sanding, and then polish the edges. End result:
I THOUGHT i was finished, until i test fitted and saw that there are four capacitors on the motherboard that were in my way, so, i masked it up again and made some markings:
Finished:
Then i had to make a panel for the BACK of the board that will hold the 4mm rods that will come up through the board into the new mounting hardware:
Long boring story how i did it, result:
Sorry for the out of focus image.
Then i made a simple mounting bracket for the chipset block. There's no need for me to explain HOW i did it because you'll see by the images that it really is a simple bracket.
Anyway, here's the final result of today's work:
This is probably the most chuffed i've been with my own work in a while. These pic really don't do it justice. In real life it looks like it was made in a factory.
Too bad nobody will ever see this. lol. Oh well, i'll KNOW about it.
That's it guys
God Bless
Ettienne
That guy that used to mod cases. Now I take photos. True story.

-
RobThePyro
- Registered User
- Posts: 1210
- Joined: 04 Dec 2006, 02:00
- Location: Durbz!
- Contact:

-
DAE_JA_VOO
- Registered User
- Posts: 12310
- Joined: 28 Nov 2005, 02:00
- Location: That other place
- Contact:
Thanks guys
@ Rob: No dude, 5mm is WAY too thick, unnecessarily thick in fact. 3mm is more than strong enough for this.
And yeah, like psychowit said, bunking a day of class isn't gonna do much. I actually DID go to class today though, but only for an hour, then i got up and walked out (was bored to death). It was every OTHER day of this week that i bunked! lol! It's cool though, i'll still make it
That guy that used to mod cases. Now I take photos. True story.
-
NealeDeadlyAlien
- Registered Bush Snake Facehugger
- Posts: 13548
- Joined: 18 Nov 2003, 02:00
- Location: Somewhere beyond reality

-
KillerByte
- G3AR Staff Member
- Posts: 5790
- Joined: 08 Mar 2003, 02:00
- Location: PCFormat HQ
- Contact:
-
DarkRanger
- Registered User
- Posts: 8346
- Joined: 10 May 2006, 02:00
- Processor: Intel i5-3750
- Motherboard: Gigabyte
- Graphics card: nVidia GTX 550Ti
- Memory: 8GB Jetram
- Contact:

-
DAE_JA_VOO
- Registered User
- Posts: 12310
- Joined: 28 Nov 2005, 02:00
- Location: That other place
- Contact:
Hehehe, thanks manKillerByte wrote:DAE!!!!!!!!!!! Looks FRIKKEN AWESOME!!!!!!!!!!!!11
I think when I do my mod your work will inspire some of my ideas, especially this one. Absolutely love your handy work.
She IS beautiful huh? Sheesh, i seldom see someone who comes close to hhb's beautyStoneIce wrote:O yes , DAE_JA_VOO , HipHopBunny look beautiful. DAE is a lucky one hehe

Ag, i was thinking about it but decided that i don't want to. So much work and effort just to sell it off. I'll rather have it and not use it than sell it for money that i don't really need in any case...DarkRanger wrote:So DAE, you seriously gonna sell this mod? And for how much, is that hardware included?
Besides, i'll use it for LANs and stuff. The 4400+, 2GBs of RAM, and two 7600GTs are enough for a LAN machine
So yeah, i'll be keeping it
That guy that used to mod cases. Now I take photos. True story.
-
KillerByte
- G3AR Staff Member
- Posts: 5790
- Joined: 08 Mar 2003, 02:00
- Location: PCFormat HQ
- Contact:
-
DarkRanger
- Registered User
- Posts: 8346
- Joined: 10 May 2006, 02:00
- Processor: Intel i5-3750
- Motherboard: Gigabyte
- Graphics card: nVidia GTX 550Ti
- Memory: 8GB Jetram
- Contact: