
Project: Supanaut (The PSU has blown and I had to replace)

Ok so here it finally is. A lekker big update 
Yesterday I made the internal panels as you already know, Today I finished the top one and started the wiring. Didn't do all the things I wanted too but I am tired of modding for today.
There are 3 reasons for the internal panels: 1) It makes the head a bit heavier, 2) It gives the structure of the head more strenght, 3) It hides the wiring
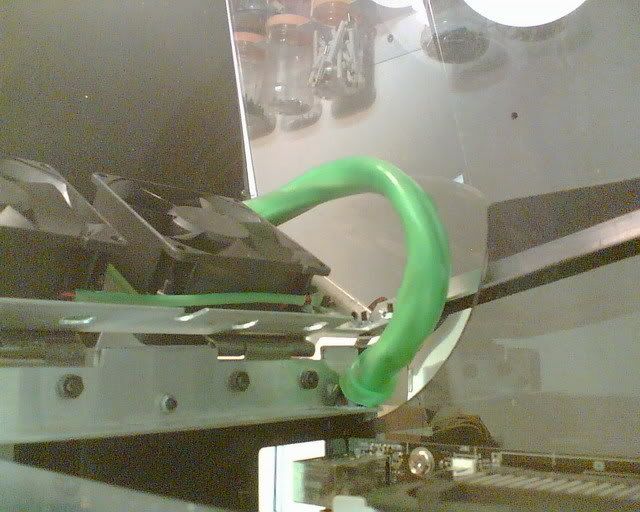
Firstly I made the front panel. You can see where the wires for those 2 fans go under the panel. I had to remove the LCD temporarily to fit these panels.

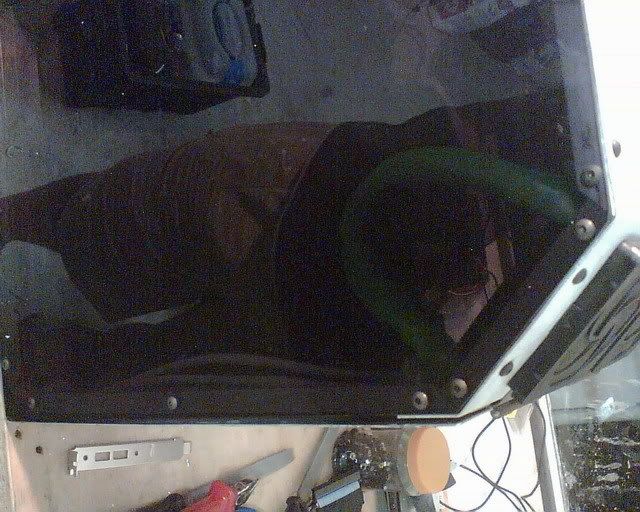
This is the top panel. it is upside down just in case you wondered

Here I basically wired the buttons and front panel USB connectors. The red and black wires are for the fans and main supply to the control panel.

I had to remove the top panel and make some space for the LCD and USB connectors to fit.

And finally an upside down look of the inside

I still have to make a cover for the LCD, buttons and USB connectors. I don't know if should make covers for the fans (obviously with the fan holes cut in). Maybe I should though... I should start working on the wiring for the main body this long weekend and do the power distribution as well. Then make the panels for the body and fit the DVD-wr. After that I need to start on fitting the actual hardware. Man I can't wait
Yesterday I made the internal panels as you already know, Today I finished the top one and started the wiring. Didn't do all the things I wanted too but I am tired of modding for today.
There are 3 reasons for the internal panels: 1) It makes the head a bit heavier, 2) It gives the structure of the head more strenght, 3) It hides the wiring
Firstly I made the front panel. You can see where the wires for those 2 fans go under the panel. I had to remove the LCD temporarily to fit these panels.
This is the top panel. it is upside down just in case you wondered
Here I basically wired the buttons and front panel USB connectors. The red and black wires are for the fans and main supply to the control panel.
I had to remove the top panel and make some space for the LCD and USB connectors to fit.
And finally an upside down look of the inside
I still have to make a cover for the LCD, buttons and USB connectors. I don't know if should make covers for the fans (obviously with the fan holes cut in). Maybe I should though... I should start working on the wiring for the main body this long weekend and do the power distribution as well. Then make the panels for the body and fit the DVD-wr. After that I need to start on fitting the actual hardware. Man I can't wait
Wow, that thing is HUGE if I look at the pic in the garage...
Im guessing you dont go to tooo many LAN's, now do you?
Im guessing you dont go to tooo many LAN's, now do you?
My BF2142 Stats:

Slasher : Former member of www.PCFormat.co.za
I have reached the end of my near 5 year forum life. Farewell good days...
slasher (at) webmail (dot) co (dot) za
Slasher : Former member of www.PCFormat.co.za
I have reached the end of my near 5 year forum life. Farewell good days...
slasher (at) webmail (dot) co (dot) za
Today I felt like modding a bit. I made a couple of pieces, finished the small fan fitment and fitted the screen power connector.
Little fans fitted

Screen Power rough cut

This what it looked like after the filing

Done

Remember this?

Well I made a "housing" for it out of perspex
This is the front (Not cut yet)

This the back so you can see the bends. What a beech to bend that. The long sides were difficult cause I didn't have a long enough piece of metal to bend the whole side with. I had to do it bit by bit but I think it came out ok

Here I cut the holes and fitted the connectors into the housing

Holes drilled and fitted

All ready to be used as power distribution. Trying to minimize power wires and this helps makes it look nicer too.

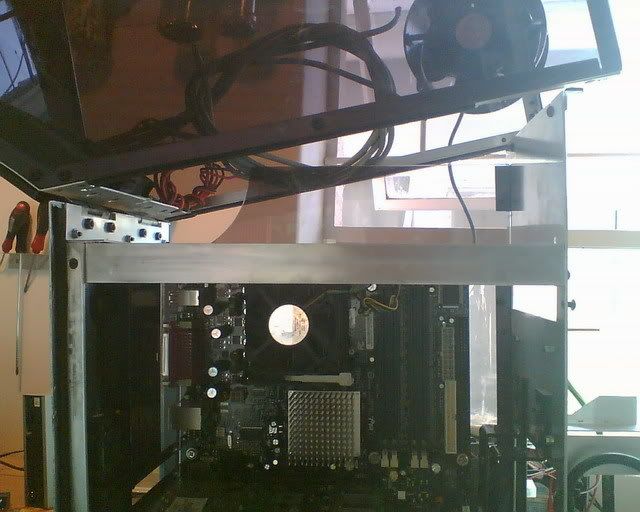
I also needed to make sure the MoBo was going to fit. This is my old Intel motherboard. It went up in smoke after the previous CPU fan failed. Its really useful as a measurement device...

There will be more updates tomorrow
Little fans fitted
Screen Power rough cut
This what it looked like after the filing
Done
Remember this?
Well I made a "housing" for it out of perspex
This is the front (Not cut yet)
This the back so you can see the bends. What a beech to bend that. The long sides were difficult cause I didn't have a long enough piece of metal to bend the whole side with. I had to do it bit by bit but I think it came out ok
Here I cut the holes and fitted the connectors into the housing
Holes drilled and fitted
All ready to be used as power distribution. Trying to minimize power wires and this helps makes it look nicer too.
I also needed to make sure the MoBo was going to fit. This is my old Intel motherboard. It went up in smoke after the previous CPU fan failed. Its really useful as a measurement device...
There will be more updates tomorrow

-
DAE_JA_VOO
- Registered User
- Posts: 12310
- Joined: 28 Nov 2005, 02:00
- Location: That other place
- Contact:


-
DAE_JA_VOO
- Registered User
- Posts: 12310
- Joined: 28 Nov 2005, 02:00
- Location: That other place
- Contact:
-
DAE_JA_VOO
- Registered User
- Posts: 12310
- Joined: 28 Nov 2005, 02:00
- Location: That other place
- Contact:
-
Lithe_Joint
- Registered User
- Posts: 802
- Joined: 06 Sep 2006, 02:00
- Location: WTF?
- Contact:
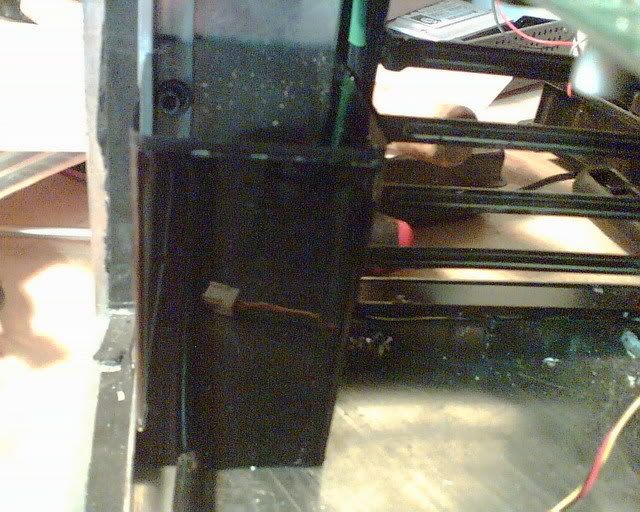
I had some time to mod recently.
As promised, another picture of the 220Vac protection box
I thought the perspex rod I used to fix the front support plate wasn't strong enough and replaced it with a piece of aluminium like so:
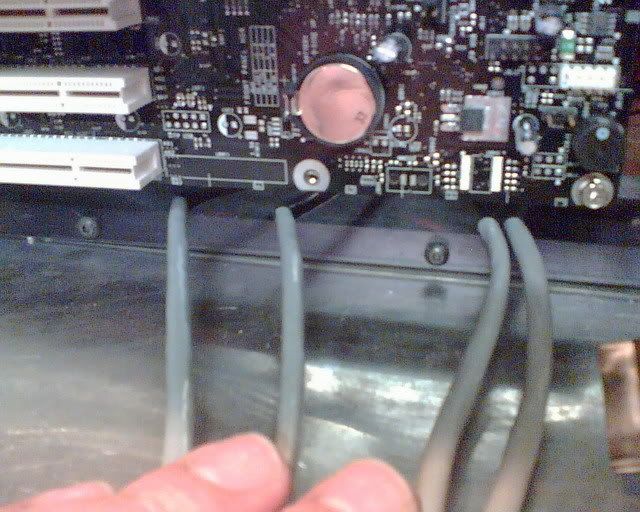
I did some wiring as well. Brought all the right wires at the right places to the mobo
I also sleeved the massive amount of cables going to the front panel and gave it some hectic heat shrink
When the box is closed it looks like this
Let me know what you think.
As promised, another picture of the 220Vac protection box
I thought the perspex rod I used to fix the front support plate wasn't strong enough and replaced it with a piece of aluminium like so:
I did some wiring as well. Brought all the right wires at the right places to the mobo
I also sleeved the massive amount of cables going to the front panel and gave it some hectic heat shrink
When the box is closed it looks like this
Let me know what you think.
-
DAE_JA_VOO
- Registered User
- Posts: 12310
- Joined: 28 Nov 2005, 02:00
- Location: That other place
- Contact:
-
DAE_JA_VOO
- Registered User
- Posts: 12310
- Joined: 28 Nov 2005, 02:00
- Location: That other place
- Contact:
Yeah Dude i'm gonna make sure i have NO projects running when i have my first kid. If my kid wants attention, i wanna be able to give him/her attention, just like you're doing.
I just dont want any projects because i'll be like this:
*baby cries*
Me: Hmmmm.... *thinks to myself "modding or baby... hmmm*
*carries on modding*

(i hope HHB doesn't read this thread )
)
I just dont want any projects because i'll be like this:
*baby cries*
Me: Hmmmm.... *thinks to myself "modding or baby... hmmm*
*carries on modding*
(i hope HHB doesn't read this thread
That guy that used to mod cases. Now I take photos. True story.