It's update time again!
Hello 5m of LED lighting


Thanks to the Chinese guys reels of LED strips aren’t all that expensive (considering these only cost R100 and are waterproof)
These ones can be cut into segments which have 3 LEDs each. It’s actually fairly easy to connect them up.
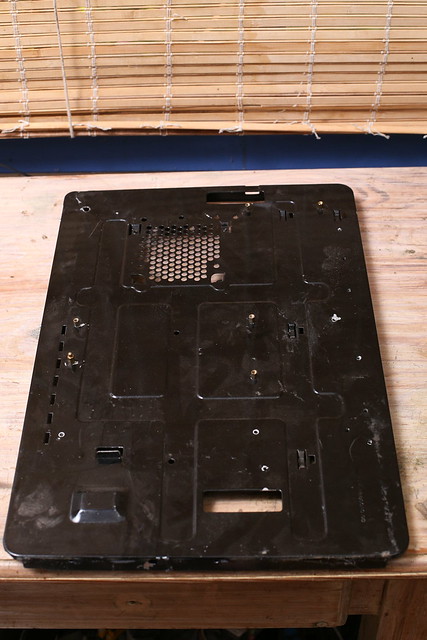
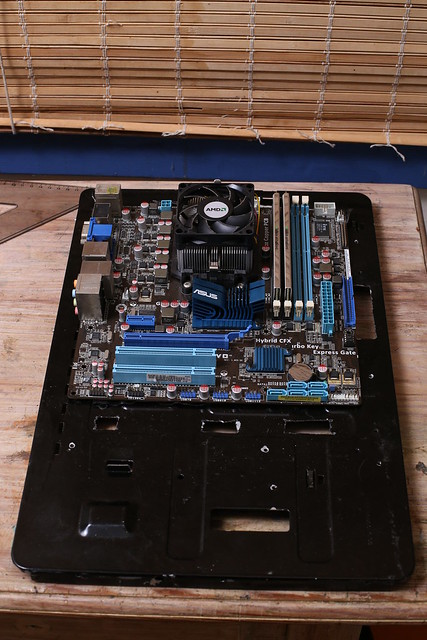
I took off the panel that was going to get some LED goodness.

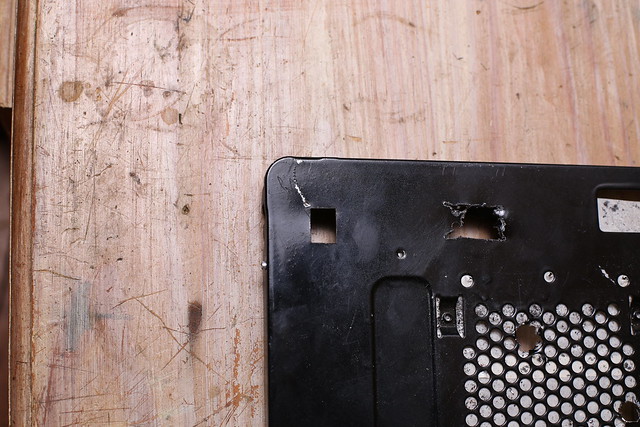
The spot where I’ll be putting the LEDs (note the patches of super glue from previous attempts which ended up in my room full of smoke)

Next up I measured the strip against the part

And then snipped it on the mark between the 4 pads

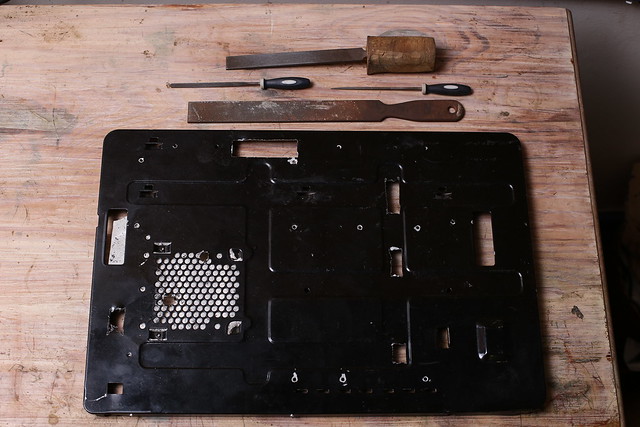
I then checked to see how much space I still had left for wireing

3 segments (with a total of 9 LEDs) is a very tight fit. This meant I had to be clever with my wiring but more on that later.
Next is connecting the wires to power the leds. The problem is these strips are covered in silicon to give them their waterproof properties.
In order for us to connect wires to the pads (little copper discs) we need to remove some of this silicon.

After that the silicon bit can just be cut off or left on.
Next I placed a bit of solder on each pad to make it easier to solder the wires in place

Then tinned the wires, soldered them on and heatshrinked it for neatness

Somewhere in the past few days I sleeved the cable and added some sleeving over the LED strip to make it less noticeable when on the case. I also added some connectors since the LEDs will be on the front panel which will probably get taken off sometime in the near future.


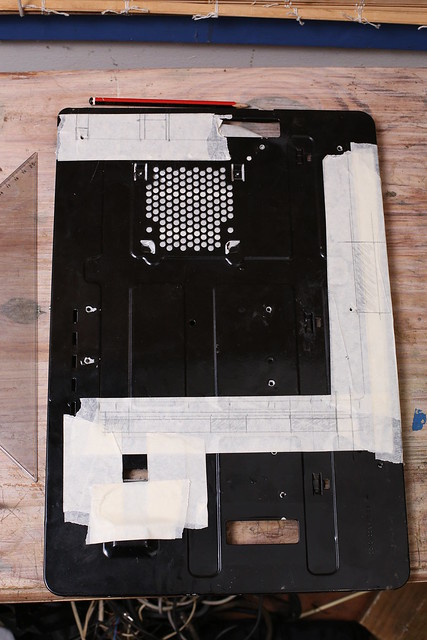
The cables required a few holes to be drilled (the pic is from before I actually sleeved the strip)

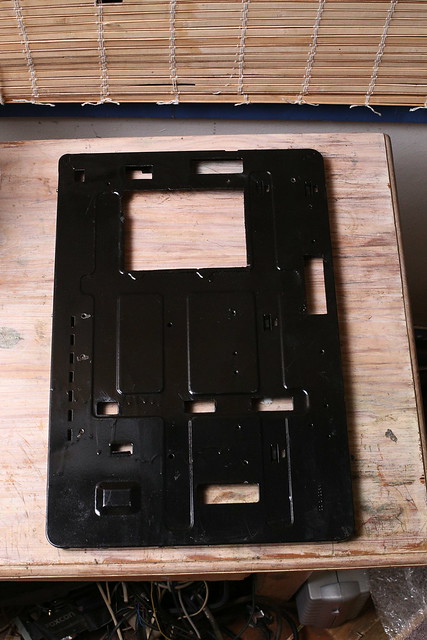
A shot of it before it got put back together

And finally, we have light!

A bit before I actually finished this strip, I had actually been redoing the LEDs that I had underneath the case, which I can't seem to find the pictures of now that I'm writing this up. :/
I can't believe how many views this project log has had since i started it back in 2008

Comments, crits and general opinions are more than welcome