Alrighty, update time! I haven't worked on this mod in about 2 weeks actually, been crazy busy

but I took all the shots while I was working on it before and now I'm posting the update

Let me start this update just by saying that I'm sorry about how my photos are cut off on the side. This is the only forum I post my updates to that has such tight image restrictions. I should chat to Ron about that actually. These are all 700px wide and they're still getting clipped
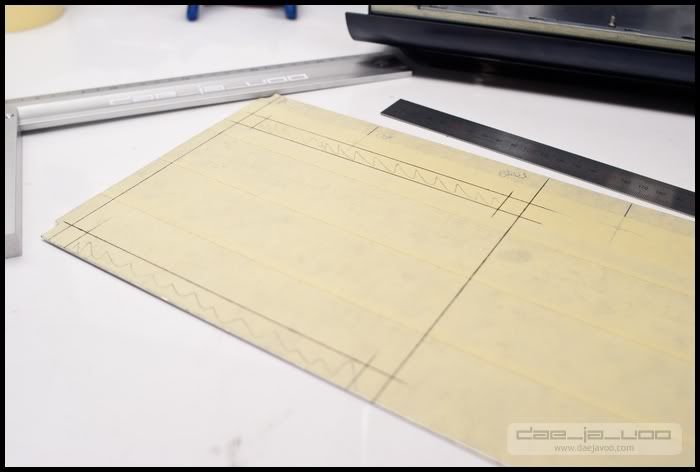
One of the things I've always been really iffy about is cable management. I hate it when cables aren't done well in a machine. So, what I decided to do was make some panels that would fit into the side panel of the case, and on these panels, I'll fit some cable management clips. Let's explain this in pictures. Some alu for the first panel:
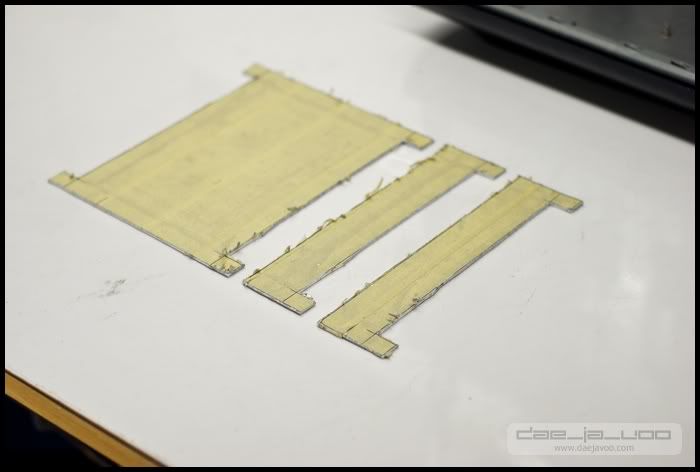
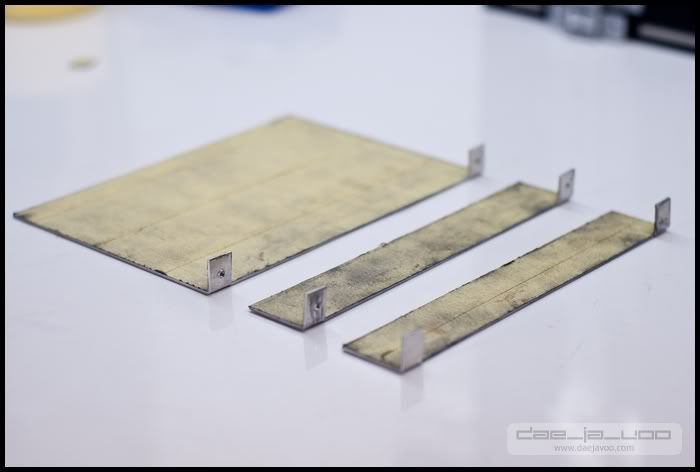
Three panels cut out. These are rough cuts. They still needed some more cut out, and also some filing/sanding:

Cutting done. Next step is cutting/filing:
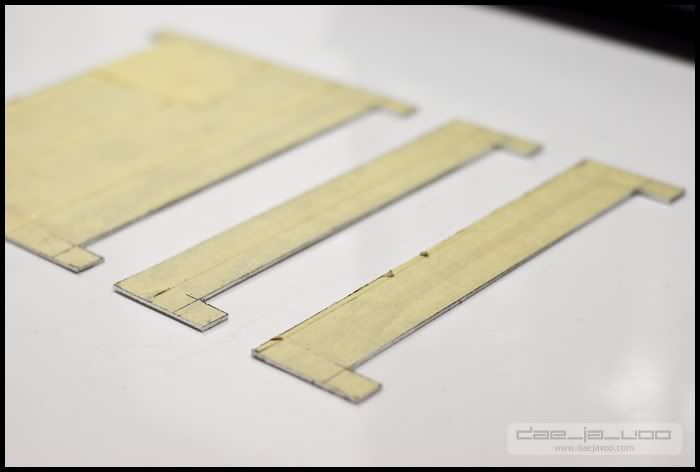
Cutting and filing done:
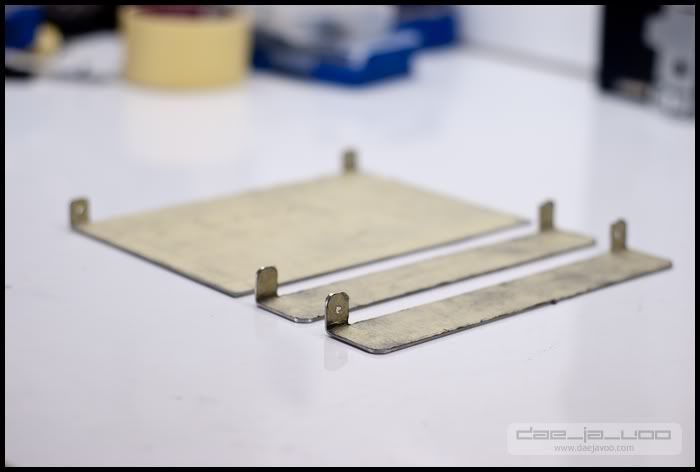
Then I needed to bend these little wings up so that I could use that to screw these panels into the side panel of the case. The big piece ended up being a problem. Either I measured wrong, or I bent the parts wrong, but it ended up being about 1mm too wide to fit, so I ended up just cutting off the wings, and that had no negative effects on the panel's stability, so no loss!
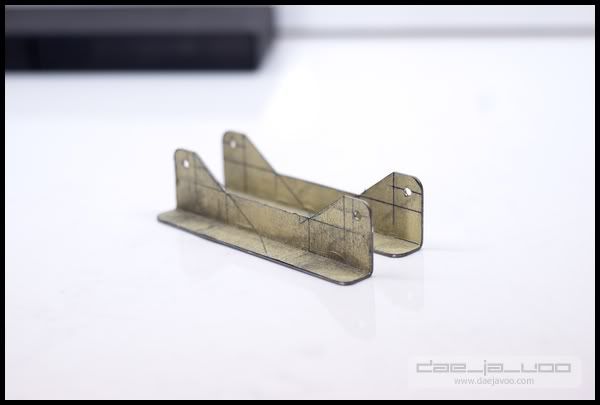
And here the panels are, more or less finished, for now. The need to still be sanded down and painted, and holes made for the cable management goodies, but that all happens later:
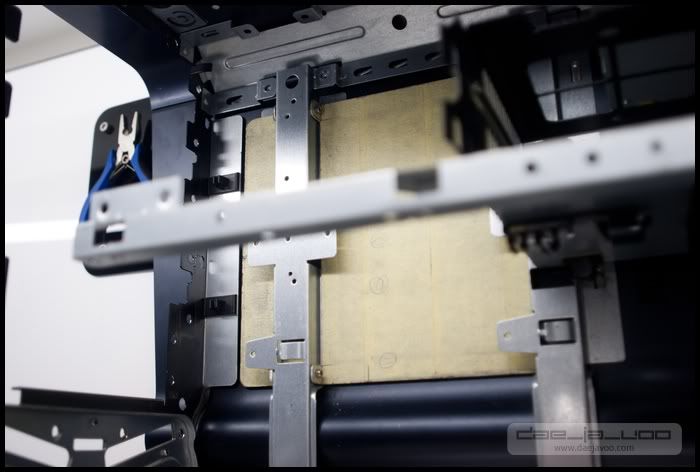
This is what they look like fitted:
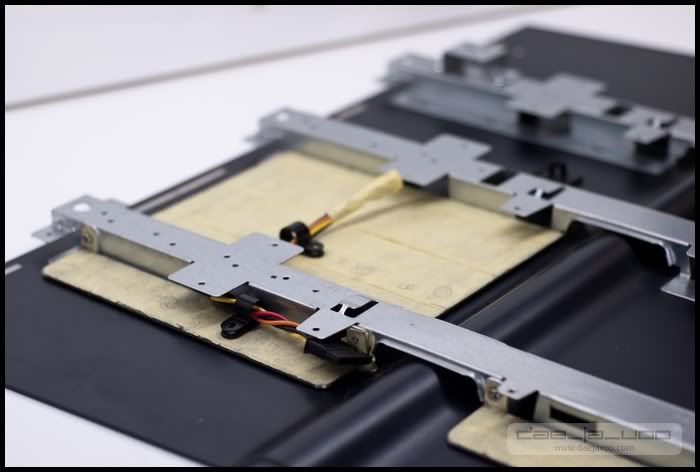
And this is a quick illustration of how they'll actually work. This is a very rough idea, but use your imagination

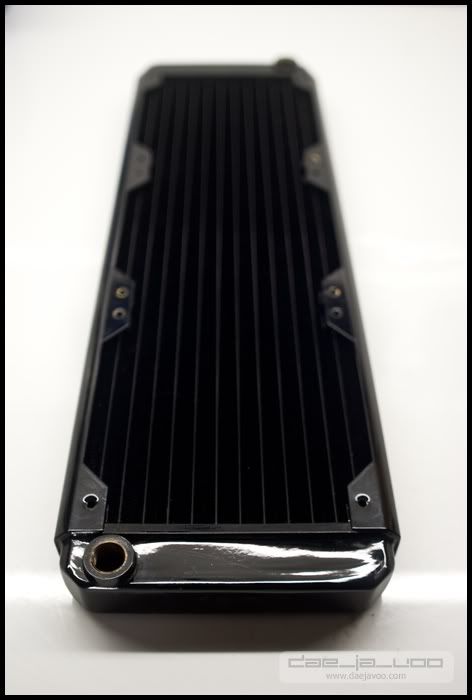
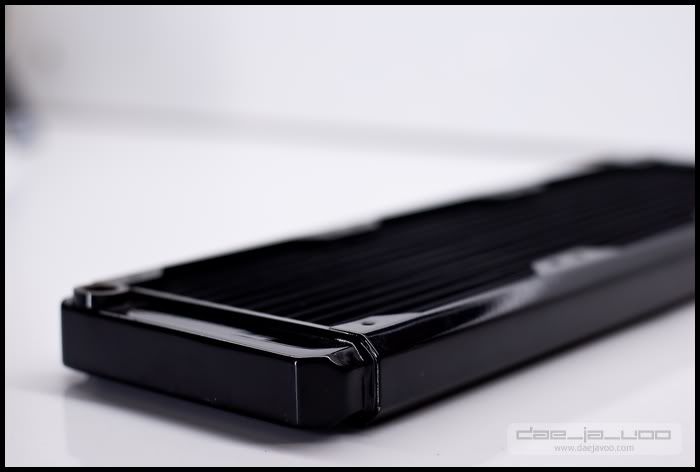
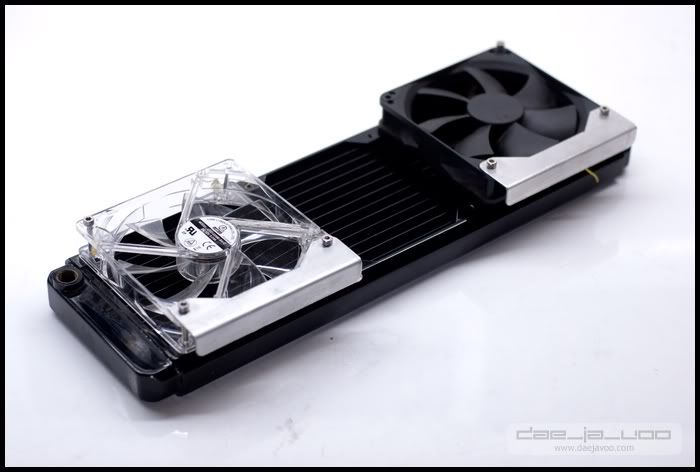
Then, let me introduce the first cooling component in this build - the Black Ice Stealth. It's a 3x120mm raddy, and dead sexy:
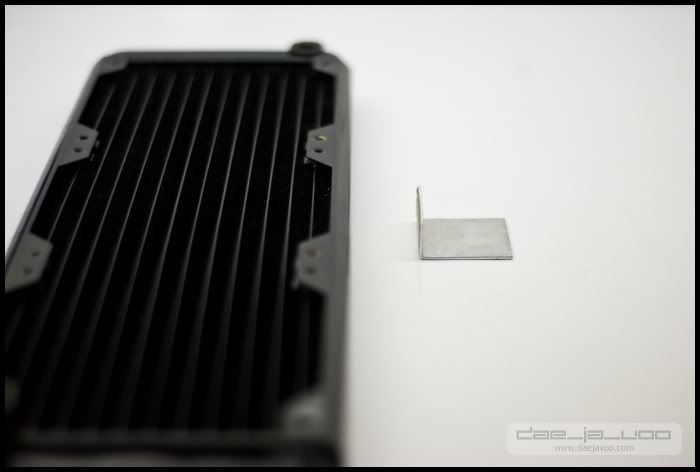
Now, because of the nature of this case, it obviously has no place that's made for a radiator to fit. So I had to make something like that. I started off by just using a piece of scrap alu, measuring a few distances, bending it, and making sure that I had my measurements 100% right, because the next thing I was going to do had no room for error

So here's the raddy and the alu:
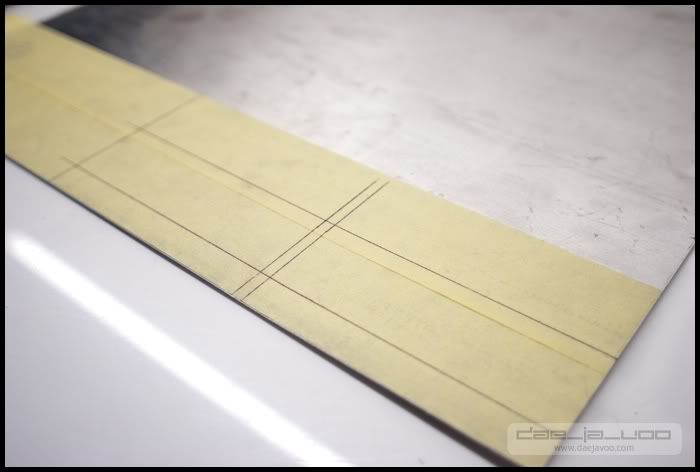
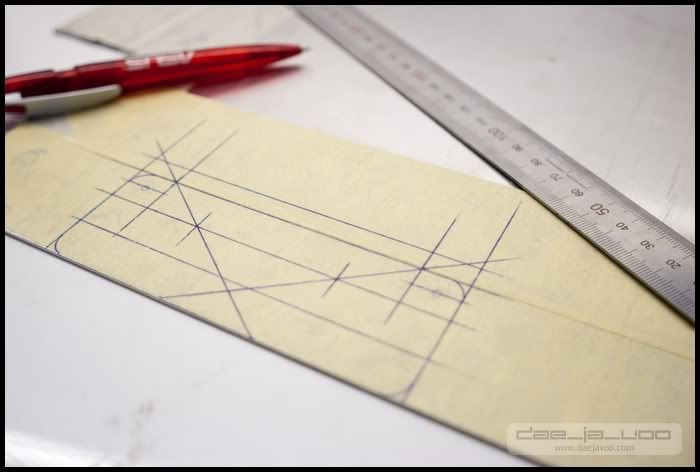
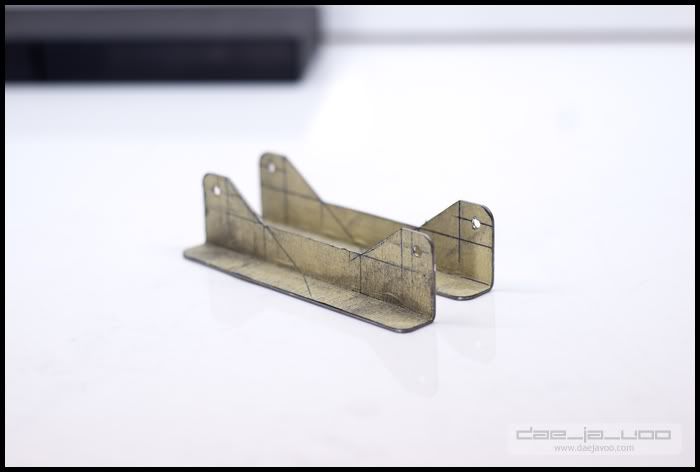
I decided to make up two small brackets that would fit to the case's motherboard tray, and then that would hold up the raddy. So here I had them marked up:
Drilling the holes:
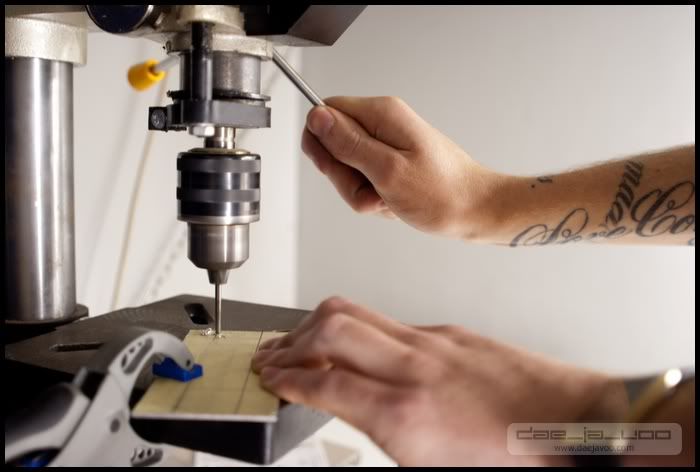
Thought I'd show you the drill press I use. Definitely one of the best investments I ever made. Anyway, here were the two pieces ready for some fun:
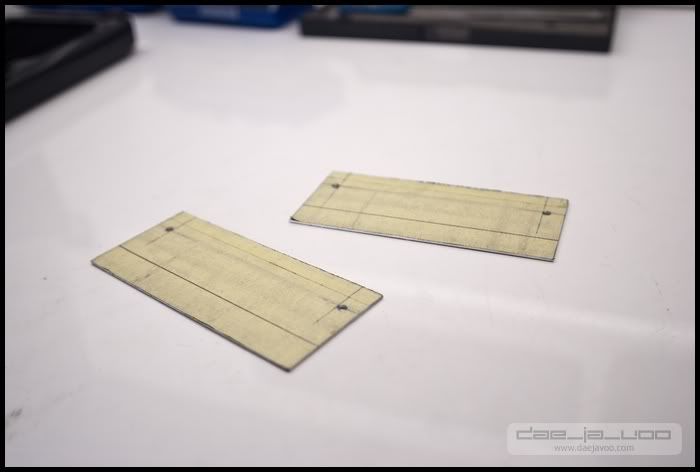
At this point, I messed up the one by filing literally ONE stroke too many. My own OCD stops me from saying "Eh, I'll use it anyway", so I had to remake it. Here's the new one drawn up and ready:
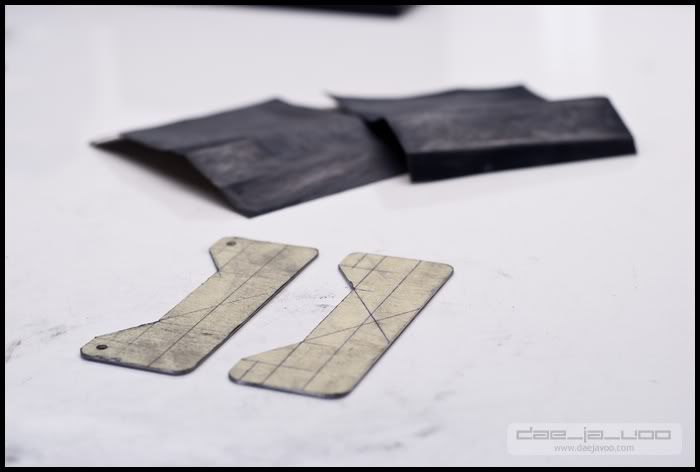
Here I've cut them out, and now it's all down to filing/sanding:

Lots of filing, lots of sanding:
Aaaaaaand, bent!
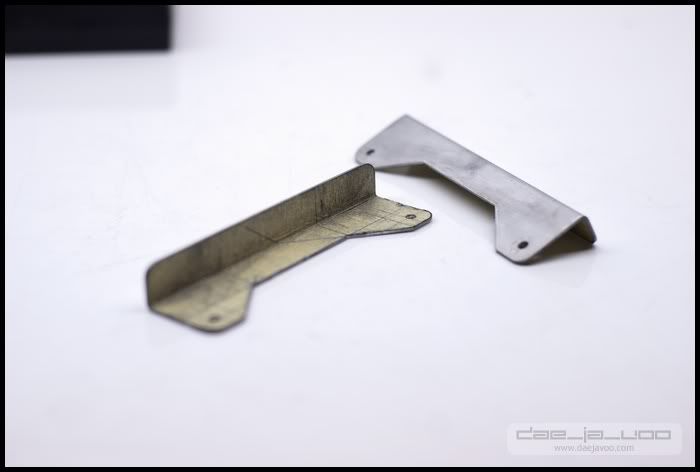
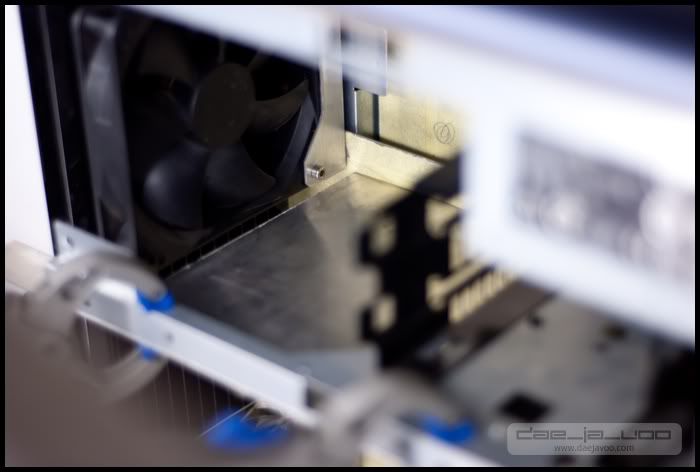
On the raddy. Excuse the fans. These aren't going to be in the final build. They're just there to illustrate:
And then I fitted it into the case:
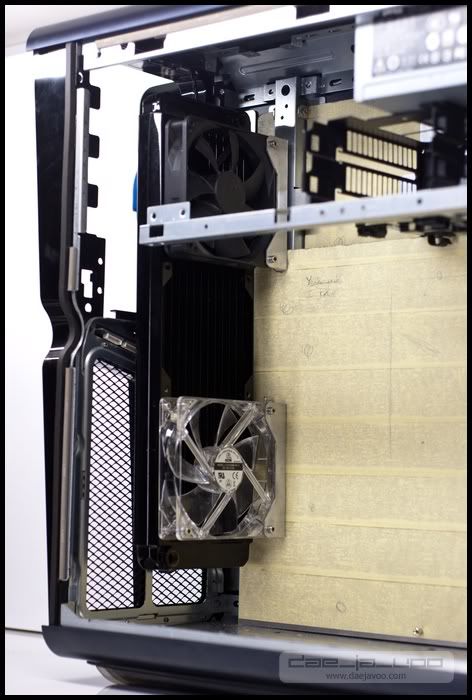
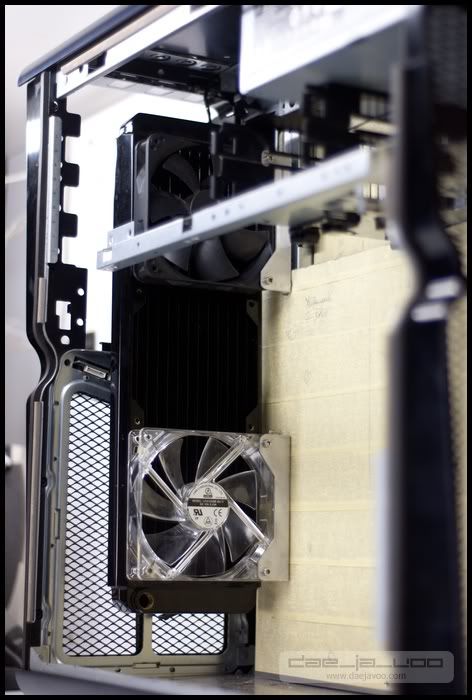
All that needs now is one bracket on the other side of the raddy to support it. That'll probably get mounted on the inside of the top cover panel. I'm really happy with how it all came out, though
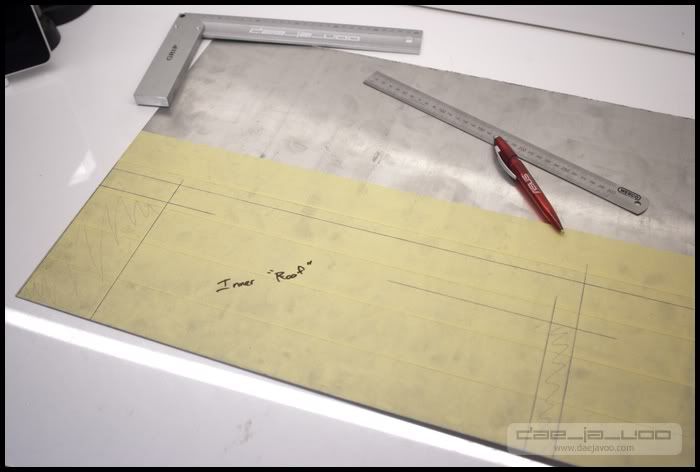
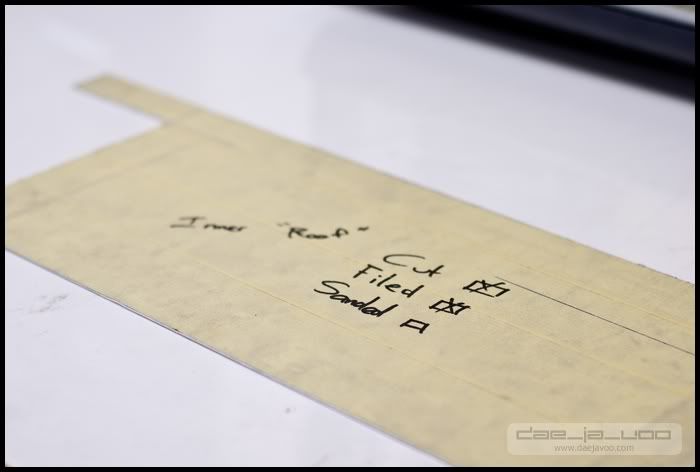
In order to move on, I needed to make the "roof" of the area where the motherboard and stuff sit. So, here I've got it drawn up and ready for the first cut:
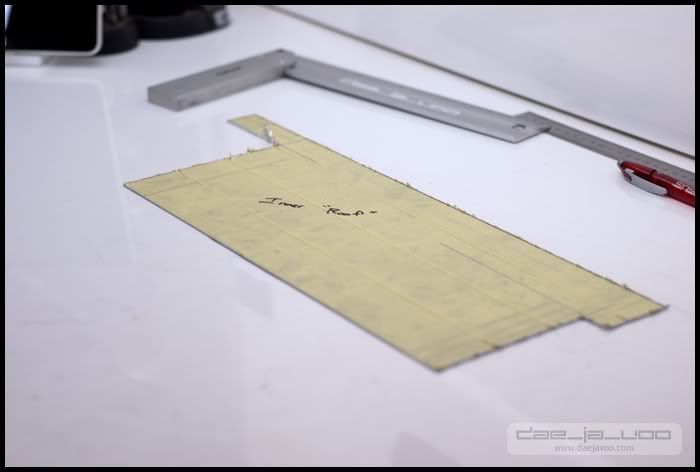
Cut out. Still rough:
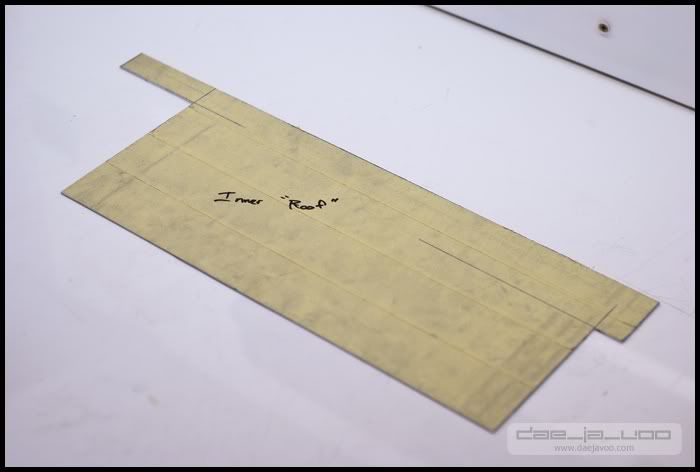
Filed:
Now here's where I had to get stuck into chopping away at the case again. The case has some or other bracket near the top. I still don't know what it's for:
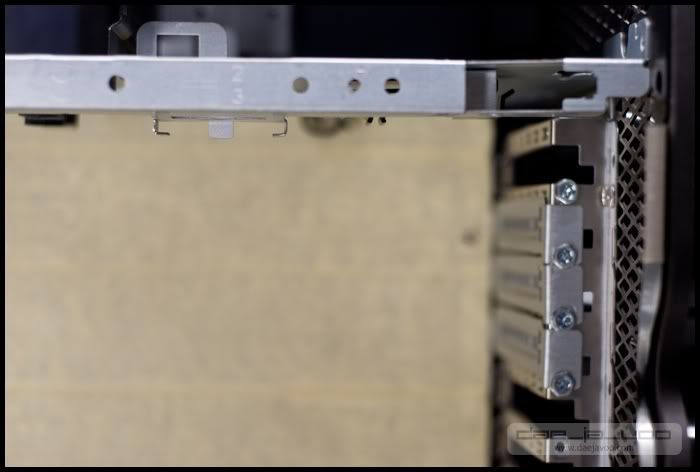
All I know is that when I put the panel in, the bracket is in my way:
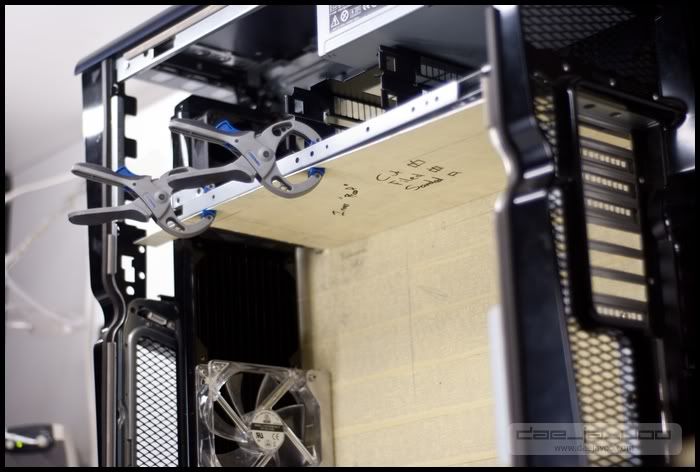
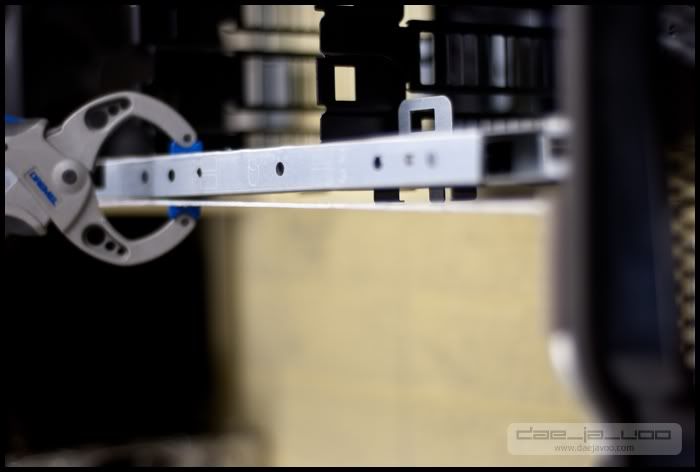
So I cut it out, and now this panel fits perfectly
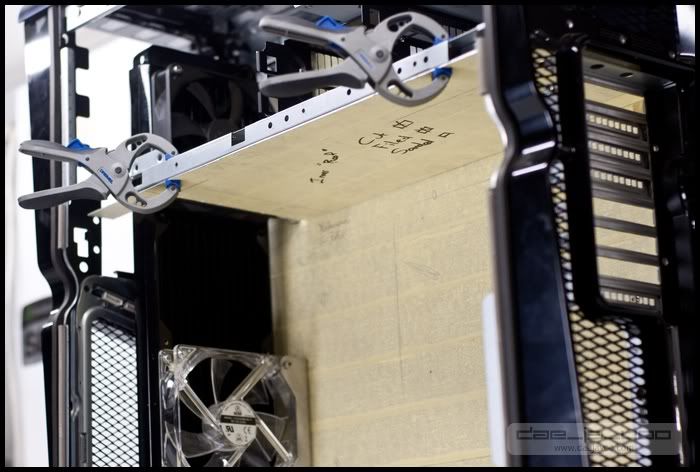
The distance between the fans on the raddy and the panel is also perfect:
That's basically it for now. I started countersinking the holes for this, but that means nothing now until I can show you guys what it looks like mounted
Hope you're liking what I'm doing
I'm enjoying building it
I'll most probably be bale to start working on this again tomorrow or the day after. I only have a couple of hours a day, though, so I should only have something for you guys next week again
That guy that used to mod cases. Now I take photos. True story.