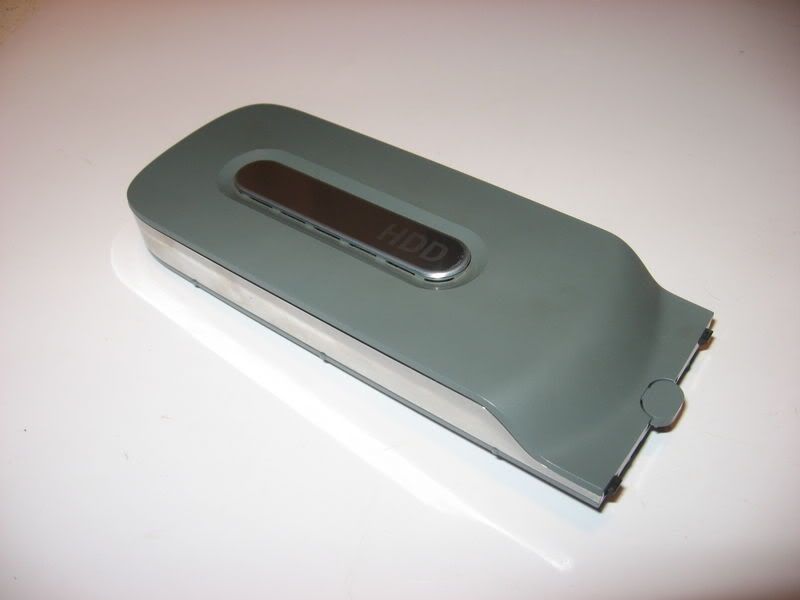
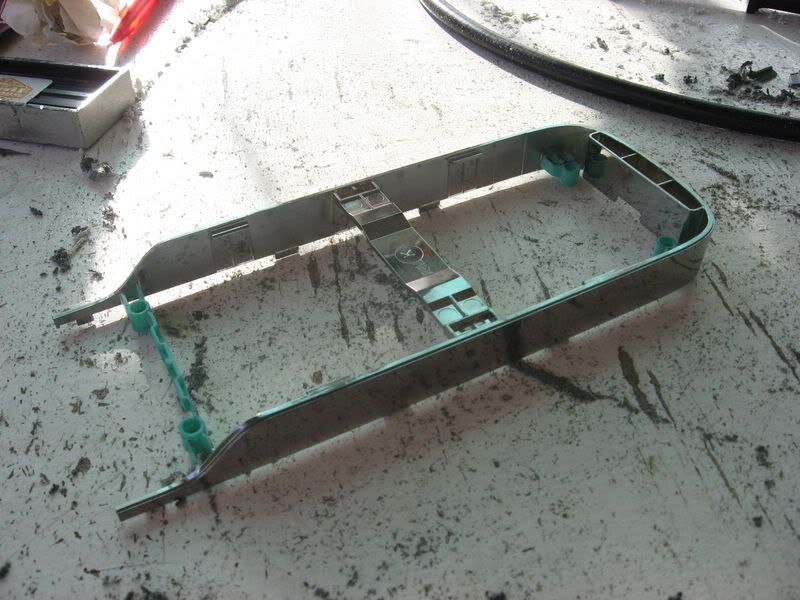
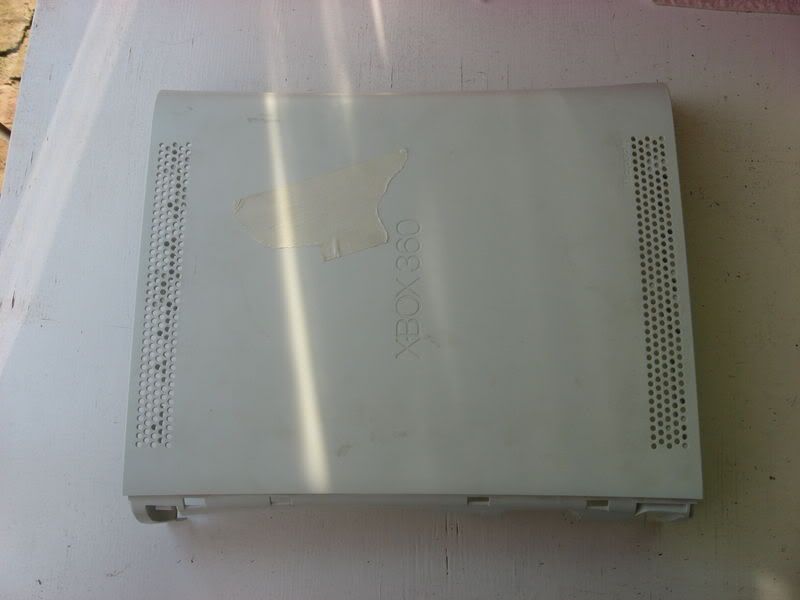
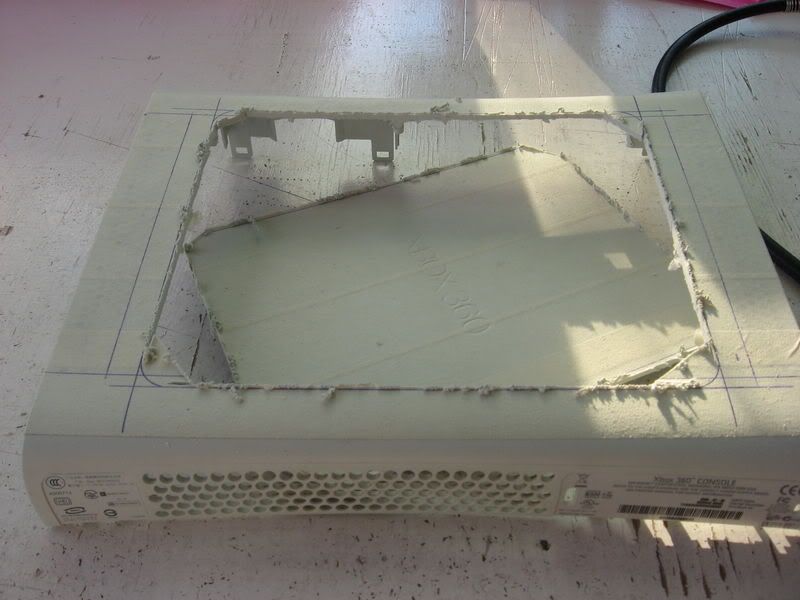
So, this afternoon i grabbed one of my 360s and pulled it apart. Here's the top cover:
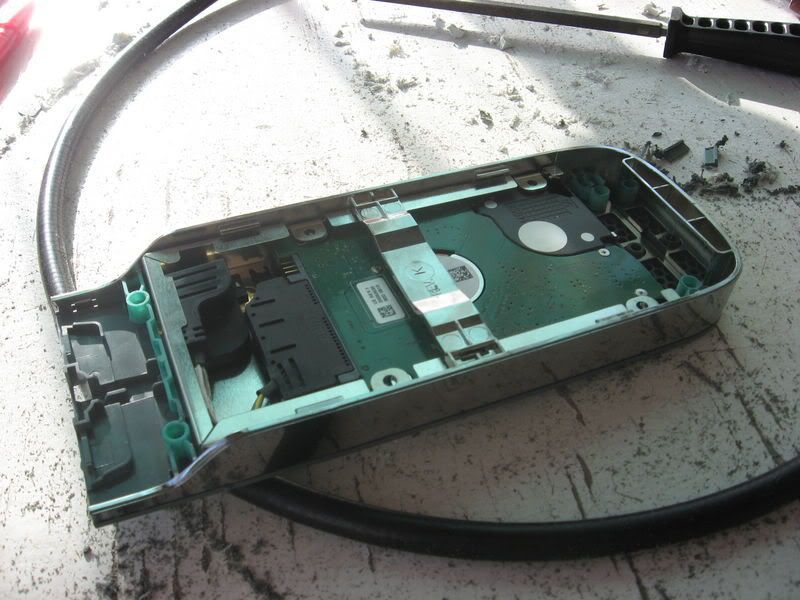
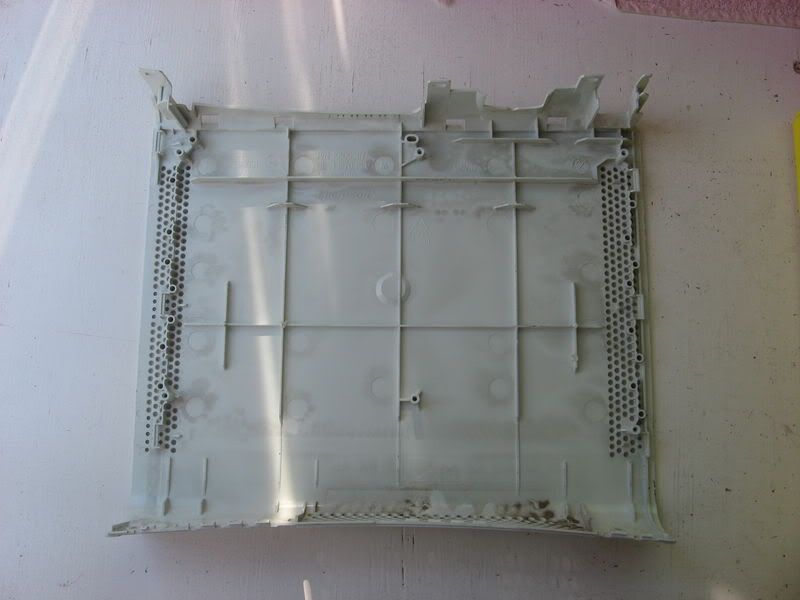
Inside:
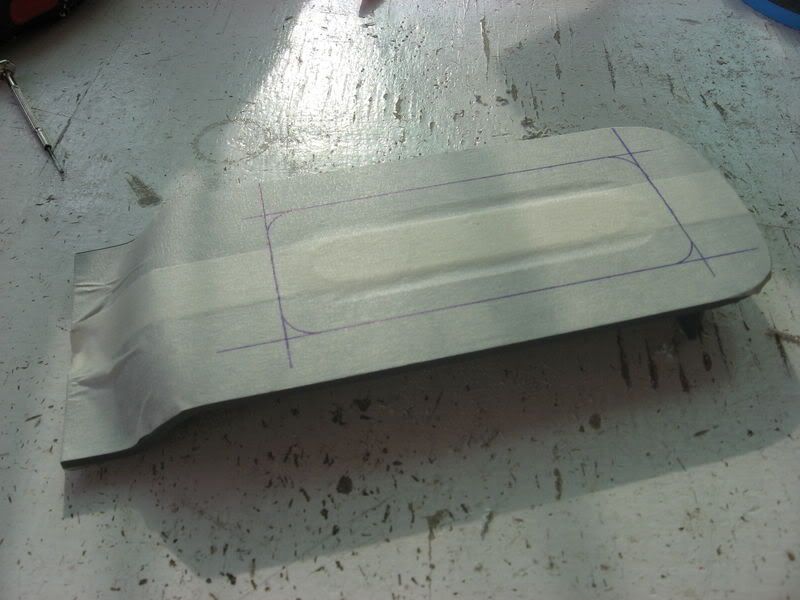
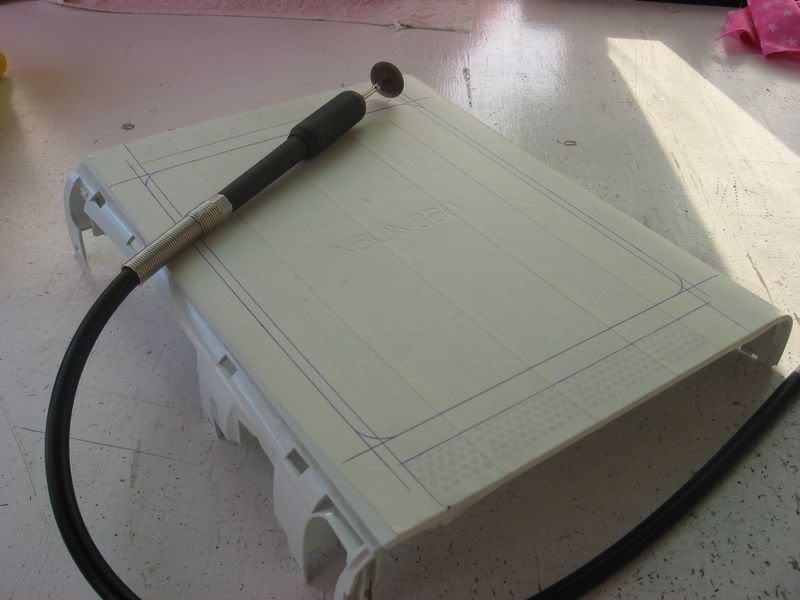
All masked up and ready for some love. Say hello to my little friend!
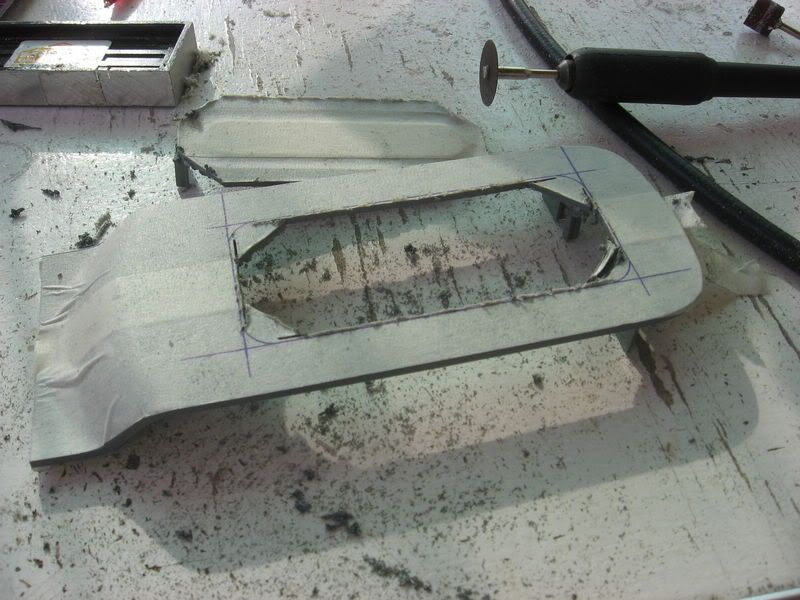
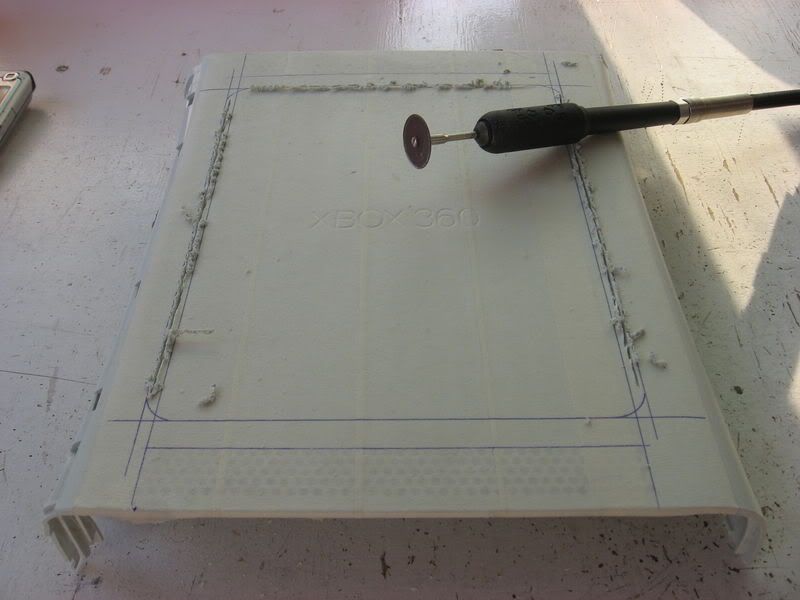
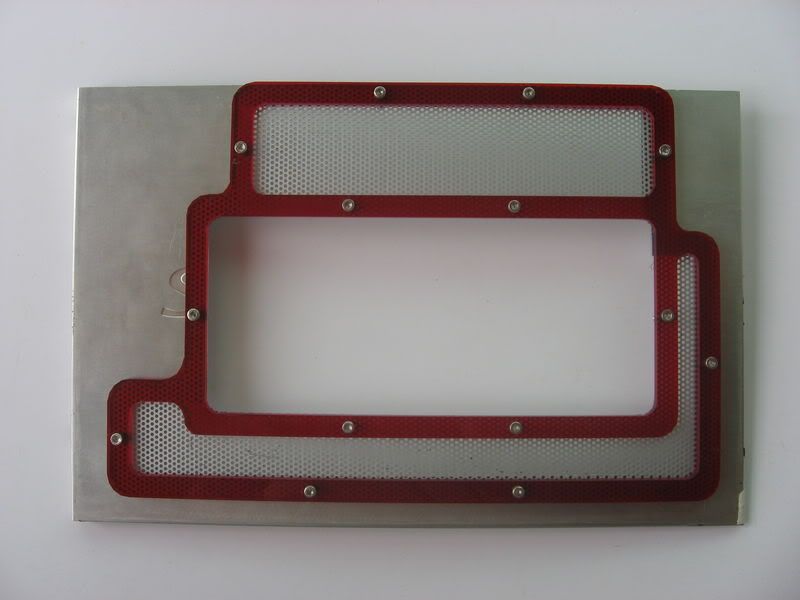
Almost done cutting:
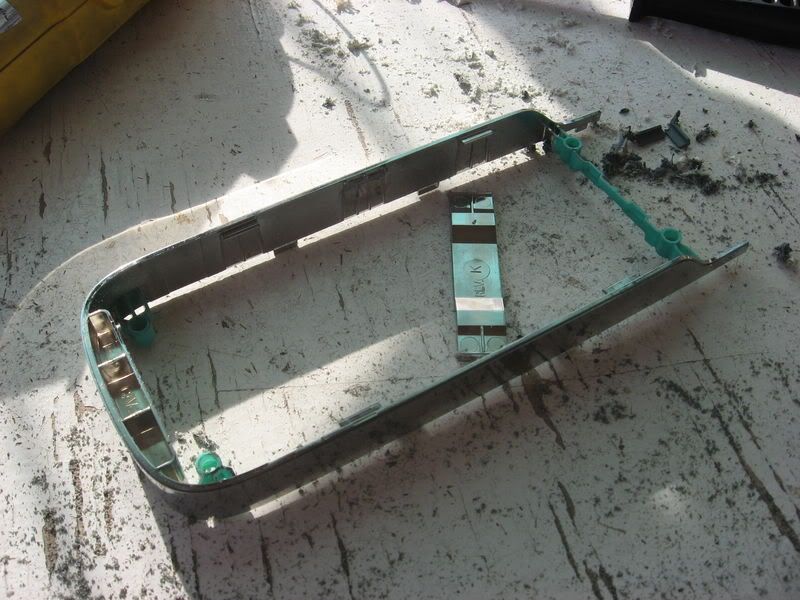
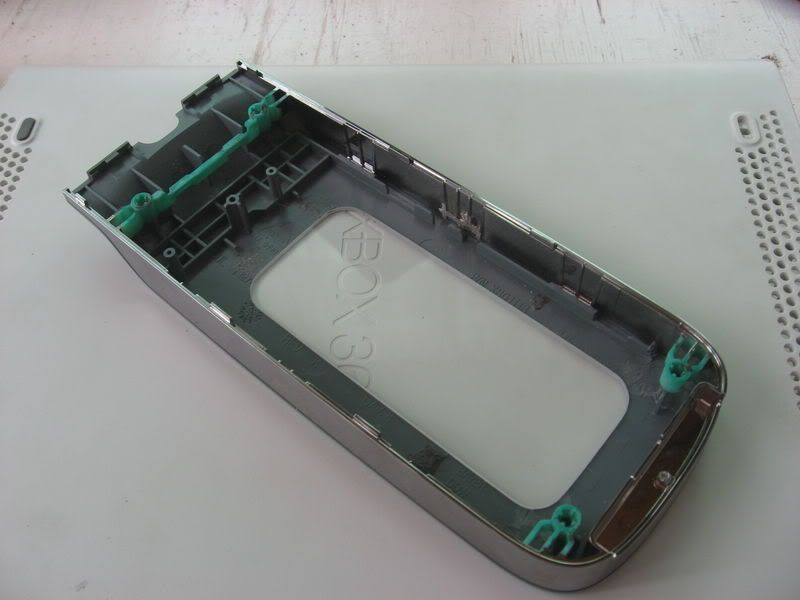
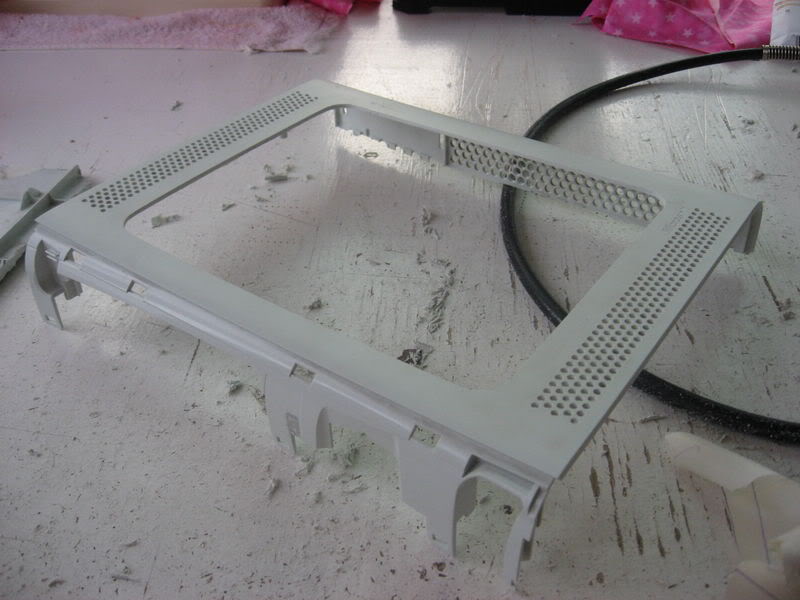
Alrighty, panel out:

Now it's all down to lots and lots of sanding...
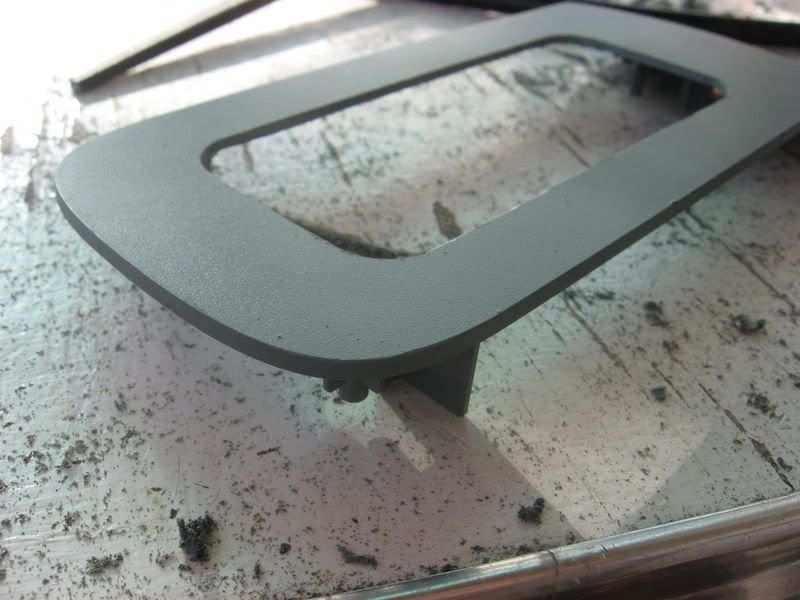
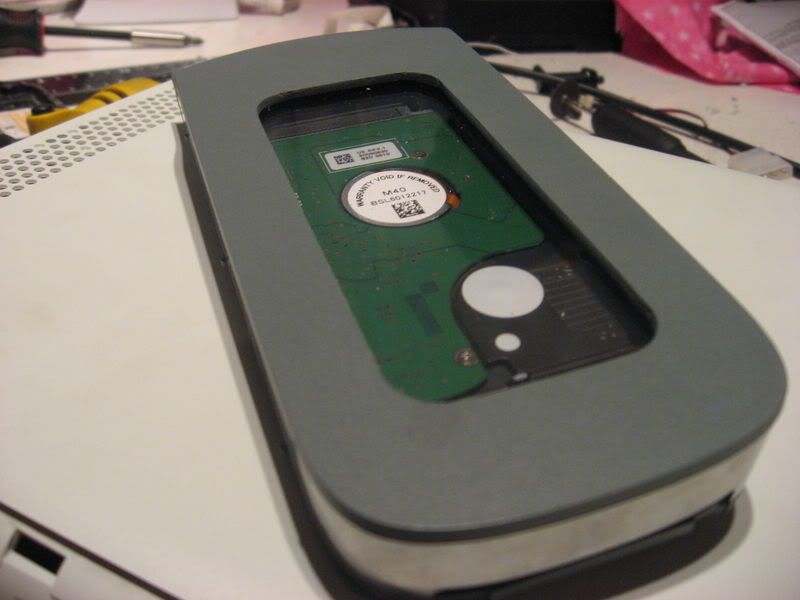
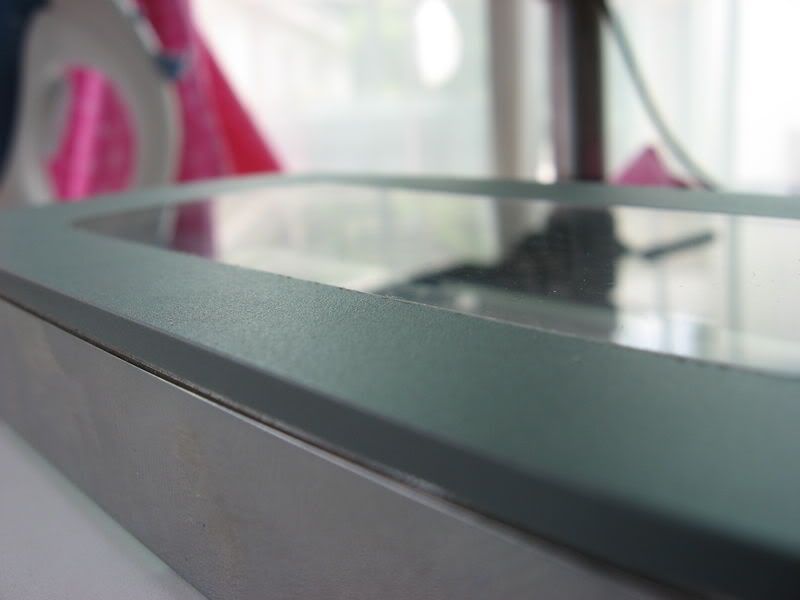
Sanding done:
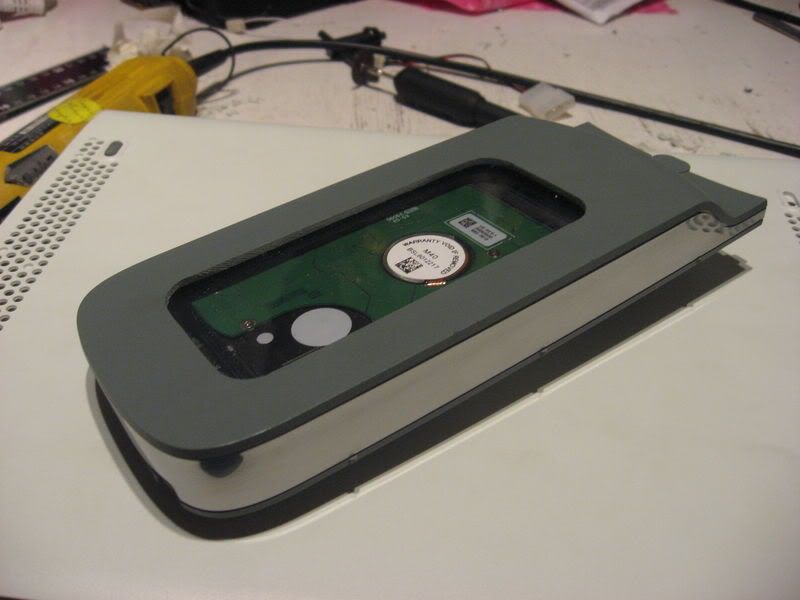
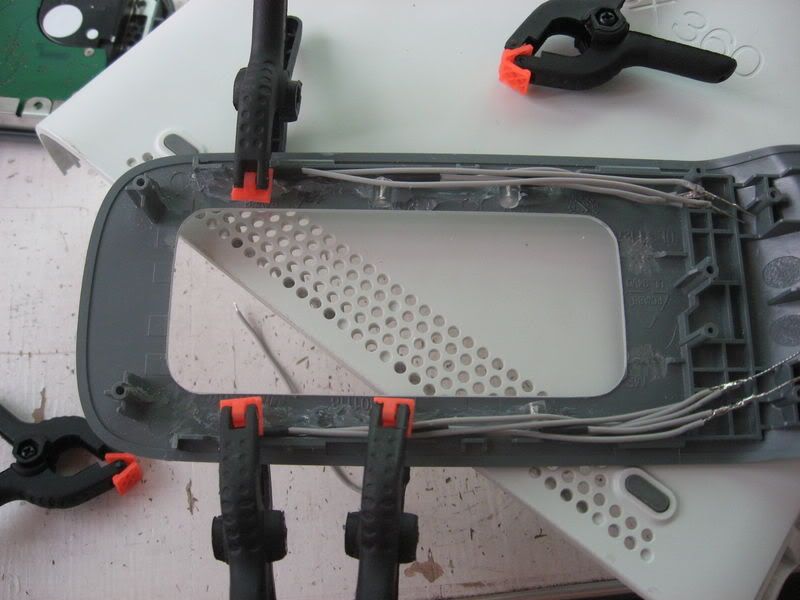
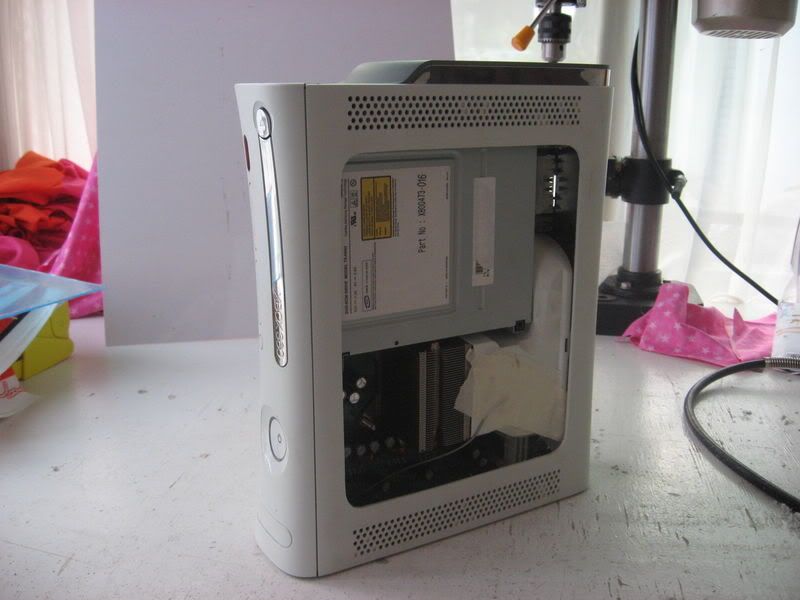
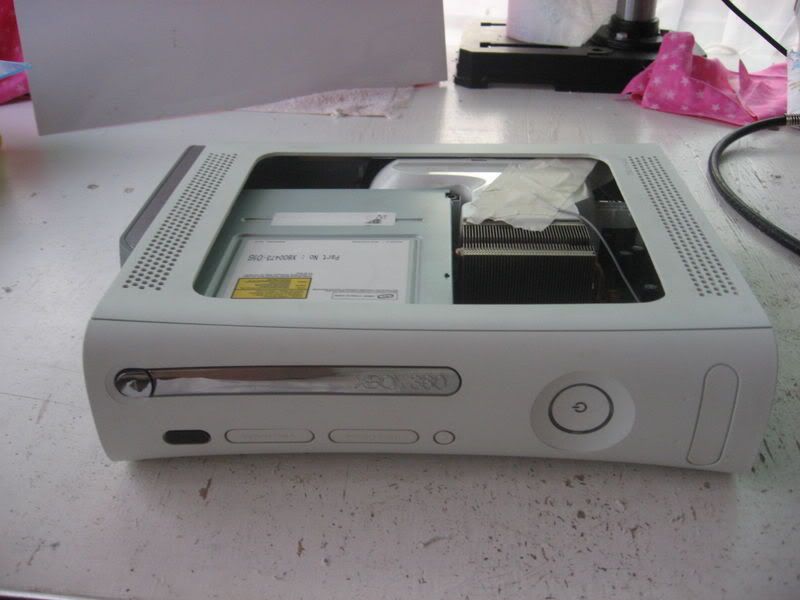
A quick test fit:
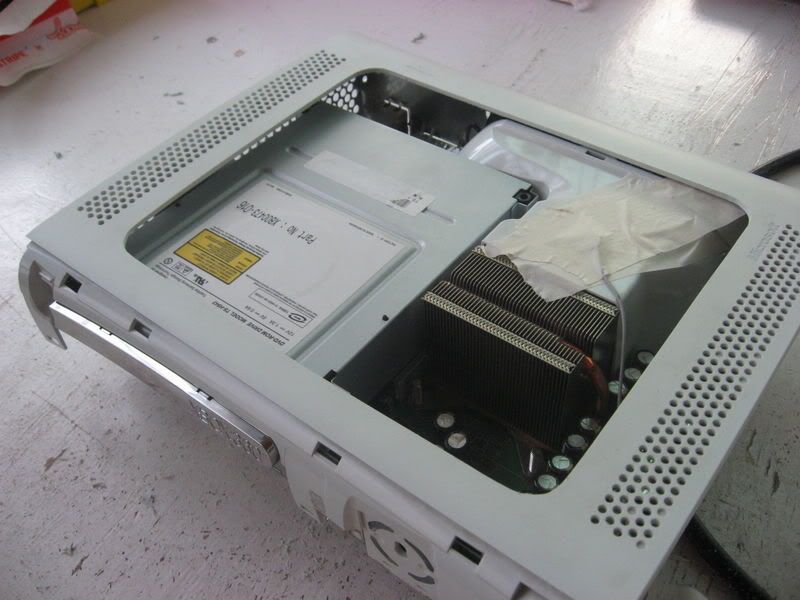
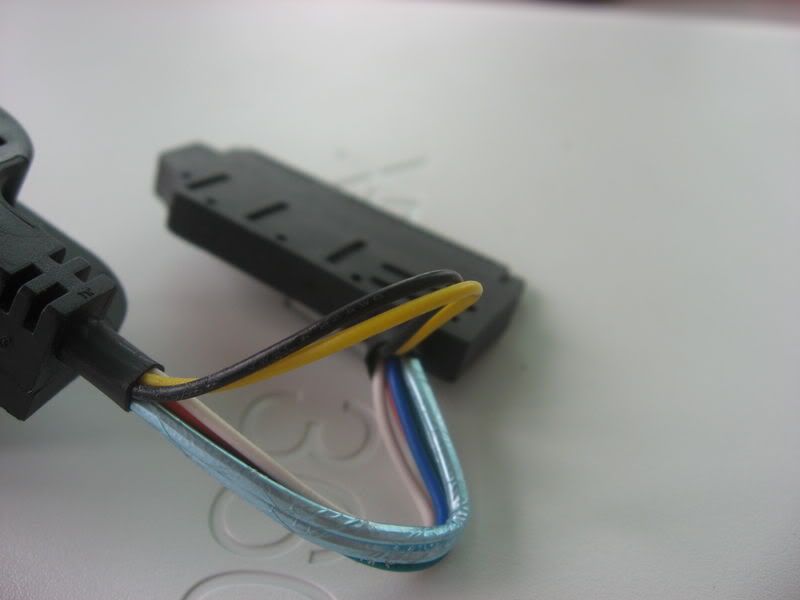
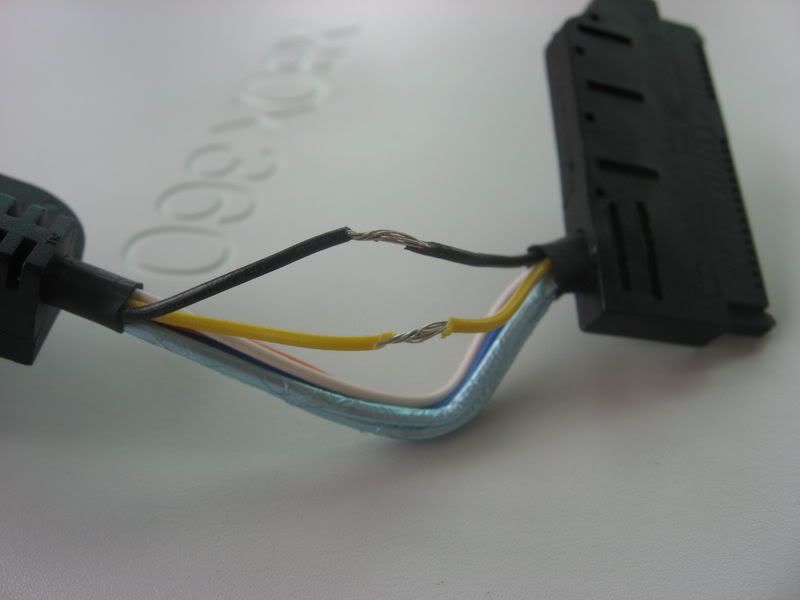
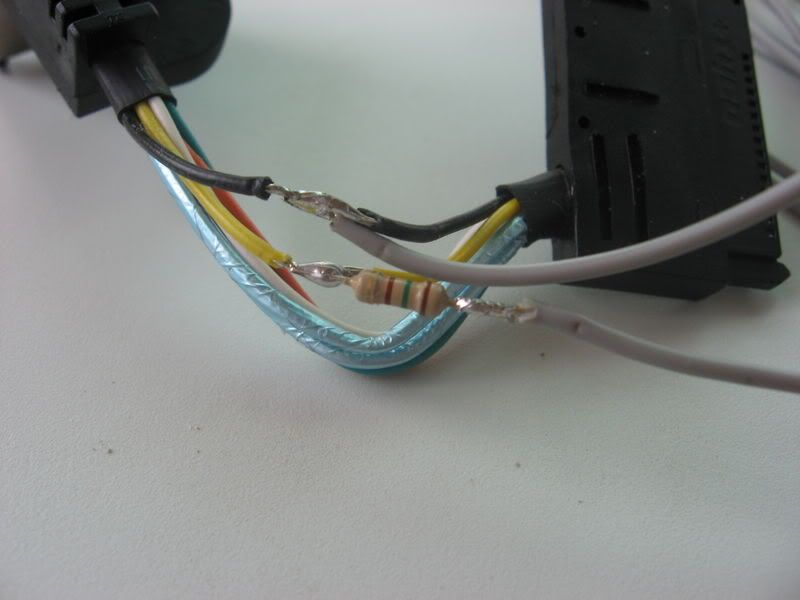
Excuse the two random wires and masking tape in the 360. Those are wires i've soldered onto the underside of the board for 5V power source.
What i needed now was the window. This is the plexi i'll be using for the window.
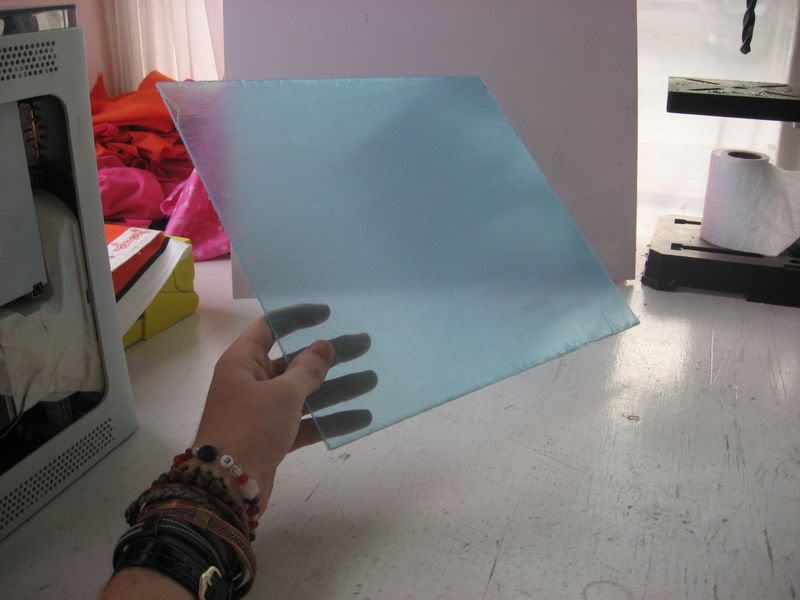
Don't worry, it's transparent plexi, it just has a blue protective film over it. I didn't bother cutting that plexi to size just yet because i first want to cut a nice window border like i did here with Endorphin's side panel:
I'll probably only get to do that next week though when everything opens
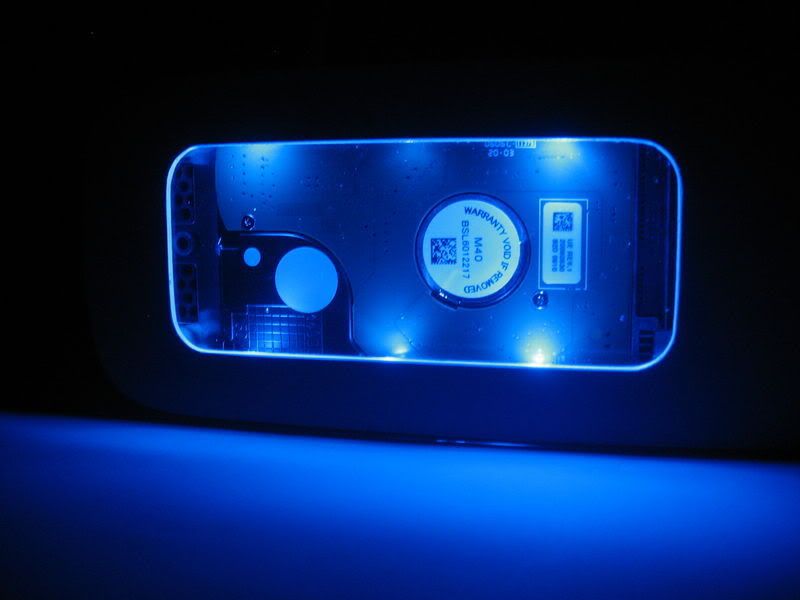
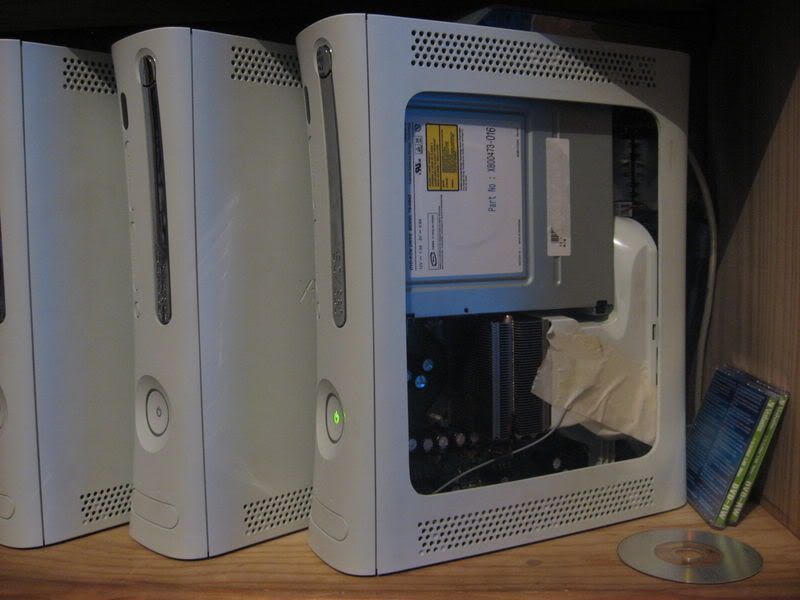
Anyway, 360 back together:
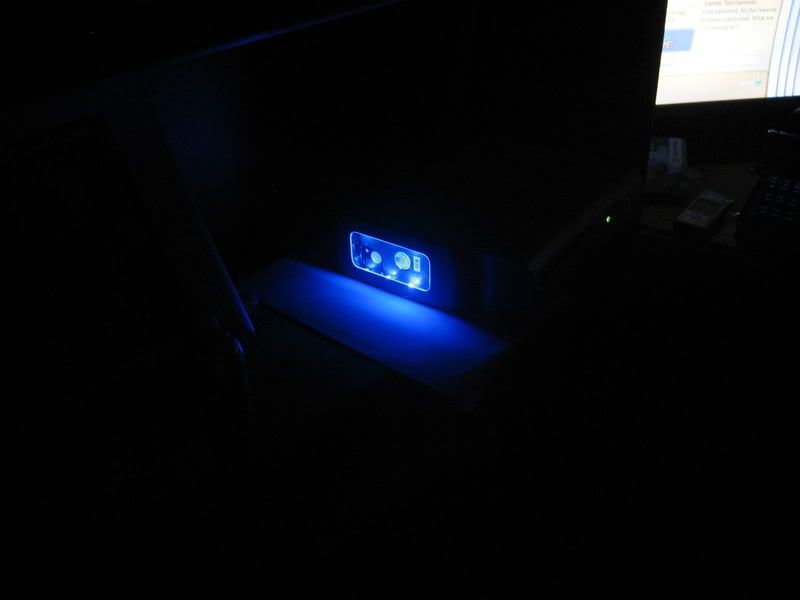
And back on it's place
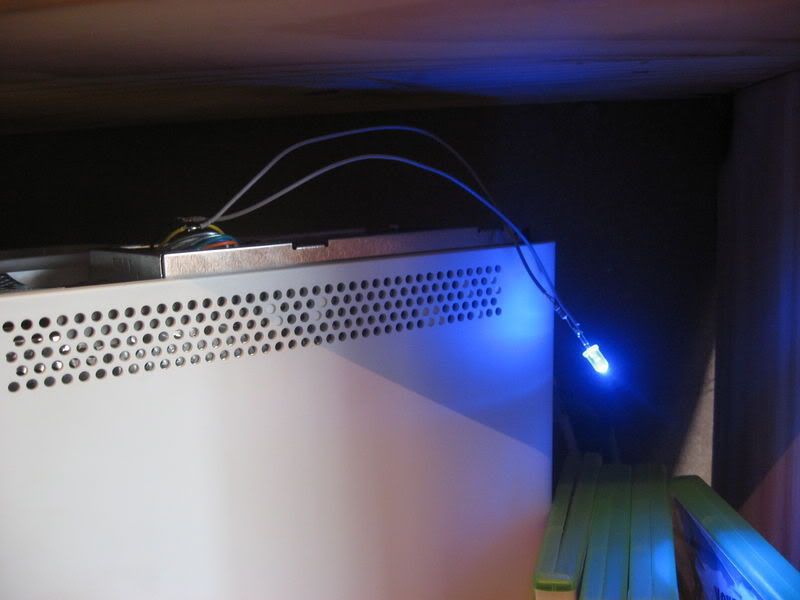
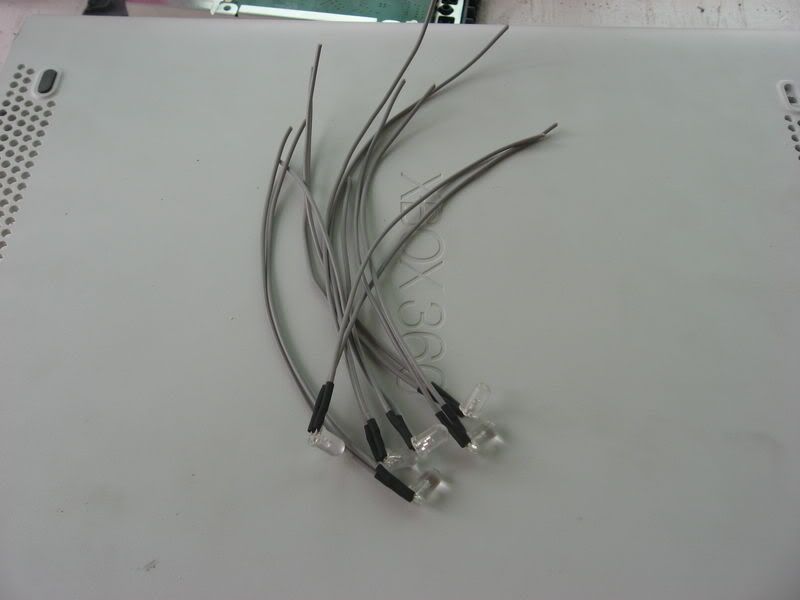
I have a few goodies on their way to me from china. I ordered them just before i went on holiday, so they should be here any day now. I ordered some replacement rear fans, an LED lighting setup... err... can't remember what else