New Project - "The Return" (Update 05/07)
Posted: 10 Jun 2011, 14:19
About a year ago, I got an email from a guy here in Pretoria telling me that he has this Dell case that's "scrap", and if I want to "salvage" it for a mod, I'd be welcome to have it. Now, I've always had an eye for Dell's cases, so I figured I'd take the guy up on his offer, especially considering the fact that you can't actually buy these cases - they're OEM. As far as I know, you need to actually buy a whole rig from Dell. So this was something I was definitely interested in.
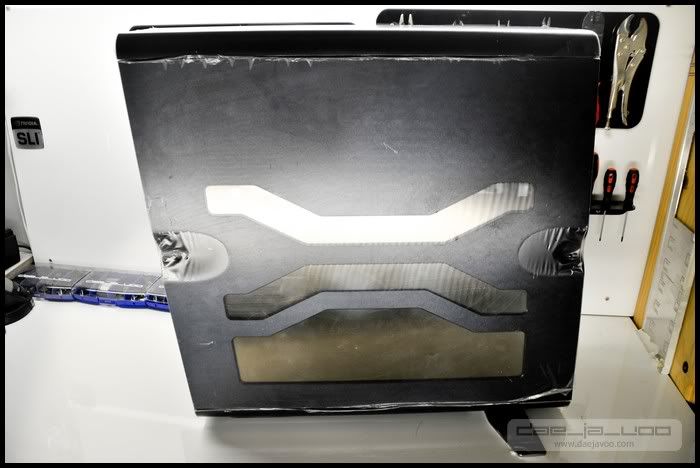
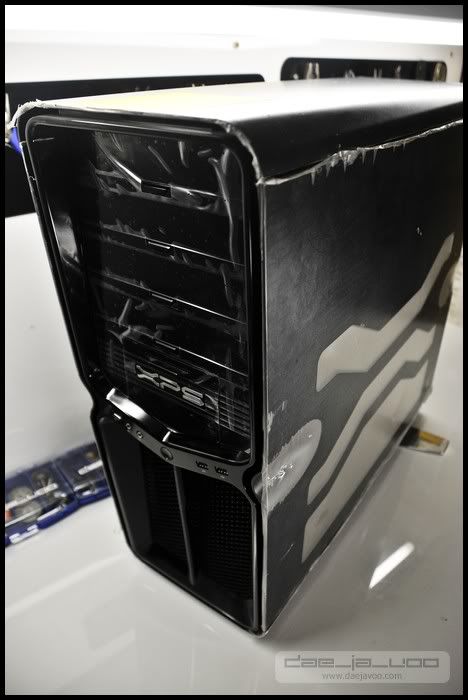
I drove out to the guy's house, and there stood this "scrap" case. I say "scrap" because it was hardly scrap. It was a brand spanking new Dell case, still sealed in the plastic, imported from the UK. It was also accompanied by a 1000W Modular Dell PSU. Neither of these things had ever been used.
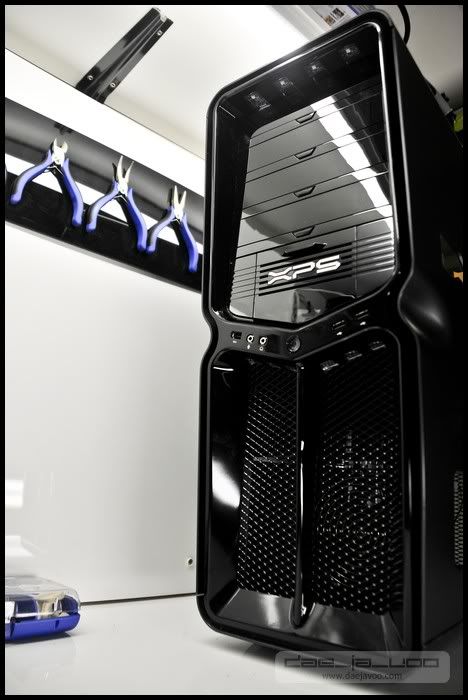
The case was absolutely beautiful, and it's construction and build quality was amazing.
I couldn't get started with it yet, though, because I was busy with another big project, and once that was done, the renovations we were doing to the house rendered my workspace unusable until just recently, so now I can finally get going
I took some quick photos after I got it:
I quickly shoved my hardware into this case. I didn't do a great job, but I just needed my hardware in there.
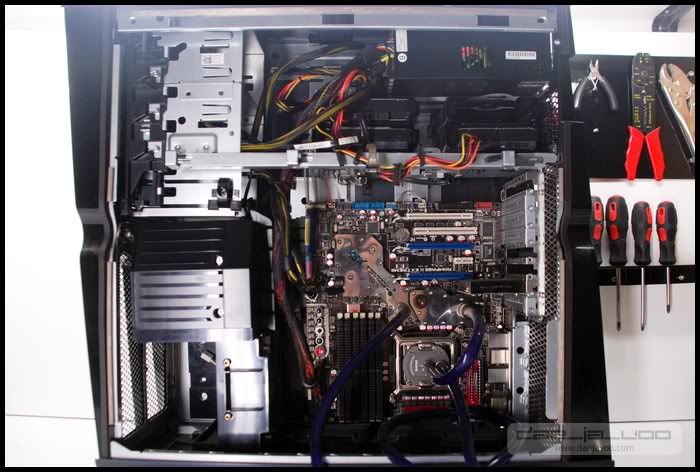
Cable management-wise, this case isn't particularly awesome. It's not TERRIBLE, but it's a little stingy. That's alright, though, that's what case modding is all about.
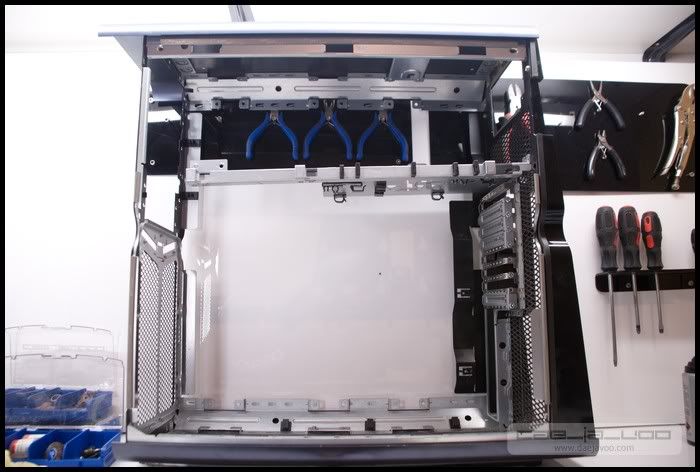
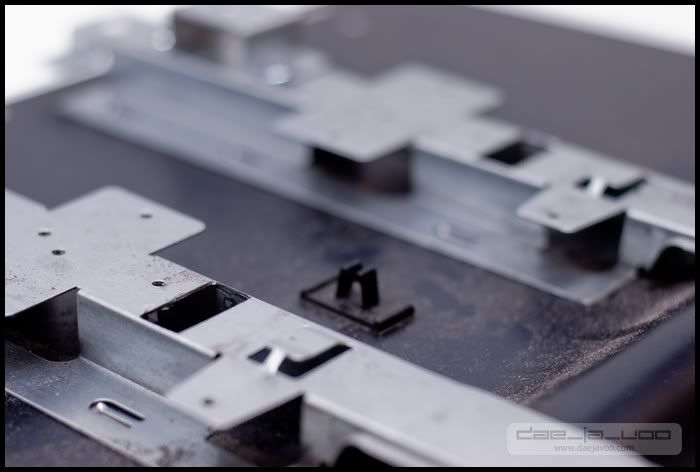
So, to start off, I stripped the whole thing. This actually took WAY longer than I was expecting it to. The amount of rivets that Dell used to put this thing together was nauseating:
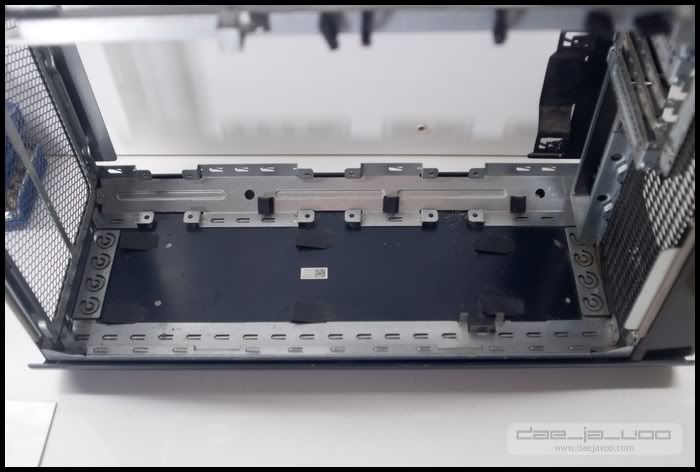
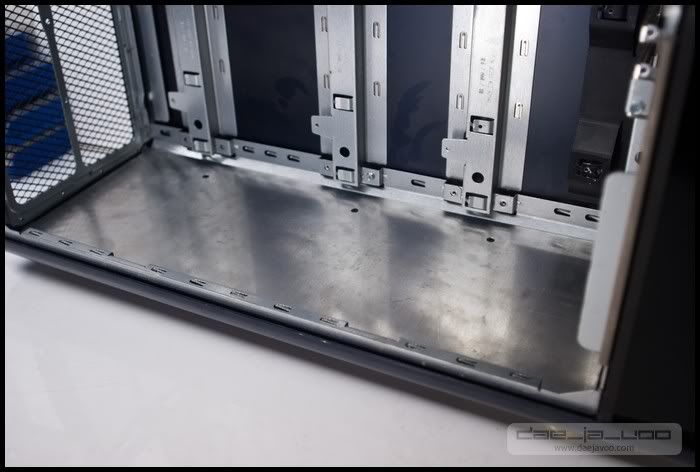
The bottom is super ugly. I need to cover that up:
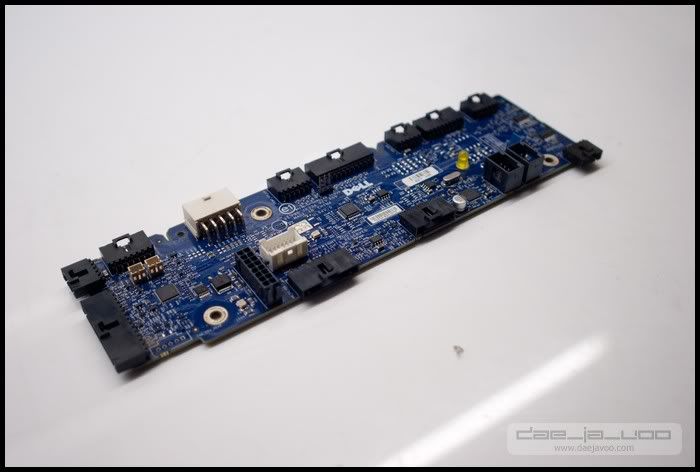
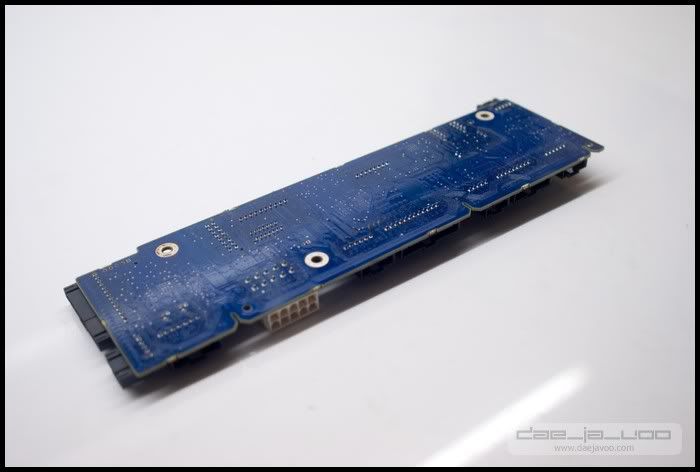
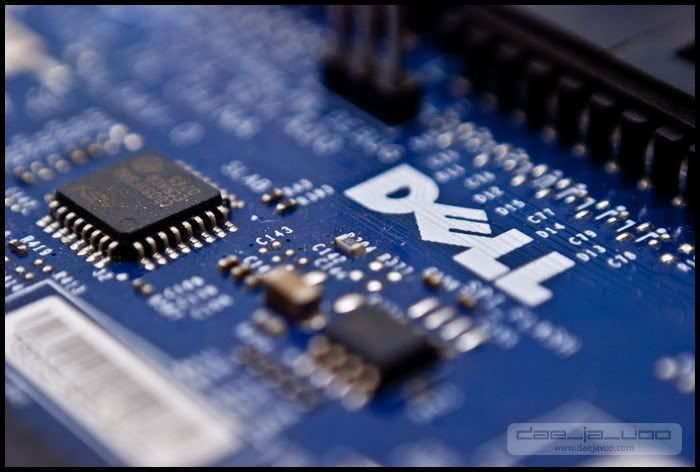
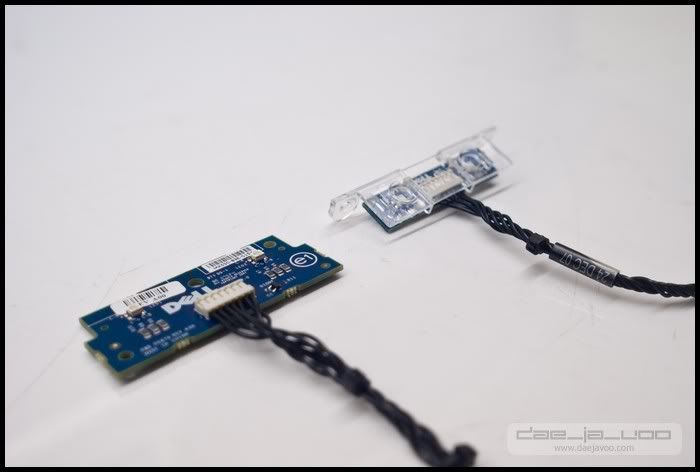
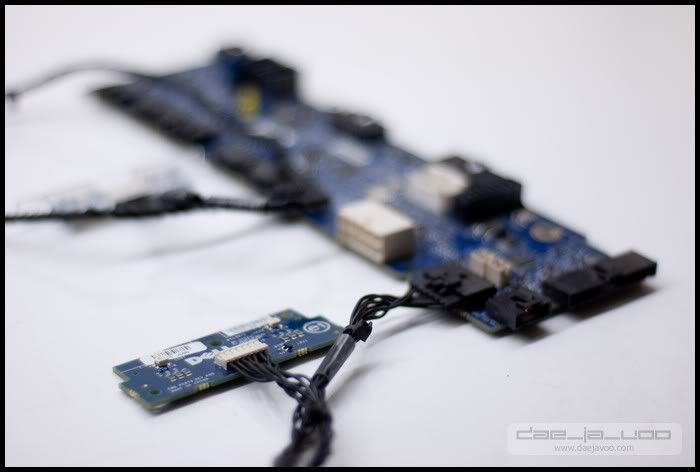
Now, one of the interesting things about this machine is that it comes with it's own proprietary PCB that controls the fans and LEDs in the case:
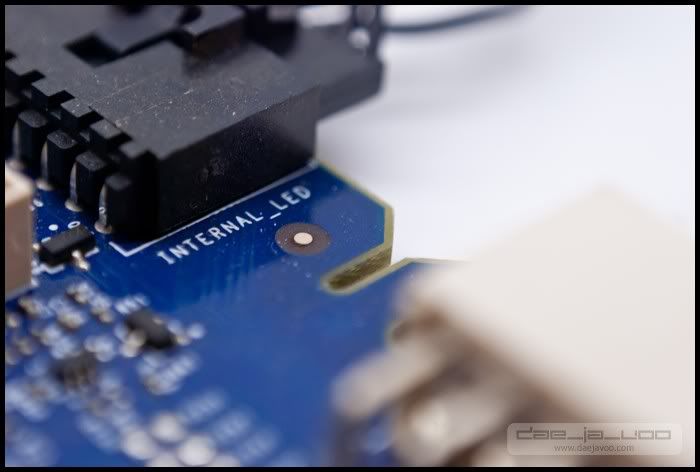
These are some of the LEDs that it comes with:
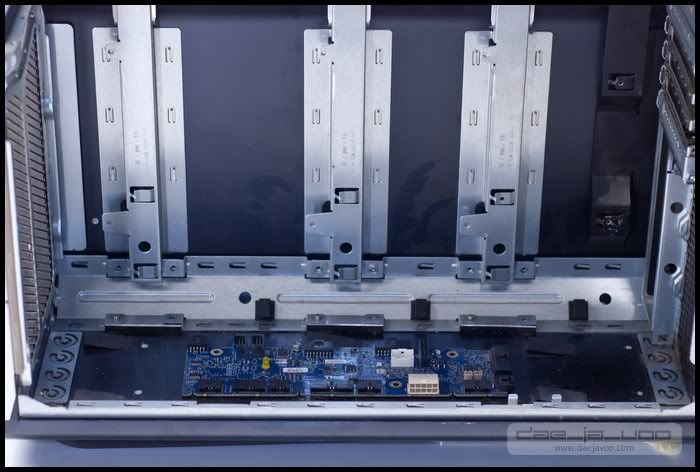
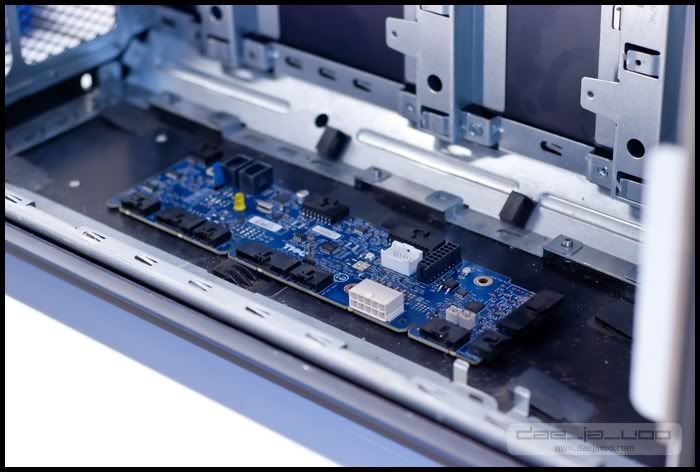
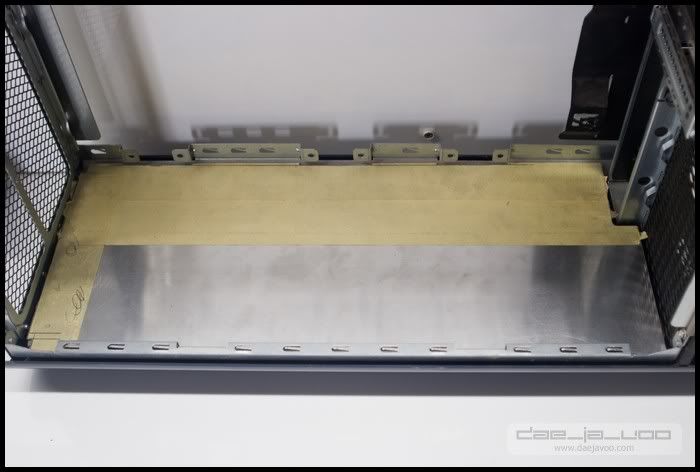
My plan is to mount this on the bottom of the case, like so:
I'll then place a cover over that entire floor so that it's all hidden and the bottom of the case looks good. So this is the first one I made:
If you look closely, you'll see that I actually had to key out a few spots so that the side panel mounts had some space:
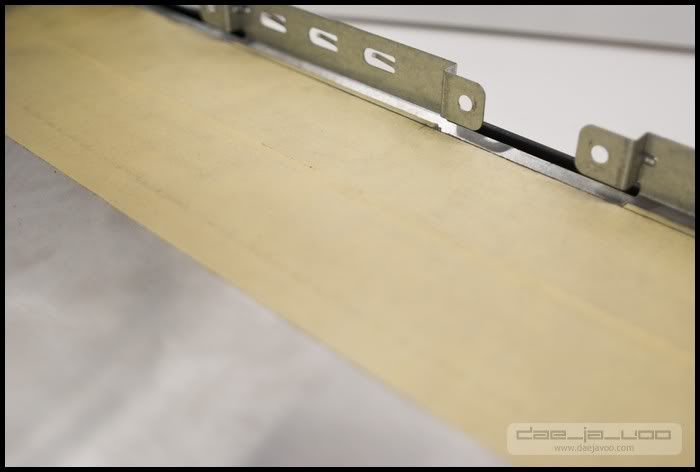

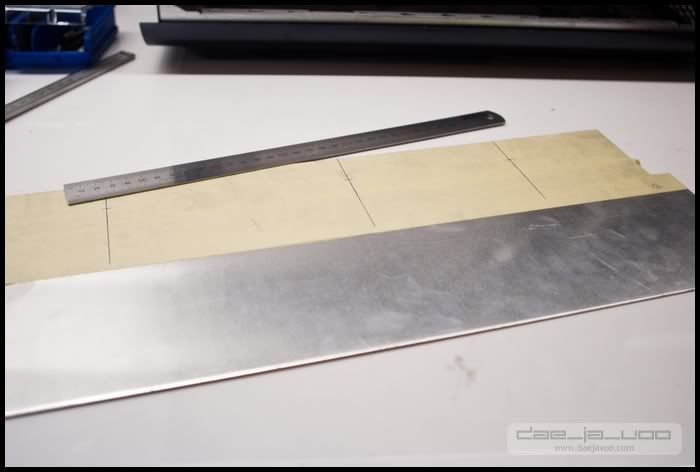
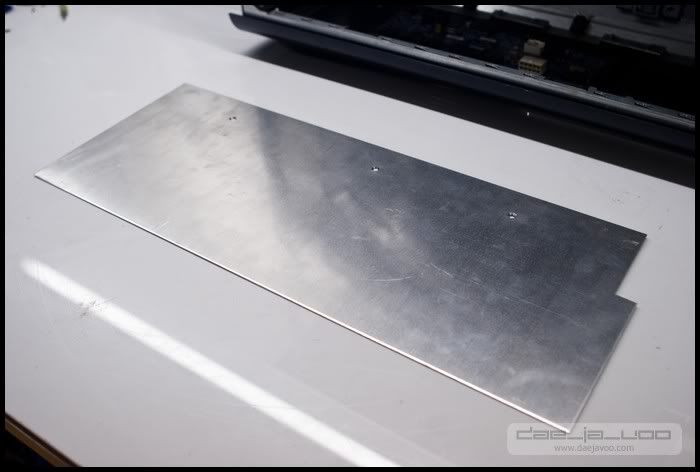
I ended up scrapping that piece though. It was a little too wide, and I needed the floor of the case to be a few millimeters lower. So, a new one. No need for the keys on this one:

Then I needed to drill 3 holes for mounting screws:
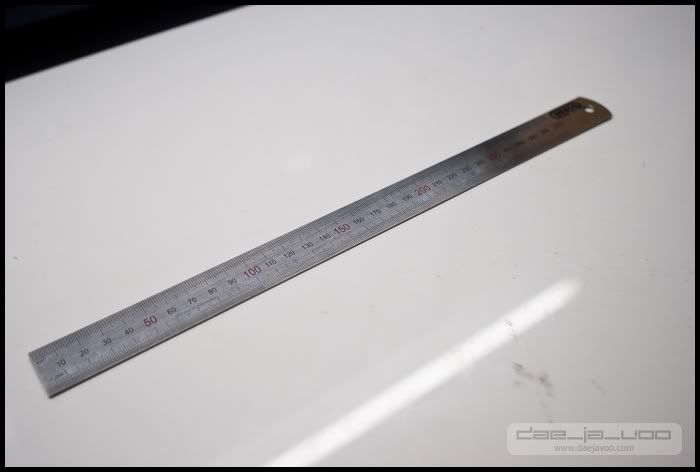
By the way, if you don't have a decent ruler, get one. I bought this guy for something like R40 (less than $6):

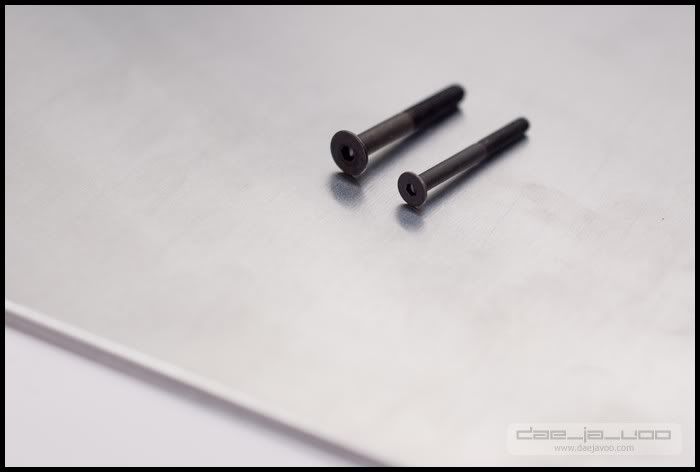
The screws I was going to use for this would be countersunk screws, like this:
One down:

All done:
In place:
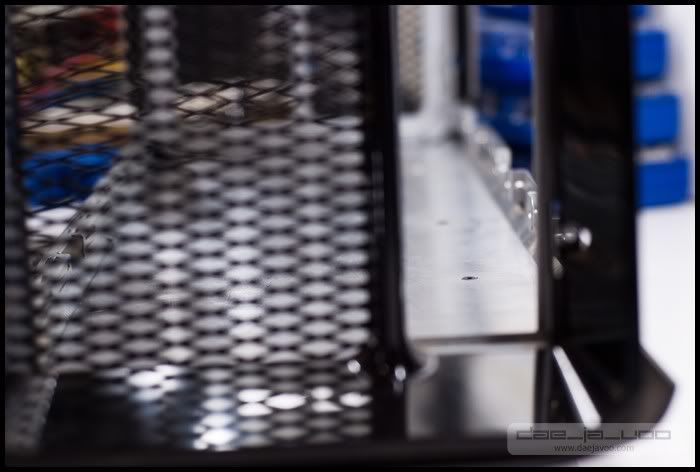
As you can see, it fits really well:

And the screws look great:
So that was step one. The next thing I needed to make was a motherboard tray. The reason the previous owner didn't use the case was because of its lack of a tray. I made a quick temporary one out of some plexi, but I needed to make a nice one for this mod:
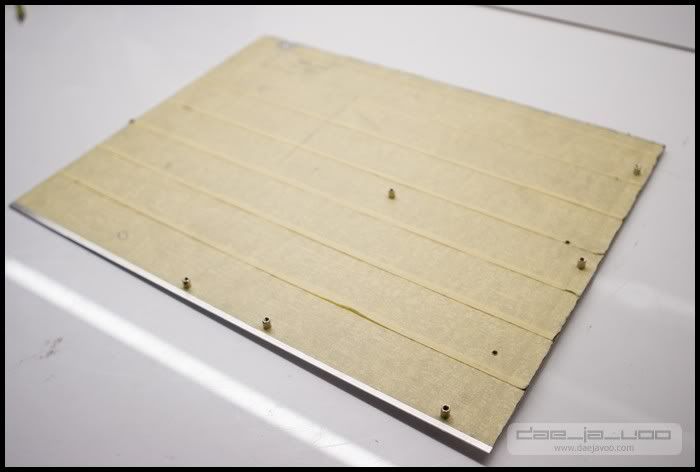
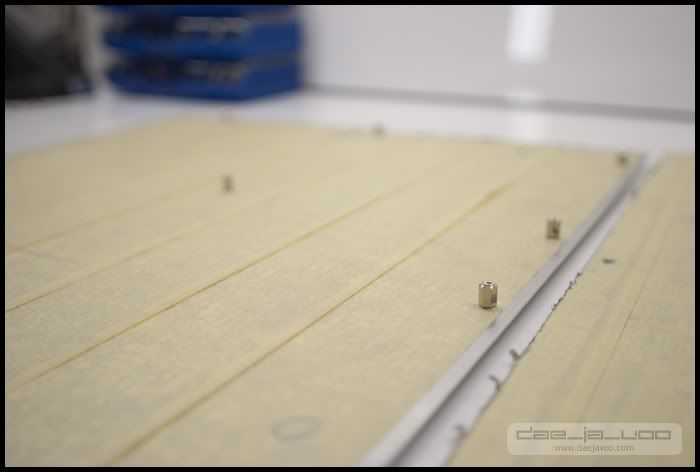
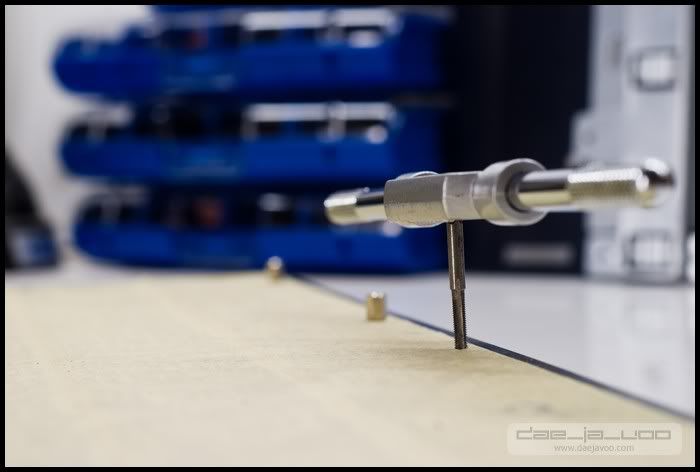
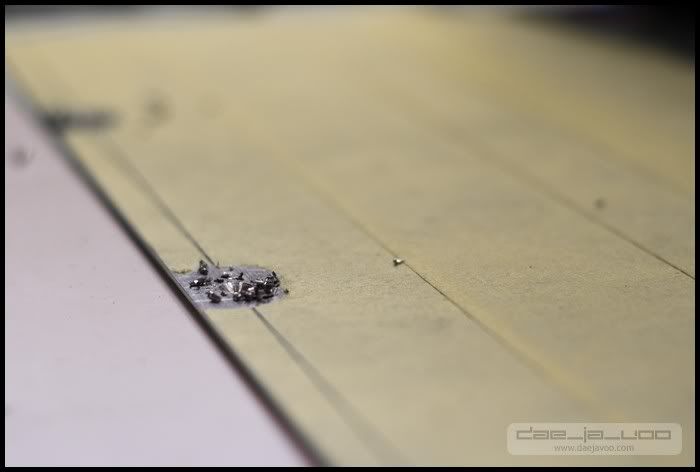
I had to thread a bunch of 2.4mm holes with a 3mm tap for the motherboard stand-offs:
Fitted:
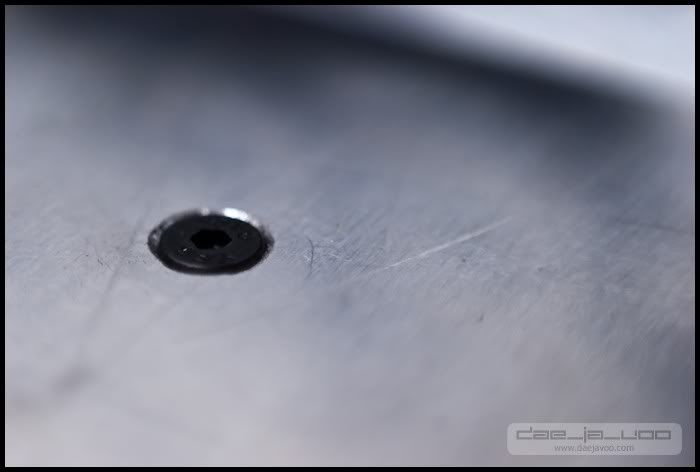
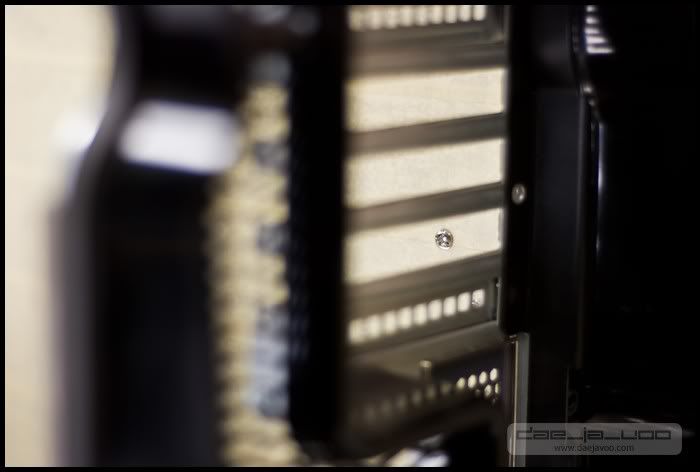
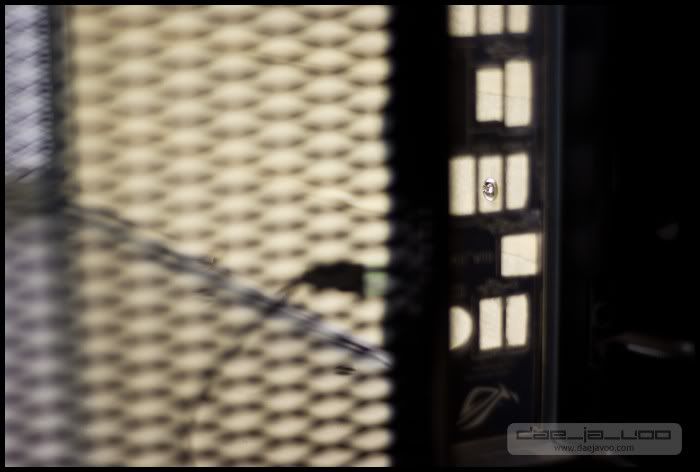
I made two holes through the tray that line up with 2 threaded 3mm holes in the chassis for the tray to be fixed to. I made sure to use screws with low profiles to hold it together:
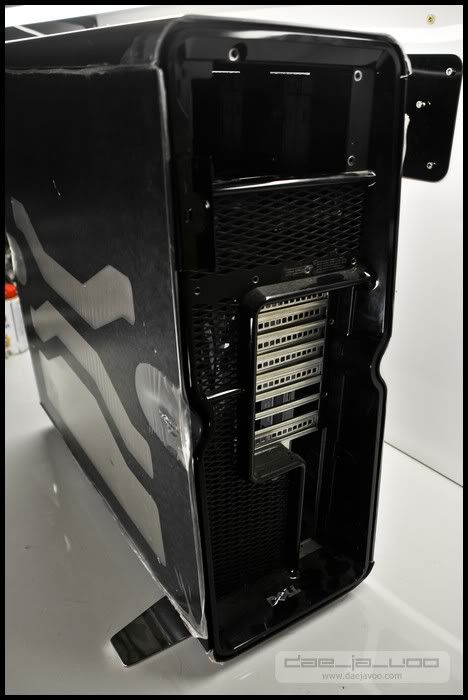
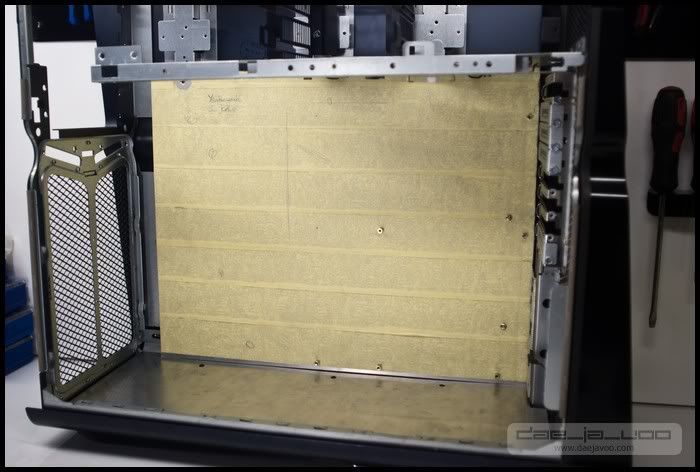
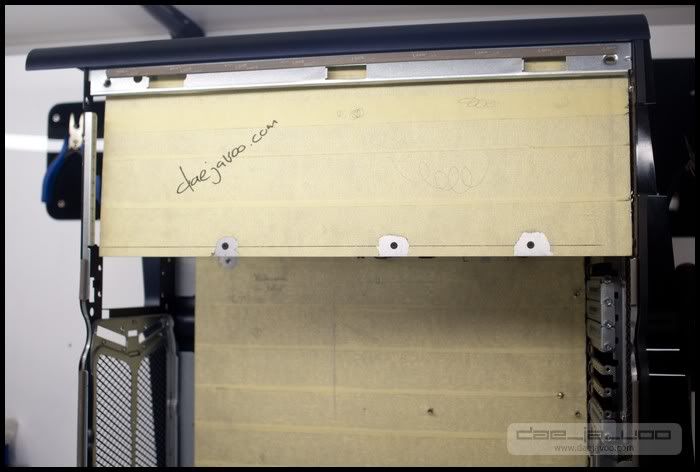
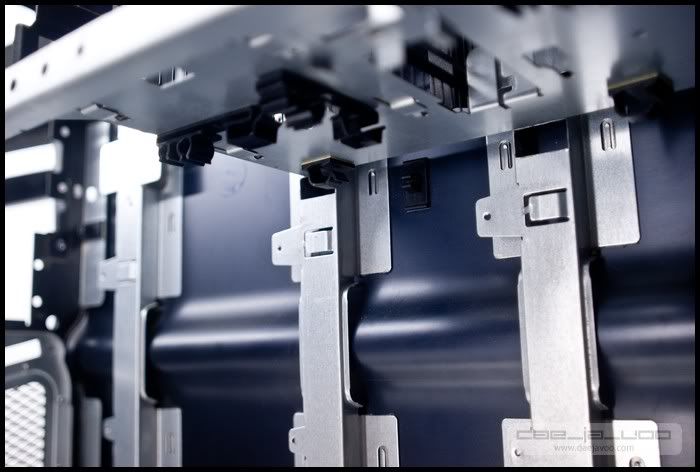
I also knew that I absolutely HAD to cover up that whole top "cavity" that the case has - the place where the PSU and HDDs reside. Even though it's not all that visible when the case is closed, it's wide open when the case is open. This is what I'm talking about, this whole section above the new motherboard tray:

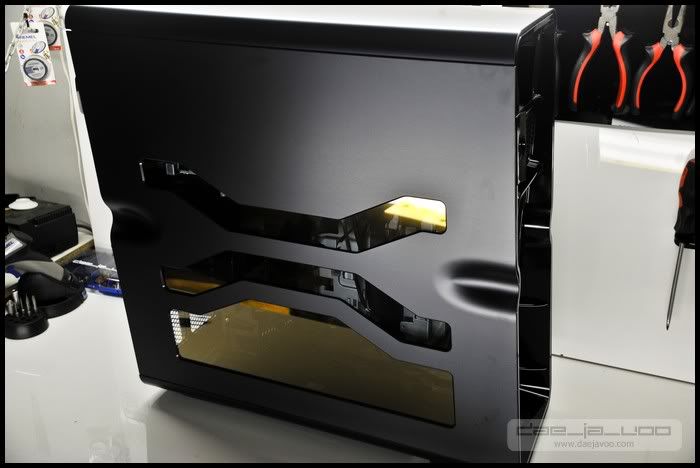
So, a rectangular piece of alu was cut up, and then I started drilling and countersinking the holes:
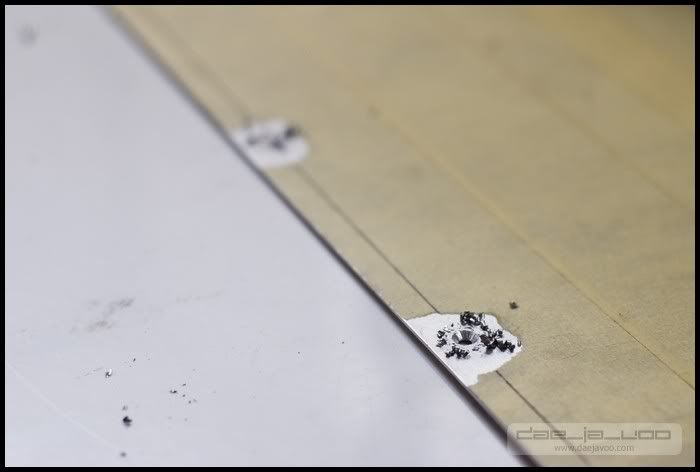
All done:

And fitted:
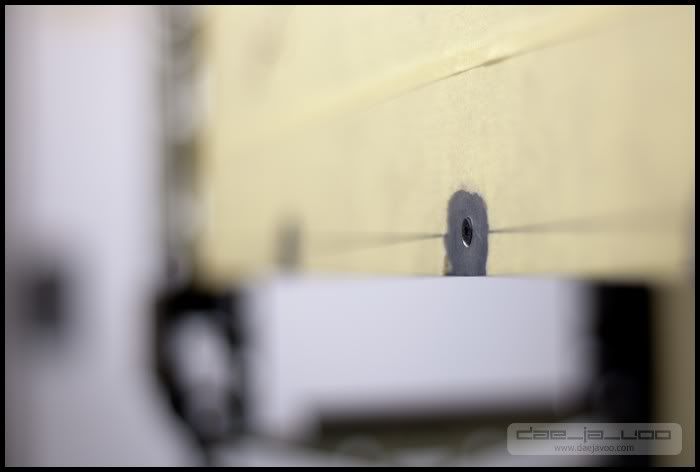
The screws look so good I could scream
This panel still needs some work, though. I don't know if I want to leave it looking so plain.
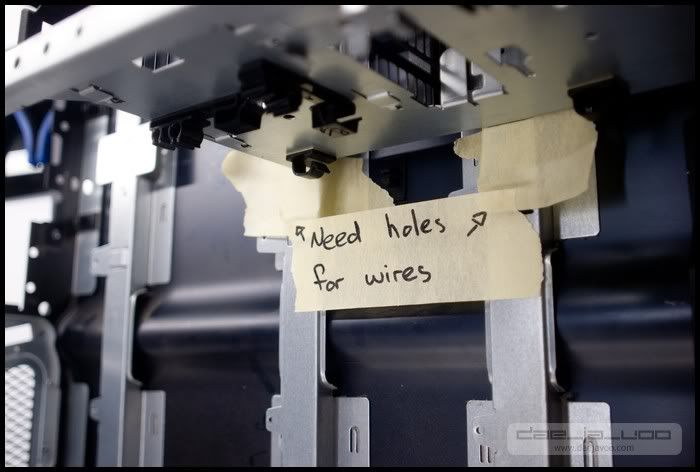
The next step was to make some cable management changes to the case. The "back" side panel has a few channels in it that are part of its structure, so I figured I'd use those to my advantage. Sure, I'll never be able to take that side panel off, but the case was designed in that way in any case.
So I checked to see where I needed to cut:
And according to my slick new ruler, the distance between the start of that panel and where it ends is about 14mm:
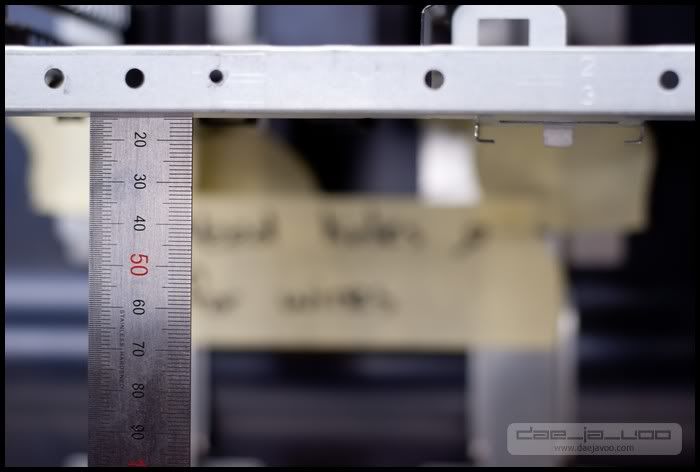
Now I need those holes to be a little smaller, because I'm actually going to be covering all of this up. So I made them about 13mm in height. Anyway, here they are, marked off, ready for some Dremel love:
And here we go:
Here's after the Dremel work. Now it's filing, sanding, etc:
All done:
Fitted:
And here's a cable, just to show you what I mean:
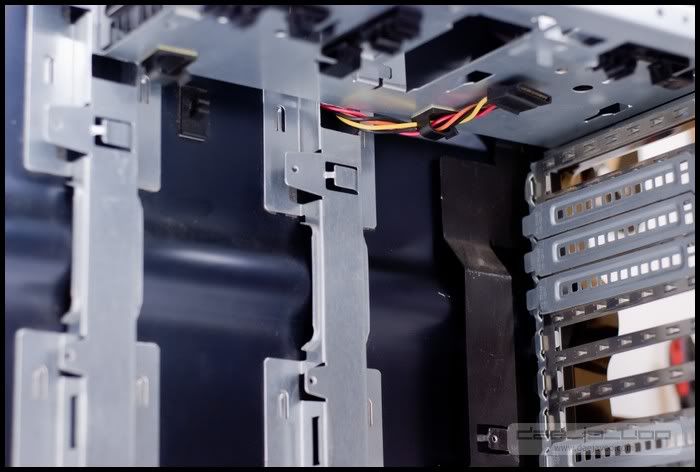
Now, all of that will actually be getting covered up with a panel, so you'll never actually see that, but it'll be neat, and that's what's important to me. Hahahha.
So that's it for now. What are my plans? The black plastic of the case will be staying black, but the rest of the case is going white. These panels inside will be getting some paint as well. I'm pretty sure I'll be making those white too, but I'll see how I feel about that as I progress.
The whole machine is getting watercooled as well, so that should be a lot of fun. The raddy will sit right at the front of the case, with the pump at the top in the same cavity as the HDDs and PSU.
So, what do you think? Any advice or feedback?
Thanks for taking the time to read my log. I hope you liked it
I drove out to the guy's house, and there stood this "scrap" case. I say "scrap" because it was hardly scrap. It was a brand spanking new Dell case, still sealed in the plastic, imported from the UK. It was also accompanied by a 1000W Modular Dell PSU. Neither of these things had ever been used.
The case was absolutely beautiful, and it's construction and build quality was amazing.
I couldn't get started with it yet, though, because I was busy with another big project, and once that was done, the renovations we were doing to the house rendered my workspace unusable until just recently, so now I can finally get going
I took some quick photos after I got it:
I quickly shoved my hardware into this case. I didn't do a great job, but I just needed my hardware in there.
Cable management-wise, this case isn't particularly awesome. It's not TERRIBLE, but it's a little stingy. That's alright, though, that's what case modding is all about.
So, to start off, I stripped the whole thing. This actually took WAY longer than I was expecting it to. The amount of rivets that Dell used to put this thing together was nauseating:
The bottom is super ugly. I need to cover that up:
Now, one of the interesting things about this machine is that it comes with it's own proprietary PCB that controls the fans and LEDs in the case:
These are some of the LEDs that it comes with:
My plan is to mount this on the bottom of the case, like so:
I'll then place a cover over that entire floor so that it's all hidden and the bottom of the case looks good. So this is the first one I made:
If you look closely, you'll see that I actually had to key out a few spots so that the side panel mounts had some space:
I ended up scrapping that piece though. It was a little too wide, and I needed the floor of the case to be a few millimeters lower. So, a new one. No need for the keys on this one:
Then I needed to drill 3 holes for mounting screws:
By the way, if you don't have a decent ruler, get one. I bought this guy for something like R40 (less than $6):
The screws I was going to use for this would be countersunk screws, like this:
One down:
All done:
In place:
As you can see, it fits really well:
And the screws look great:
So that was step one. The next thing I needed to make was a motherboard tray. The reason the previous owner didn't use the case was because of its lack of a tray. I made a quick temporary one out of some plexi, but I needed to make a nice one for this mod:
I had to thread a bunch of 2.4mm holes with a 3mm tap for the motherboard stand-offs:
Fitted:
I made two holes through the tray that line up with 2 threaded 3mm holes in the chassis for the tray to be fixed to. I made sure to use screws with low profiles to hold it together:
I also knew that I absolutely HAD to cover up that whole top "cavity" that the case has - the place where the PSU and HDDs reside. Even though it's not all that visible when the case is closed, it's wide open when the case is open. This is what I'm talking about, this whole section above the new motherboard tray:
So, a rectangular piece of alu was cut up, and then I started drilling and countersinking the holes:
All done:
And fitted:
The screws look so good I could scream
This panel still needs some work, though. I don't know if I want to leave it looking so plain.
The next step was to make some cable management changes to the case. The "back" side panel has a few channels in it that are part of its structure, so I figured I'd use those to my advantage. Sure, I'll never be able to take that side panel off, but the case was designed in that way in any case.
So I checked to see where I needed to cut:
And according to my slick new ruler, the distance between the start of that panel and where it ends is about 14mm:
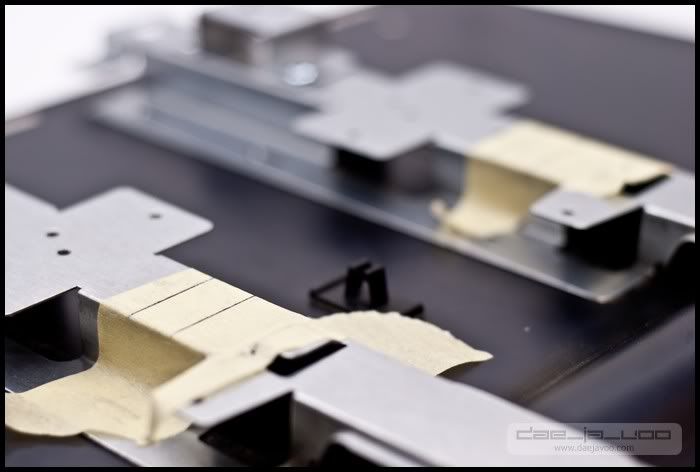
Now I need those holes to be a little smaller, because I'm actually going to be covering all of this up. So I made them about 13mm in height. Anyway, here they are, marked off, ready for some Dremel love:
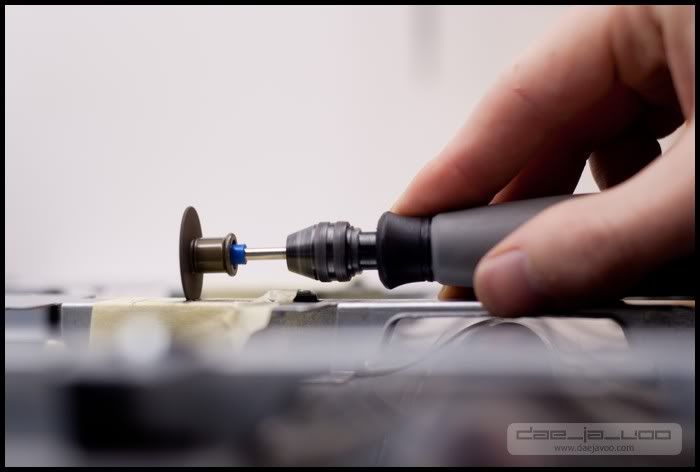
And here we go:
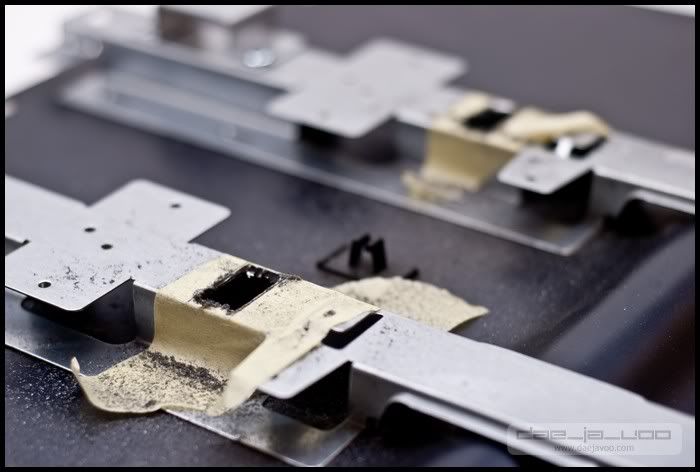
Here's after the Dremel work. Now it's filing, sanding, etc:
All done:
Fitted:
And here's a cable, just to show you what I mean:
Now, all of that will actually be getting covered up with a panel, so you'll never actually see that, but it'll be neat, and that's what's important to me. Hahahha.
So that's it for now. What are my plans? The black plastic of the case will be staying black, but the rest of the case is going white. These panels inside will be getting some paint as well. I'm pretty sure I'll be making those white too, but I'll see how I feel about that as I progress.
The whole machine is getting watercooled as well, so that should be a lot of fun. The raddy will sit right at the front of the case, with the pump at the top in the same cavity as the HDDs and PSU.
So, what do you think? Any advice or feedback?
Thanks for taking the time to read my log. I hope you liked it