Page 4 of 5
Re: Project: Stardust [update- 1-1]
Posted: 04 Jan 2009, 23:50
by TheModDoctor
Update.
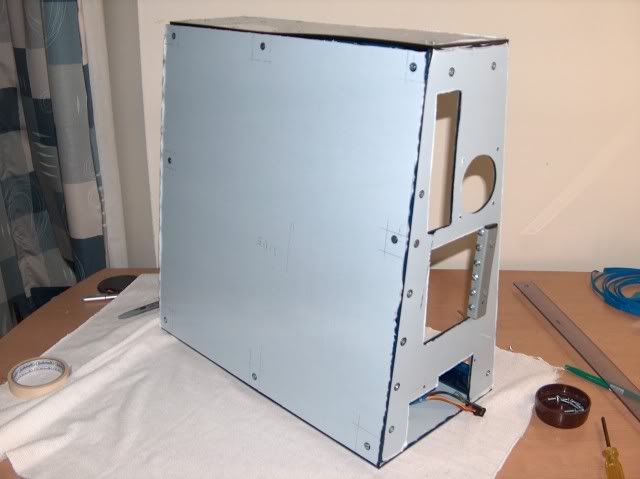
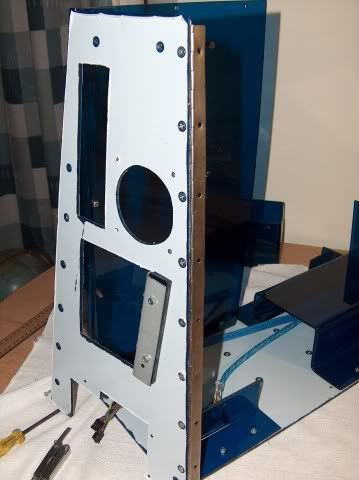
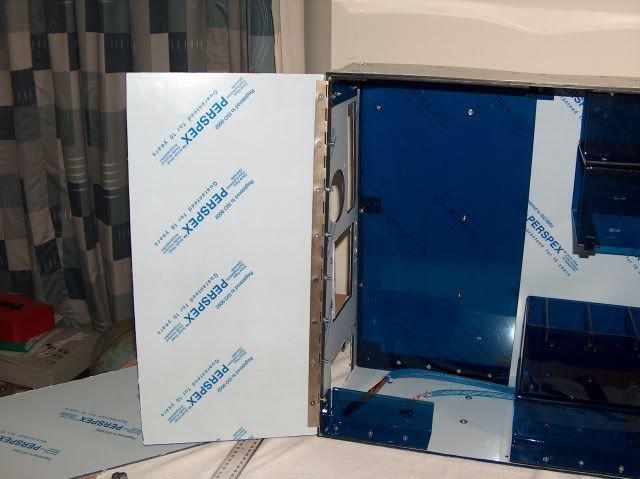
All that is left are the side panels. Today I started with the panel that will be almost permanently closed. I decided to make 8 brackets.
For some of them I had to cut other pieces shorter
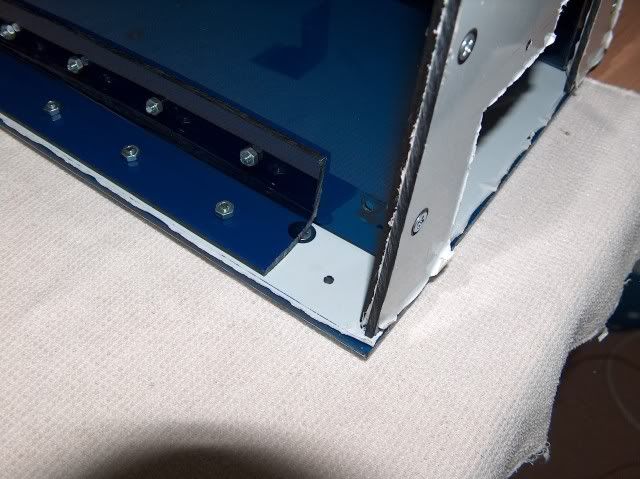
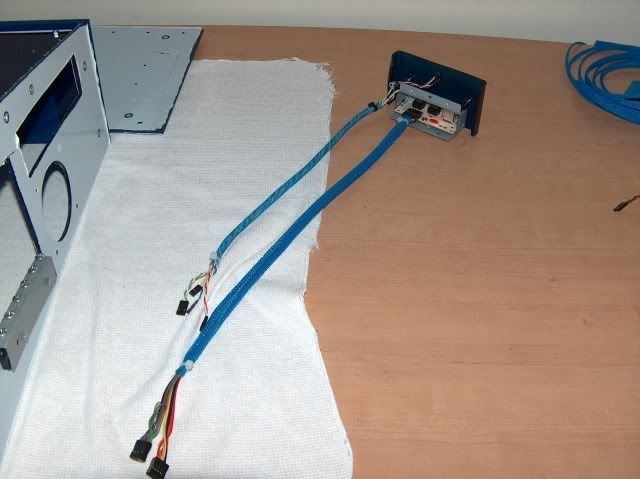
I had to take the bottom panel off so that I can drill holes in to screw on the brackets. While the bottom panel was off and I could reach the electronic controller panel, I decided to put the cables in a sleeve which looks much better!
I cut all the bottom brackets from a previously bent piece that has the correct angle.
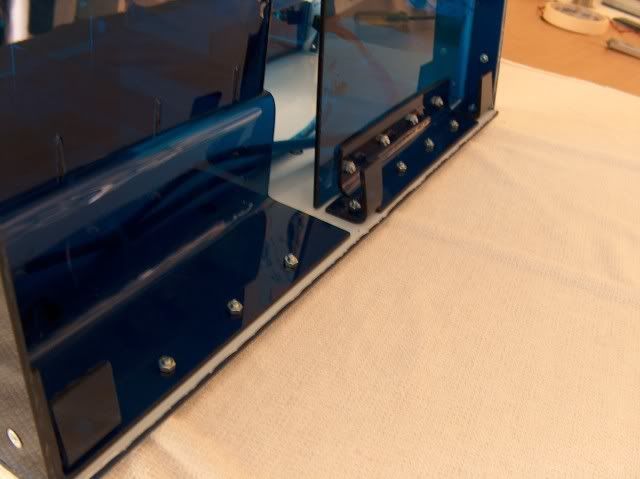
For the side brackets, I used the offcut from the HDD bay
The top right corner bracket couldn't just go in, I had the cut a groove in the panel that was in the way.

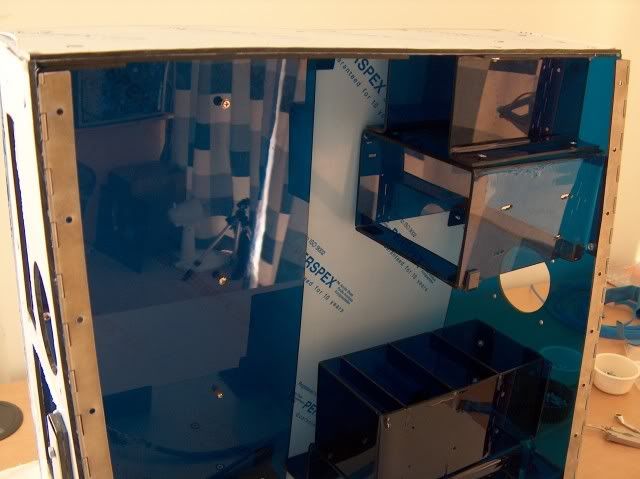
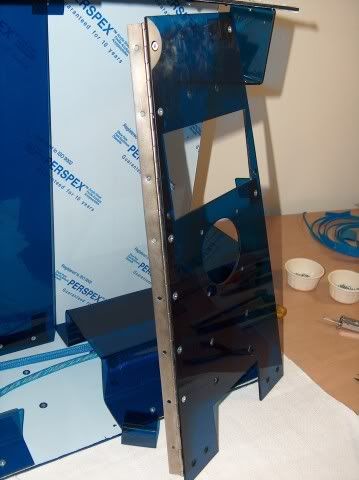
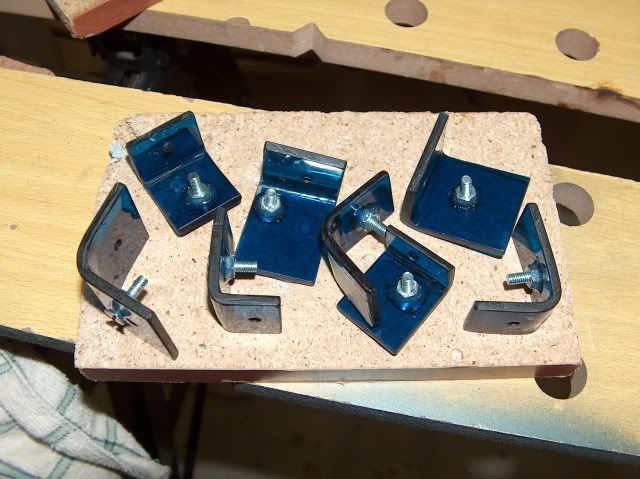
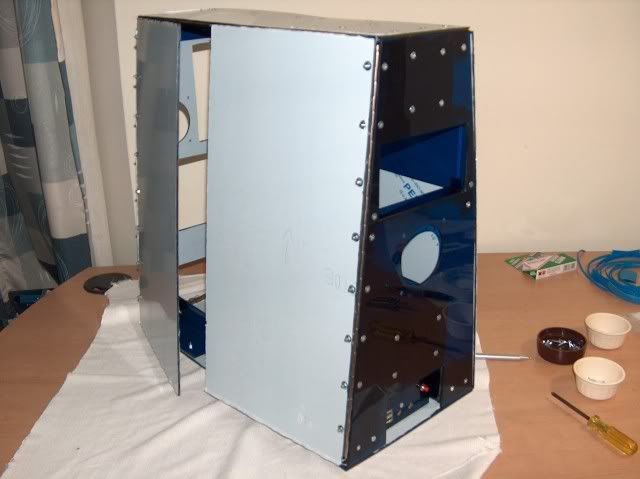
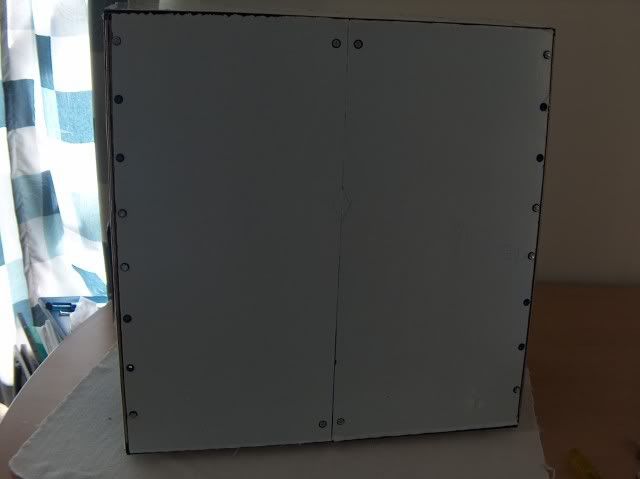
Here all the brackets are now in places.
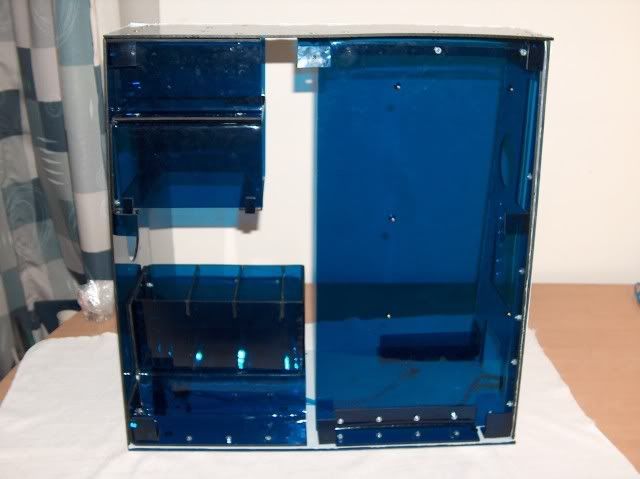
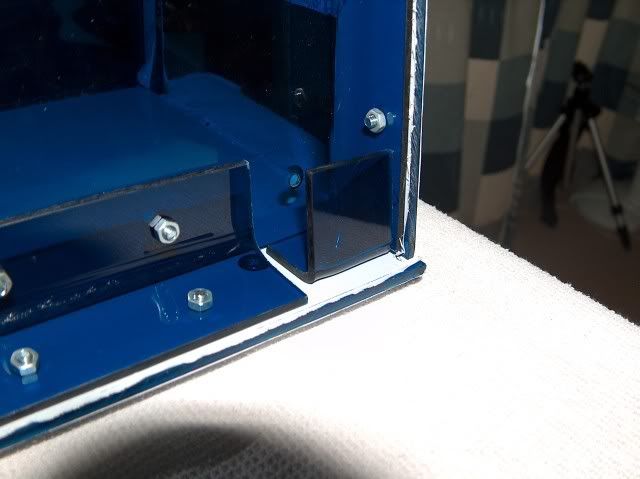
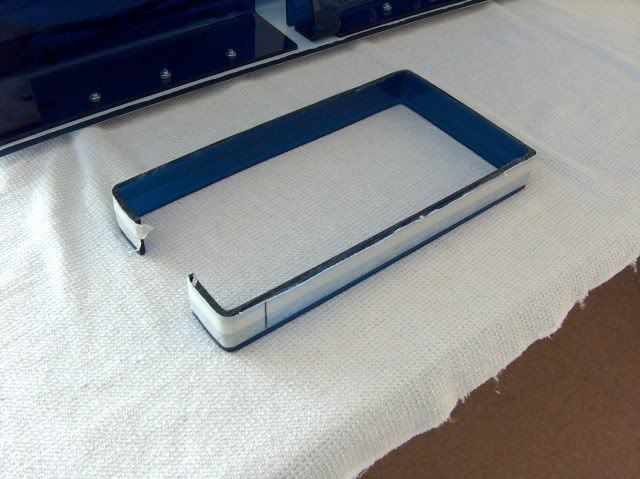
Now for the side panel. I first marked out where the brackets are, and then drilled holes in the side panel.
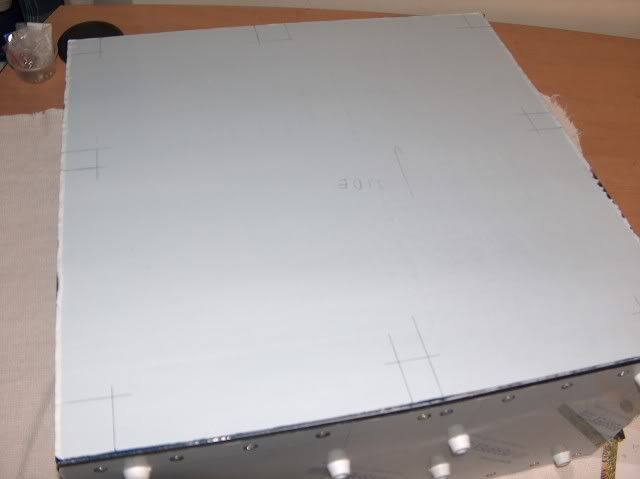
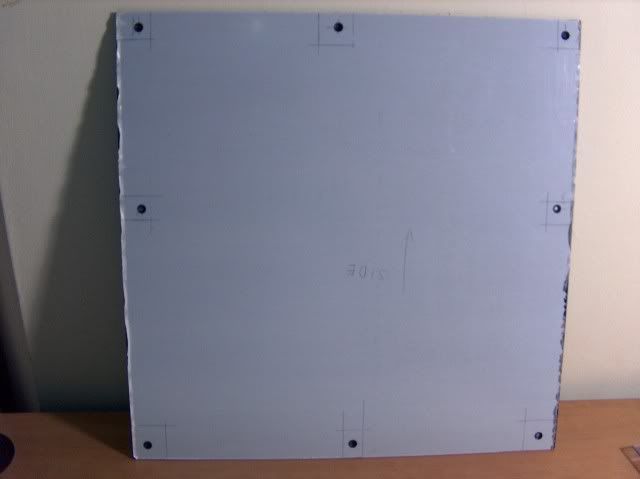
After the side panel had holes in it, I marked out where to drill holes in the brackets.
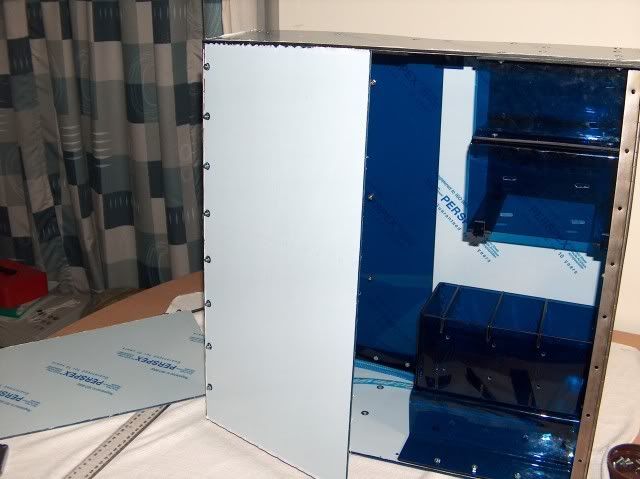
The side panel can now go in its place, but still not screw on because I can't reach everywhere to place a nut.
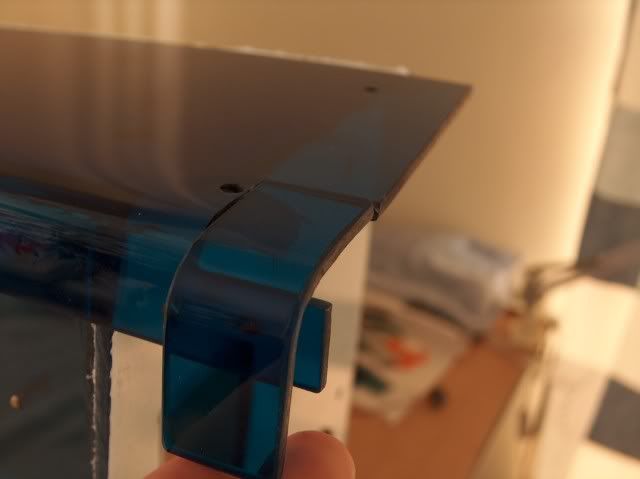
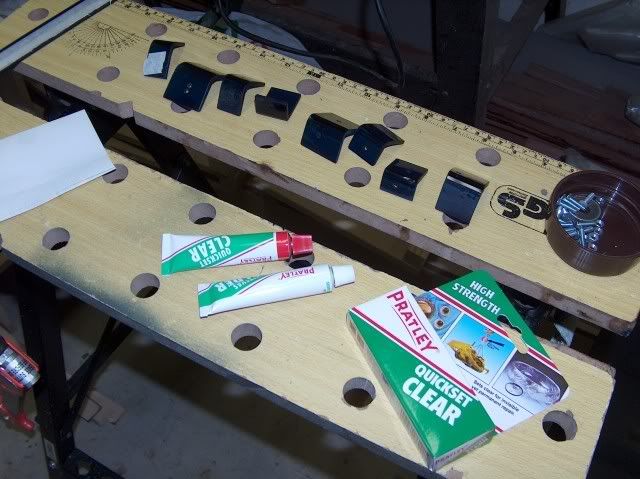
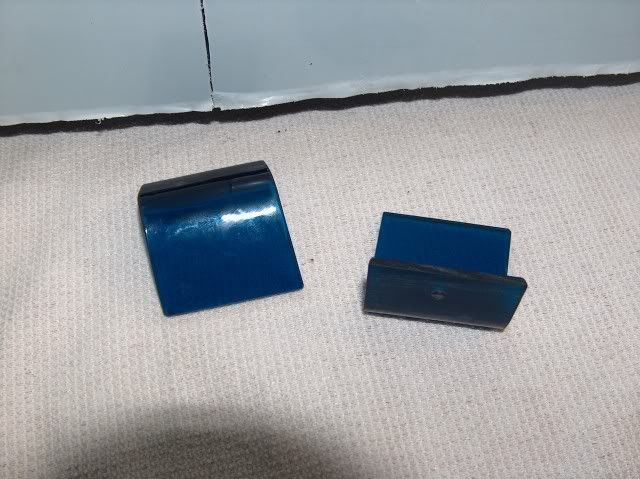
The simplest way I can think of is to glue a nut to the back of the bracket and then simply screw the panel on.
I first tested this with an offcut.
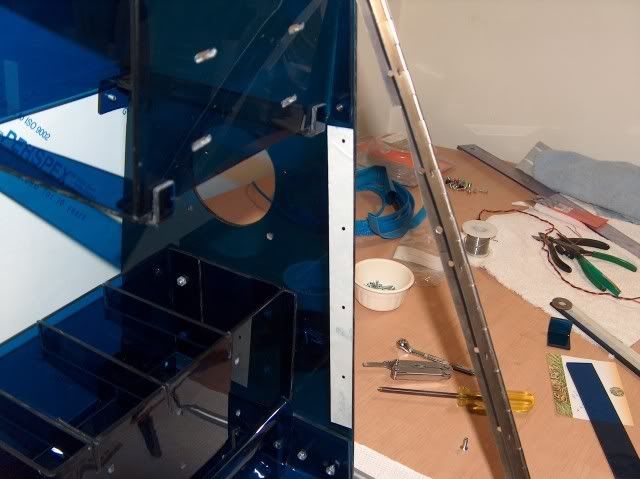
Tomorrow I should finish by mounting the last side panel. This is how I thought of putting it on hinges
Re: Project: Stardust [update- 4-1]
Posted: 05 Jan 2009, 00:57
by RuadRauFlessa
I likes
Re: Project: Stardust [update- 4-1]
Posted: 05 Jan 2009, 01:23
by Prime
Nice Dude

Get yourself the right thread tap and tap the plastic in the case to accept a screw. You need to keep the plastic cool though and keep the tap striaght or you rsk cracking what ever ole you are tapping a thread into. I do it to all my case fans, i replace the self tapping screws with M5 cap screws.

Re: Project: Stardust [update- 4-1]
Posted: 05 Jan 2009, 07:55
by IcePick88
I was thinking after what you said about the pulse.
What if you wire your power supply switch at the back to use the ignition switch for on and off, and then wire your normal power button from the mobo to use the ENGINE START switch??
1. You will have easy access to your PSU power switch,
2. It will look like you are starting a drag car when switching on your pc.

Just a thought. I would love to do this to my pc though.
LINK TO PIC
Re: Project: Stardust [update- 4-1]
Posted: 05 Jan 2009, 12:30
by TheModDoctor
Hey that could actually work. It's just that I don't really want to open my PSU at this stage because it's brand new, and that switch panel is crap expensive.
But on the plus side, this will save me the trouble of crouching under the table everytime to switch off at the wall plug.
And there is a spelling mistake...

Engine Ignistion Start Kit:
Re: Project: Stardust [update- 4-1]
Posted: 05 Jan 2009, 12:35
by Prime
Rather crouch down at the wall plug, and switch off and unplug. I'm horrified at the number of people who leave their pc's plugged in when not in use. And who run pc's with out a ups.

Re: Project: Stardust [update- 4-1]
Posted: 05 Jan 2009, 14:12
by TheModDoctor
Prime wrote:And who run pc's with out a ups.
Currently me, because that piece of crap blew and is still in for repairs

Re: Project: Stardust [update- 4-1]
Posted: 05 Jan 2009, 14:55
by Prime
TheModDoctor wrote:Prime wrote:And who run pc's with out a ups.
Currently me, because that piece of crap blew and is still in for repairs
lol, in your case i could understand.
Re: Project: Stardust [update- 4-1]
Posted: 06 Jan 2009, 00:17
by TheModDoctor
OK, the last Side panel is now on and looks awesome! I'll post 'yesterdays' work later, I'm too tired right now...

Re: Project: Stardust [update- 4-1]
Posted: 06 Jan 2009, 13:53
by TheModDoctor
Update for yesterday.
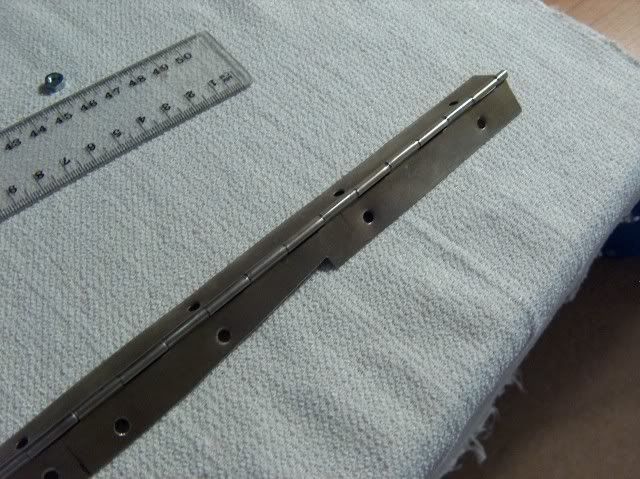
I started with the hinges. I got this hinge roll out of the garage.
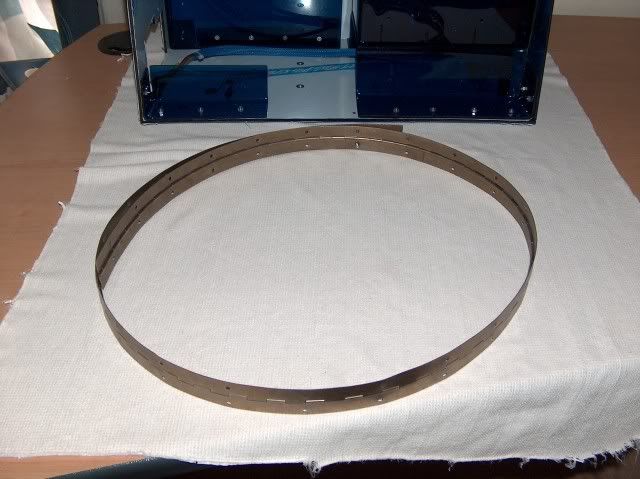
And I cut them up to the right size
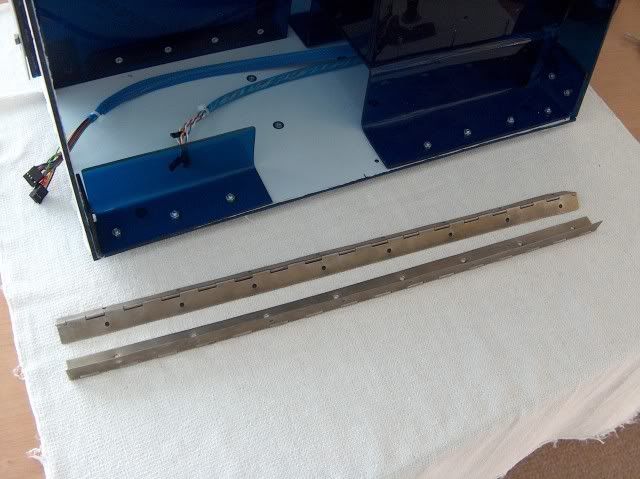
The hinge on the rear panel was easy to mount
But at the front there is a CD-ROM bay, so I cut a bit out.
And I marked where I should drill holes in the front panel
Done.
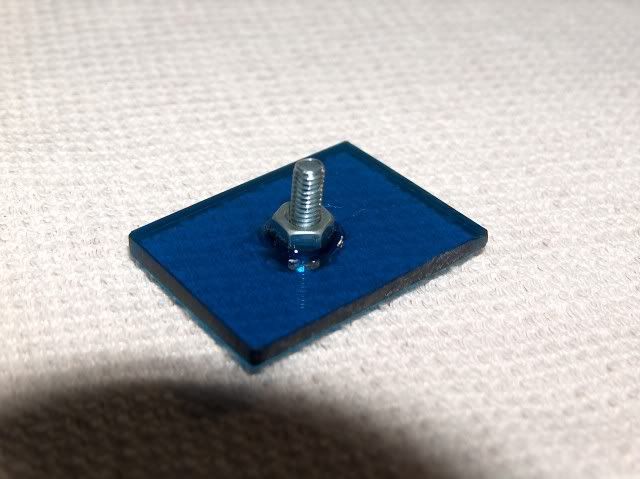
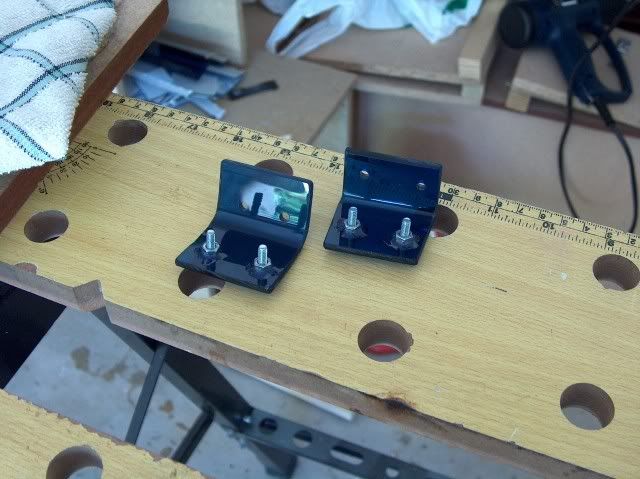
After some thought and testing I decided to glue a bolt to the back of each bracket with Pratley Clear Quickset. After they dried they were rock solid
I had to do it this way because I couldn't get a 4mm self tapping screw.
Time to cut the side panel in half
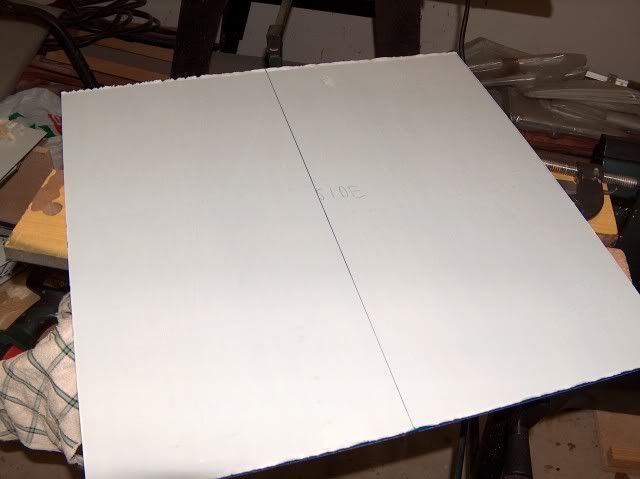
First half done. Looks nice!
After measuring and cutting the other half, I had to carefully mark where the panel should sit on the hinge.
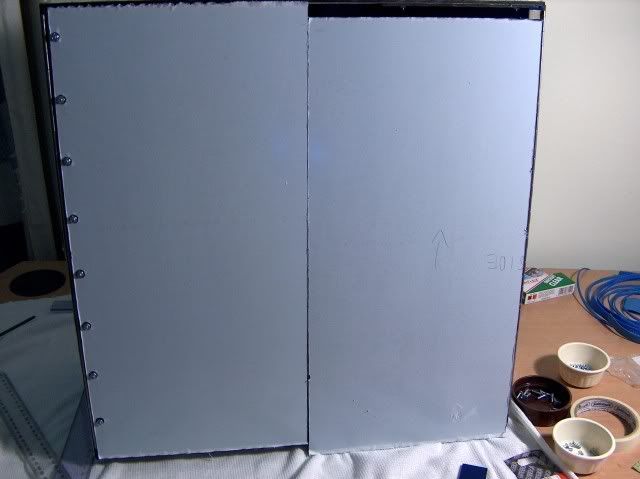
Done.
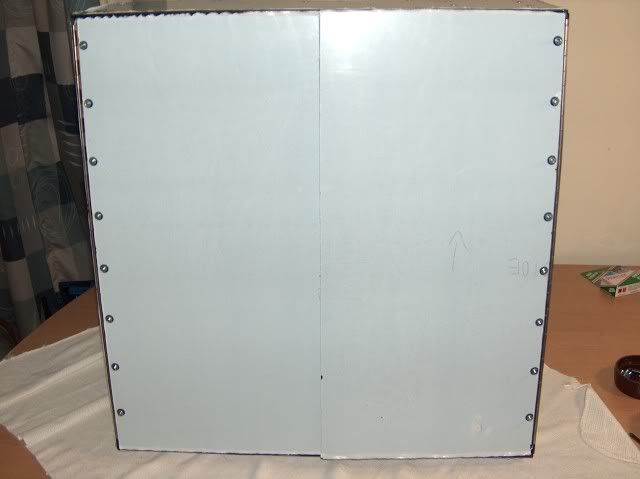
Looks so good
I will place there brackets behind the panels and screw them into the brackets
I also marked out where I think I will cut into the side panels where my fingers can reach into to open the case, but it is an option that I won't cut anything at all.
That's yesterdays work. Right now I'm waiting for the Pratley on the other brackets to dry, and I thinking what else should be done.
EDIT:
All I can think of thus far is:
Put new brackets back.
Shortern 16 screws
Take everything apart.
Sand the larger panels.
Take plastic off.
Put everything back together.
Wipe fingerprints off.
Look at a finished Project Stardust
Re: Project: Stardust [update- 4-1]
Posted: 06 Jan 2009, 13:56
by UrBaN
If you still have your old case, why not put everything into it and check your temps under load and at idle.
Then put everything into Stardust and check the same again...
Re: Project: Stardust [update- 4-1]
Posted: 06 Jan 2009, 14:09
by RuadRauFlessa
TheModDoctor wrote:
Take plastic off.
Hopefully not all of the plastic
Re: Project: Stardust [update- 4-1]
Posted: 06 Jan 2009, 15:16
by TheModDoctor
RuadRauFlessa wrote:TheModDoctor wrote:
Take plastic off.
Hopefully not all of the plastic
LOL, don't worry, just the annoying bits
UrBaN wrote:If you still have your old case, why not put everything into it and check your temps under load and at idle.
Then put everything into Stardust and check the same again...
My old case is still here (I'm posting from it). Tonight when it is cooler I'll do some benchmarks on temps.
Re: Project: Stardust [update- 6-1]
Posted: 06 Jan 2009, 15:17
by UrBaN
Rather do the benchmarks in a controlled area (an airconditioned room or something) so that the ambient temps are the same for both test runs...
Re: Project: Stardust [update- 6-1]
Posted: 06 Jan 2009, 15:19
by TheModDoctor
And I'll add something else to my to do list. I realised that I also have to shortern 16 screws, because they are too long and interfere with each other at the hinges.
Re: Project: Stardust [update- 6-1]
Posted: 06 Jan 2009, 16:17
by TheModDoctor
UrBaN wrote:Rather do the benchmarks in a controlled area (an airconditioned room or something) so that the ambient temps are the same for both test runs...
Unfortunately we don't have an aircon, and I don't konw someone that do. That's why I thought tonight. Tonight I'll test it in my old case and record the room temp and hardware temps. Tomorrow night at the same time I'll test it in Stardust when the room temp is the same and record those temps. I thought that maybe before I start benching I'll shutdown my pc and put it in front of the fan for about 30minutes in both tests. or something like that.
Re: Project: Stardust [update- 6-1]
Posted: 06 Jan 2009, 20:25
by TheModDoctor
I've started the final assembly now.
Re: Project: Stardust [update- 6-1]
Posted: 06 Jan 2009, 20:27
by djwez
nooooooooooooooooooooo
you are beating me
its coming on nicely man
when it is done throw a sheet over a big box and put the case next to it (like a photo shoot)
Re: Project: Stardust [update- 6-1]
Posted: 06 Jan 2009, 22:52
by TheModDoctor
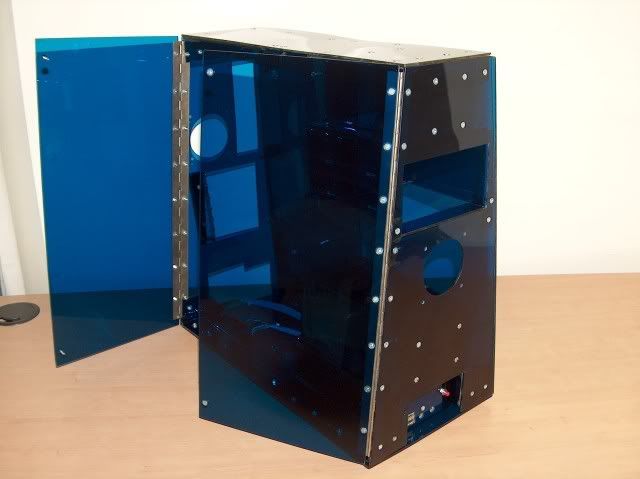
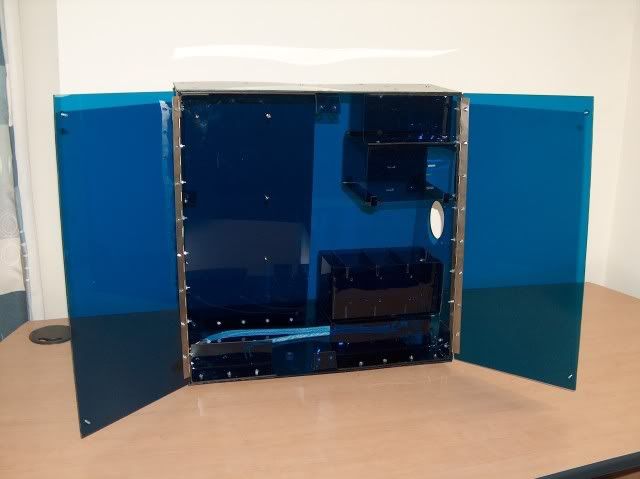
YEAAAAH!
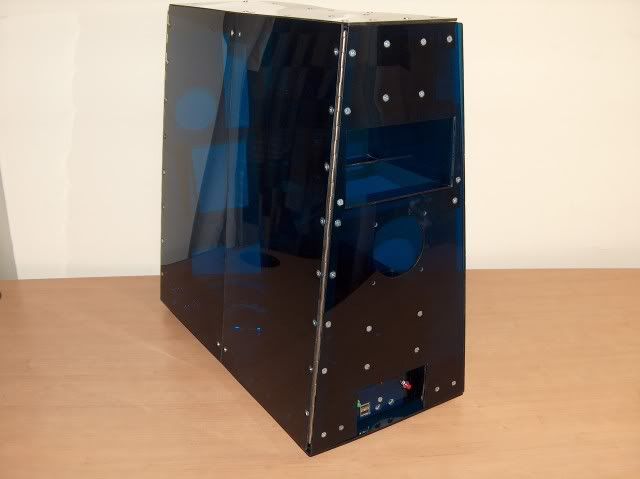
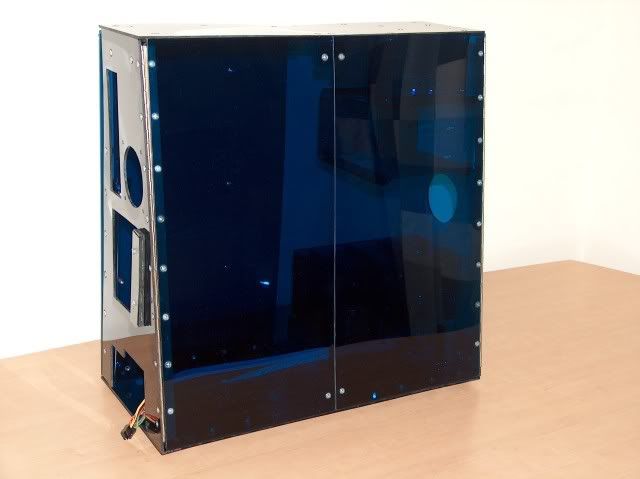
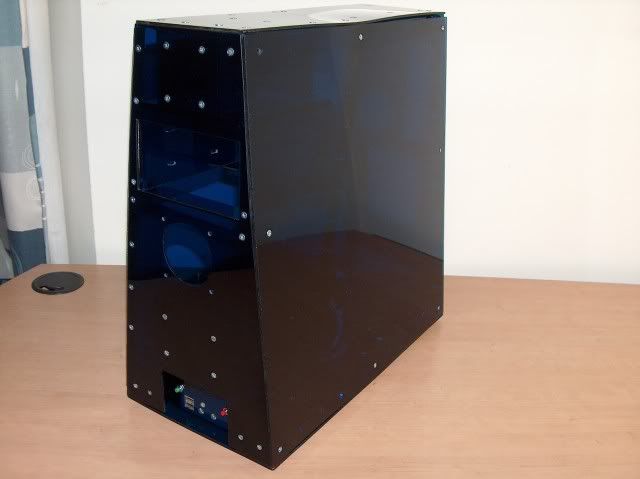
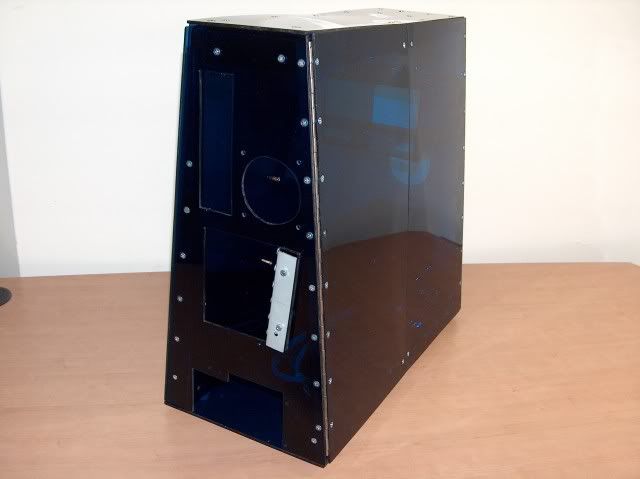
Finally done! It's looking so beautiful. I'll upload the pics shortly.
I took some pics from all anlges now with the case just on the table. Tomorrow I'll try with the box, because I want to take good photos of it
Re: Project: Stardust [update- 6-1]
Posted: 06 Jan 2009, 23:26
by TheModDoctor
Update:
I began where I left off. The brackets to which the folding side panels will be fastened. I glued two nuts with pratley.
Screwed shut.
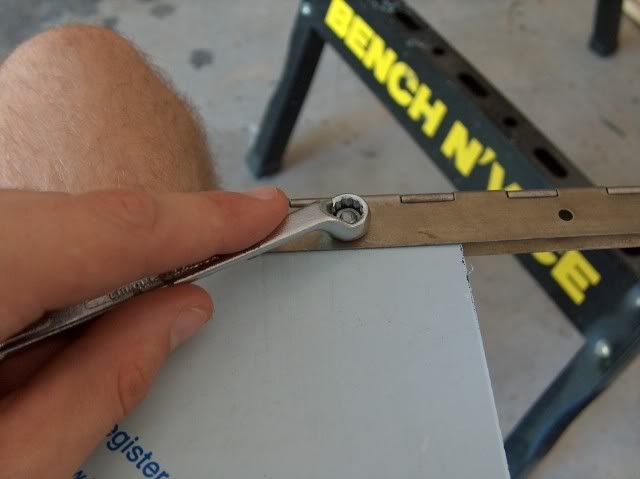
Right here the bolts that fixes the panel to the hinge are reversed, because they are too long and collides with the other bolts at the back preventing the panel from closing. So I had to shorten them. A regular side cutter just won't cut it...
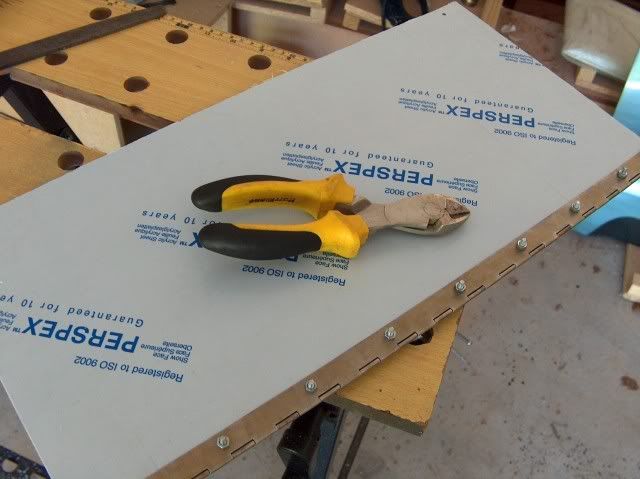
So I got out something a little bigger. A bolt-cutter. Hehe
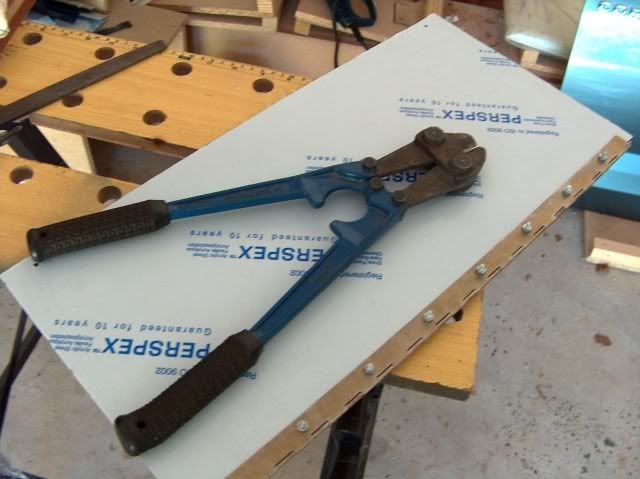
I screwed every bolt in where they should go and cut them
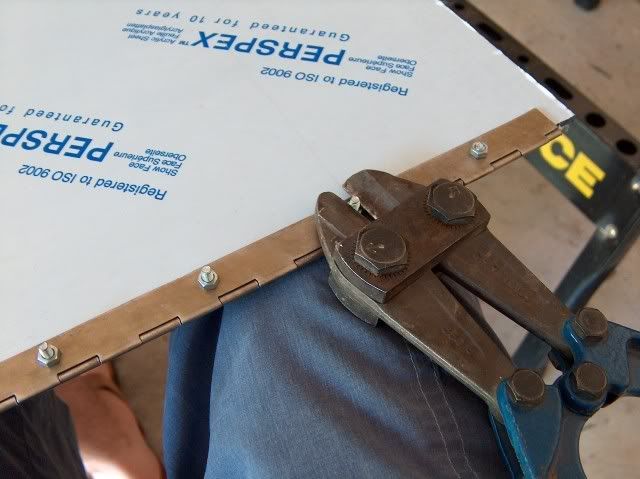
And afterwards forced the nut out. This repaired the screw path ("die skroef draad" <- sorry, internal brain english dictionary out of date) This is pretty much the last thing I needed to do. Every part is now ready.
I took everything apart to prepare the big panels
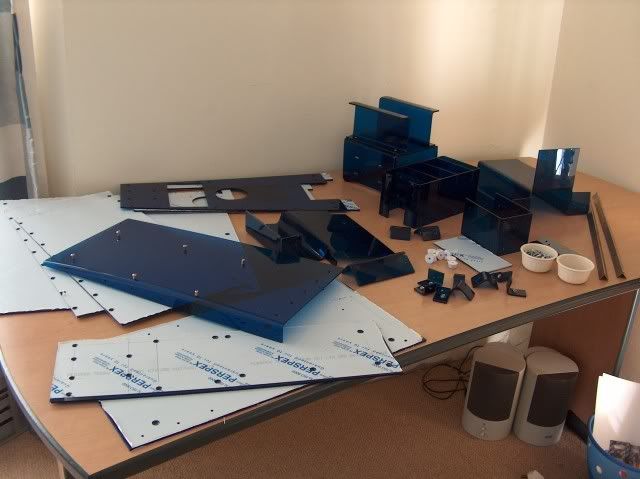
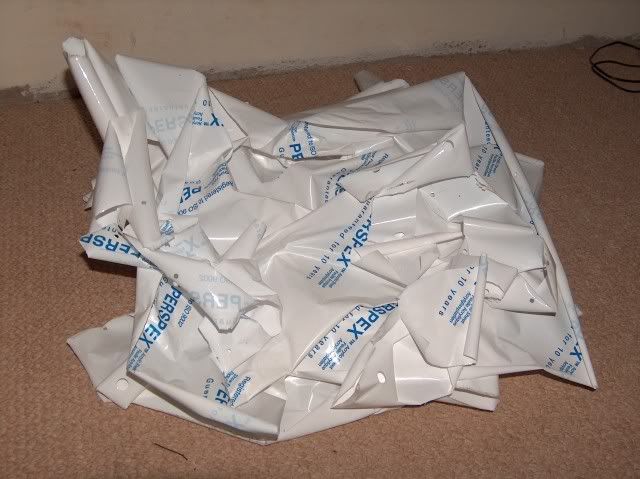
After I sanded them and took the plastic cover off, all the parts are good to go.

The plastic covers can now be thrown away!
Re: Project: Stardust [update- 6-1]
Posted: 06 Jan 2009, 23:29
by TheModDoctor
Re: Project: Stardust [Finished]
Posted: 07 Jan 2009, 00:36
by Prime
Looking Sick dude
Well Done
Re: Project: Stardust [Finished]
Posted: 07 Jan 2009, 06:22
by djwez
do you have ccfls?
Re: Project: Stardust [Finished]
Posted: 07 Jan 2009, 08:06
by RuadRauFlessa
Sweeet.
Re: Project: Stardust [Finished]
Posted: 07 Jan 2009, 09:18
by justinufo
Dude.Looks frikking awsome!