Page 3 of 5
Re: Project: Stardust [update- 17-12]
Posted: 18 Dec 2008, 17:45
by Lithe_Joint
Good work, TMD

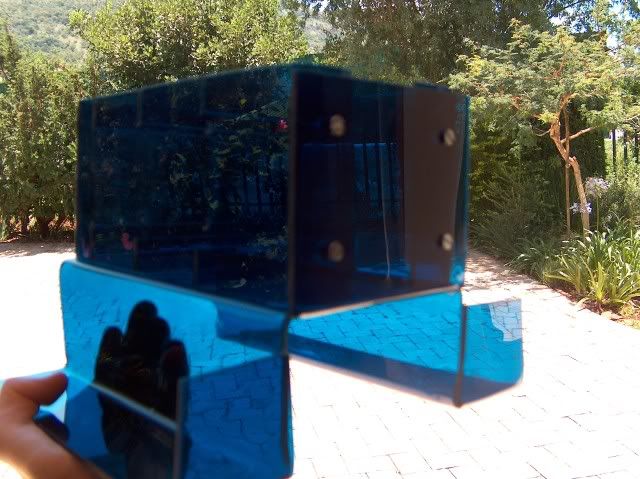
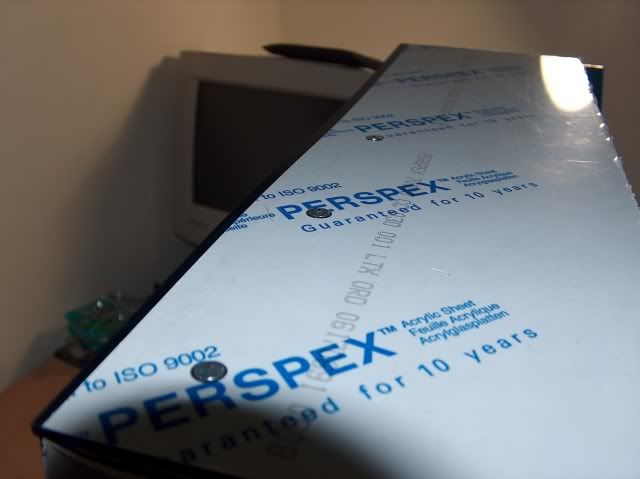
I think that mobo will actually appear to be some kind of purple, when viewed through the blue perspex, but either way, nice combination.
Re: Project: Stardust [update- 17-12]
Posted: 18 Dec 2008, 21:40
by TheModDoctor
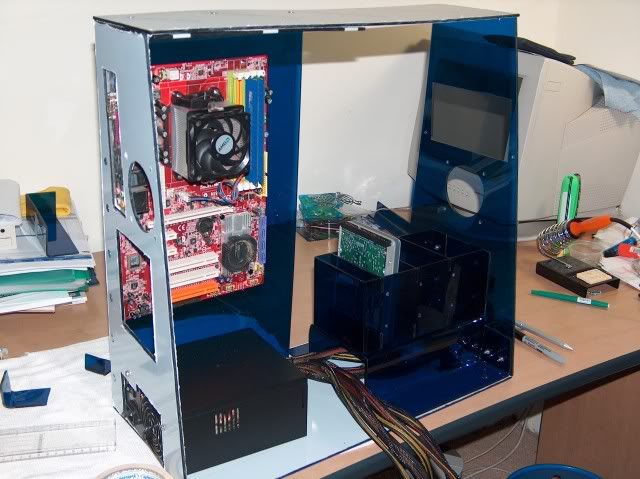
Thanks guys. I've been looking at the red mobo and blue plexi again today, and it really does look nice.

Re: Project: Stardust [update- 17-12]
Posted: 18 Dec 2008, 21:51
by TheModDoctor
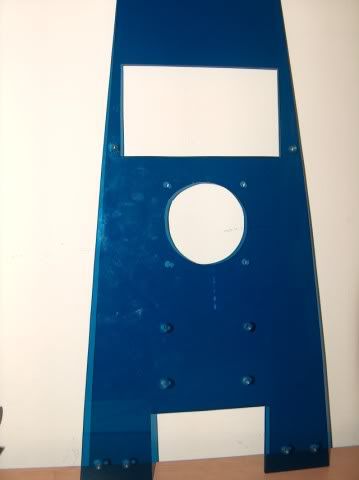
Small Update.
I started today with the back panel. The first obvious thing I should do is cut a hole for the PSU.
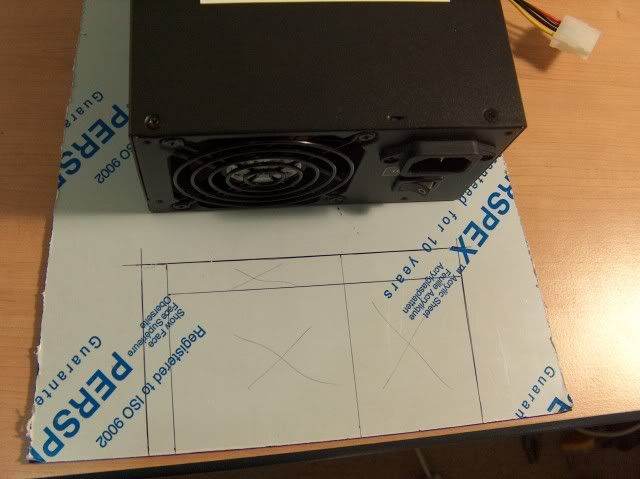
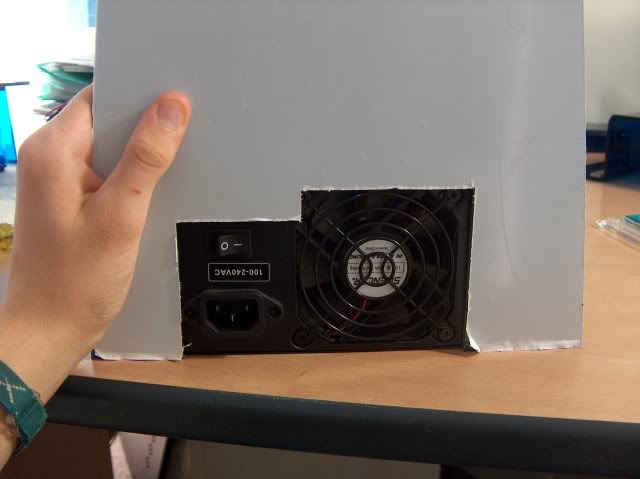
And this is how it came out.
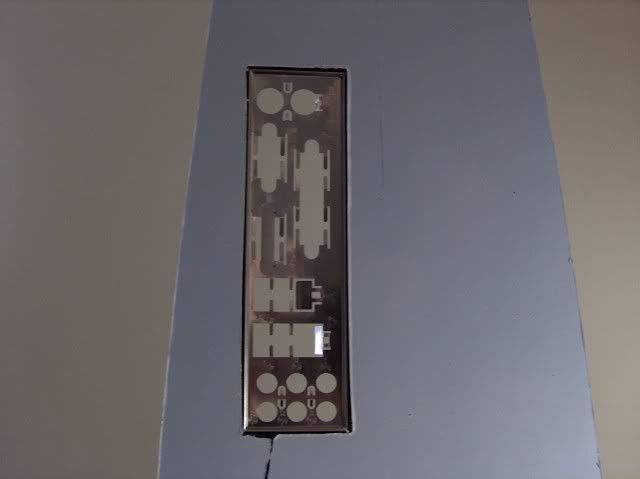
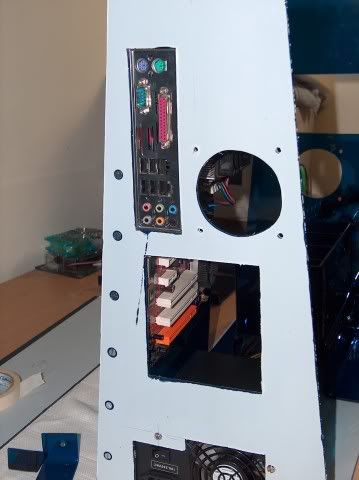
Then I took out my mobo again and measured where to cut a hole for the rear connectors
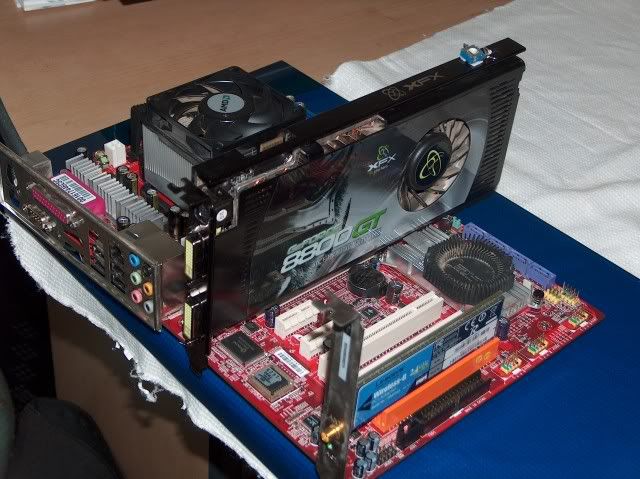
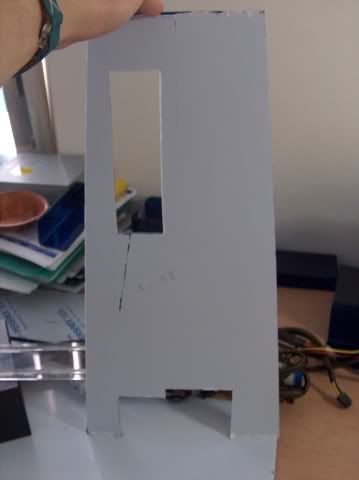
Next I measured where to cut out for the expansion cards.

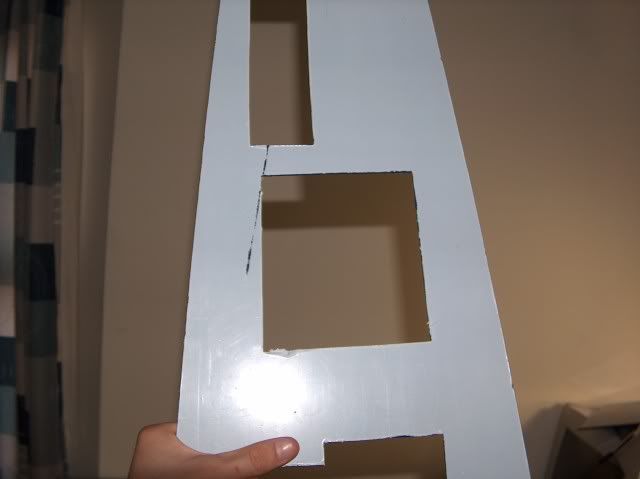
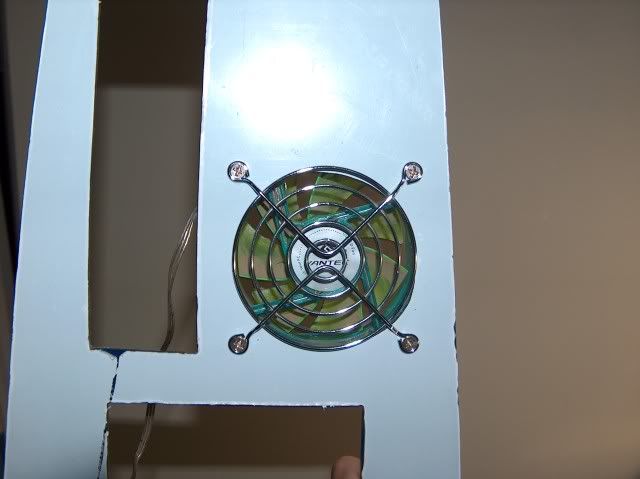
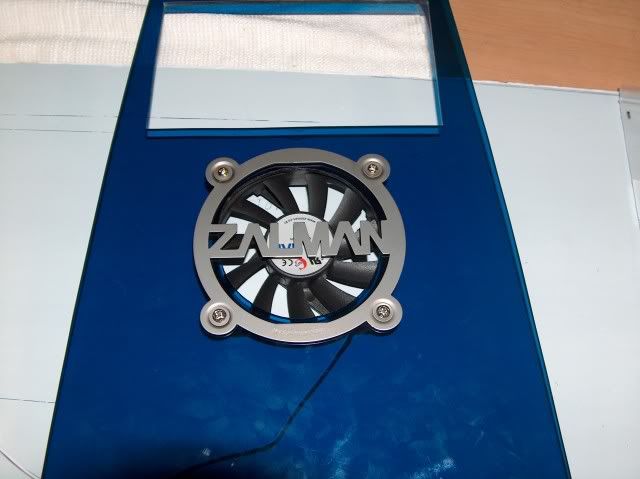
And my dad cut another fan hole with the jigsaw
And that's all I did today apart from some more planning.
Tomorrow I probably won't be able to do anything, but I plan to start fixing some pieces together on Saturday.
Oh, Still any ideas for a front grill?
Re: Project: Stardust [update- 18-12]
Posted: 19 Dec 2008, 11:39
by Lithe_Joint
Maybe doodle on some paper for a couple of minutes...this usually helps in getting an idea. The creativity starts flowing from there, in my opinion.
Re: Project: Stardust [update- 18-12]
Posted: 19 Dec 2008, 12:09
by Synthesis
I wouldn't try to be fancy and get a stupid corny fan grill with a skeleton image or anything. Go for something classy and plain like this mesh grill that you can screw on the inside of the hole.
 or
or

And I hope you understand what I try to say here: I have always for a very nice clean effect around rough edges done the following: Take electrical wire.

Slit open the plastic by cutting with a Stanley knife from top to bottom and remove the copper inside. Now that plastic is perfect for putting around the hole for the grill as a border. It works the same as the rubbers on a car for the doors, windscreen etc. You usually get it pre-made with PC mod window kits. I like this better than that actually.

Re: Project: Stardust [update- 18-12]
Posted: 19 Dec 2008, 12:27
by UrBaN
Synthesis, That second grill is hot, and the wire idea is brilliant, nice protip there!
Re: Project: Stardust [update- 18-12]
Posted: 20 Dec 2008, 10:21
by djwez
good job

im really sad my net is caped now i can only see the mod in jan

Re: Project: Stardust [update- 18-12]
Posted: 20 Dec 2008, 10:54
by TheModDoctor
My bandwidth is also getting very limited, so hope I can post an update tonight
Re: Project: Stardust [update- 18-12]
Posted: 20 Dec 2008, 21:58
by TheModDoctor
Last update for the next week
I'm happy with what I accomplished today. I think I did a lot.
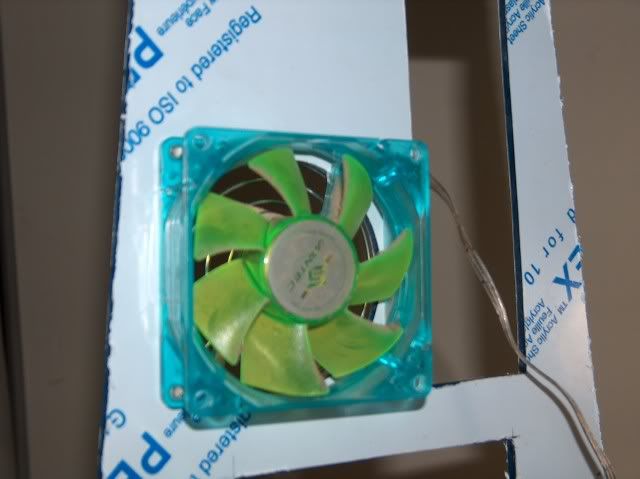
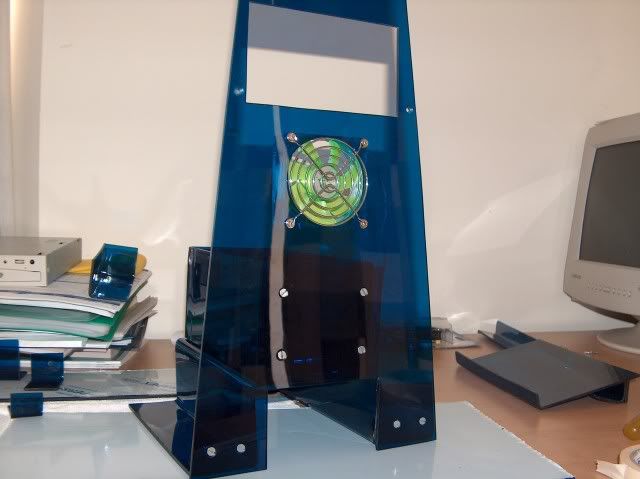
But anyway, yesterday when I was in Centurion Mall I quickly ran into the PC Game&Computer world. There I bought this fan. There were 2 80mm fans, this Zalman and some other Vizo or something. The Zalman was twice the price, but slimmer, smarter and quieter.
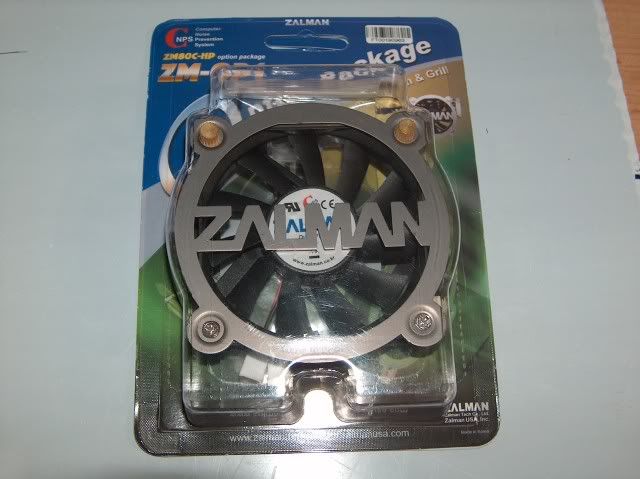
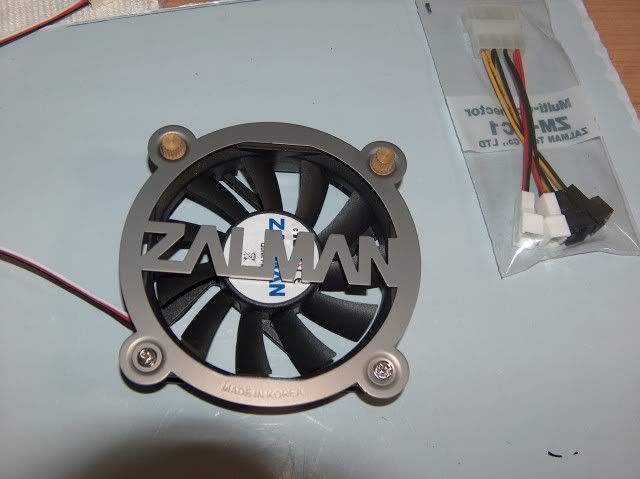
Its own grill doesn't look too bad, but I won't be using it as this is Project Stardust, not project Zalman

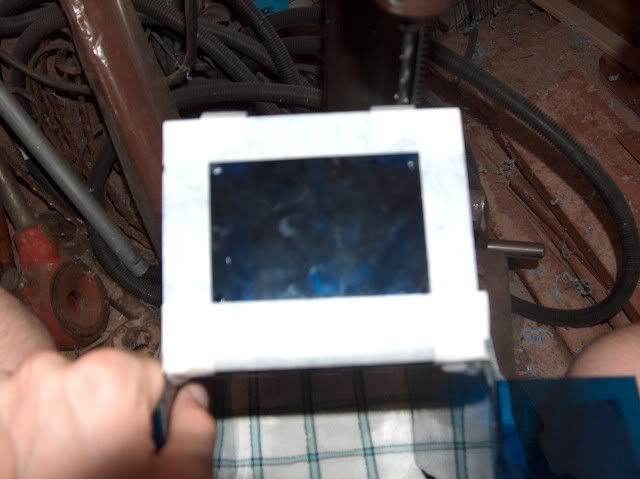
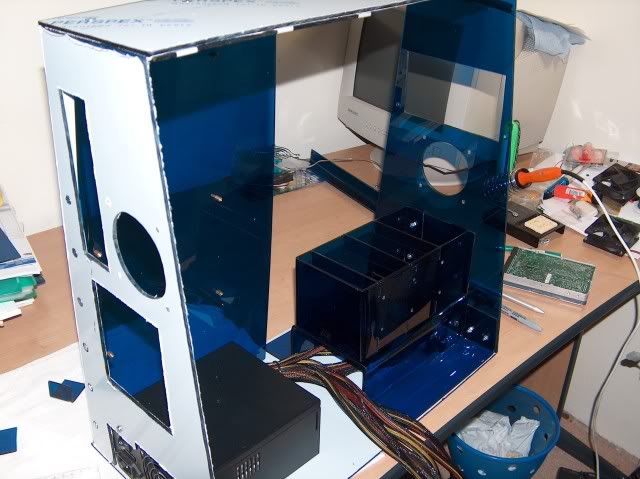
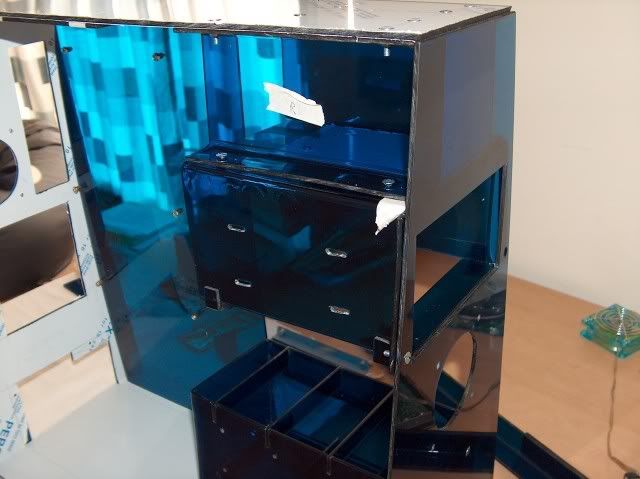
Now back to today's work. The first thing this morning I got my hands on was the HDD bay bottom piece. I drilled holes to fix the base, the hdd bay and the front panel together. (Sorry, looks like the camera auto focused on the junk in the back.)
The HDD bay
Bolted together
I also drilled holes for the CD-ROM bay.
The front panel with holes:
And attached to the hdd bay
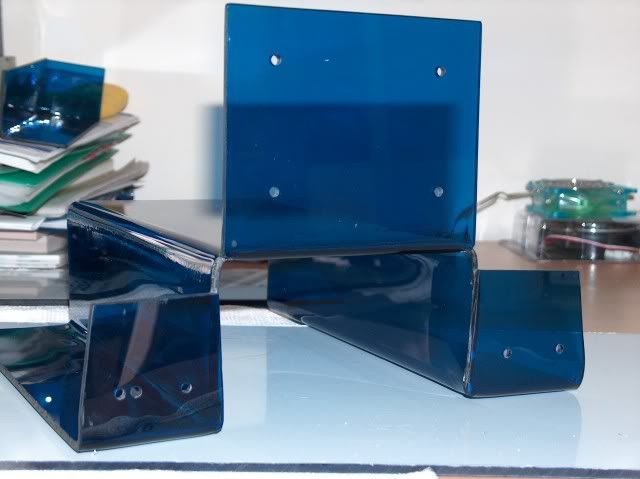
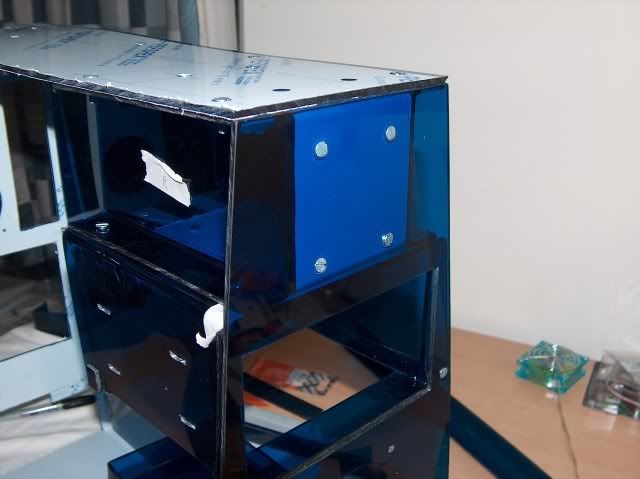
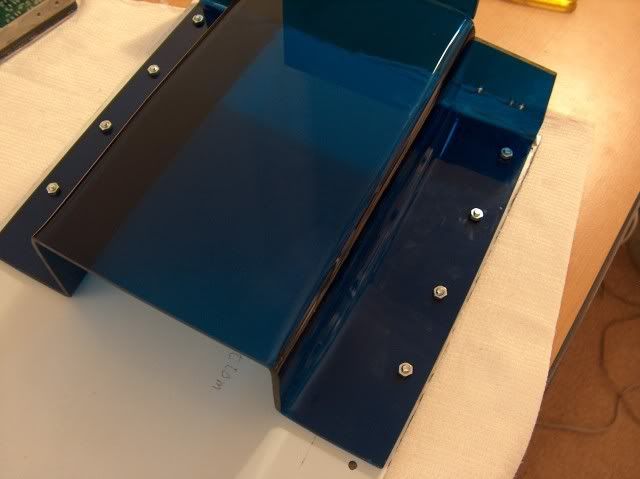
Next was the mobo backplate.
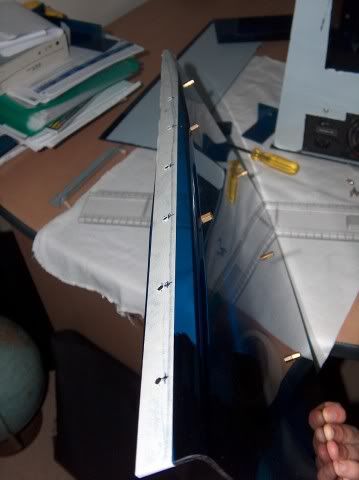
And the piece that will fix the backplate to the top panel
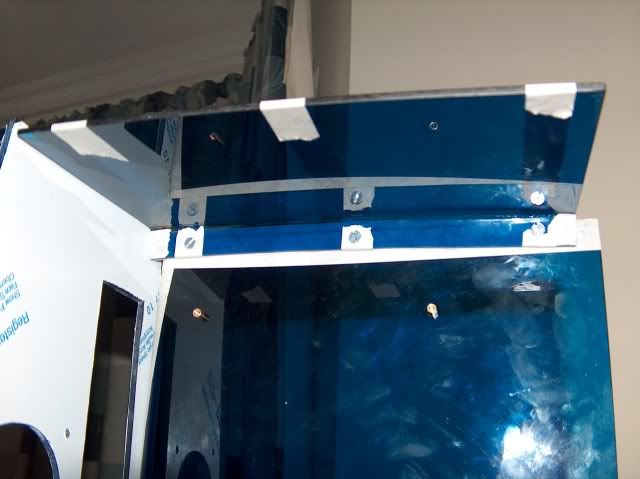
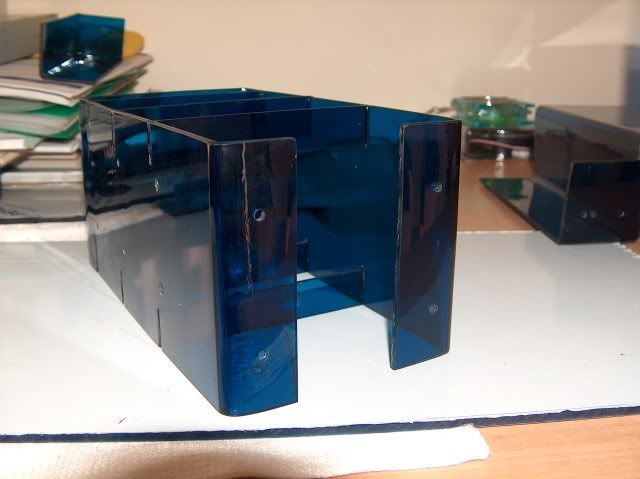
The top panel
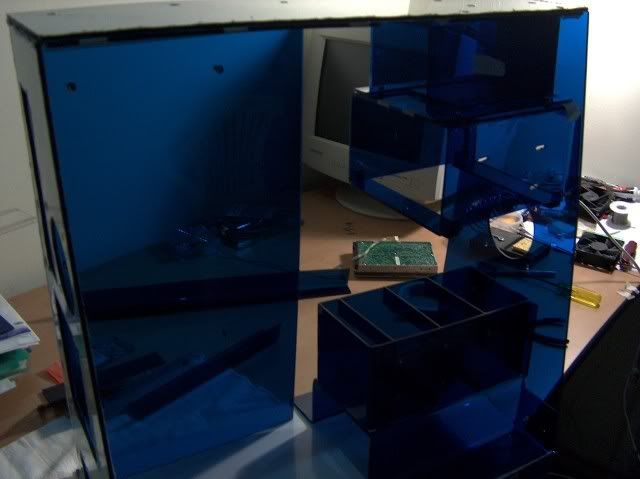
This case can finally stand on its own!
I think it looks really cool

Sorry I didn't post too much pics today, but bandwidth limitation FTL...
Right now I don't feel like going on holiday, because only a few more days and this case is finished! Not too much left to do.
So in a few hours we leave for Tsitsikamma, and I'll be back on Saturday next week. Can't wait to get going to enjoy the ocean, and then get back to work
Cheers guys, enjoy your week

Re: Project: Stardust [update- 20-12]
Posted: 20 Dec 2008, 22:52
by Prime
Looking good.
Those fans were also intended for the Zalman GPU cooler.
Re: Project: Stardust [update- 20-12]
Posted: 20 Dec 2008, 23:52
by Frozenfireside
Damn dude! Noice.
Re: Project: Stardust [update- 20-12]
Posted: 29 Dec 2008, 22:26
by TheModDoctor
So I'm finally back. Yesterday I took off, and most of today as well, but at least I did something
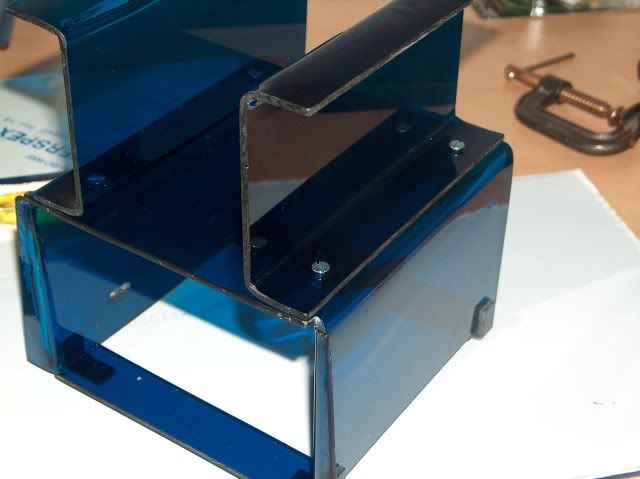
About all I did today, was to focus on the CD-ROM bay again. I made a piece that will keep the top, front and cd-rom together.
I had to drill holes in the top panel as well
And also in the front panel
Now the CD-Bay can also hang on its own.
Tomorrow I hope to get the one side panel done.
Re: Project: Stardust [update- 29-12]
Posted: 29 Dec 2008, 22:29
by UrBaN
It's about time dude
It's lookign good man.
Re: Project: Stardust [update- 29-12]
Posted: 29 Dec 2008, 23:43
by Prime
Looking good dude
Re: Project: Stardust [update- 29-12]
Posted: 01 Jan 2009, 22:05
by TheModDoctor
Finally I can update! Tuesday my bandwidth was 0.00MB, Wednesday when I wanted to update the power went out, this moring the power was still out and only came on at 19h00

Eksdom strikes again...
Tuesday:
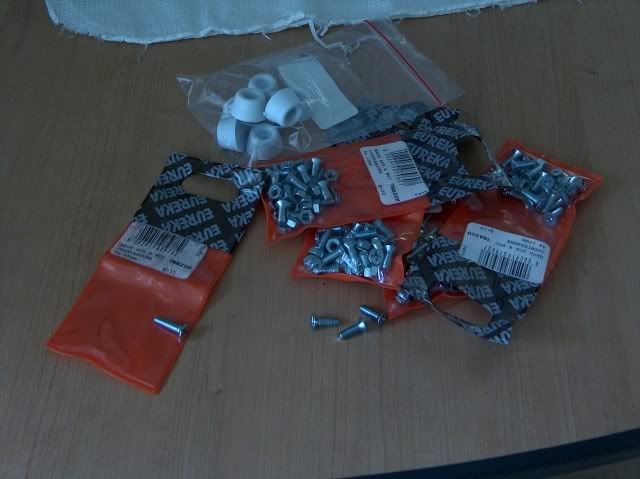
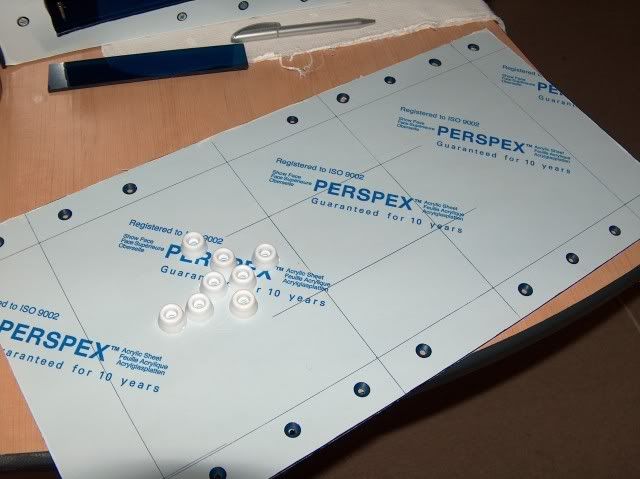
In the morning I realized that I didn't have any more screws left, so I went to Dreiers and bought these:
They are shorter than the others, 12mm x 4mm star and look nicer than the flat tops.
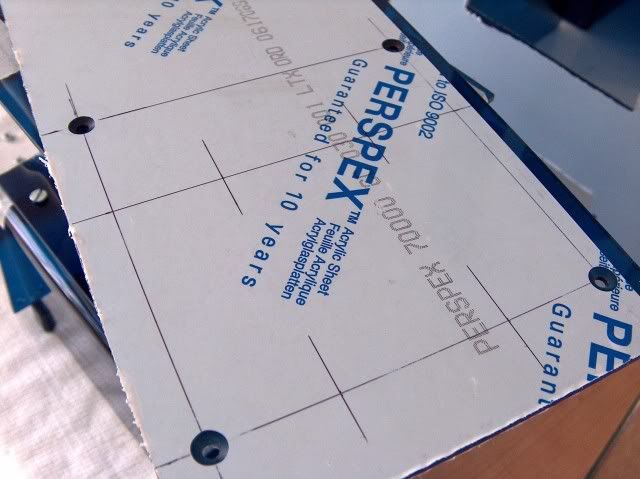
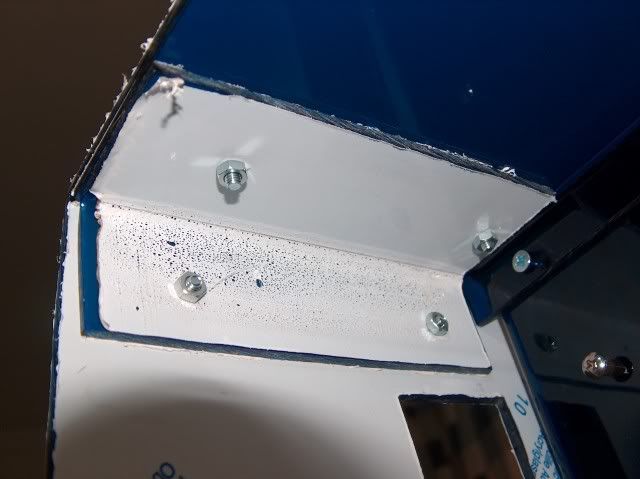
When I came back I started with drilling hole into this piece that will hold the mobo backplate and the bottom panel together.
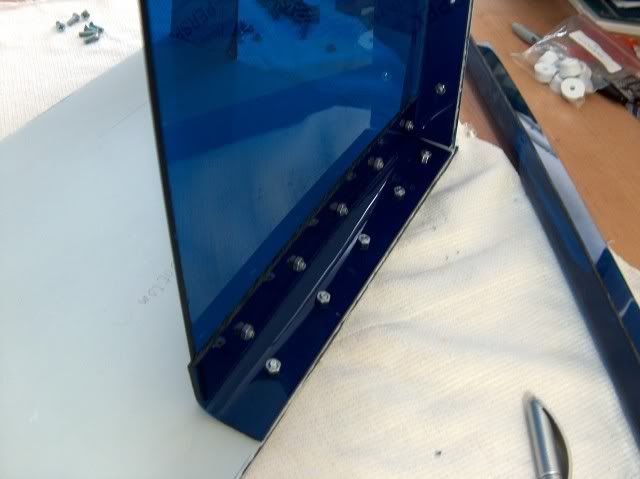
And also the HDD bay base
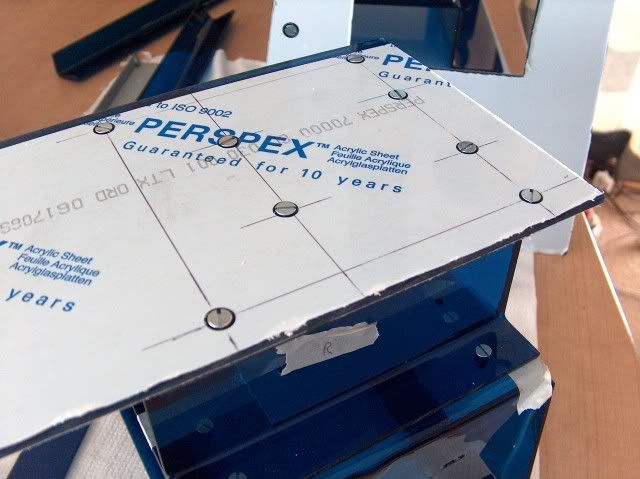
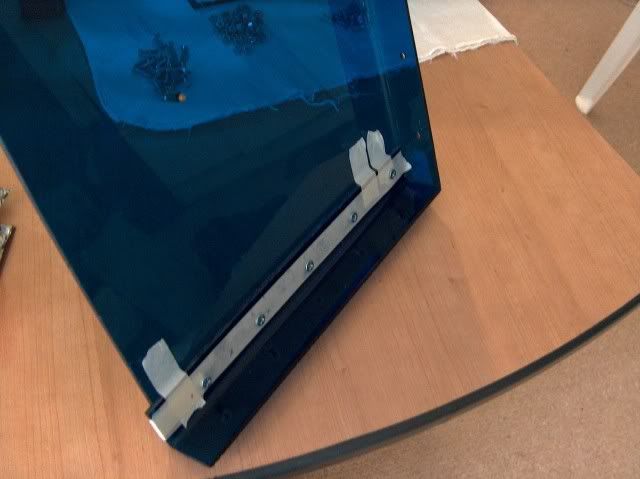
I made this piece that will fix the top panel to the back panel
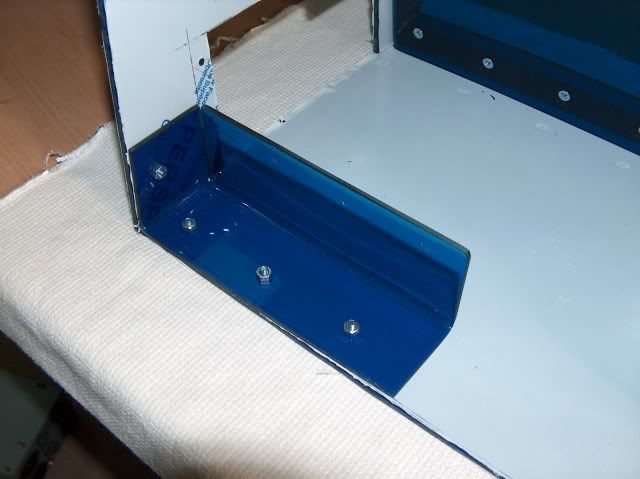
I also cut this piece to size and fixed it to the bottom panel. Now the PSU won't be sliding about
Looking back, I can see that being addicted to Call of Duty 5 isn't good for progress
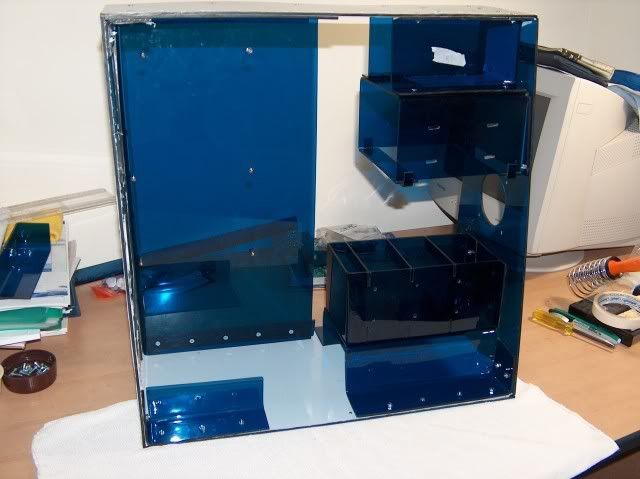
But after Tuesday's work, I am really impressed with how rigid this case is feeling! I can pick it up and shake it about and it feels solid. (I really shook it!)
Re: Project: Stardust [update- 29-12]
Posted: 01 Jan 2009, 22:24
by TheModDoctor
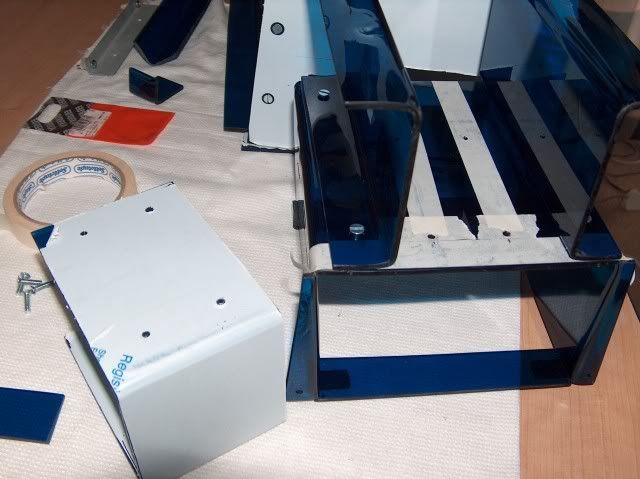
Wednesday:
It was time this case can stand off the ground on some rubber stuts (not sure what they are in english

)
While testing the cd-rom bay again, I found that I had made a huge mistake. When I started drilling the first holes in the front panel, I accidentally had the front back facing the wrong way. So now the cd-rom can't fit into my carefully measured hole, because one side is wider that the other. Yes I know I'm not perfect and this proves it. This mistake caused a bit of a problem, because I had to make the right side wider and then a nasty gap is left at the left side.
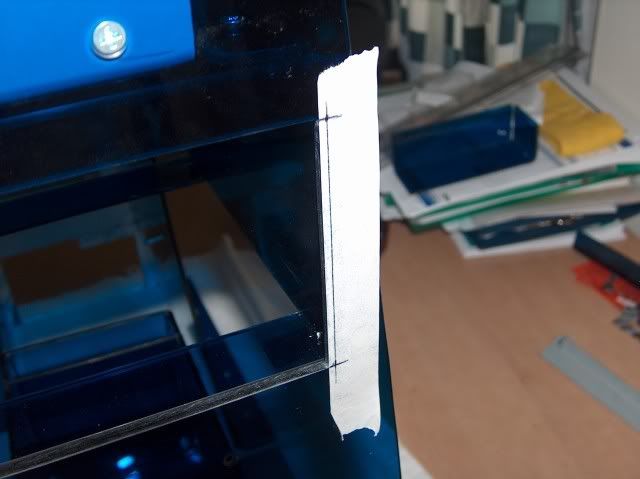
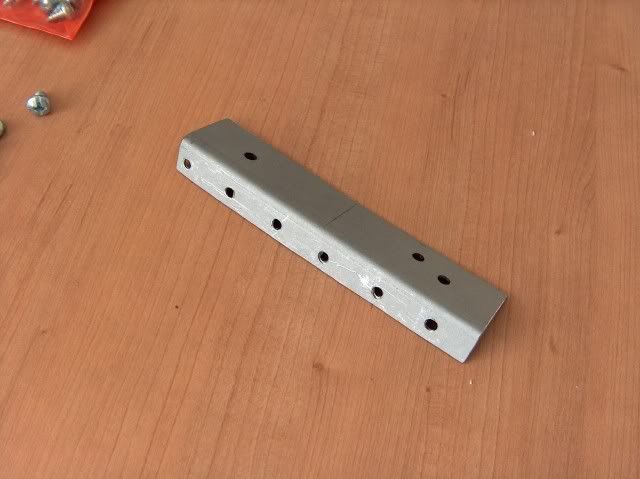
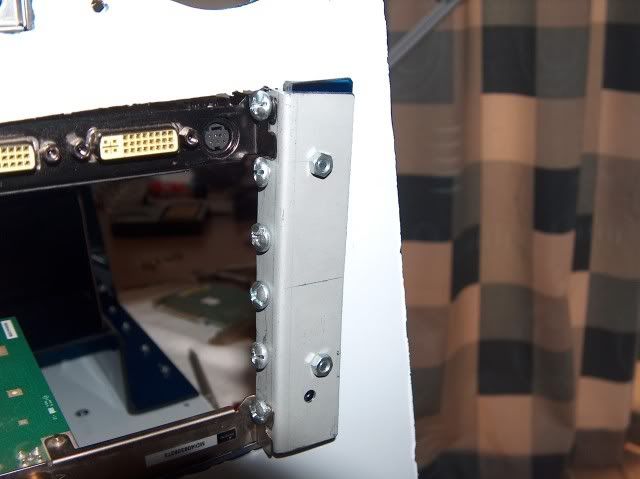
After I widened the cd-rom opening I moved the to the back panel and made the piece that will hold the expansion card horisontal (sort of)
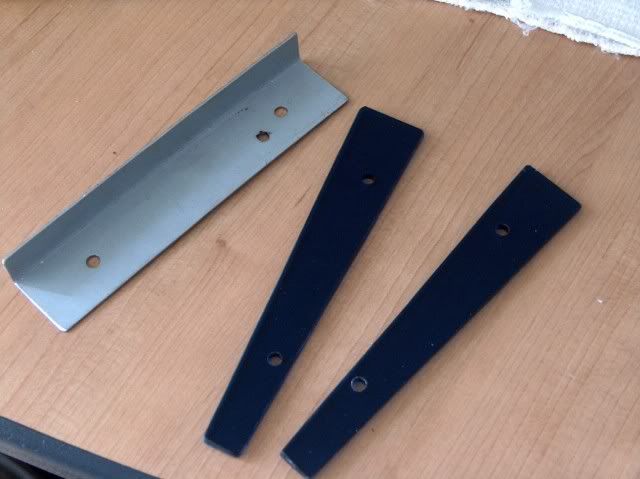
Here is another little imperfection of thsi case, this piece is not really vertical, but a little skew
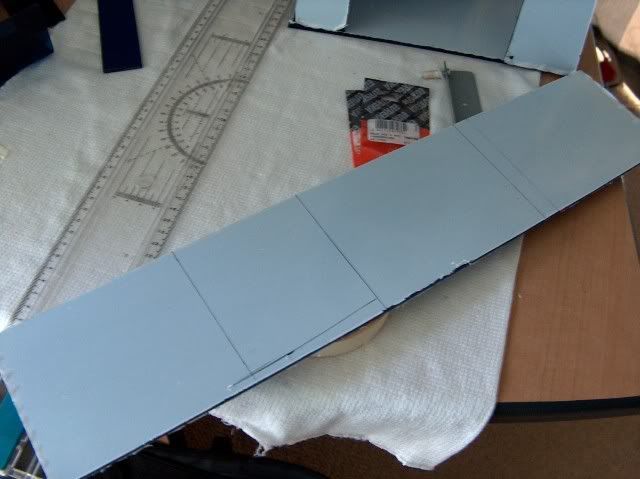
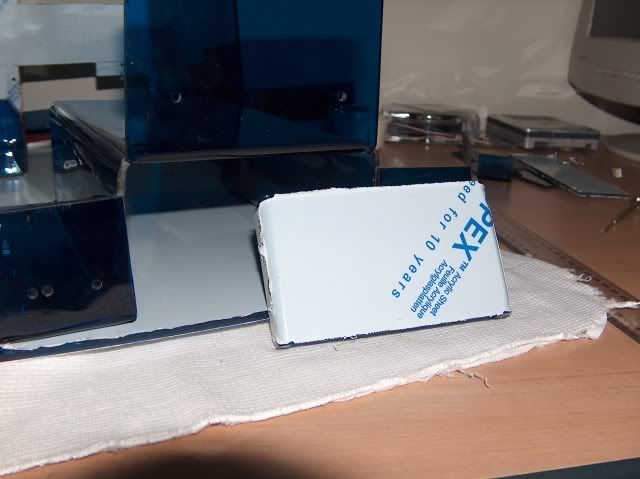
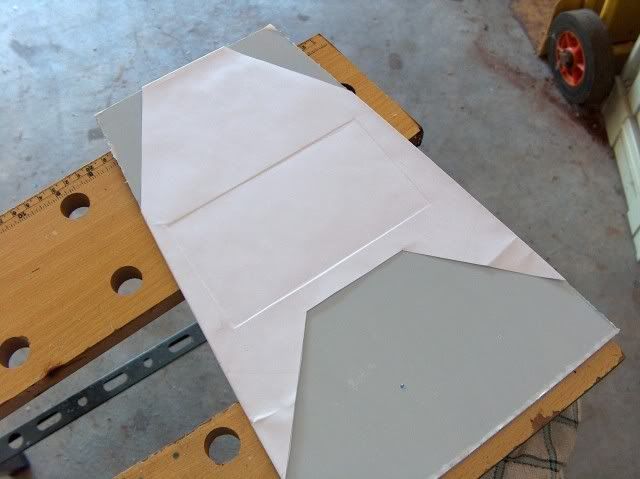
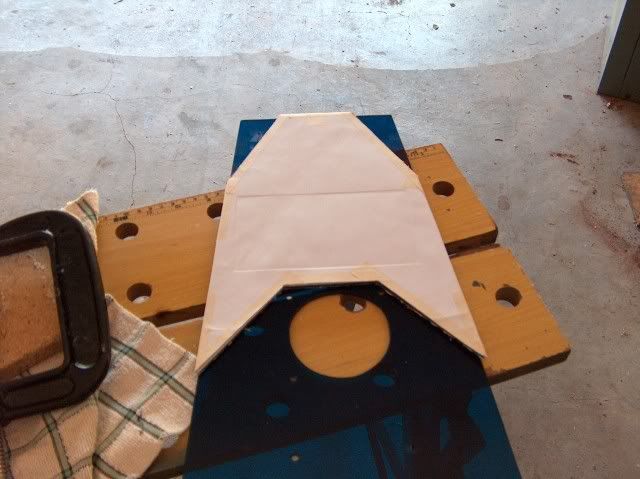
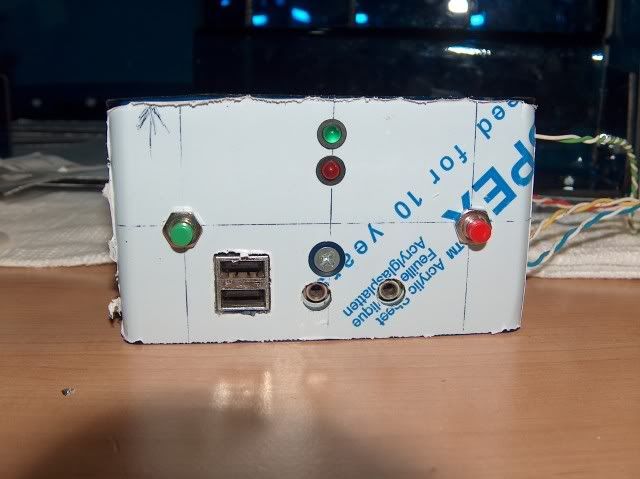
And the last thing I did was to cut and bend the electronic control panel.
Re: Project: Stardust [update- 29-12]
Posted: 01 Jan 2009, 22:48
by TheModDoctor
Thursday:
Today I continued with the electronic control panel, and since the power was still out I had to use a hand drill with a flat battery.

I could only get 2 holes out of it.
Next I turned my attention to my mistake with the front panel. I thought that the easiest way to cover up the ugly gap, was to make a sort of a mask for the case
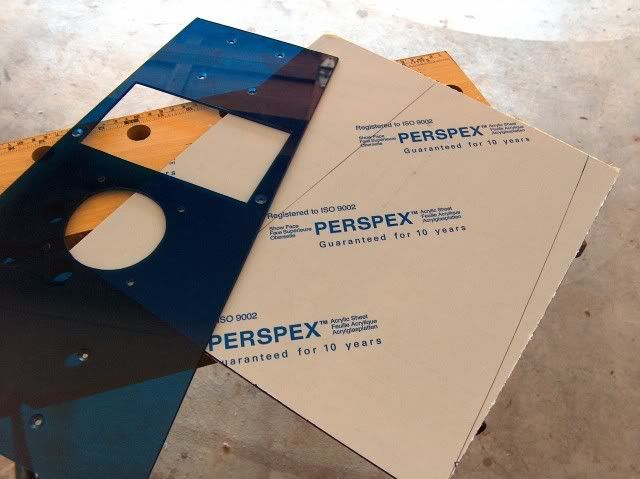
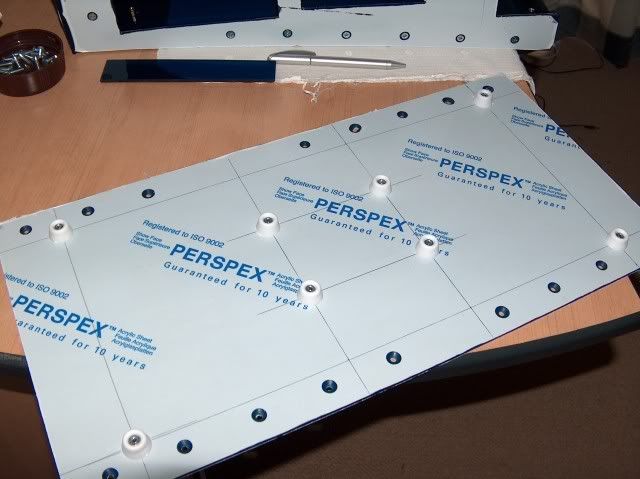
I had to cut another piece of plexi to exactly the same size as the front panel
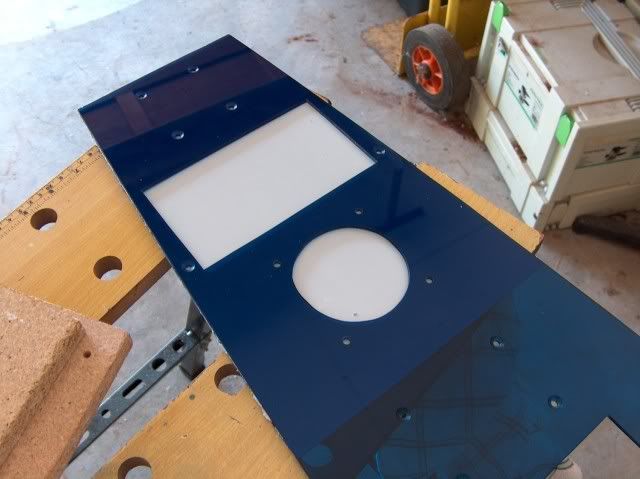
This is how the mask will look
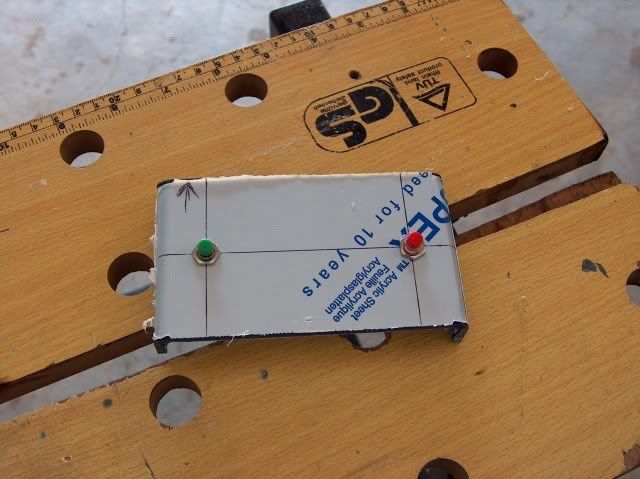
When the power finally came on, I quickly switched on my soldering iron to finish the electrics.
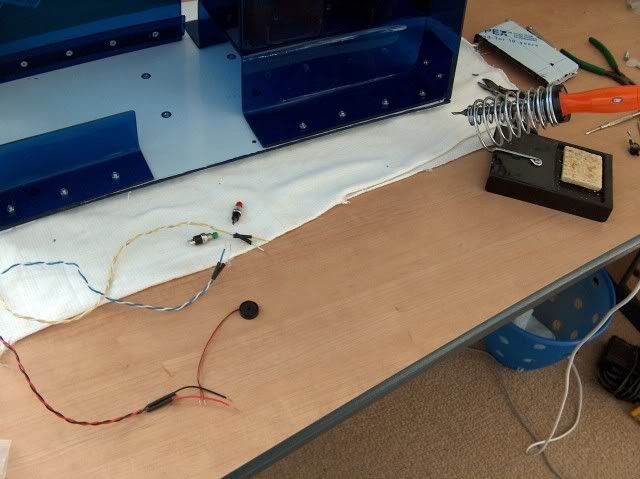
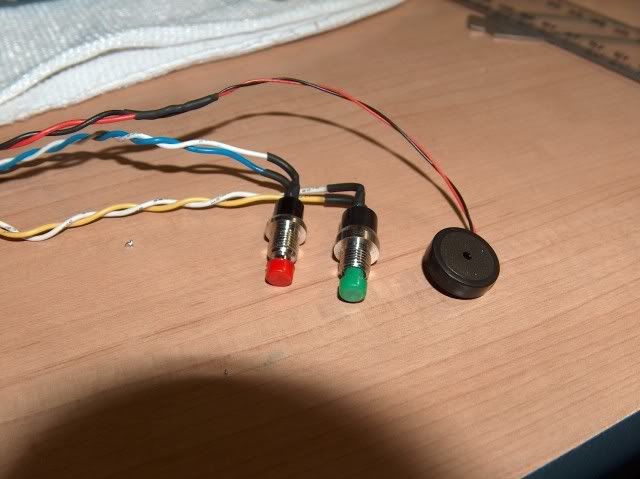
All I had to solder was the speaker, power switch and to modify the reset switch.
I also drilled the remaining holes with the press drill, and fitted everything.

Thanks again to Prime for supplying most of the electric parts
Looks nice.
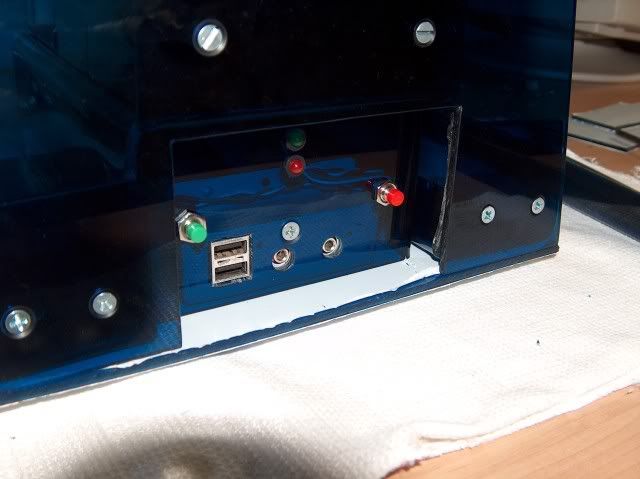
Now I can actually build my PC into this case, as everything is rigid and fixed and the electrics are done!
All that is left is the side panels, the mask, a cd-rom cover (which I already cut - forgot a pic), some sanding and pealing off the protective covers
Won't do any work tomorrow as a friend is coming over to LAN, but Saturday I'll continue and be done hopefully by Sunday.
Then me and djwez will be tossing a coin for Rig of the month
Re: Project: Stardust [update- 29-12]
Posted: 02 Jan 2009, 10:40
by djwez
TheModDoctor wrote:
Then me and djwez will be tossing a coin for Rig of the month
maybe they (pcformat crew) will make the rotm 2 pages and have mine and your mod on it lol, or the will just have the one in one edition and the other in the next
i guess you could go for the rig o the month i am waiting for my new mobo.
EDIT: got so carried away there
nice job i like this
http://i267.photobucket.com/albums/ii30 ... st/146.jpg
i think it will go nicely with the case
Re: Project: Stardust [update- 1-1]
Posted: 02 Jan 2009, 11:02
by IcePick88
Damn dude. This is actually very nice. I on the other hand would never have enough patience to do this. But big ups. It's going to be a cracker.
The power and reset buttons I like. Wonder how it would look like with one of these flip switches? The ignition one.

Re: Project: Stardust [update- 1-1]
Posted: 02 Jan 2009, 12:19
by djwez
IcePick88 wrote:Damn dude. This is actually very nice. I on the other hand would never have enough patience to do this. But big ups. It's going to be a cracker.
The power and reset buttons I like. Wonder how it would look like with one of these flip switches? The ignition one.
where can you get those
thinking of another mod for later in the year and might use those
Re: Project: Stardust [update- 1-1]
Posted: 02 Jan 2009, 15:47
by Prime
djwez wrote:IcePick88 wrote:Damn dude. This is actually very nice. I on the other hand would never have enough patience to do this. But big ups. It's going to be a cracker.
The power and reset buttons I like. Wonder how it would look like with one of these flip switches? The ignition one.
where can you get those
thinking of another mod for later in the year and might use those
www.autostyle.co.za But they cost a fortune
Locking Sick Dude
Re: Project: Stardust [update- 1-1]
Posted: 04 Jan 2009, 11:54
by TheModDoctor
Thanks guys. I'm glad you think that the mask will go with the case, but there is a chance I won't use it. I might use
DAE_JA_VOO's technique to hide the gap. This will also look cool I think.
Yeah Ice, the ignition switch looks sweet, but it won't work for the power/reset buttons though. That is a latch switch, and the case uses a Pulse switch. But they will work if I add a fan controller
Re: Project: Stardust [update- 1-1]
Posted: 04 Jan 2009, 12:12
by RuadRauFlessa
Oh there are ways of making it work. If you flip the Ignition up you could have the signal run through something like a solonoid which will only send a burst. Or you could use that part only for the fans or lights in the case as I doubt you would want them running 24/7. You then use the Start button for a start button. It looks to be a pulse switch in any case. You could also then use the acc button for the case's aircon so to speak (water pump or something). Very nifty. Think I might have found what I wanted for my mod. *Goes and checks sizes*.
Sorry to hear about the prob with the dvd drive bay. Not a nice one to sit with and fix. Everyone is pushing me to start my mod but this is exactly the reason why I am first drawing up some plans in a cad program. This way I can measure everything out accurately and see where I might get some problems. Then I can fix the problems before they actually happen.
Nice, Stardust will be something worth looking at when it is finished.
Re: Project: Stardust [update- 1-1]
Posted: 04 Jan 2009, 12:14
by UrBaN
RuadRauFlessa,

Your mod is taking too long! Start drawing!
Re: Project: Stardust [update- 1-1]
Posted: 04 Jan 2009, 21:43
by TheModDoctor
RuadRauFlessa wrote:Sorry to hear about the prob with the dvd drive bay. Not a nice one to sit with and fix. Everyone is pushing me to start my mod but this is exactly the reason why I am first drawing up some plans in a cad program. This way I can measure everything out accurately and see where I might get some problems. Then I can fix the problems before they actually happen.
You see, I actually did draw some plans with measurements before starting, but the problem with making everything out of plexi is that it is very hard to keep everything perfectly to the mm once you bend it, because the plexi has its own thickness and resistance to bend in a very sharp corner. But in my case the cause for the dvd drive flaw was my own stupidity

Not making sure before drilling holes...
RuadRauFlessa wrote:Nice, Stardust will be something worth looking at when it is finished.
That will probably be tomorrow. Only the one side panel left to mount
I'll upload today's work shortly