Page 3 of 4
Posted: 18 May 2008, 10:20
by DAE_JA_VOO
Good work Sean

I hope you enjoy the painting

I've been busy with Endorphin's paint job. Painting SUCKS
Posted: 19 May 2008, 07:36
by Samaya
Looks good man. What colour you going to paint the case?
Posted: 19 May 2008, 07:52
by Skidd
I haven't decided on the colour scheme yet, I am in two minds about it at the moment, silver with black accents which would mean I need to have the front panel and aluminum bits re anodized in silver or keep it black and splash some chrome about...
I do how ever know its going to have red lighting with red coolant in the loop.
Posted: 19 May 2008, 07:54
by Skidd
O I also have designed the name for the case
Will find a spot for this on or in the case somewhere.

Posted: 19 May 2008, 09:01
by Firestrm_ZA
lookin good Skidd.... ill be joining the mod party soon.... just awaiting my p180 from I34z1k then ill start

Posted: 19 May 2008, 11:42
by Samaya
Nice man!! Like the destiny logo
Posted: 31 May 2008, 15:40
by Skidd
Update time guys
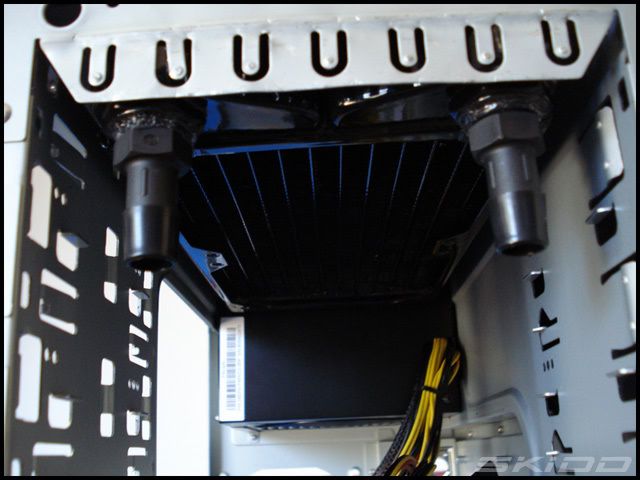
Here we have the radiator in place just to check clearances
As you can see I'm clearing a normal ATX PSU by about 1/2cm
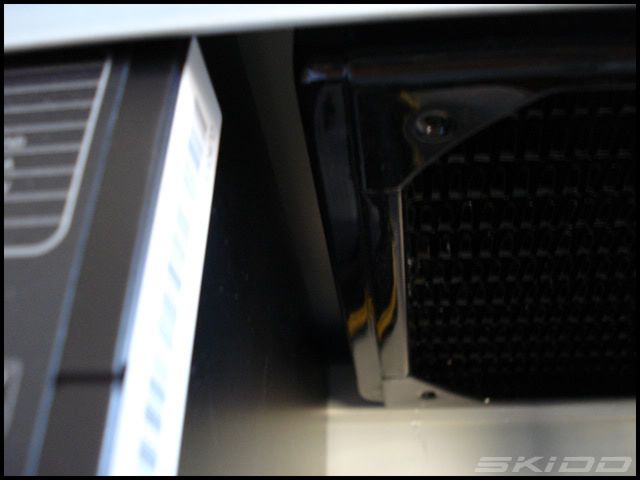
On the front of the case its right up against that bit I bent out.
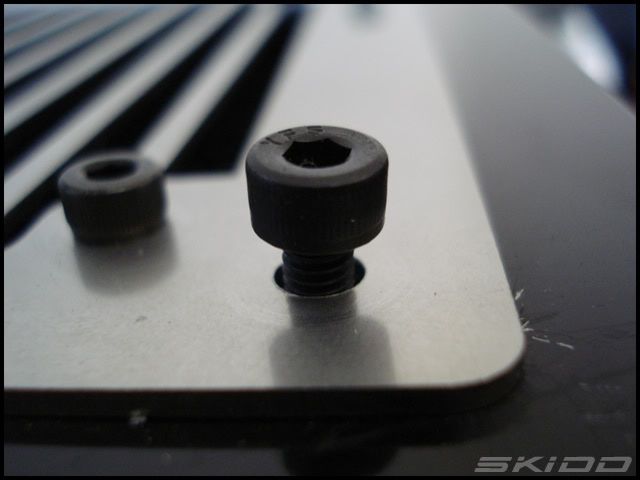
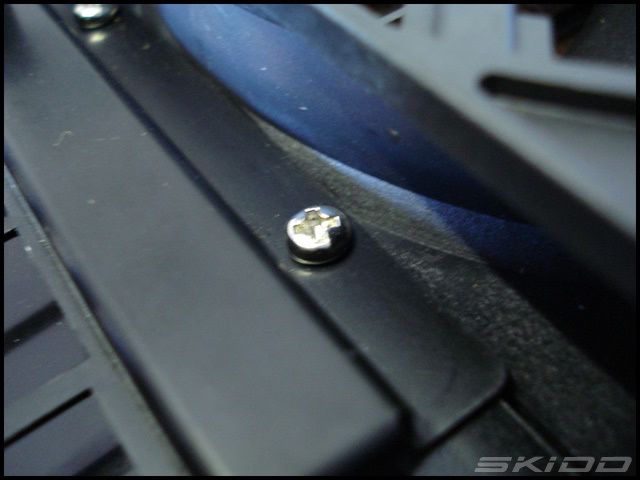
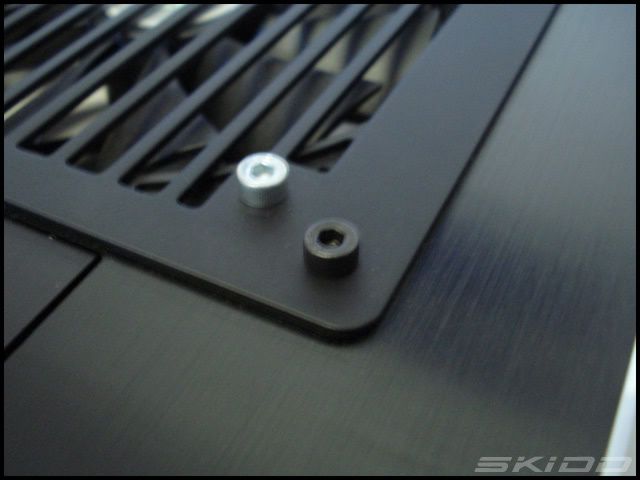
Closeup of the mounting hardware I am using
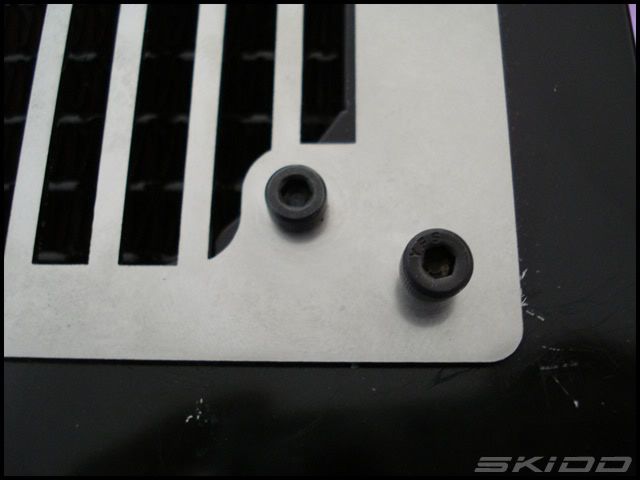
These ones that are standing up conflict with the radiator, I'm going to have to shorten them...
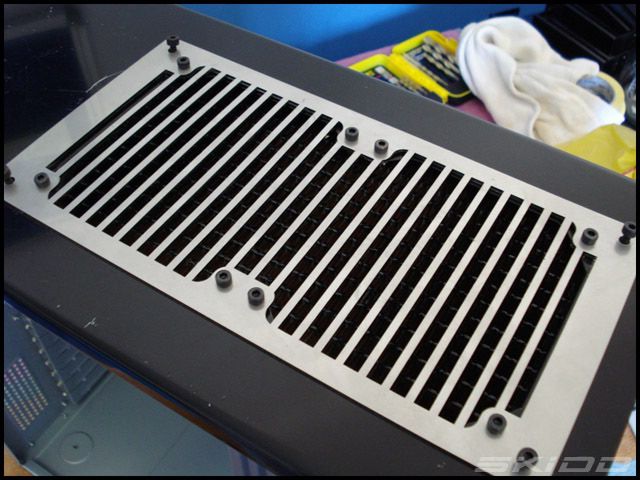
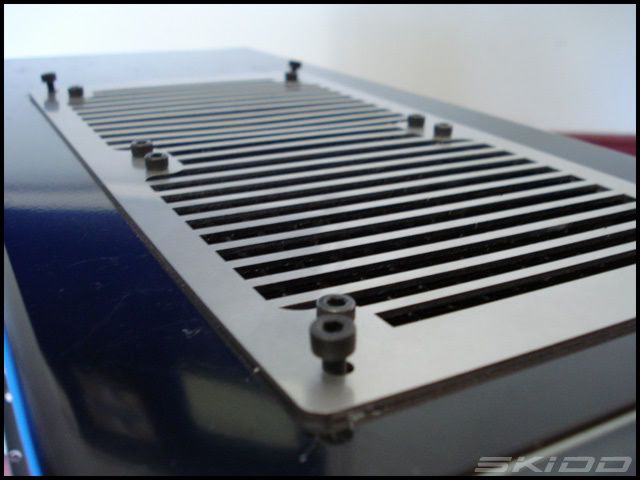
A nice side shot of the grill attached
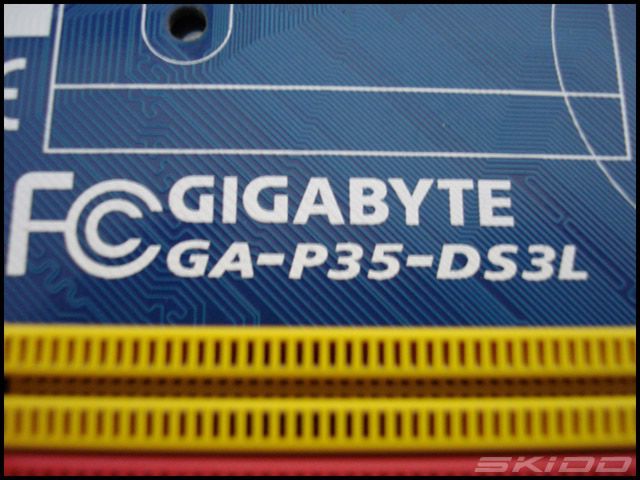
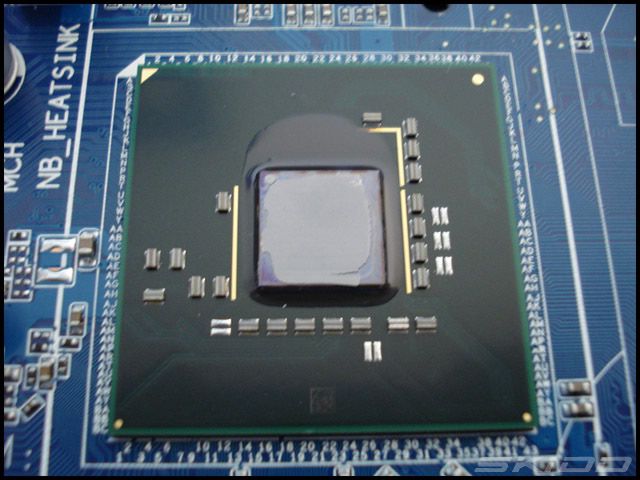
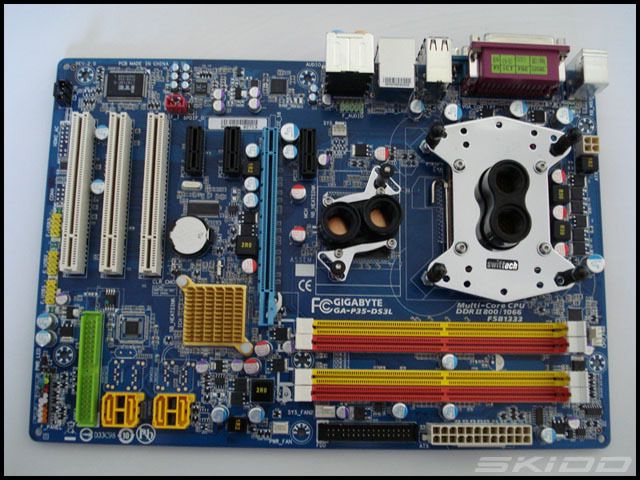
I then moved on from there and decided to mount the cooling blocks. Here we have the motherboard I managed to get for free.
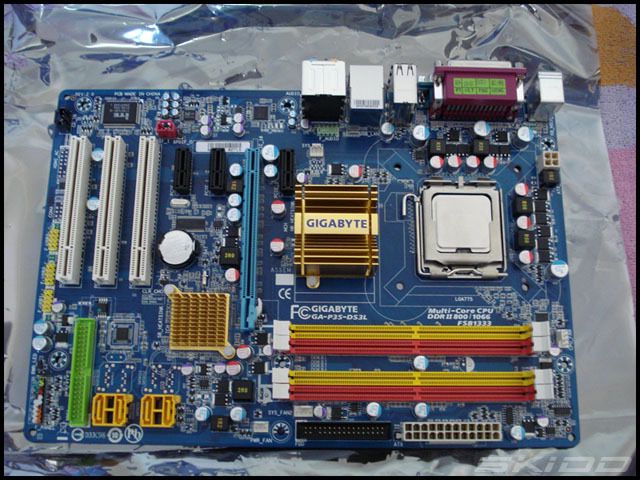
Gigabyte is one of my favorite brands.
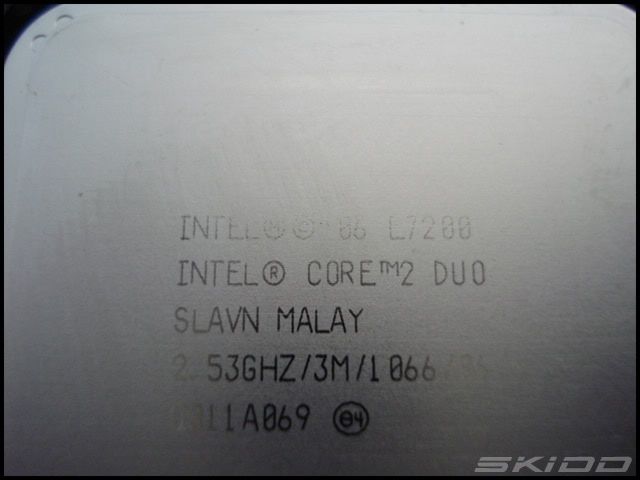
And the CPU, nothing really special but its good enough.
First thing I did was remove the standard northbridge cooler.
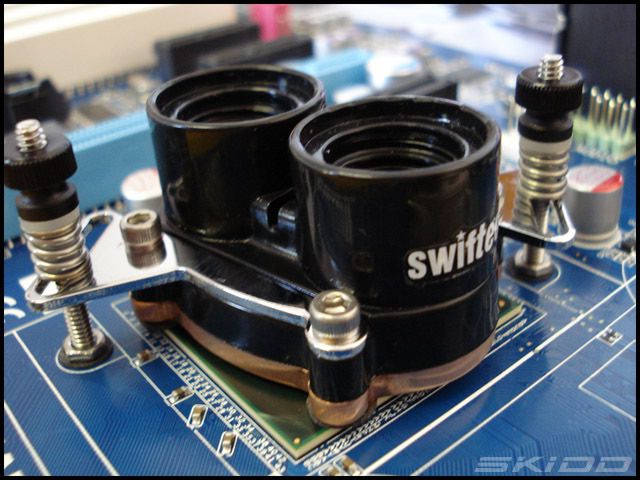
Got the Swiftech MCW30 out and placed the 4 cushioning pads on it that came with the kit.

And here we have it mounted.
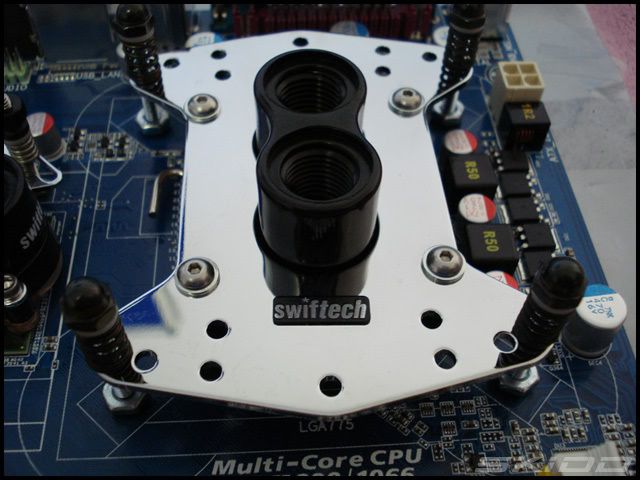
The CPU was next and as always the installation went really smooth. Swiftech FTW.
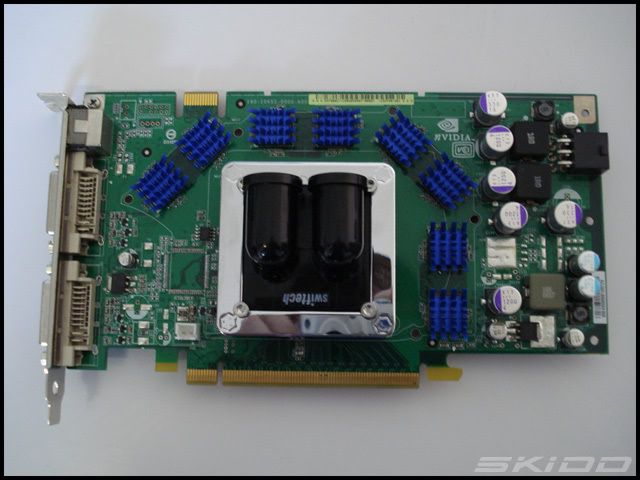
I then moved onto the graphics card, a Asus 7900GT with a Zalman cooler on it. This used to be my old one until I went to a 8800GT.
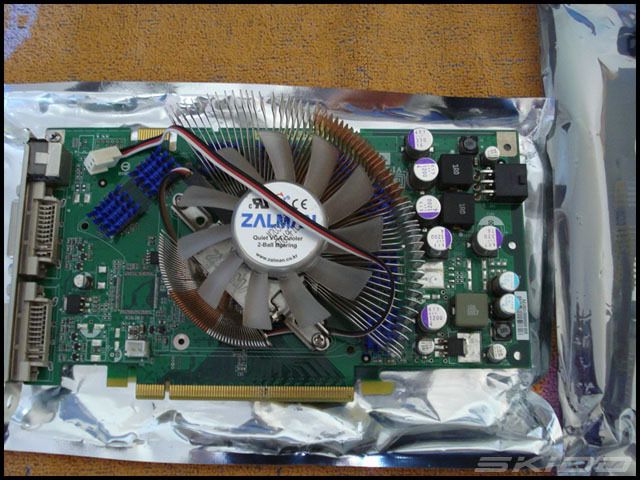
Removed the Zalman cooler and gave it a clean.
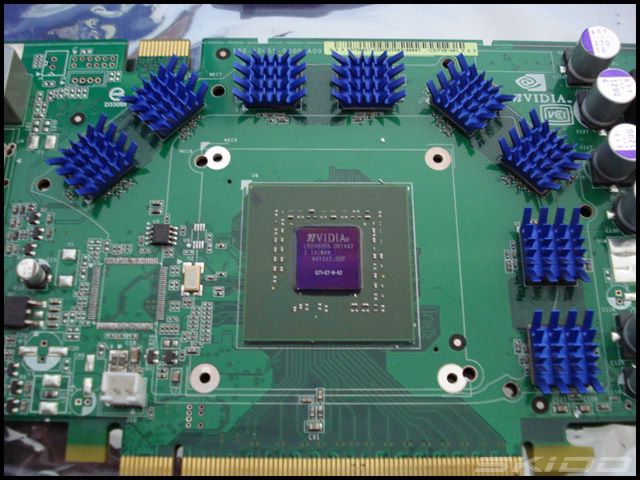
Next got the Swiftec MCW60 installed.
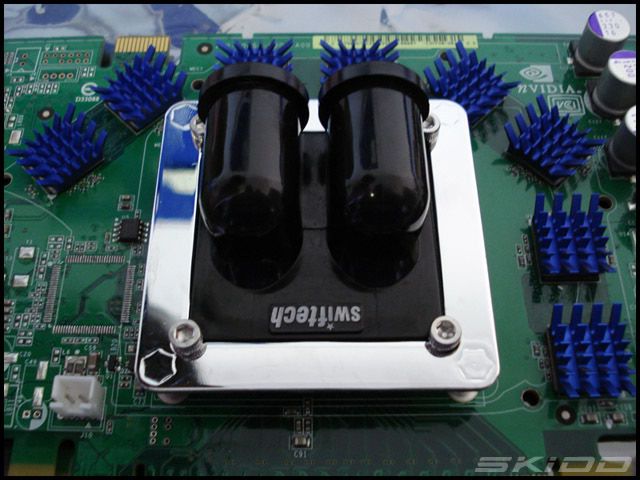
Final units done and ready for some watercooling.
The barb attachments I am still waiting for are EK units, I also have some Vandal Resistant switches and a set of Billet Machined Aluminum case feet coming from MNPCTech (If they would respond to my email!), and last on the list of stuff I am waiting for is a Zalman ZM-MFC1 Plus 5.25" 6 Channel Multi Fan Controller in silver, 4 Evercool 120mmx25mm aluminum fans and another 4ft of Tygon R3603.

Posted: 31 May 2008, 16:03
by Animal
Looking good Skidd. Can't wait for the end result.
Posted: 31 May 2008, 16:20
by WiK1d
Do you know what would look really nice?
a) At first I thought that that radgrill was mounted flush to the panel, that would look awesome.
b) An E8400...
Posted: 31 May 2008, 17:17
by Skidd
LOL I will look into the flush mounting wik, and the E8400 would be nice, you going to give it to me?

Posted: 02 Jun 2008, 08:20
by Samaya
Nice update Skidd. Wish I had money for water cooling

Posted: 02 Jun 2008, 09:03
by StoneIce
Samaya wrote:Nice update Skidd. Wish I had money for water cooling
Yeah same like me. Lucky man with watercoolers in the PC BOX and modding think... That your new PC Skidd ?
Posted: 02 Jun 2008, 09:42
by Skidd
Na SI this will be my GF's machine when Im done with it
Posted: 02 Jun 2008, 09:43
by Skidd
Samaya you must make a plan now man...
Once you go watercooling you dont go back hey
Posted: 02 Jun 2008, 16:47
by Skidd
Update
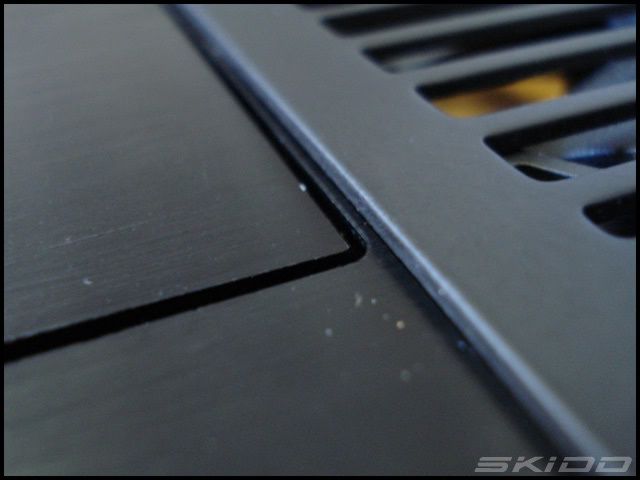
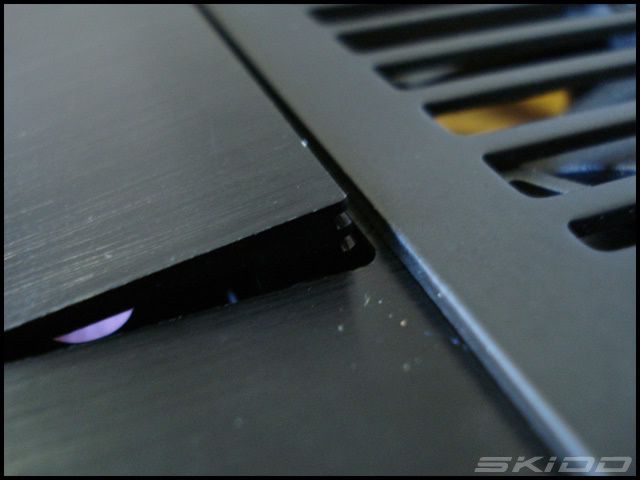
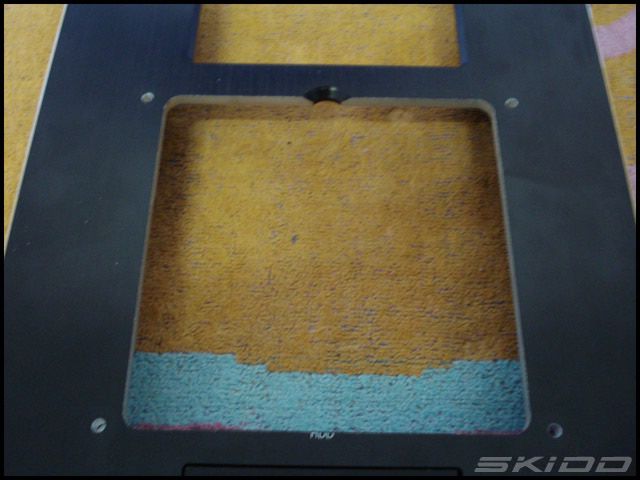
Well I got the front panel back from the Water Jet guys, and all I can say is there was no way I could have cut it any better myself.
Sorry this pic is a bit blurry but they where kind enough to give me back the piece that came out.
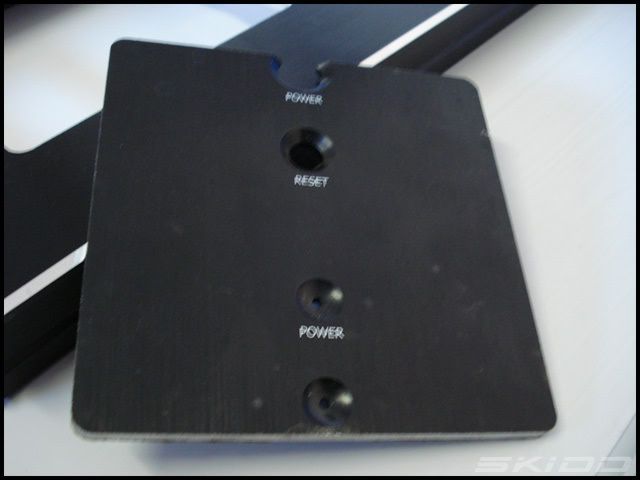
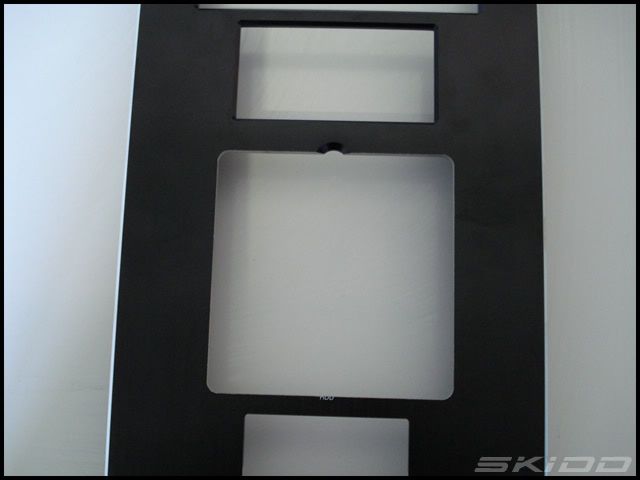
Here is whats now the front panel.
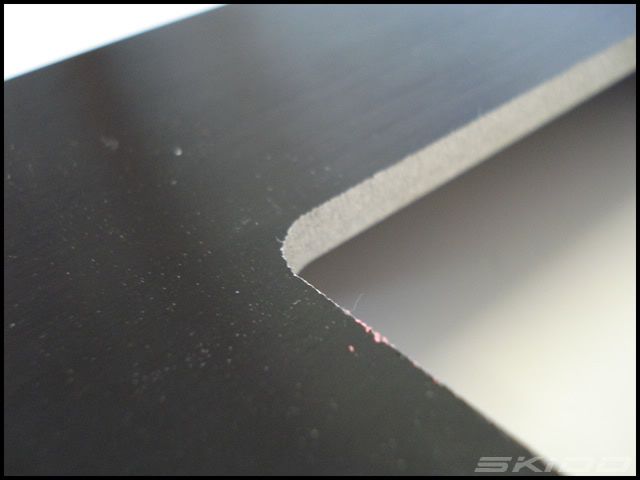
Close-up of the cut. Very nice.
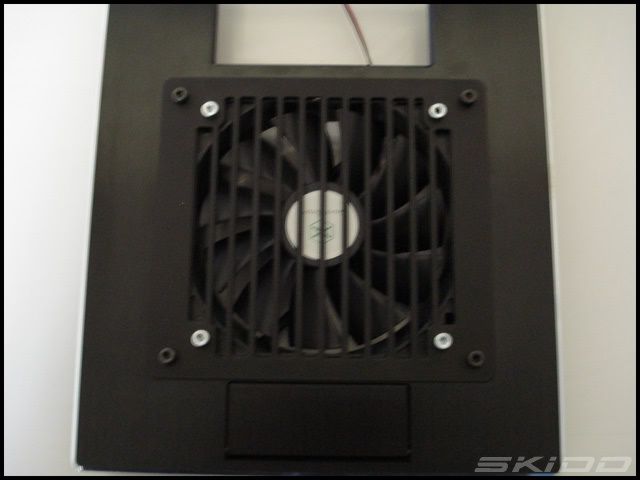
I then quickly slapped a Radgrill onto a fan (please not this is not the final fan thats going to be used here) and it went in real snug like.
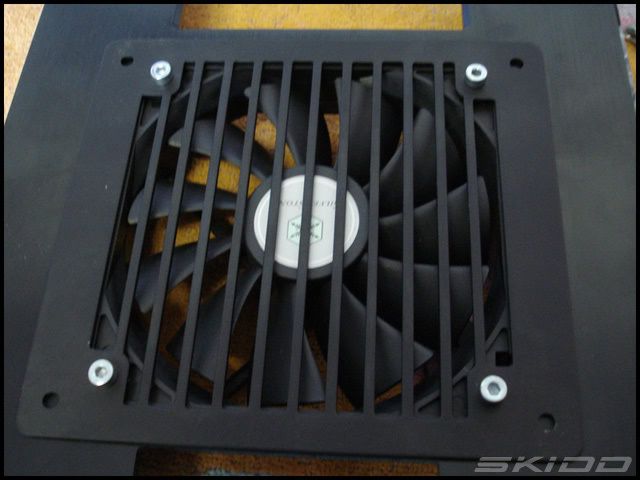
It is a very tight fit with once its in and Clarence is minimal here by the front IO door.
And from behind it overlaps a bit by the fan which is fine.
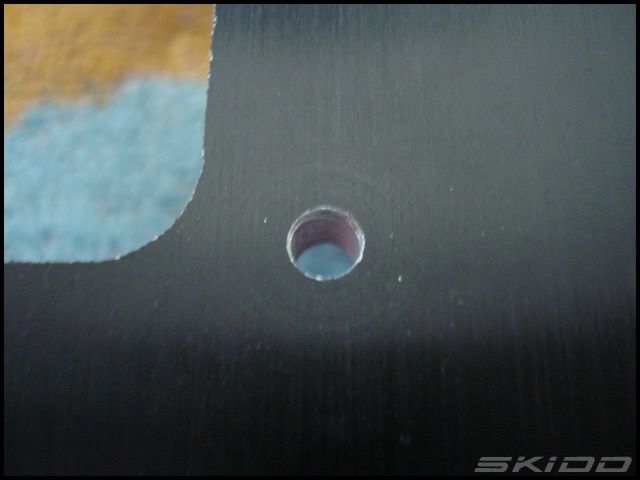
I then marked and drilled out the mounting wholes to mount the grill.
Gave it a quick tap to accept 4mm screws.
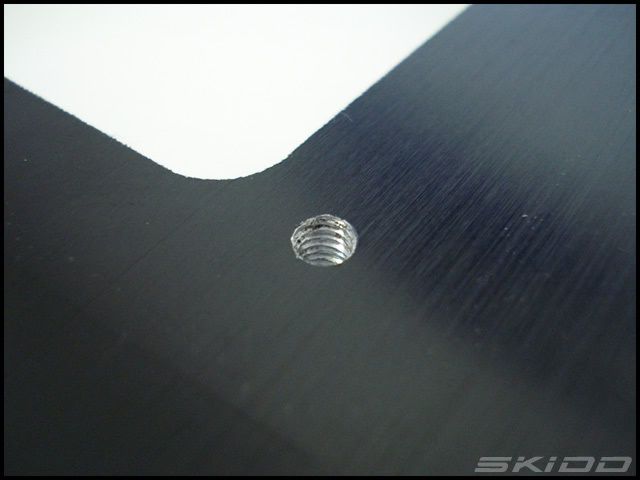
And perfect, exactly how I want it to be.
Sorry blurry pic again but you get the idea.
Posted: 02 Jun 2008, 16:54
by UrBaN
Looking good man!
BTW What do they charge for that type of work? (the water cutting)
Posted: 02 Jun 2008, 17:10
by psYChowIt
wickedsick haha
Posted: 02 Jun 2008, 17:28
by Skidd
UrBaN They charged me a little under 200 bucks to do this, it isn't cheap but I didn't have any tools that could have done that cut, well not so neatly anyways. Also because its a once off thing they tend to charge more for that stuff.
psYChowIt Thanks
Posted: 03 Jun 2008, 10:06
by chowzen
nice one skidd..
Posted: 04 Jun 2008, 06:39
by Lithe_Joint
Skidd up to his business again? Looks flippin marvelous

Why don't you want to use that fan?
Posted: 04 Jun 2008, 07:14
by Samaya
Looking good dude! Always impressive work from you

Posted: 04 Jun 2008, 09:28
by Skidd
Lithe_Joint wrote:Skidd up to his business again? Looks flippin marvelous
Why don't you want to use that fan?
I have got other fans coming hey. Still got lots of work to do here as well, but its all in good time.
Posted: 04 Jun 2008, 10:04
by I34z1k
I want meh gewdeehs :\
Posted: 04 Jun 2008, 11:52
by Skidd
Samaya wrote:Looking good dude! Always impressive work from you
Thanks man
Posted: 12 Jun 2008, 11:05
by DoOb
I cant believe this place Banned You Sean, Thats really sad to hear.

Thats just one less person with great ideas and knowledge on this forum.