Page 1 of 3
Project: External Enclosure [Update! 06-10-07]
Posted: 04 Oct 2007, 22:11
by DarkRanger
Hi guys,
First off, this is not a HUGE mod like Epiphany or Project 777. This is a small mod, aimed at a small budget and also
[hint hint] one that I would like to feature in one of DJV's future mod guides in the PCF mag.
[/hint hint] 
Anyhow, I recently bought one of these:
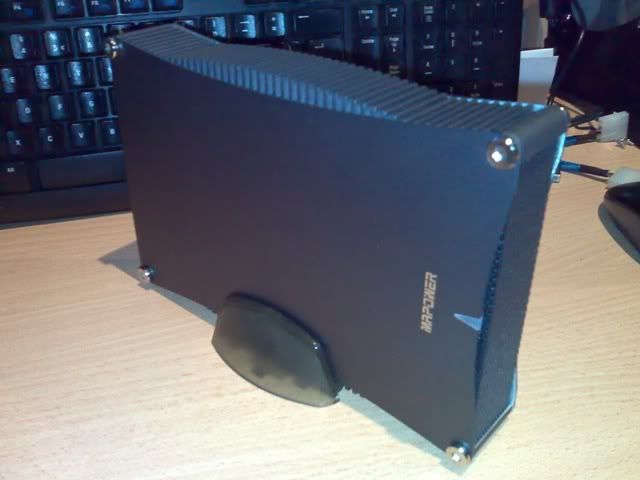
Mapower KC31U2G. Now, I want to mod it. Add a few LED's and make the top cover a perspex one. Really not much to it.
Here are some pics of the black version. The company that I bought it from didn't have the SAXY silver, and after struggling a week just to get the CORRECT enclosure I decided that I don't want to wait a month for the right colour.
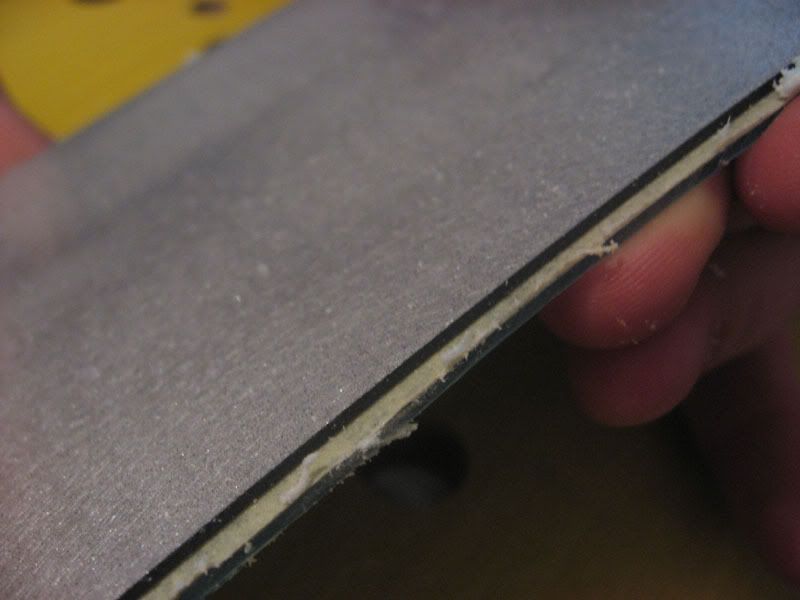
OK. DJV has agreed to help me a bit with the perspex (actually, all the cutting) and is willing to donate a piece of perspex (if he has a piece of this size lying around). The dimensions of the top cover is 209 x 135. But one of the challenges: The cover isn't exactly a regtangle, the edges are curved inwards. But it's going to be fun!
Let me know what you guys think, suggestions, comments, questions.
 PS: DJV is more excited than I am about this mod... But I have no idea why...
Posted: 04 Oct 2007, 22:24
by WAJeff
DarkRanger wrote:Hi guys,
First off, this is not a HUGE mod like Epiphany or Project 777.
8O 8O 8O My mod and Etts mentioned in the same sentence
What an honour

My mod isnt huge dude, its just a mod
Looking forward to reading this log dude, should be interesting to see how everythings done and things!
So what will you be doing with the enclosure? Adding a perspex window? Making the thing completely out of perspex?
Posted: 04 Oct 2007, 22:30
by DarkRanger
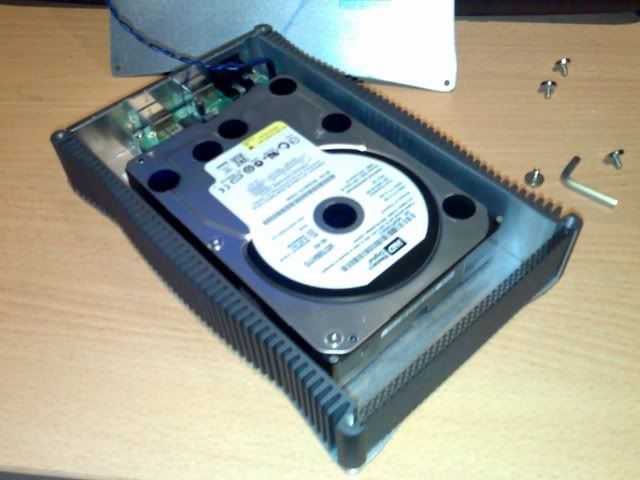
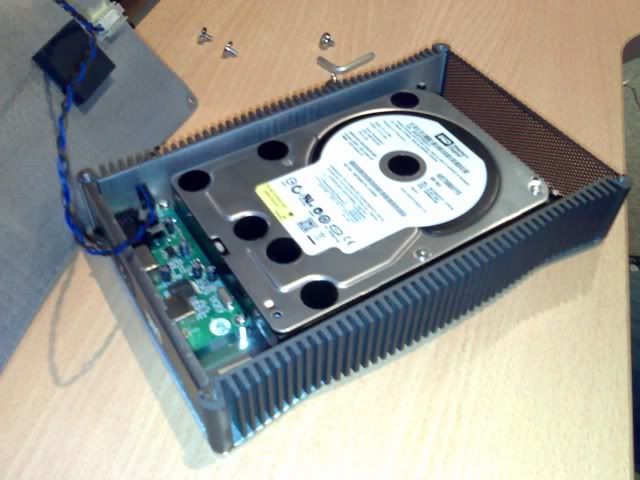
replacing the whole top cover with perspex. The rest will stay as it is. Maybe what I'll do later is replace the bottom cover with perspex as well and the tray on which the HDD is mounted too. But that is if I like the perspex cover. Then I'll be putting some leds inside just to give it a nice shine!! And also to force me to switch it of at night!
Take a look at the pics, You'll see a blue and black wire. Now after a little thought, I think it'll look best if I sleeve that little cable in [Dr Evil accent] very toight [/Dr Evil accent] UV reactive blue sleeving. Then if I ad 2 UV LED's, it should make for an AWESOME show!
PS: Your mod is bigger than mine!!
Posted: 04 Oct 2007, 22:47
by WAJeff
Awesome stuff dude, seems like a lot of thought has gone into this mod
Im liking the way it sounds so far. That sleeving idea will be great, just make sure you get some very strong UV LED's. I got some budget CCFL and its more like a dim purple light

Posted: 04 Oct 2007, 22:57
by DarkRanger
Will do, thanks for the heads up!! Well, it's time for me to have a wrestling match with my bed. See you guys tomorrow.
Posted: 04 Oct 2007, 23:32
by DAE_JA_VOO
DarkRanger wrote:First off, this is not a HUGE mod like Epiphany or Project 777.
Dankie
DarkRanger wrote:I would like to feature in one of DJV's future mod guides in the PCF mag.
That's a frikken good idea. I'm gonna talk to Cammie and see if we can have this project log in the mag instead of a guide one month. I'm sure he'll consider it
DarkRanger wrote:PS: DJV is more excited than I am about this mod... But I have no idea why...
Dude, this mod is gonna be so damn easy, but it's gonna look so frikken sexy in the end
silv3rback wrote:8O 8O 8O My mod and Etts mentioned in the same sentence
What an honour
Jeff, i'm gonna slap you if you make a comment like that again
Anyway, yeah, i'm really amped for this mod. It's gonna be frikken awesome. I just don't like the UV idea (but i hate UV, that's why). But it's your mod of course so stick with the UV idea
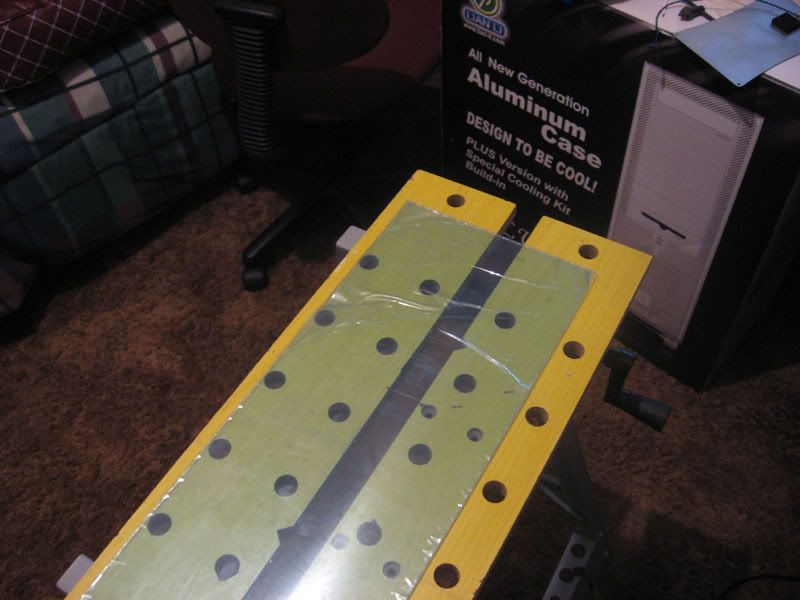
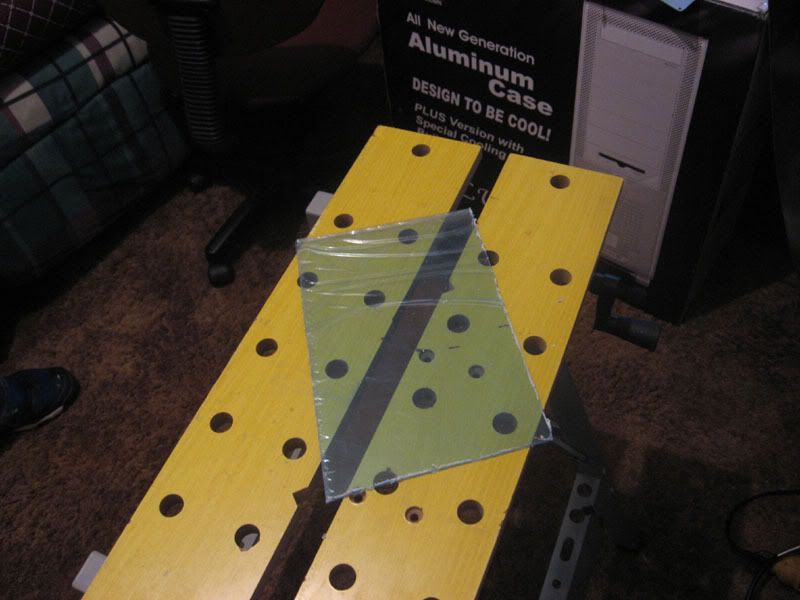
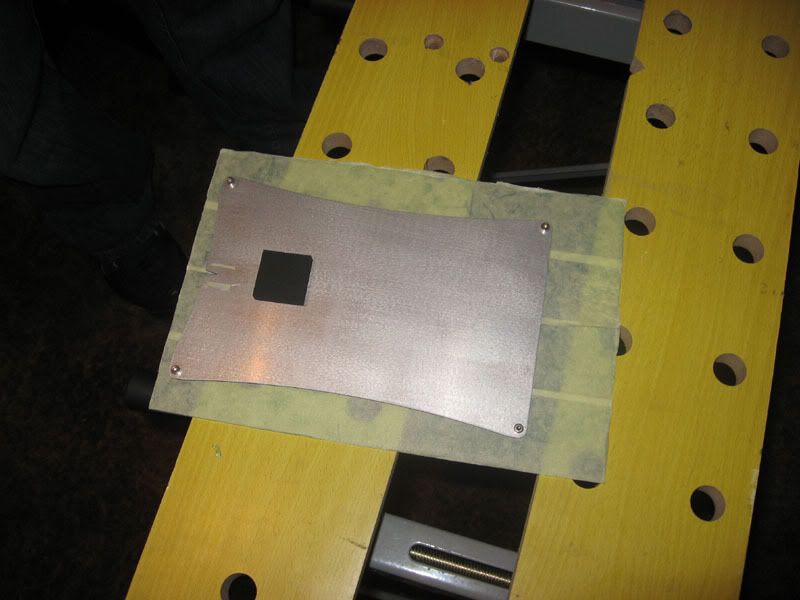
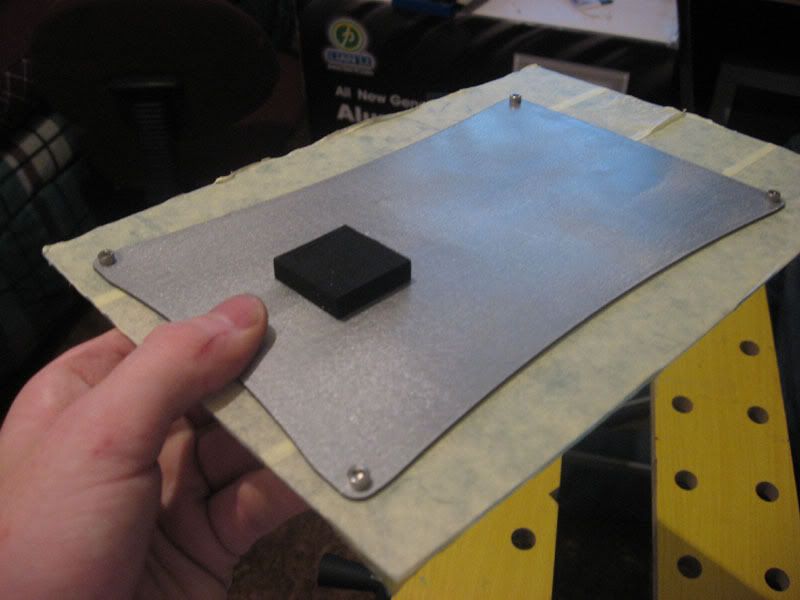
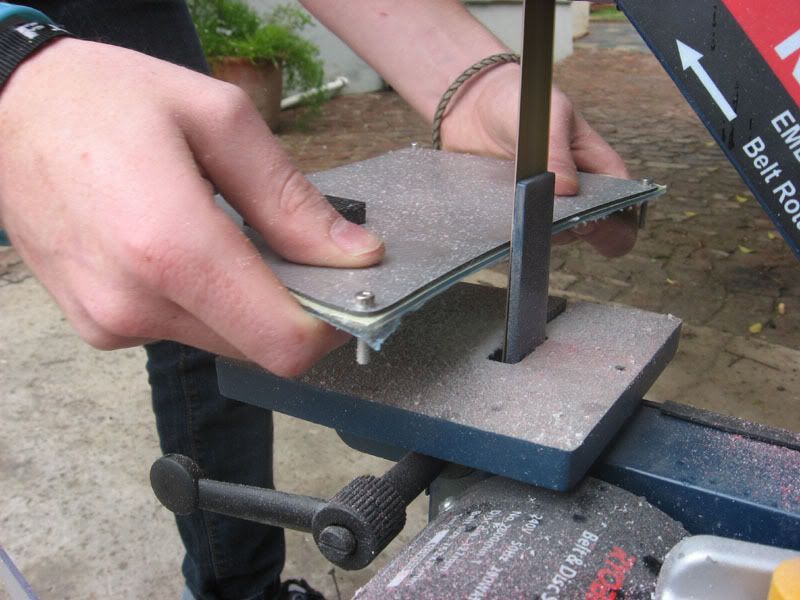
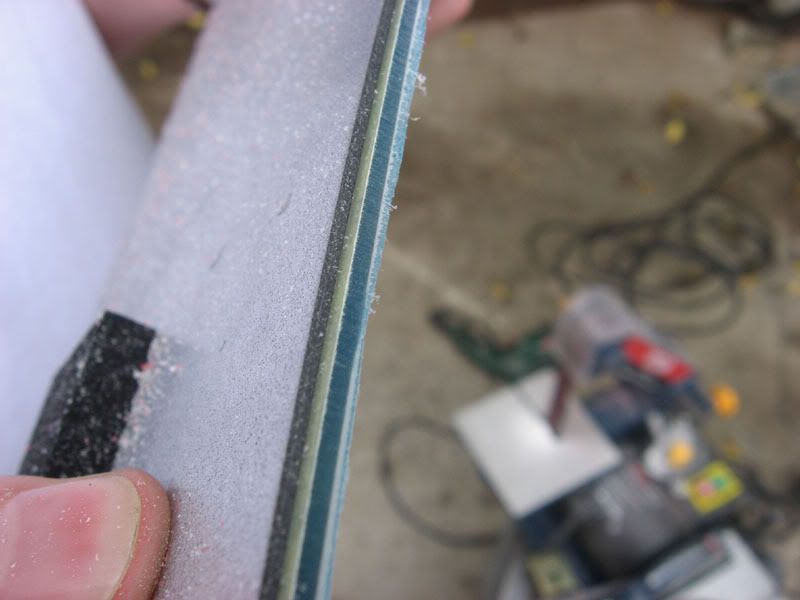
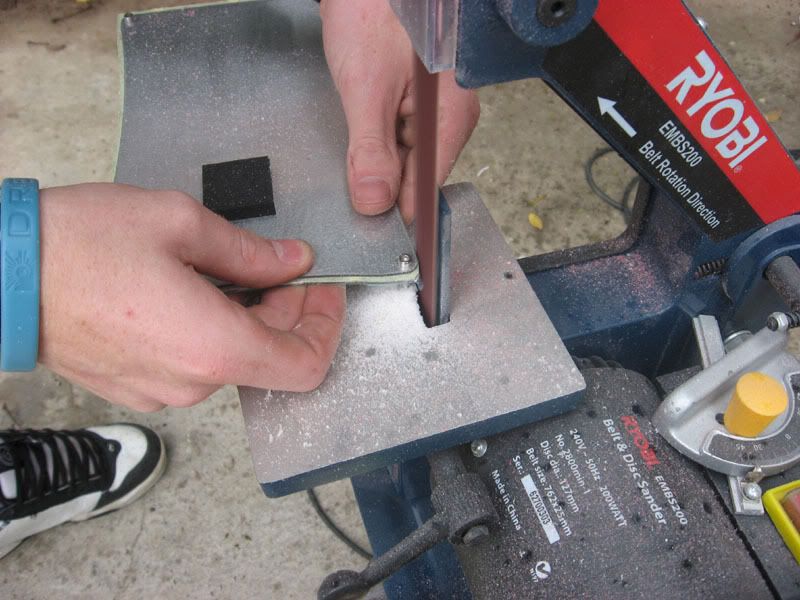
Anyway, i've got a pretty cool idea as to how we can get the plexi pretty much IDENTICAL in shape to the panel you want to replace. I'll explain it to you tomorrow when you come.
Ooh this is gonna be fun
(btw, i finally start modding again tomorrow too!
)
Posted: 04 Oct 2007, 23:40
by Synthesis
How about to make it even better - give the hard drive a perspex cover. what's better than
watching your external hard drive spinning on top of your desk under some nice led's.

Posted: 04 Oct 2007, 23:49
by DAE_JA_VOO
Synthesis wrote:How about to make it even better - give the hard drive a perspex cover. what's better than
watching your external hard drive spinning on top of your desk under some nice led's.
That mod has a ridiculously high failure rate. That kind of mod almost NEVER works. It pretty much always kills the HDD.
Posted: 04 Oct 2007, 23:57
by Synthesis
Yeah, I know. a handful have gotten it right. I'll never do it myself, not with a good hard drive anyway. I suppose with enough practice on old HD's you might get brave enough. but c'mon, how cool would it look.
Posted: 05 Oct 2007, 00:23
by bootsie
i think that wud luk realy kewl - i have a old laptop - think i shud dismentle it n do sumting crazy - any i deas. its a P4 fujitsu
Posted: 05 Oct 2007, 07:29
by DarkRanger
bootsie GO SPAM SOMEWHERE ELSE DEMMIT!!
Synthesis
The risk is just too high. It's a 750GB HDD that will be used in the enclosure, so I don't think I'm even gonna consider that!
DAE_JA_VOO
I guess my time is set for tonight then. I wont have the LED's and resistors yet, but lets get one thing sorted, then move on to the next! (maybe I should skip your house, ramp the bridge all the way up the hill to 123, and then swing by you...
)
Oh guys, look what I found!
It's kinda cool. It calculates what size resistor you'll have to use.
Linkatink
Posted: 05 Oct 2007, 10:23
by DarkRanger
Okay peeps.
Small update!
DJV: Take notes!!
Okay, had a good, long chat with one of my CEO's that has some electrical qualifications. If I want too put in 2 UV LED's (3.8V each) and 4 Blue Highbright LED's (3.5V each) I'll have to make 3 'routes'. Example:
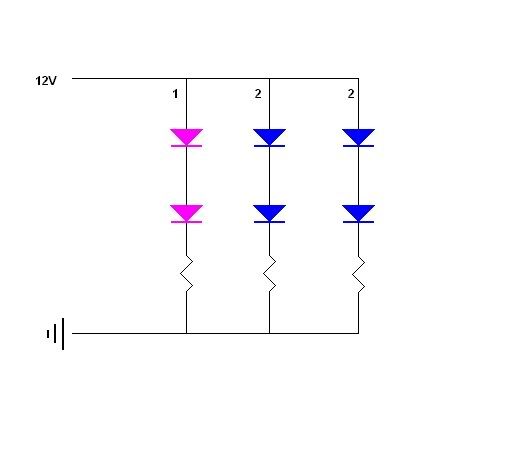
So, route 1 will have two of the UV LED's @ 3.8V each. This means that I will have to have a total of 220ohm resistance in that 'route'.
And both route 2's will sport two Blue LED's each (these are as said 3.5V LED's). This means that I will have to have a total of 250ohm resistance in that 'route'.
The LED's max current is 20mA. So after work, It's quickly off to Electronics 123 to get my six LED's and sufficient Resistance!
Posted: 05 Oct 2007, 10:53
by DAE_JA_VOO
Nice
Posted: 05 Oct 2007, 11:04
by DarkRanger
DJV, can you maybe help me with these Resistors, it's very pretty much DAMN confusing... What does is mean if, after the code of the resistor they say 220E. Does that mean 220 Ohms resistance or does it mean it's that 3G USB modem?
Posted: 05 Oct 2007, 11:27
by DAE_JA_VOO
Modem?! Eh?!
Dude i don't know jack about resistors. I always just get the guys at E123 to work out what resistors i need.
Posted: 05 Oct 2007, 11:29
by DarkRanger
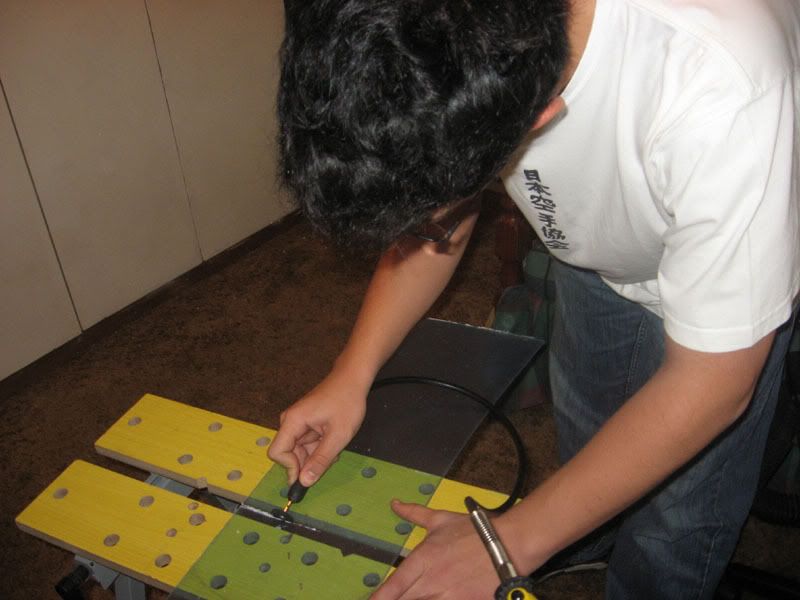
ok cool. But I think I've got it. Can't wait to play with the plexi tonight... BTW: how thick is that plexi, because the cover is about 2 mm thick...
Posted: 05 Oct 2007, 12:47
by RobThePyro
LOL YOU GUYS!!!!
Black Brown Red Orange Yellow Green Blue Violet Gray White
0 1 2 3 4 5 6 7 8 9
How to remember:
Bad Boys Rape Our Young Girls But Violet Gives Willingly

Now on your standard 1/8W or 1/4W resistor you should have 3 bands of normal colours and then a 4th band of usually gold or silver which is the tollerance which you dont need to really worry about when just messing with LED's
Position the resistor so the gold or silver band is on the right. from the left the first two bands are the value so for example a 1.4k ohm or 1400 ohm would have the first two bands as brown for valve 1 (
1400) and then the second band would be Yellow for value 4 (1
400)
Simple enough, but now how do we get the zeros? the third band is the multiplyer. so for example we now have the values 1 & 4 or 14 and we need to multiply by 100 or "Add"
2 zeros thus the multiplyer would be the value for
2 which is red. Thus the code would be Brown- yellow - Red - Gold/Silver
Easy hey
Simerly if we wanted 140 Ohm or 14000 Ohm the first two bands would be the same but the multiplyer would change so the codes would be Brown - yellow - Brown(for x10) - Gold/silver and Brown - Yellow - orange(for x1000) -Gold/Silver respectivly.
Oh and darkranger if you want a bit more brightness run your LED's at 25ma , they wont last aslong (were talking like 40000hours instead of 50000 type of thing lol...)
Hope that helps guys!!!!
Rob~!
oh and btw this might help

Posted: 05 Oct 2007, 12:53
by DarkRanger
So if I want a 220 Ohm resistor, I should get one with Red Red Brown stripes? And a 250 Ohm resistor will be Red Green Brown??
Posted: 05 Oct 2007, 12:55
by Samaya
Nice post
And if you need more help...
have a clicky here
Posted: 05 Oct 2007, 13:06
by FUSED
DarkRanger wrote:So if I want a 220 Ohm resistor, I should get one with Red Red Brown stripes? And a 250 Ohm resistor will be Red Green Brown??
Yup! You've got it.
You can test and see if you're correct
here. Very usefull aswell.
Just select the colors on the right, and it gives you the value.
Gonna look sweet man. Can't wait to see it.
Posted: 05 Oct 2007, 13:58
by RobThePyro
yea sounds good!
Lol thanks Samaya...
Rob~!
Posted: 05 Oct 2007, 14:21
by DarkRanger
and if I have 2 resistors in a series, then I just add their values up?
Oh, an thanks Samaya! Now I get millions of results!!
Posted: 06 Oct 2007, 15:46
by Samaya
hehehe no problem lollers...
Posted: 06 Oct 2007, 21:35
by DarkRanger
Posted: 06 Oct 2007, 21:42
by DAE_JA_VOO
Aah CRAP!!! How disappointing

I just read through this all waiting in anticipation to see what you had done, only to see what we had done earlier, which i didn't need to see because i was there!!!
Aarg!!!
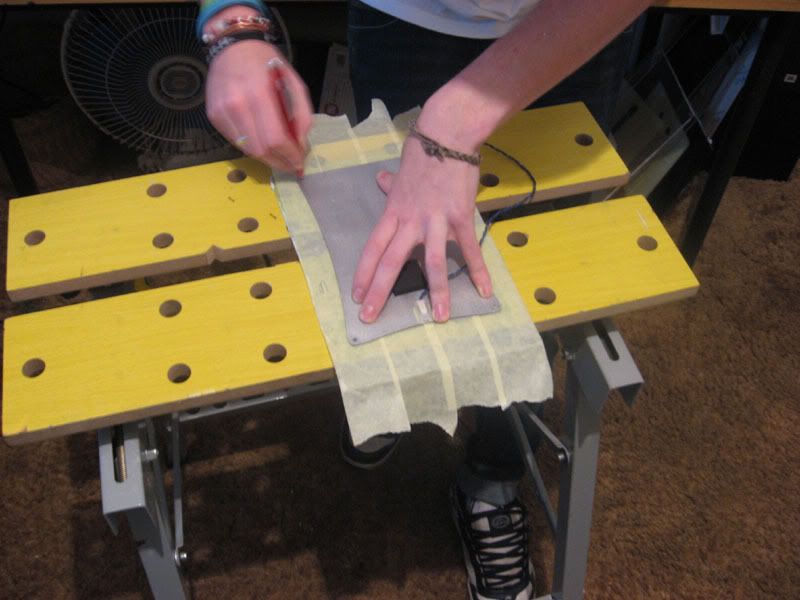
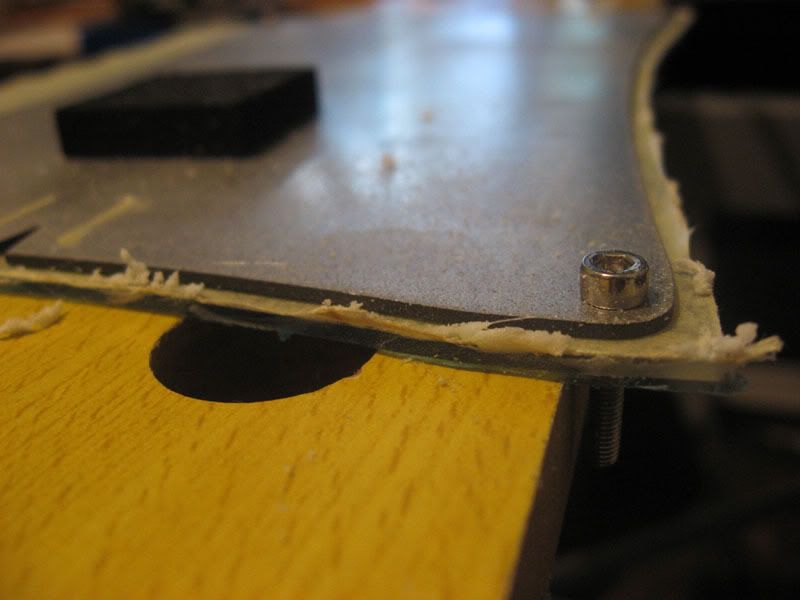
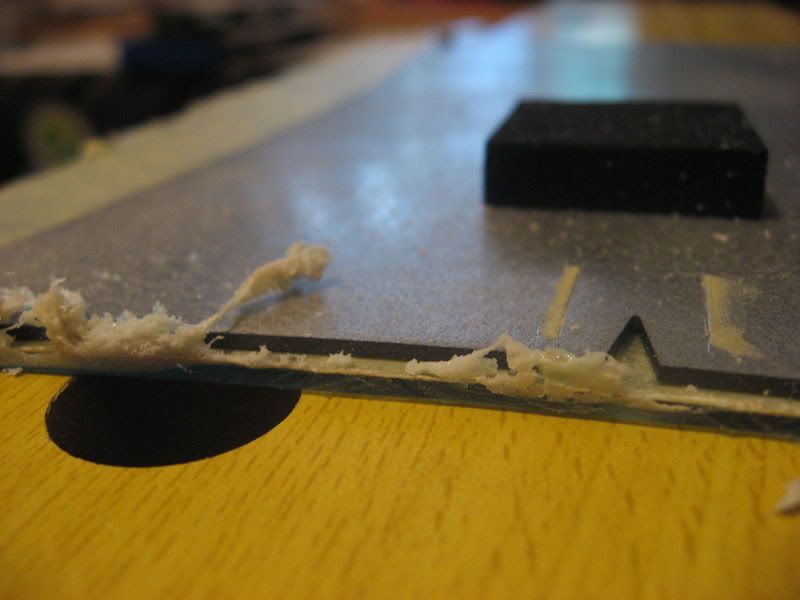
Just tell me, did you get the plexi shaped? That's ALL i wanna know! Is it the right size?