Page 3 of 6
Posted: 12 Jan 2008, 00:13
by GDI_Lord
Samaya, that looks really cool! Nice skills man.
Posted: 21 Jan 2008, 08:40
by Samaya
I had a problem with my orbital sander a while back and had to have it replaced under guarantee. This took 4 weeks to manage, BW service is not so good when it comes to things like this. Anyway I had some time to mod yesterday and did just that.
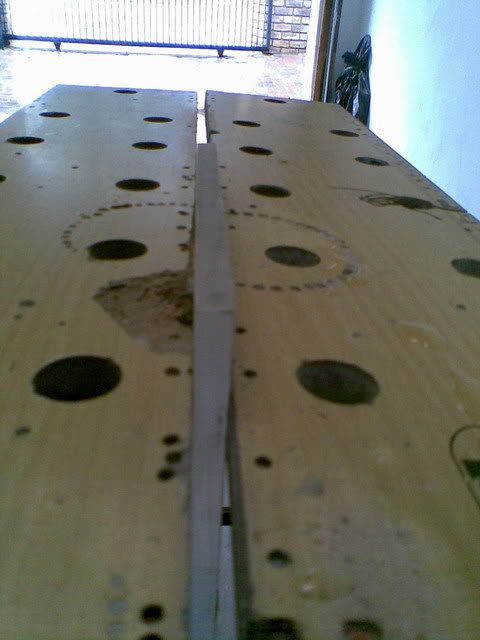
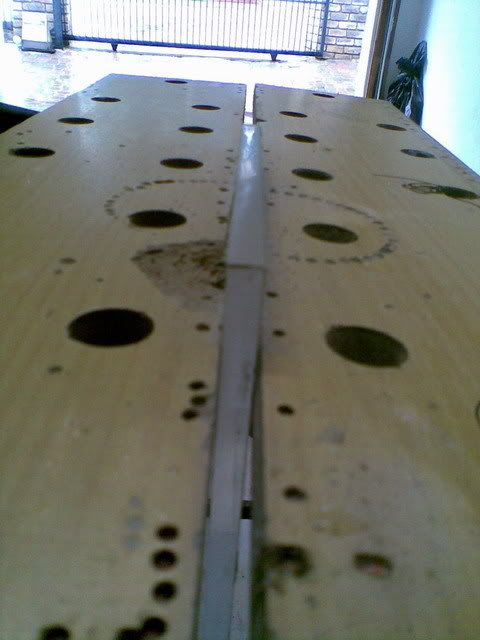
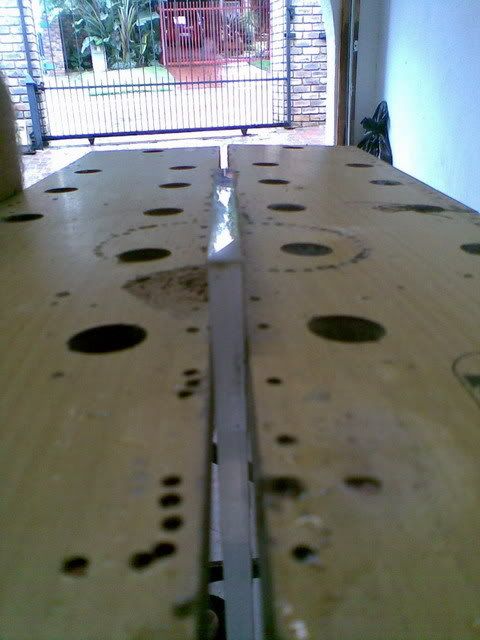
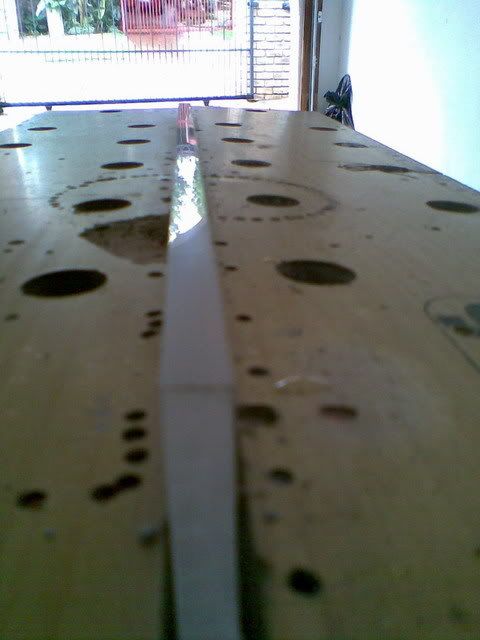
I cut the main side panel for this case, I polished the clear plexi and then fitted everything together.
Before polishing
Half way there
And done.
I did the polishing with my sander using only 1200 grit sanding paper. Obviously 400 as well because I had to get the fine scrathes out but the 1200 was used to finish it off.
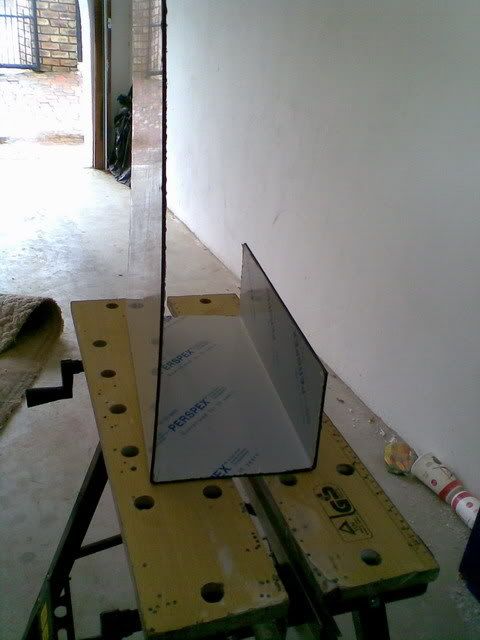
After I polished these edges I fixed the clear front to the side red panel.

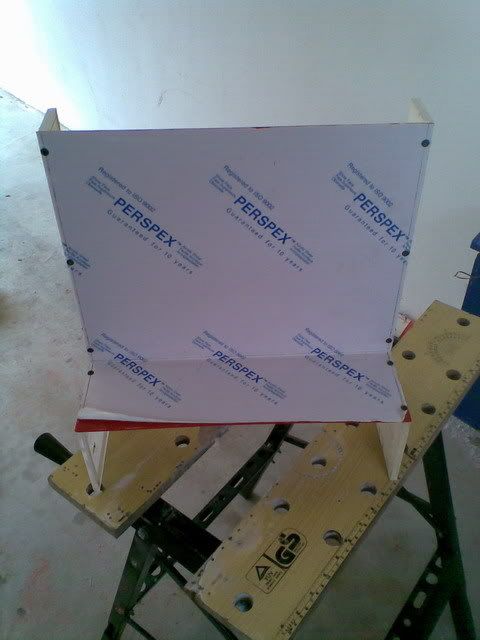
Then onto the main panel, the one that keeps everything in its place.
After a lot of measurements and filing away excess it came out looking like this
Front
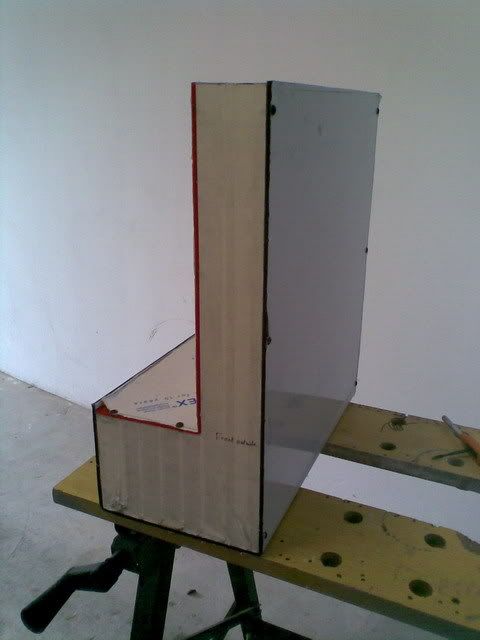
Back
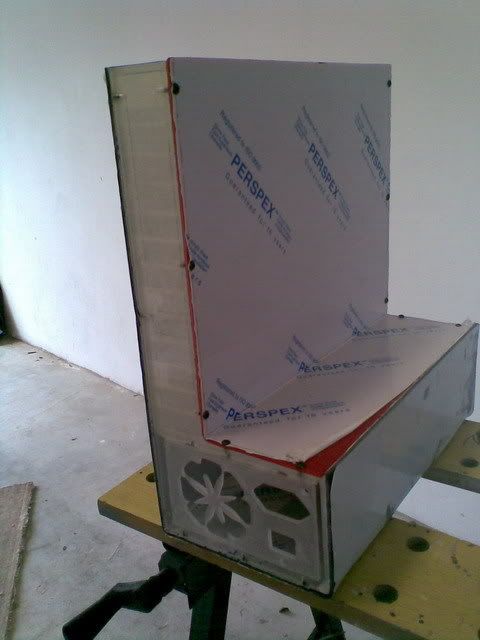
I still have to polish the edges of the black perspex, cut the hole for the CPU fan, add the on/off, reset and DVD drive buttons, cut out the MoBo connectors and then do some more small detailing.
I hope you enjoy this little advancement

Posted: 21 Jan 2008, 08:43
by DAE_JA_VOO
Dude.... you've got MAD bending skillz.... omw.
Awesome AWESOME update

Posted: 21 Jan 2008, 08:47
by Samaya
Damn that was a fast reply!!! Thanks guy, you should see what I have planned for some future mods

Posted: 21 Jan 2008, 09:15
by DAE_JA_VOO
You should tell me so that i can steal your idea

Seriously though, that bending is crazy. Really good work dude
Posted: 21 Jan 2008, 10:05
by DarkRanger
I = jealous.
Very cool mod so far! just don't mess it up now!!
Posted: 29 Jan 2008, 07:49
by PFS
Hey Samaya
Here's 2 pics of the 90 angle adapter.


Lemme know. The Casing is just how it was in the other PC, it comes apart.
PFS*
Posted: 29 Jan 2008, 08:04
by Ron2K
That looks suspiciously like a PCI adapter - he needs an AGP one.
Posted: 29 Jan 2008, 08:11
by PFS
hmmm... didn't really check, have two different one's. Just grabbed this morning while going out. Will check and get pics of the other one.
PFS*
Posted: 29 Jan 2008, 08:59
by GrimStoner
Instead of using sandpaper to polish acrylic, try Brasso.
Posted: 29 Jan 2008, 09:06
by Samaya
Thanks PFS, But that does look like a PCI card. Let me know if the other card you have is a AGP one. Thanks for your help so far
@ GrimStoner: I use sandpaper with water and then use polishing compound to make it even shinier.
Posted: 29 Jan 2008, 10:43
by UrBaN
hurry up and finish, i wanna see it
:D:D
Posted: 29 Jan 2008, 10:56
by Samaya
Posted: 29 Jan 2008, 10:58
by UrBaN
So "arrive alive" is going to be the reason we don't get to see Paris ASAP?
Yet another government screwup
Posted: 29 Jan 2008, 11:00
by Samaya
UrBaN wrote:So "arrive alive" is going to be the reason we don't get to see Paris ASAP?
Yet another government screwup
LOL Or Eskom load shedding will probably be more of a hindrance...
Posted: 29 Jan 2008, 11:06
by UrBaN
lol.. ok, who stole the battery powered dremel? WORK MUST GO ON!
Posted: 25 Feb 2008, 08:16
by Samaya
Finally time for an update.
I only had time to make one part (or modify on part) this weekend.
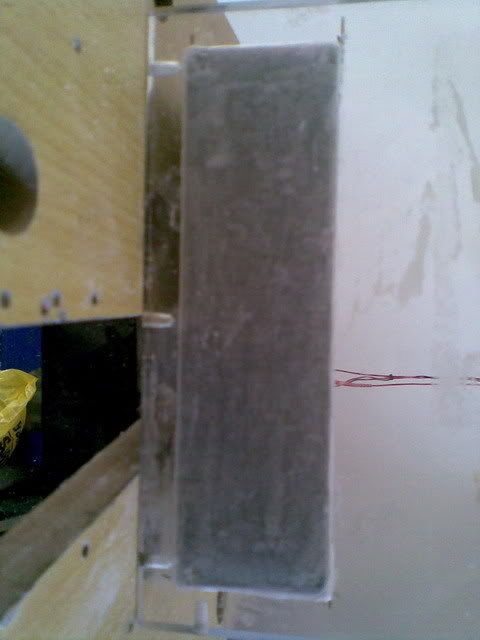
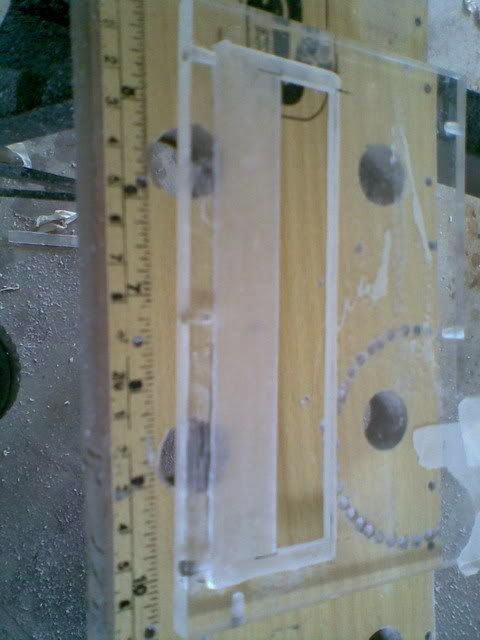
This is where the ODD will be accessible for this PC. That little bit of "routing" took nearly an hour and it was only two thirds done!
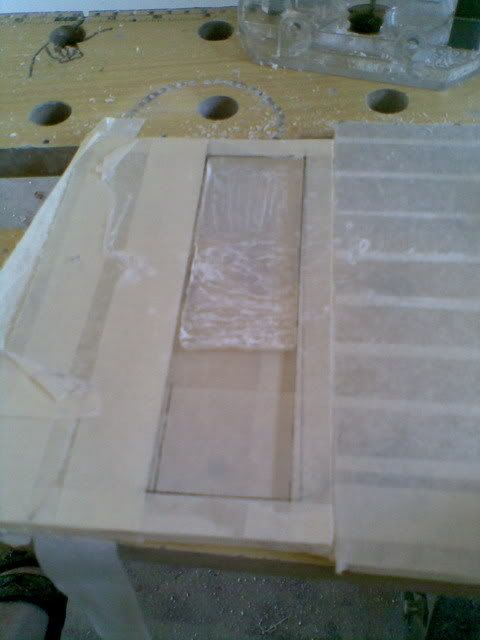
Another half hour later...
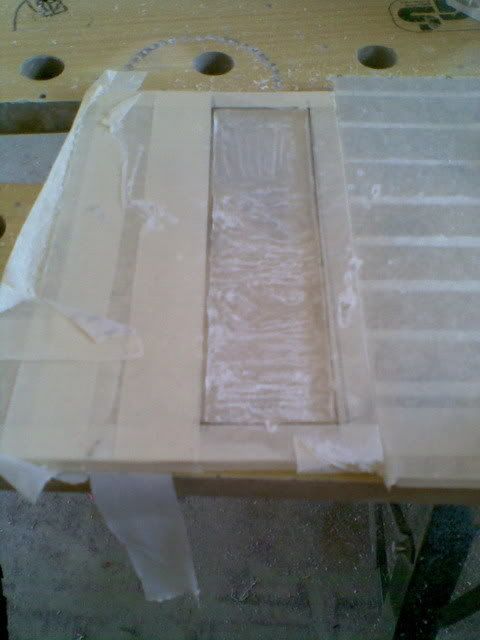
Then I finished the inside with a bit of sanding
Test fit
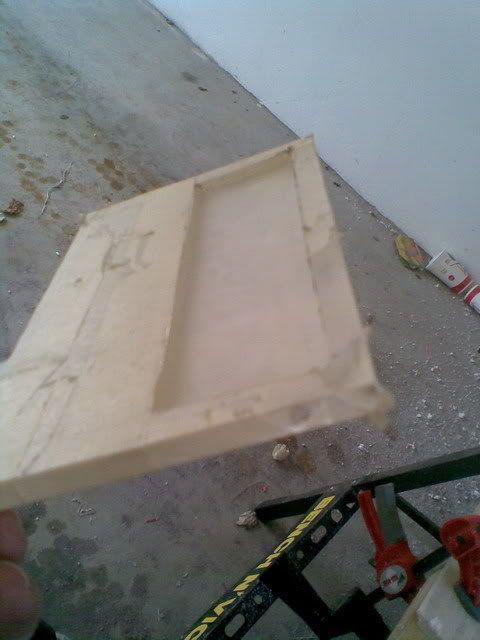
Fits perfectly

Frontal
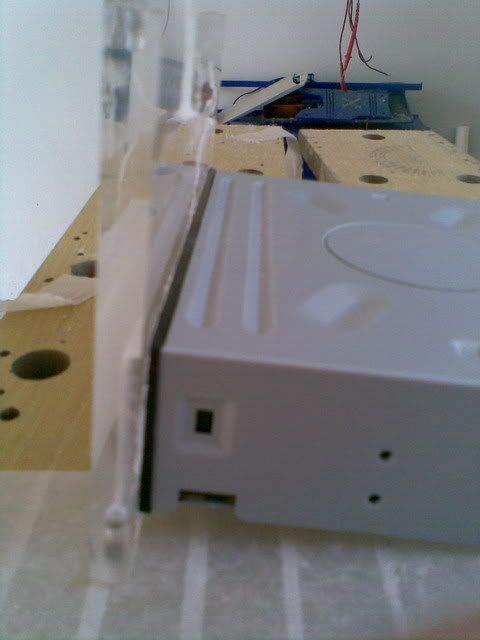
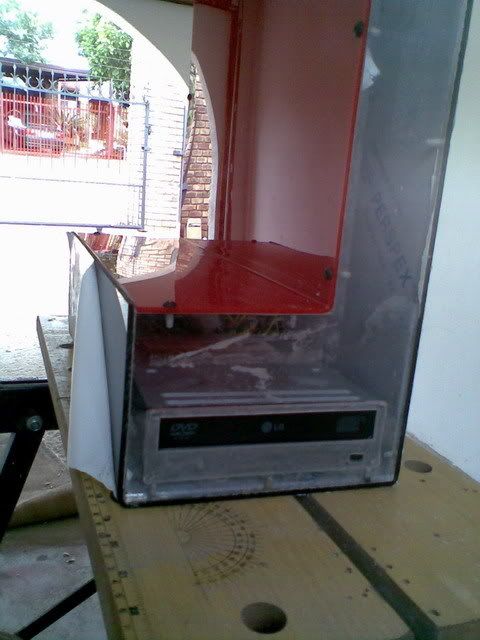
Now a ODD needs to have media inserted for it to be of any use
Another test fit
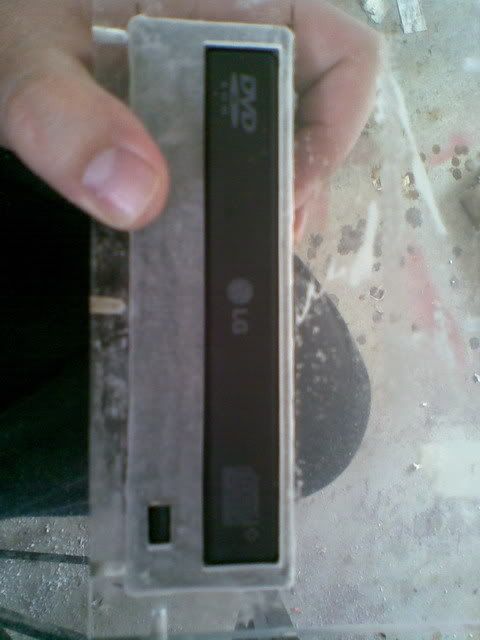
Now, see if you can spot the problem... Try and open this ODD by pushing its button which sits behind the 4mm thick plexi and I think you start to get the picture...
SO
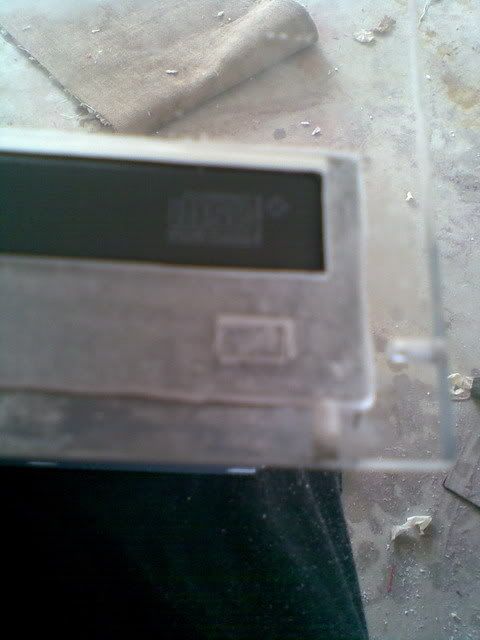
I made a button insert which basically just extends the original button to the front.
So this is what it is looking like at the moment. Still a lot of work to be done
And cleaning

Posted: 25 Feb 2008, 08:34
by DAE_JA_VOO
That's insane....
Insane i tell you....
Posted: 27 Feb 2008, 14:59
by Nab
Oh wow, when this bad boys done it's going straight to rig o the month!
Posted: 27 Feb 2008, 16:33
by Samaya
Nab wrote:Oh wow, when this
bad boys done it's going straight to rig o the month!
AWESOME!!!
But its a bad girl
Posted: 28 Feb 2008, 09:58
by douglash
Samaya - that mod is looking really good man... i've never seen anything like it... going to look good when it's finished....
oh, and btw :
UrBaN wrote:hurry up and finish, i wanna see it
Samaya wrote:I am not hurrying anything, remember "Speed kills"
Speed doesn't kill - it's the "sudden stop" that does...
Posted: 28 Feb 2008, 11:16
by DoOb
Very well done looks Schweeet
Posted: 28 Feb 2008, 12:52
by Samaya
Posted: 29 Feb 2008, 07:35
by Lithe_Joint
That ODD panel looks flippin good. You have more patience than I do that's for sure. Will you be keeping the frosted effect? It should look very nice with the right lighting...
Posted: 29 Feb 2008, 08:07
by Samaya
Ja It is WAAAYYYY easier to keep the frosted look. When I made the star fan cover in the back, I tried polishing it but in the corners I couldn't get the perspex clear, so I decided to leave it frosty. Plus it breaks the "all see through" front and back so that its not that boring.
Remember I said this is for my wife? Well "she" said she will be over seeing the "decoration" of the box. All I am going to say is "You're in for a shock" She is planning some funny things and I am not sure I would have done these were this case for myself. I have not seen anything she has done but from what she is telling me, I know its going to be VERY difficult to get right...