Page 18 of 19
Posted: 04 Jun 2008, 08:14
by StoneIce
Nice Job Doobs.. Nice cuts...

Posted: 04 Jun 2008, 08:29
by naughty
laser profiling does a great job - heres what they did for my side panel
http://img.photobucket.com/albums/v167/ ... _PANEL.jpg
at night
http://img.photobucket.com/albums/v167/ ... pcdark.jpg
some more stuff they are capable of doing
http://img.photobucket.com/albums/v167/ ... LASER3.jpg
http://img.photobucket.com/albums/v167/ ... LASER1.jpg
ive put these in as links - cos i dont want the images hijacking this thread - so if anyone wants to see those - just click on the links
ps - they also got a waterjet cutter too if you want even more accurate cuts especially done in really thick steel
Posted: 04 Jun 2008, 09:06
by RobThePyro
How do you 'tell' the laser guys what you want, do you just draw a rough sketch and they sort it out? or can you give them like sketchup files/printouts of what you want?
Posted: 04 Jun 2008, 09:09
by naughty
RobThePyro wrote:How do you 'tell' the laser guys what you want, do you just draw a rough sketch and they sort it out? or can you give them like sketchup files/printouts of what you want?
you can give exact sketches - but then they have to convert those into cad files for the laser to cut those - if you do sketches on a computer using graphics programs - those have to be converted too - i dont know how much they charge now - but they charged me R90 to convert my paper drawings to cad files when i had my stuff done
Posted: 04 Jun 2008, 10:07
by DoOb
Eish, its pretty easy, do the design in Illustrator and then from there, Export to a .dxf file, from there they put that straight into their programs, and then you dont have to pay that cost to do the conversion, Naughty on the other hand is alot more now for the conversion.
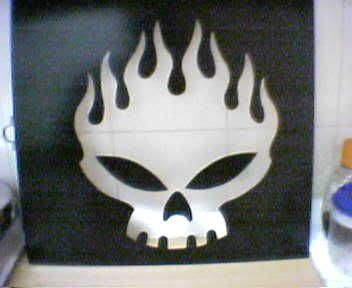
I wondered where that skull came from.
I found laser profiling by luck.


Took a while tho to get this laser cutting done, but now i know what their needs are.
They did an awesome job
Posted: 07 Jun 2008, 16:29
by DoOb
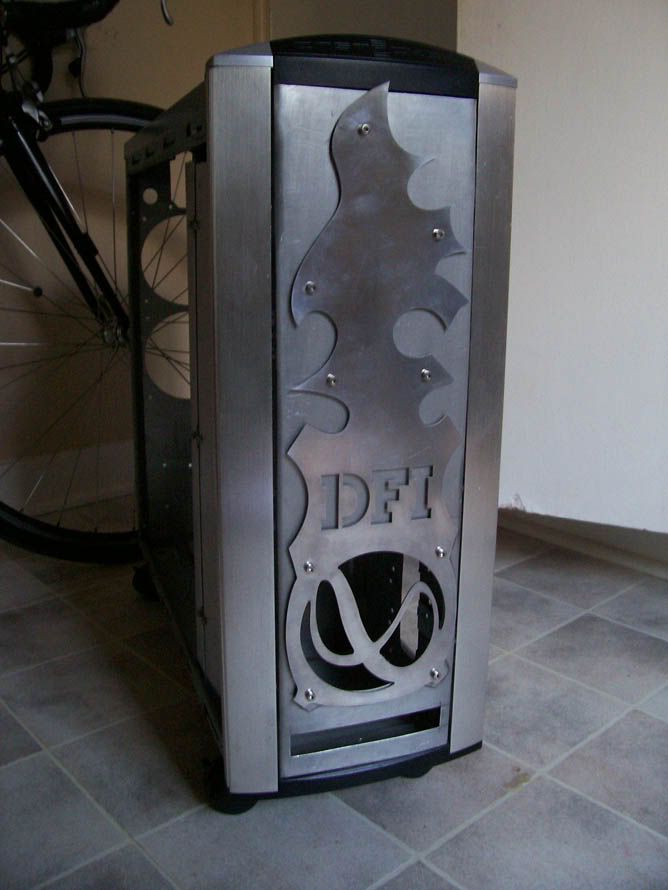
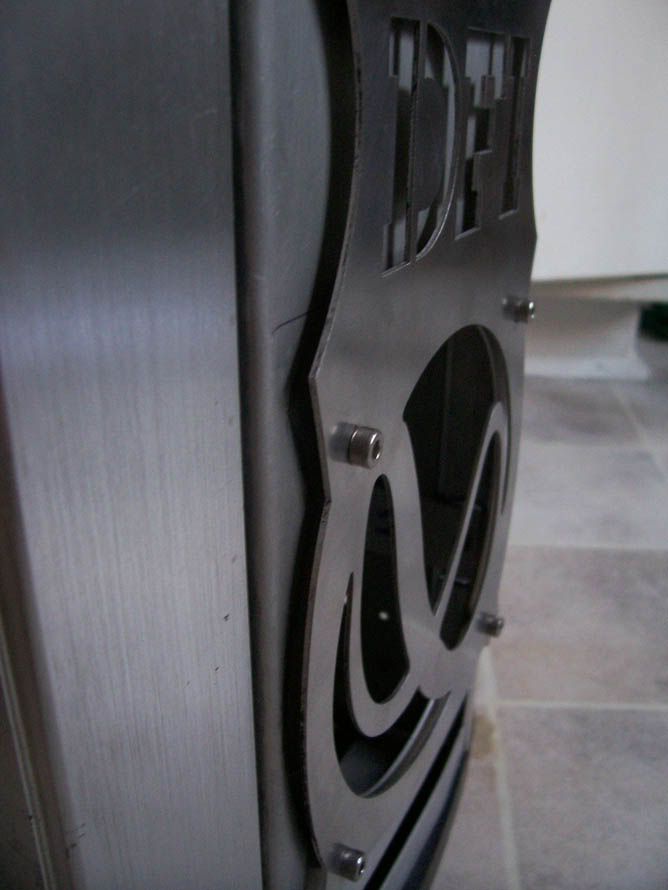
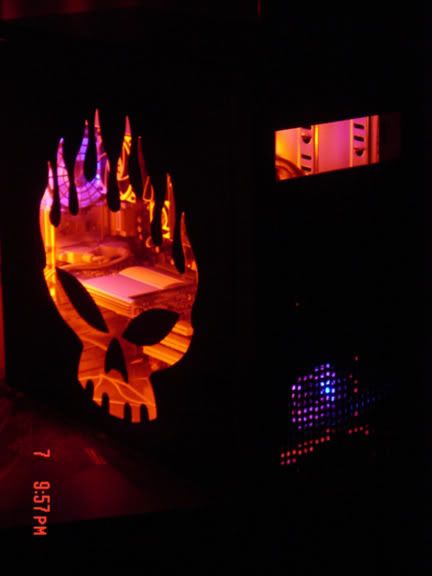
Got the front Bezel on.... Just to show you how it will look.
Im thinking Leave it like that with no perspex behind. But where the DFI is have a piece of perspex there. Green UV piece
And then lighting behind it. Green lighting.
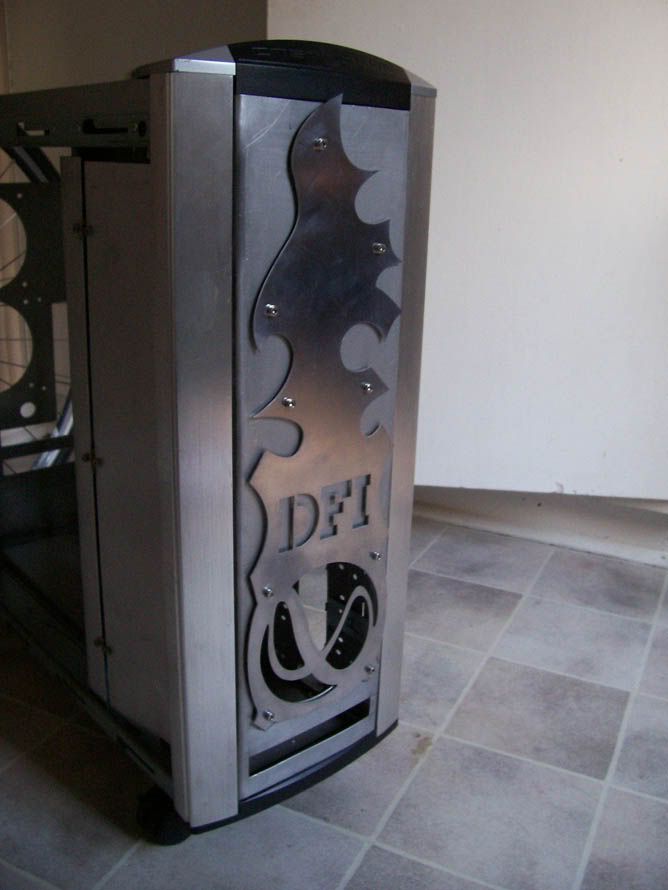
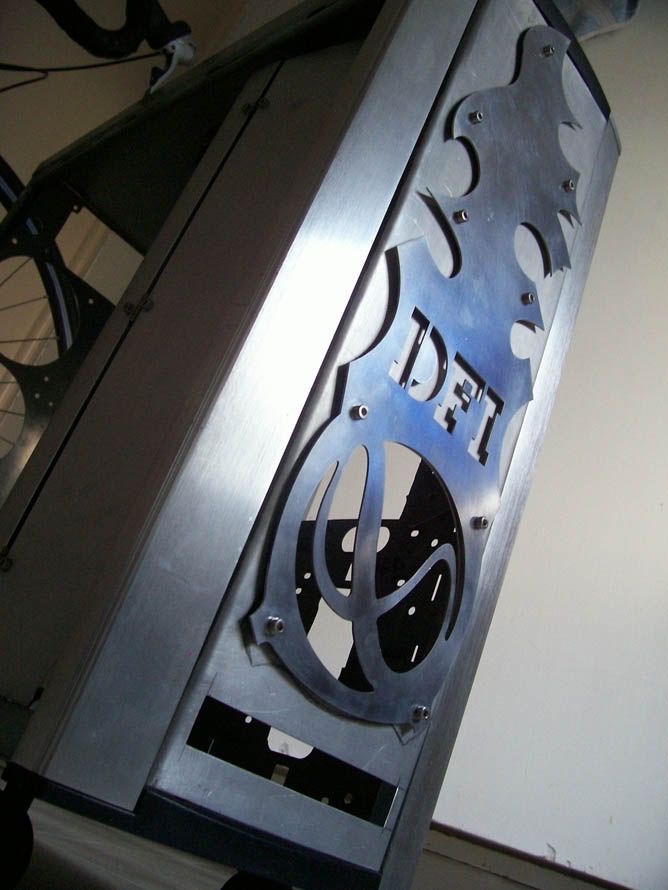
See what i can get done tomorrow, need to get a new jigsaw tho, other one is buggered.
Ta
Posted: 07 Jun 2008, 16:39
by psYChowIt
wowee looks dangerouz
Posted: 07 Jun 2008, 16:59
by WiK1d
That looks really nice man!
Posted: 07 Jun 2008, 18:04
by DVDL
Wow, where the DFI is with the green UV perspex and green
lighting will look awesome... 8O
Posted: 07 Jun 2008, 18:30
by PsyCLown
Posted: 07 Jun 2008, 19:48
by Skidd
Awesome byron, looks real good!
Posted: 29 Jun 2008, 12:30
by DoOb
Yay so this is another, well gonna be another DIY Res, but hey its gonna work so its all good to me.
My sister has a fish tank, quite a big one so she using this tube plastic thing to clean the gravel, now ive know this for a while, but yesterday i was like hey that thing will work perfectly, so today ive come back from the Pet shop with a purchase of this cleaning thing, oh and the best part the Tubing that comes with it is sssoooooo much better than the Sh*t ive been buying from Mica... so i intend using that stuff instead of the crap ive been getting at Mica.
So check it out. Here's the tubing, check how thick the walls are and dam how flexible it is aswell.... Oh ya i could have paid R38 bucks for this fish tank gravel cleaner but the other shop didnt have in stock so i paid R50,,, not worried about that.
Tubing
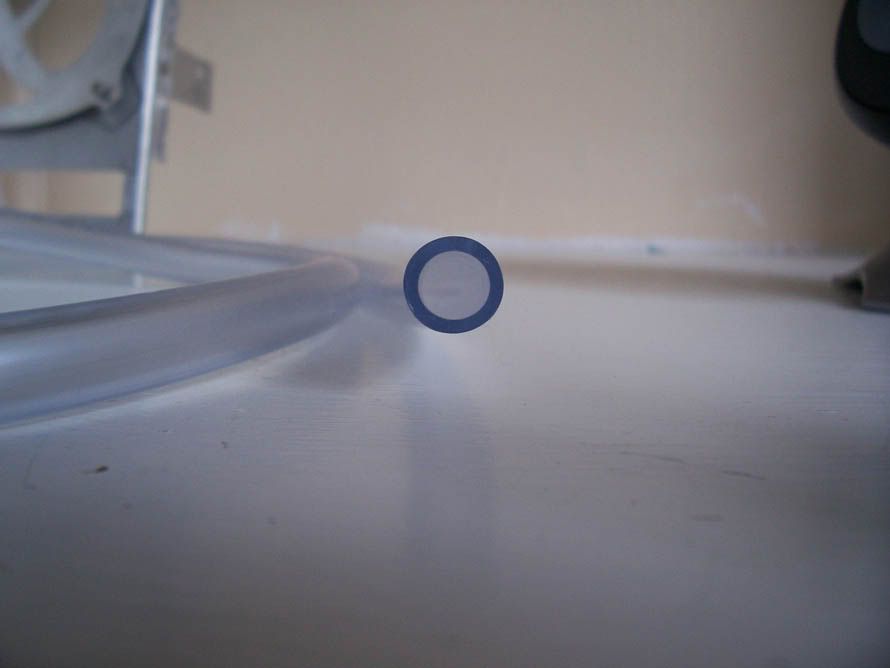

Check that stuff, wicked hey.
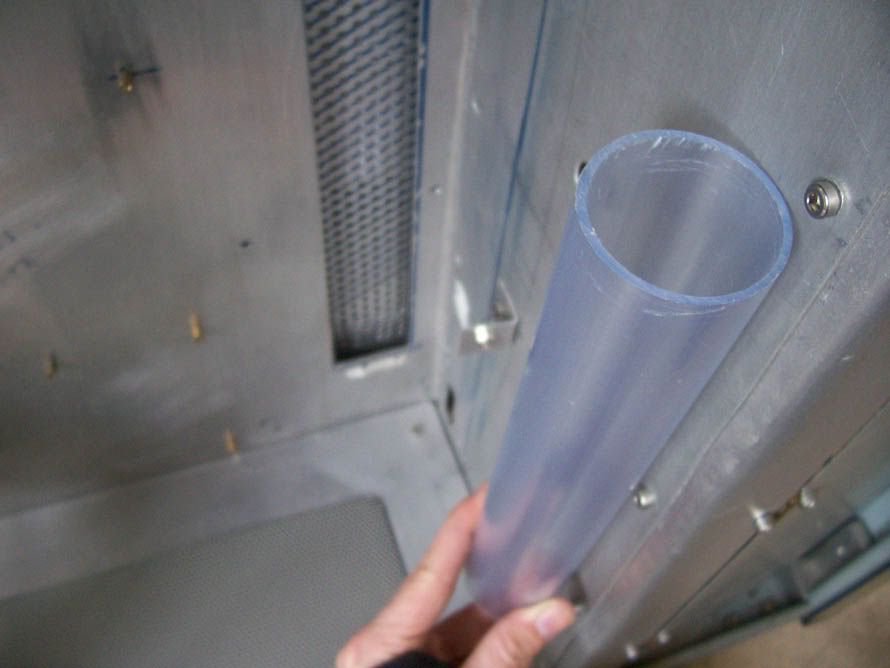
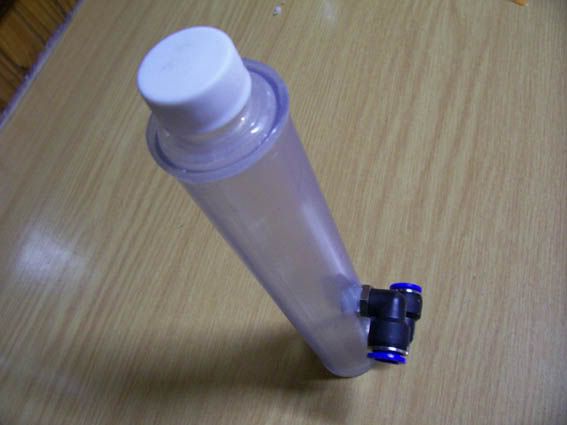
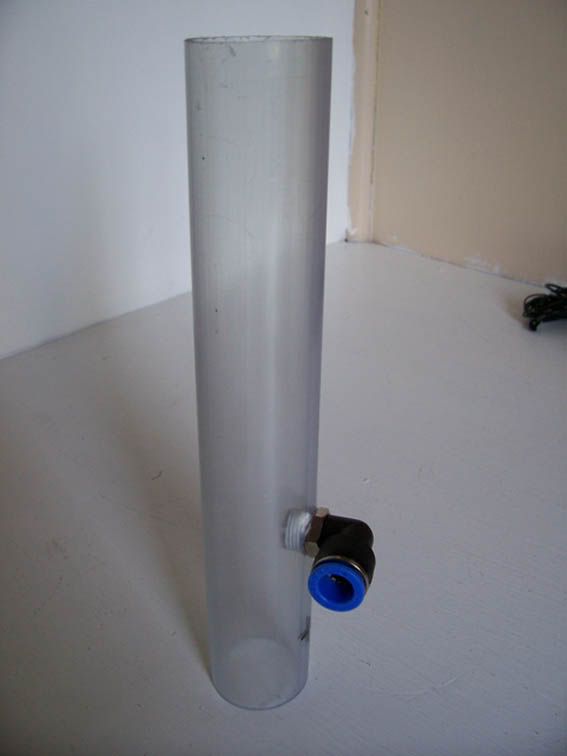
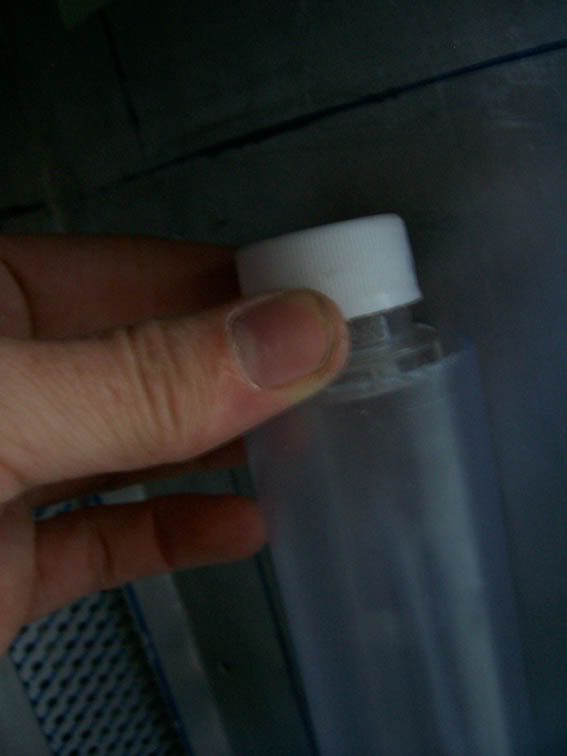
Now the Res tube... Which i intend to cut own a small bit for my case.
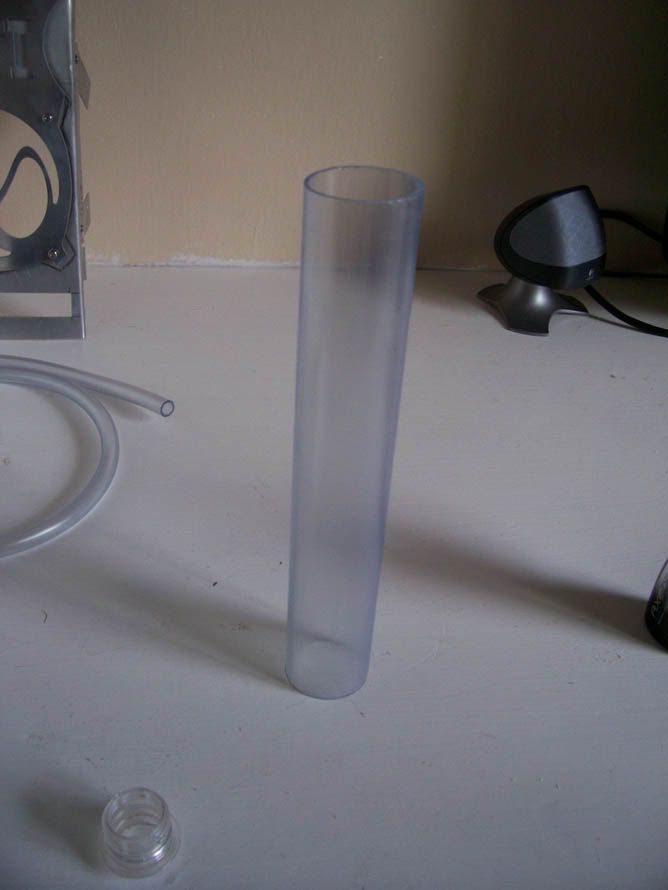
Ok now you probably like that stuff not clear like perspex, ag hek doesnt need to be if you gonna have a custom made res holder from UV green perspex....
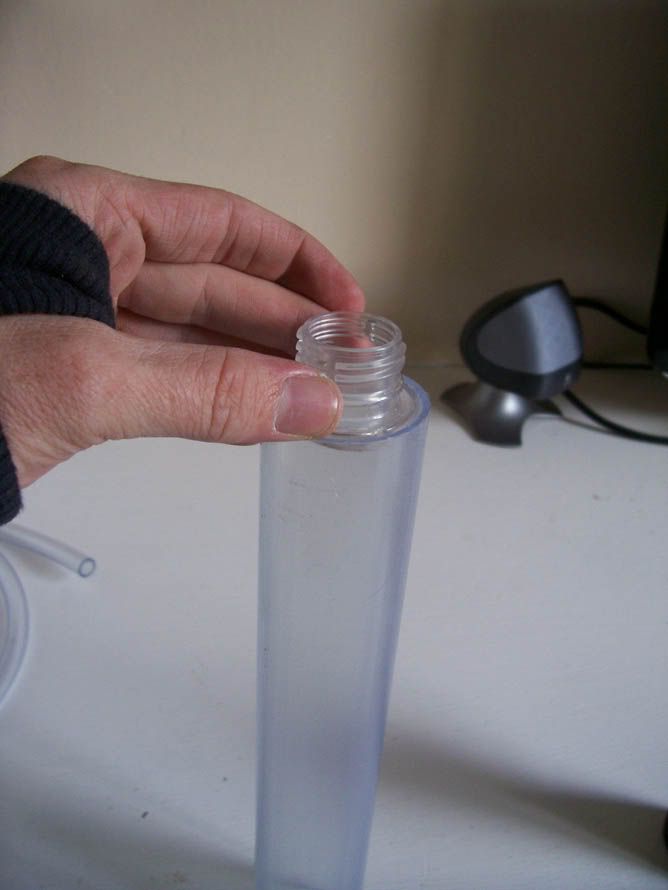
Oh and lol my Filler port will be .................A Coke top and lid,,, yes you heard me, LOL, hey it works well. Will buy 2 pieces of thick perspex for the top and bottom to seal the container.
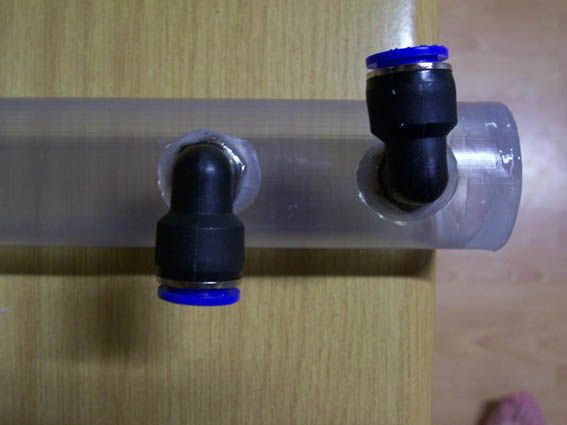
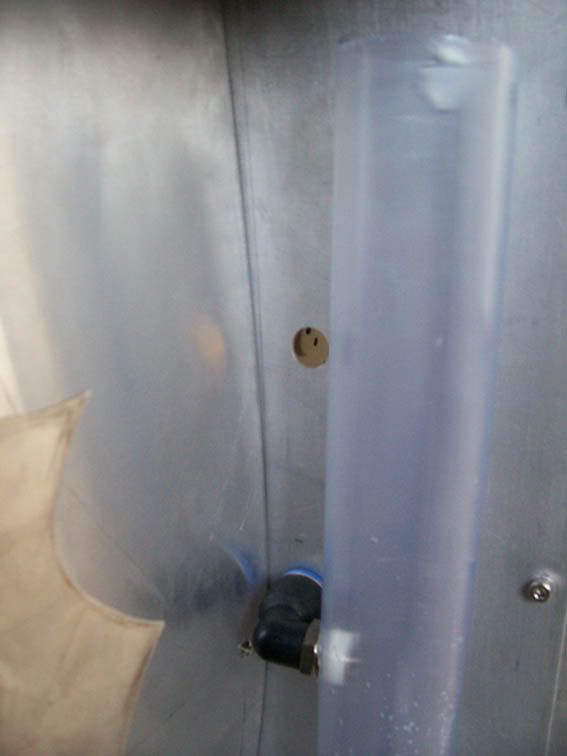
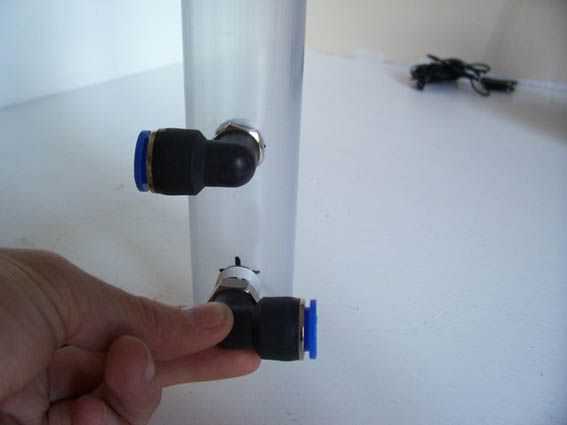
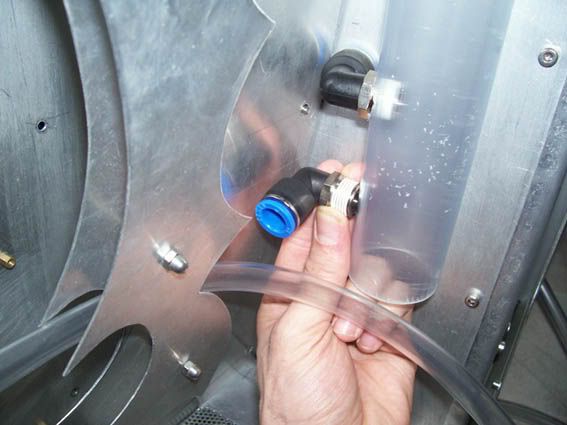
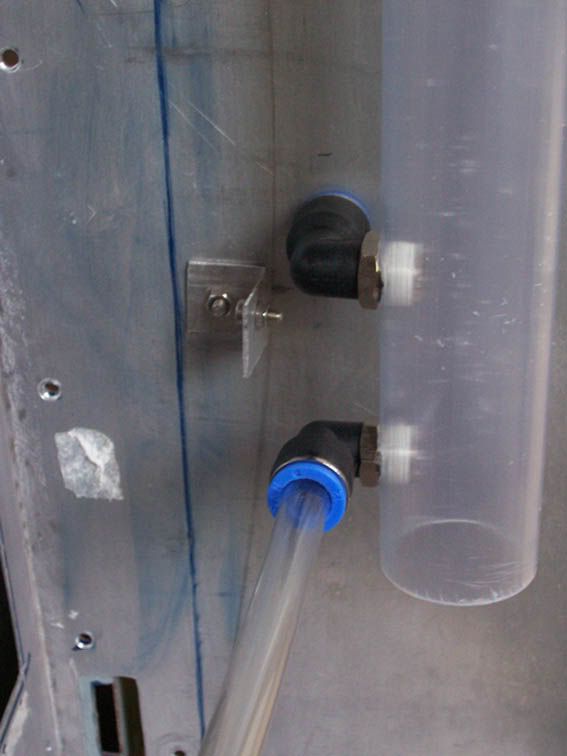
Just showing it in my case, here are two angles.... I've just gotta make two holes for my Push-in fittings, one will be a Elbow and the other a straight.
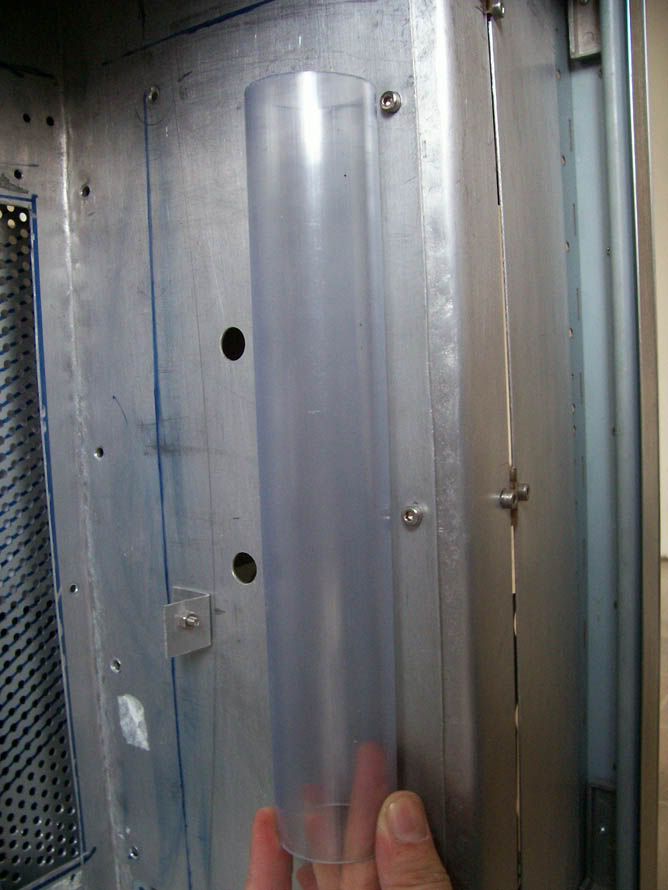
So i think im quiet happy with this solution, much easier than waiting to get a chance to go to Maizey's which oh ya that never replied to my email...so they lost out on my purchase.
Sweet, all for now , will get this res made during the week and next weekend.
DoOb's
Posted: 03 Jul 2008, 12:55
by DoOb
Posted: 03 Jul 2008, 12:58
by Firestrm_ZA
That res is gonna be sick do0b's nicely done
Posted: 03 Jul 2008, 14:27
by Samaya
Aaaa that is awesome dude!!! I want to see this res done. Nice man
Posted: 03 Jul 2008, 20:17
by DoOb
Alrighty, finished my Res,
Here's the 15mm thick perspex stuck into the bottom.....
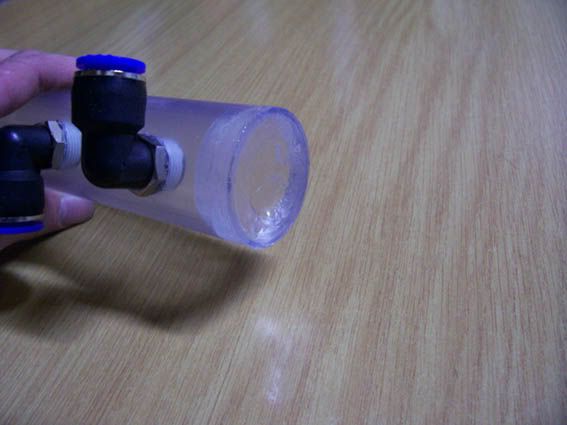
Then the top piece got made....and then stuck together

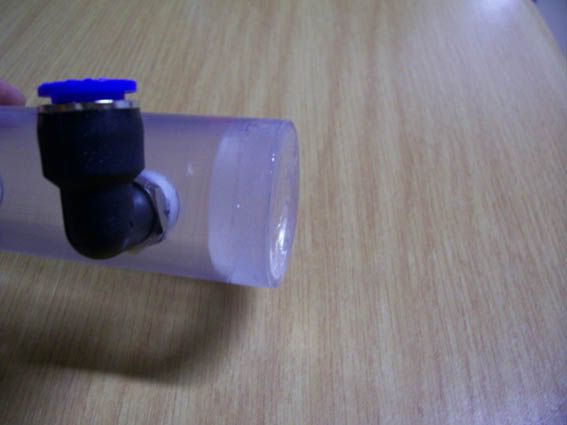
Then stuck on the filler top....

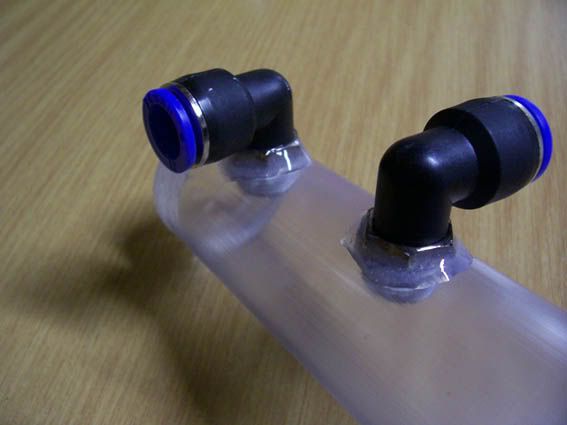
Glued around the fittings for 100% leak proof.
Then a final pic from the top of the finished Res
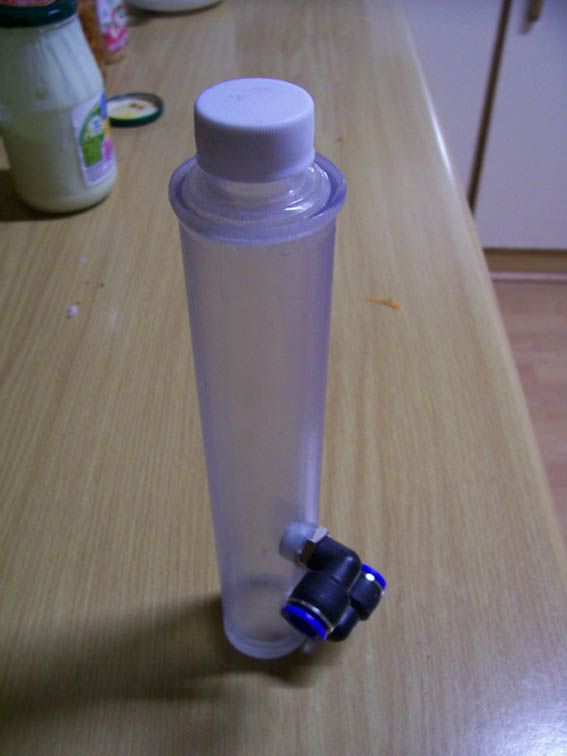
Thats it.... one complete Made Reservoir
DoOb's
Posted: 03 Jul 2008, 20:21
by Firestrm_ZA
Posted: 03 Jul 2008, 20:31
by DoOb
Thanks very much bud.... Firestrm ftw hehe
Posted: 03 Jul 2008, 20:44
by DAE_JA_VOO
If that plastic is any form of plexi you're going to run into big problems with the barbs' holes. Round plexi like that is manufactured by being extruded, which leaves it under heavy stress, which leaves it VERY fragile and easy to crack. That's what happened to Epiphany's Reservoirs.
Posted: 03 Jul 2008, 23:12
by DoOb
DAE_JA_VOO wrote:If that plastic is any form of plexi you're going to run into big problems with the barbs' holes. Round plexi like that is manufactured by being extruded, which leaves it under heavy stress, which leaves it VERY fragile and easy to crack. That's what happened to Epiphany's Reservoirs.
Will see how it goes, at least mines very easy to get to and also risk free of wetting anything.
Thanks Ettienne, will give it a stress test tomorrow.
will hook my watercooling up to it, seeing as right now my pc is in my case ready for FRAG LAN...
Posted: 04 Jul 2008, 00:23
by DAE_JA_VOO
Alright

There's not much you can do in terms of stress test though. Only time will tell you how this plays out unfortunately

Posted: 04 Jul 2008, 07:33
by Samaya
That looks nice Doobs. What glue did you use?
Posted: 04 Jul 2008, 09:22
by DoOb
Pratleys Epoxy Clear, mix the to together to get a really strong glue....Works very very well.
My first res i made from perspex held together perfectly. So this one should be alot better.
Posted: 11 Jul 2008, 19:01
by Lithe_Joint
Question...won't it help to heat up the stressed article?
Obviously one would not want the thing to deform...but will it help in order to make it less fragile?
Nice work DoOb.
Posted: 11 Jul 2008, 19:25
by RobThePyro
Lithe_Joint wrote:Question...won't it help to heat up the stressed article?
Obviously one would not want the thing to deform...but will it help in order to make it less fragile?
Nice work DoOb.
mmm i dont think you would get it hot enough without it deforming, (low melting point) mebbe if you had a former for the shape you wanted and then put it in an oven at 60~80'C for an hour or two it could work...
nice work doobs!
Rob~