Hi Monty
Yeah, i'll probably still cut that away

UPDATE!!!
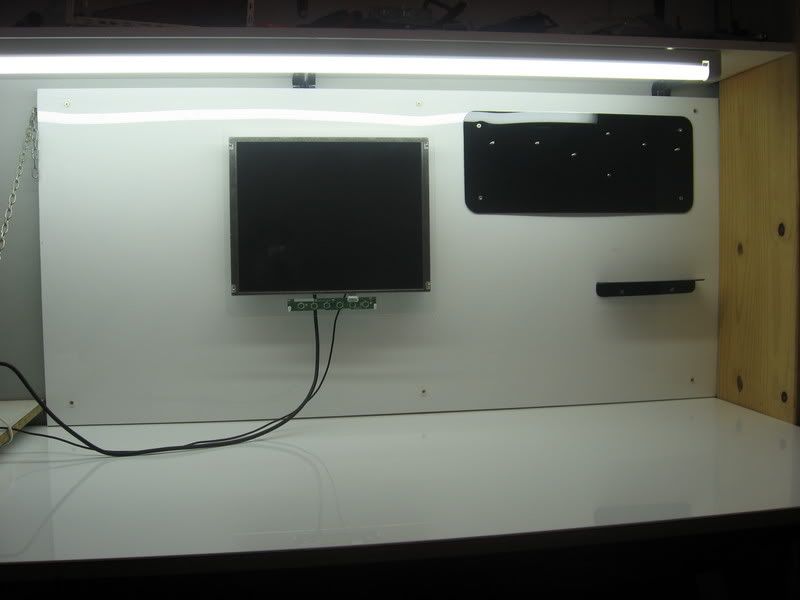
Sheesh guys, it's been ages since an update. I'm sorry about that. It's been due to a handful of things. December was nuts because of holidays and so on, and as soon as i was back from all the holidays, we started some crazy home improvements and i had nowhere to mod. Once the home improvements weren't interfering with my modding room anymore, i decided to do some modding room upgrades. Before:

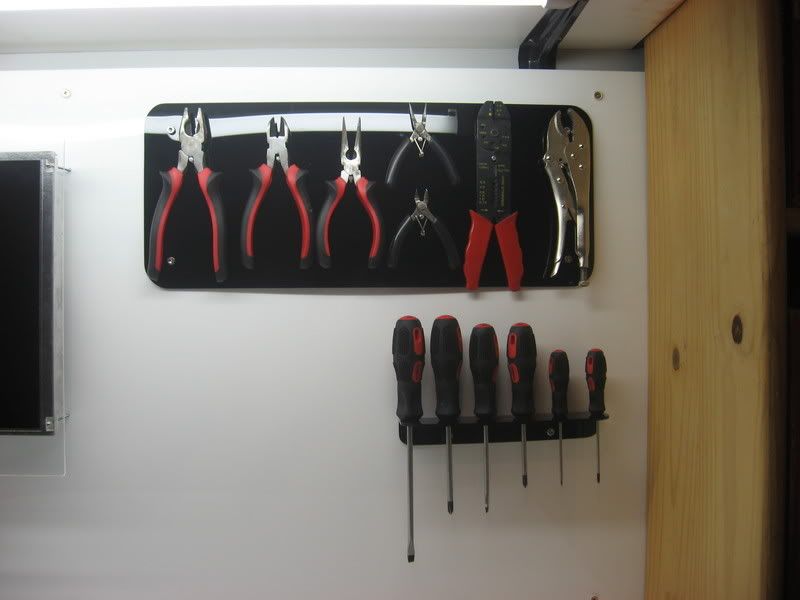
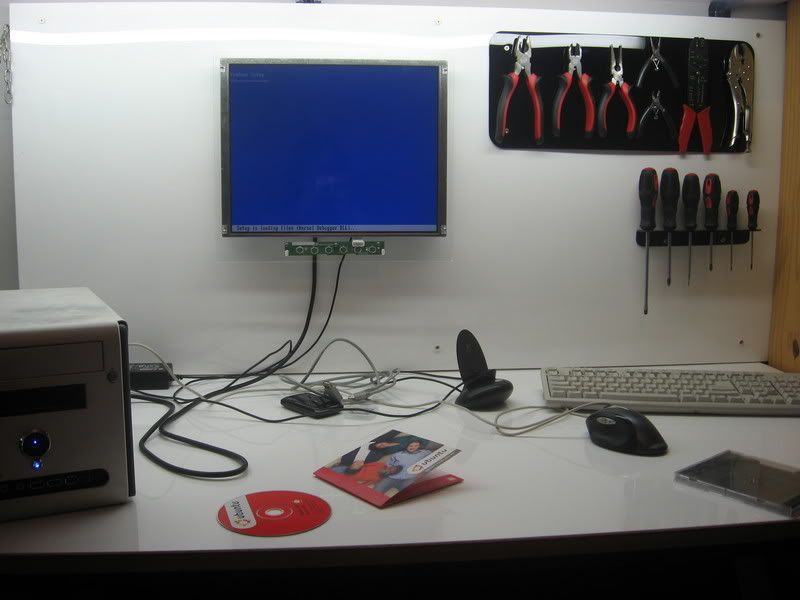
After:
I'm still busy though

Anyway, once THAT was out of the way (only last week), i was finally able to start modding again. So, here's the update!
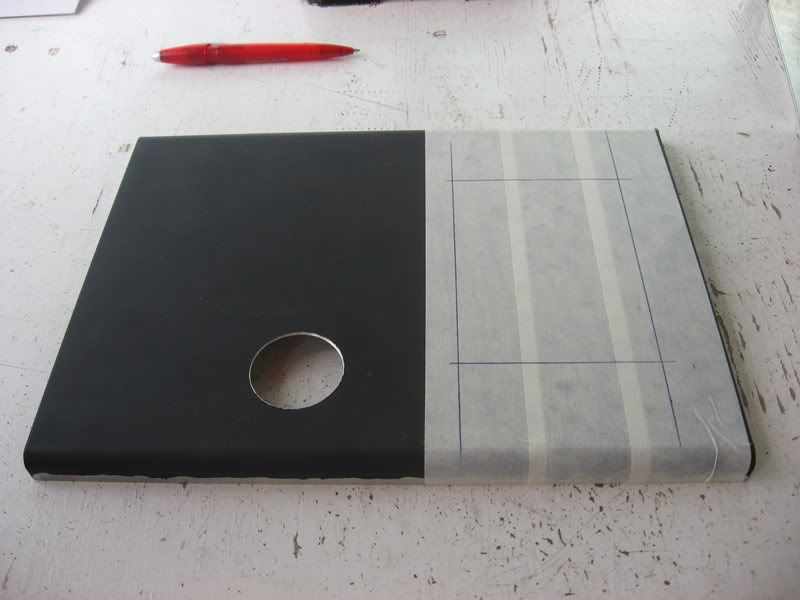
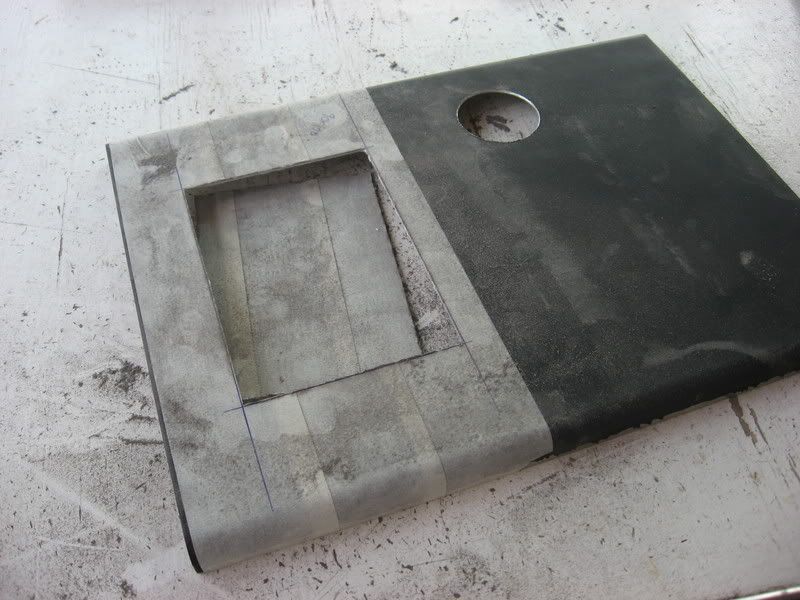
I realised that the HDD would get pretty warm in the upper compartment of the case, so i decided to give it some ventilation. Top panel masked up:
Rough cut:
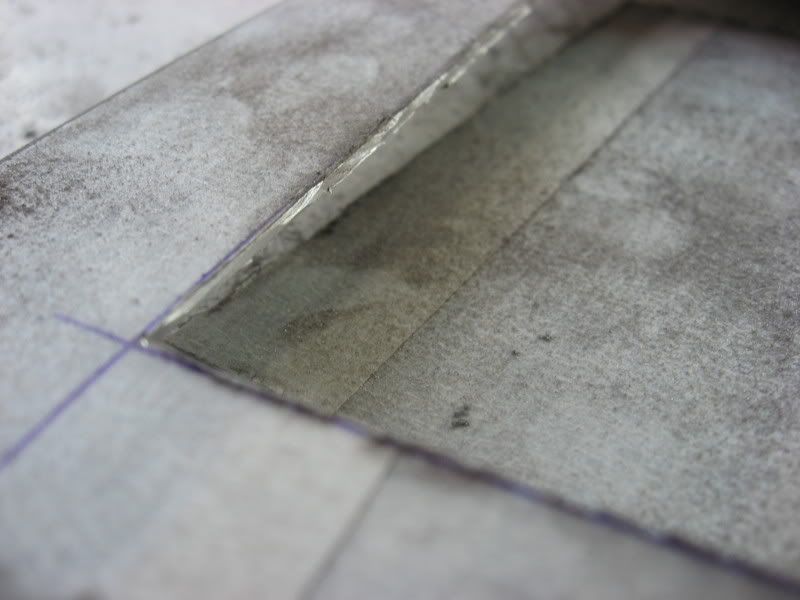
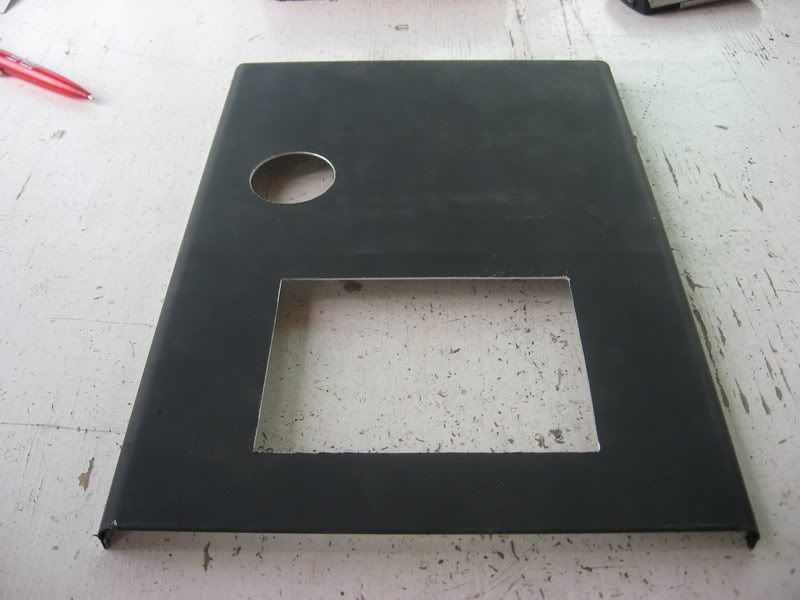
All done!
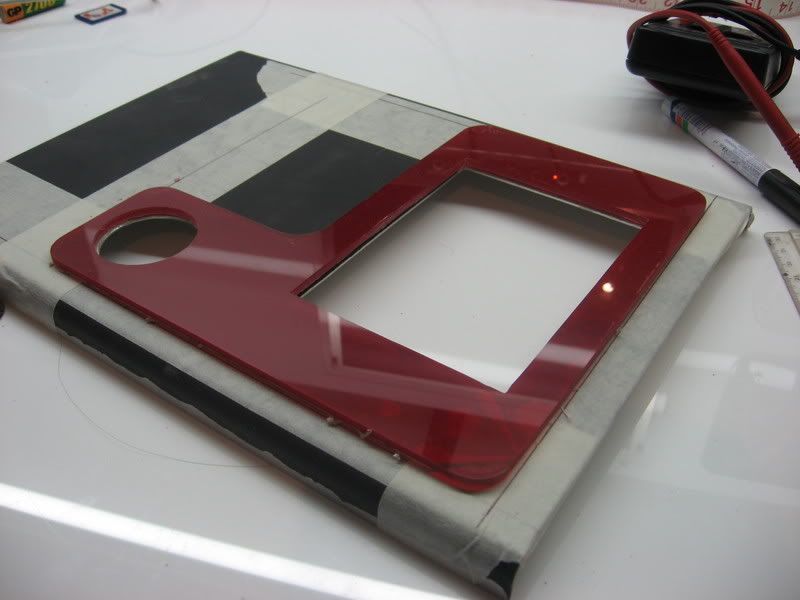
Then i needed to cut a piece of plexi to go over that for detail, so got a piece of plexi:
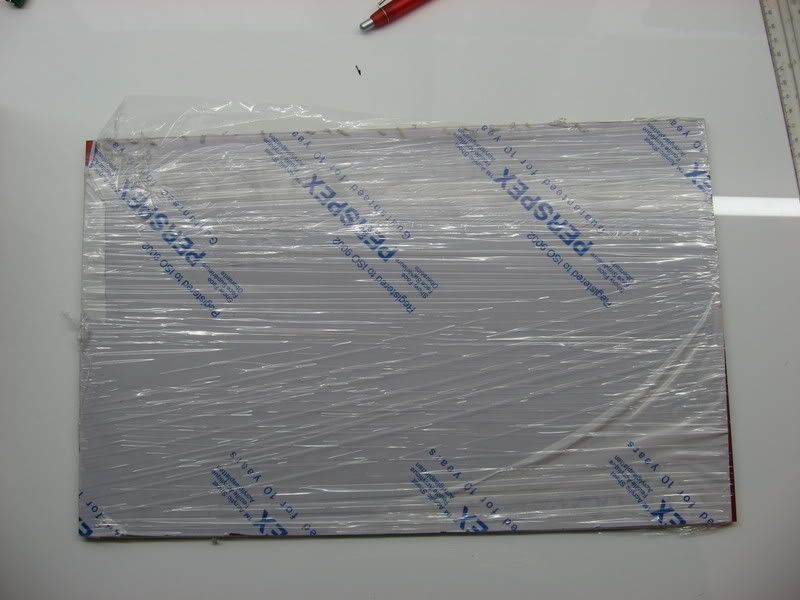
Nice red plexi:
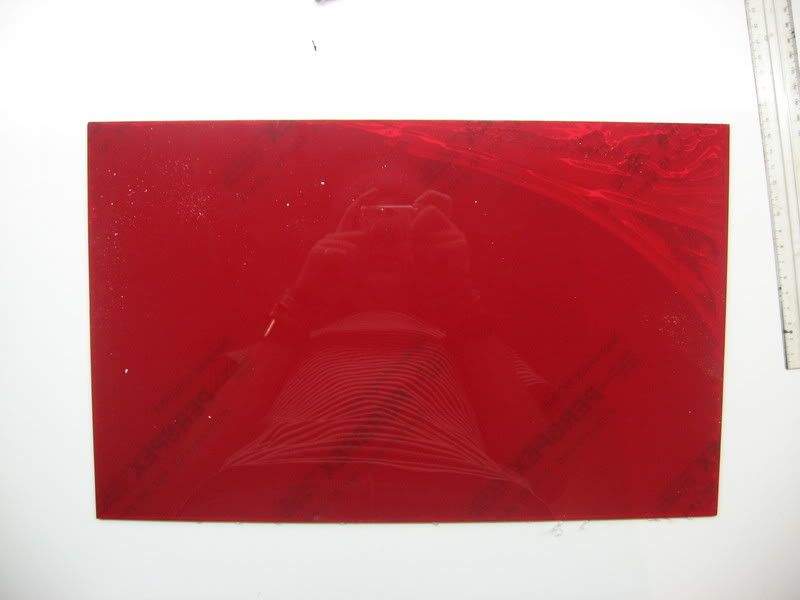
Masked up and measured:
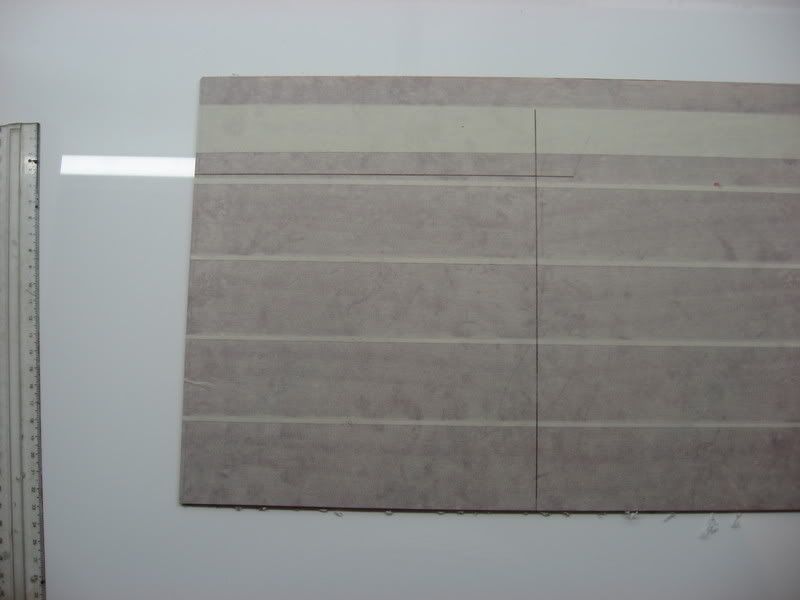
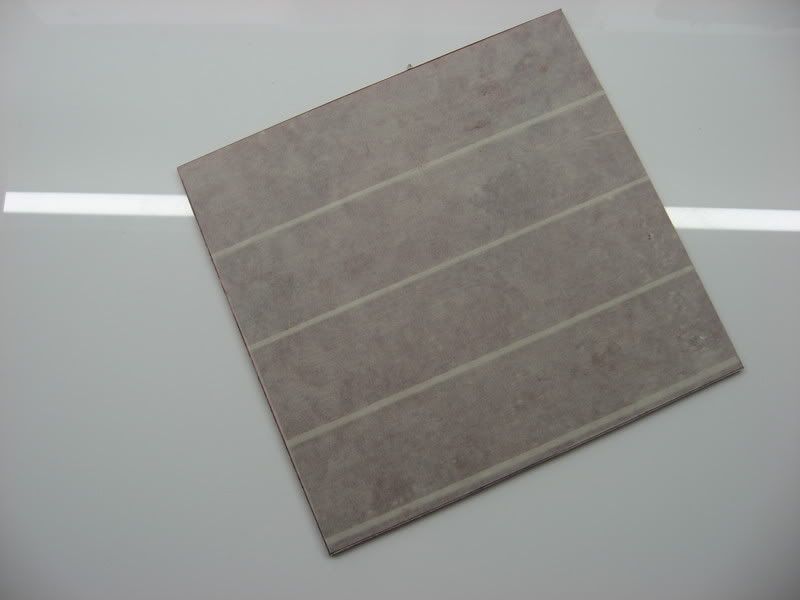
Cut out:
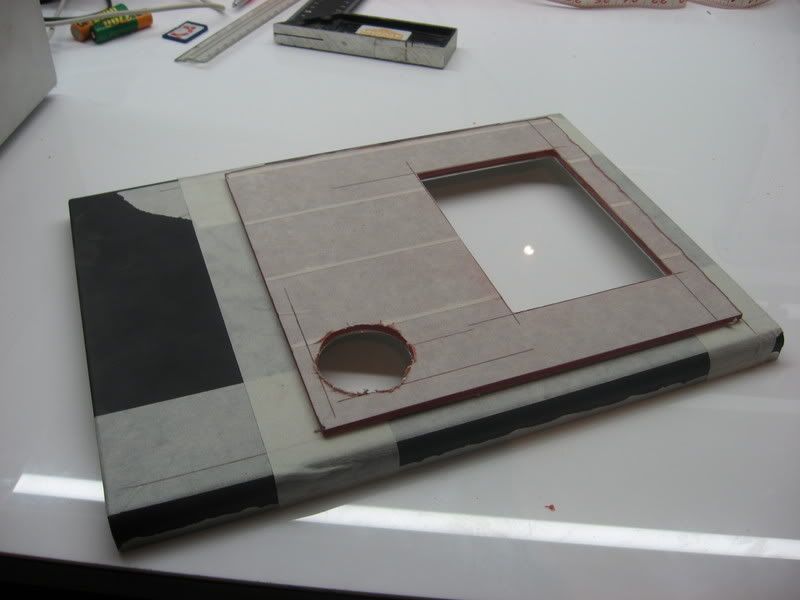
Then i measured the hole for the flow meter:
Hole made!
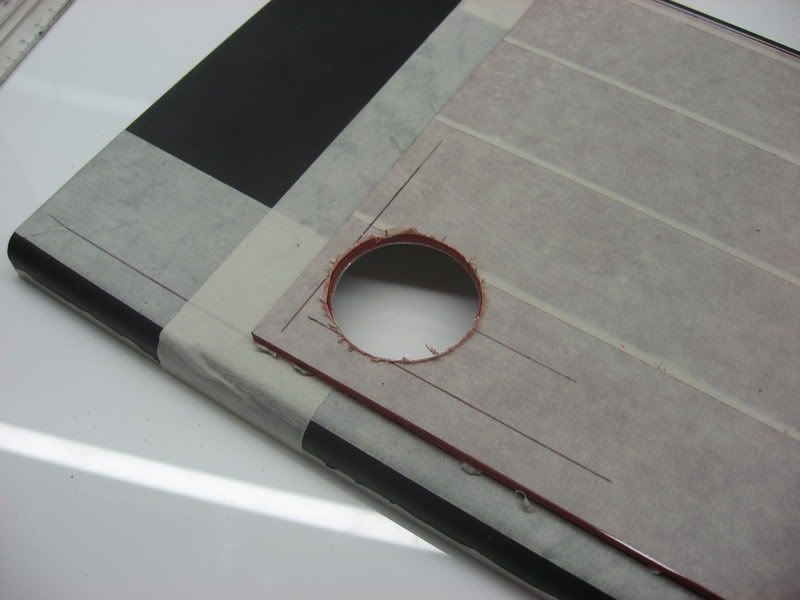
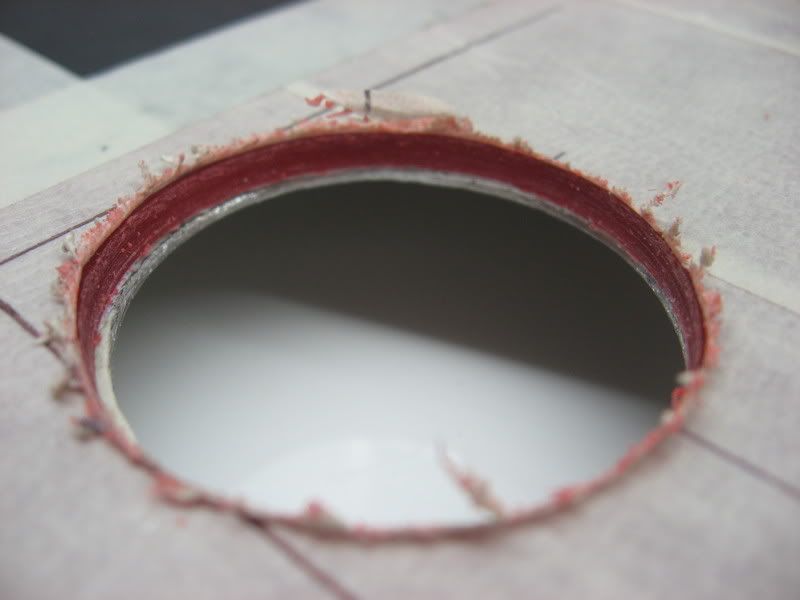
I still need to soften the edges though...
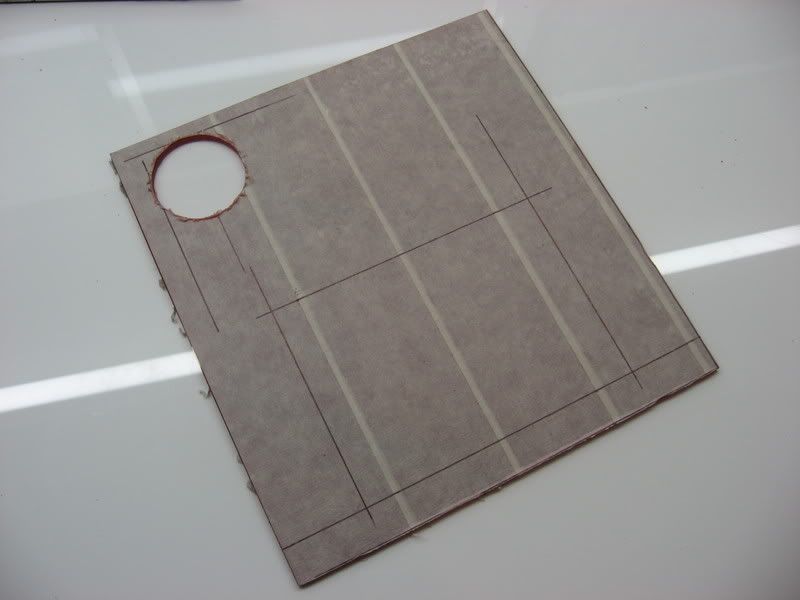
Anyway, the hole for the HDD was then measured out:
And cut:
Test fitting... fits perfectly!
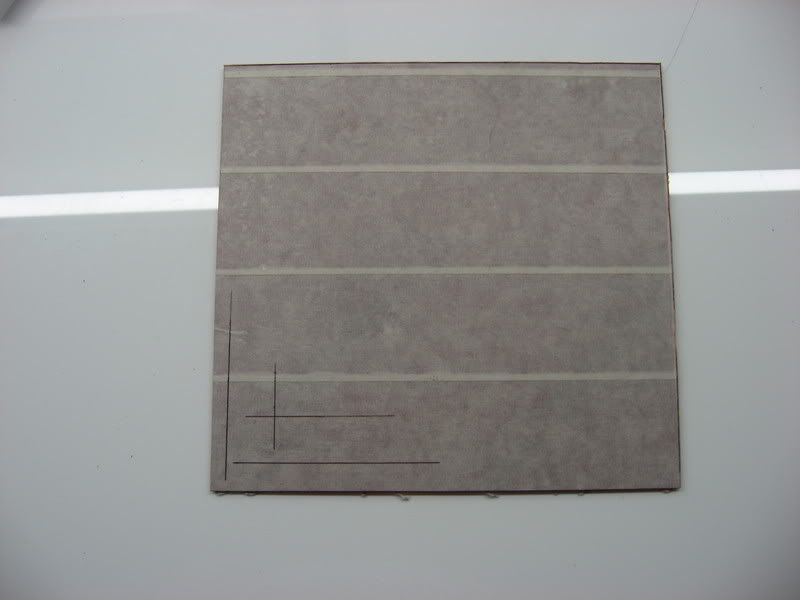
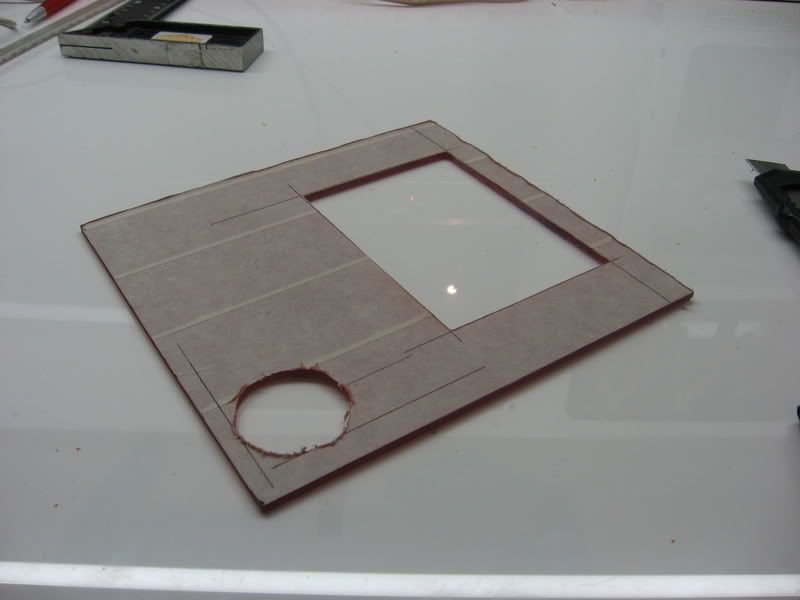
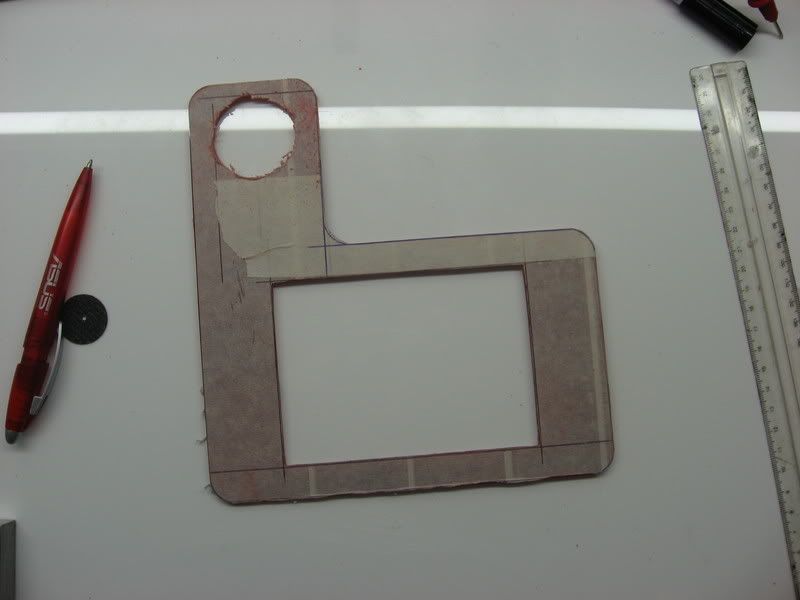
Then i measured how i wanted to cut it out:
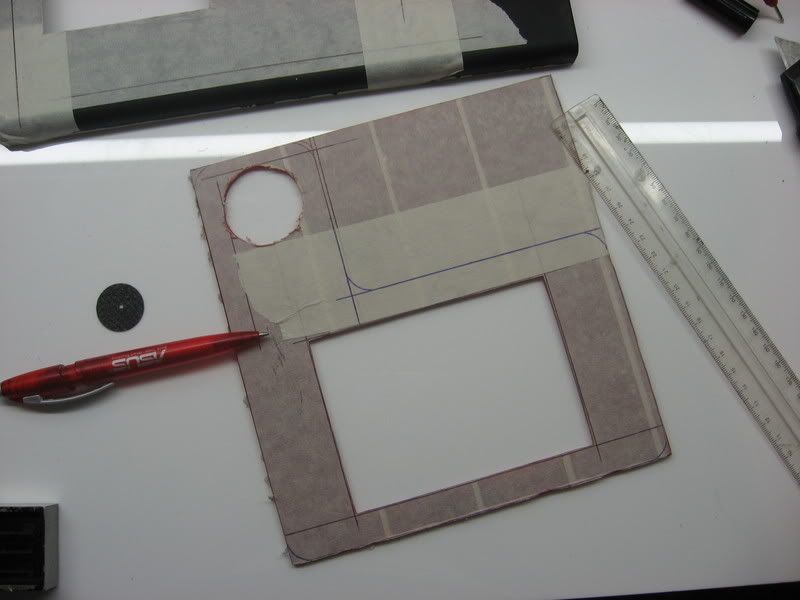
Done!
Test fitting:
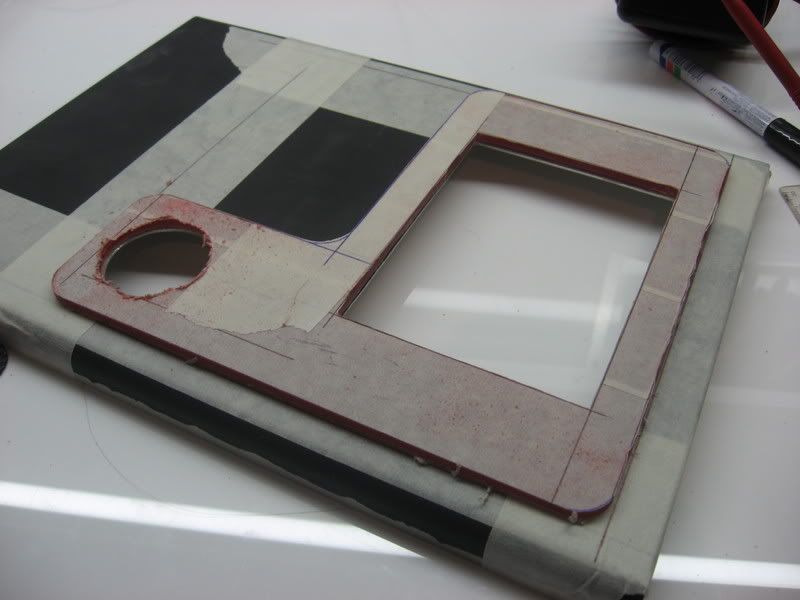
So far so good. The next step is to make a border for the HDD hole, and put some mesh in there. It's gonna look VERY good, i'm sure.
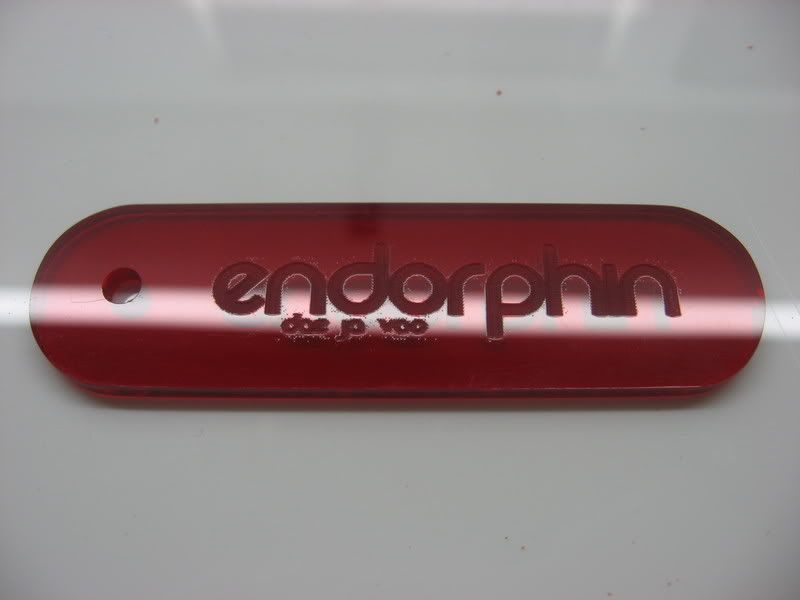
I also made a little keyring for myself:
That's it. Sorry i've taken so long!
If you're gonna comment, please also let me know what you think of the photos now, if you don't mind. Part of the reason why i put all the white plexi in this room was for photos. Thanks guys!
Regards
Ettienne

