Page 6 of 9
Posted: 19 Nov 2007, 08:39
by DAE_JA_VOO
Holy moley! Nice work!
That looks really good man!
And brasso FTW!!! I also use it to polish my plexi

Posted: 19 Nov 2007, 09:54
by DoOb
Very nicely done, great work
Posted: 19 Nov 2007, 11:58
by Lithe_Joint
Thank you, Gents
. Things are , to say the least, a bit hectic at work, so I can only spend a couple of hours over a weekend on this. On the plus side it gives me some planning time

Posted: 19 Nov 2007, 12:16
by WAJeff
Nice work dude!!!!
Brilliant work on the plexi :bigups:
Where you get that grille from?
Posted: 19 Nov 2007, 13:15
by Samaya
Posted: 19 Nov 2007, 13:21
by Vampyre_2099
silv3rback wrote:Where you get that grille from?
It came with the case.
Very nice work dude, I'm very impressed to say the least, I wish I could do that
Posted: 19 Nov 2007, 13:59
by rule69
Nice work man i love that gril u made... its soooo sexc

Posted: 19 Nov 2007, 14:57
by psYChowIt
Nice work on da fan!
Posted: 20 Nov 2007, 06:57
by Lithe_Joint
rule69 wrote:Nice work man i love that gril u made... its soooo sexc
Thanx dude, but I did not make the fan gril (if you are refering to the metal plate), it came with the case, where it was mounted on the side panel. The fan came from there too, but I did not like it in that location, and imo it was not going to serve any other purpose than to irritate me.
Thanks for the interest and comments, guys. It helps a lot with the motivation factor, if you know what I mean
Cheers,
Peter.
Posted: 30 Nov 2007, 07:20
by Lithe_Joint
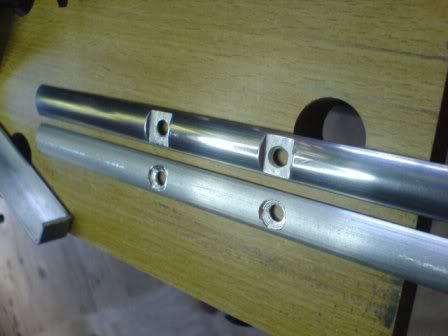
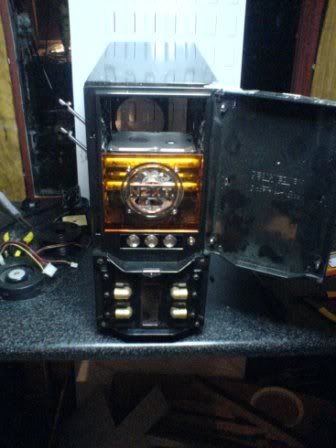
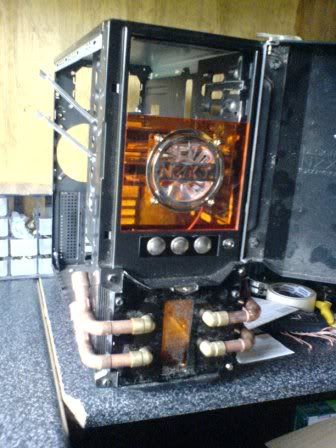
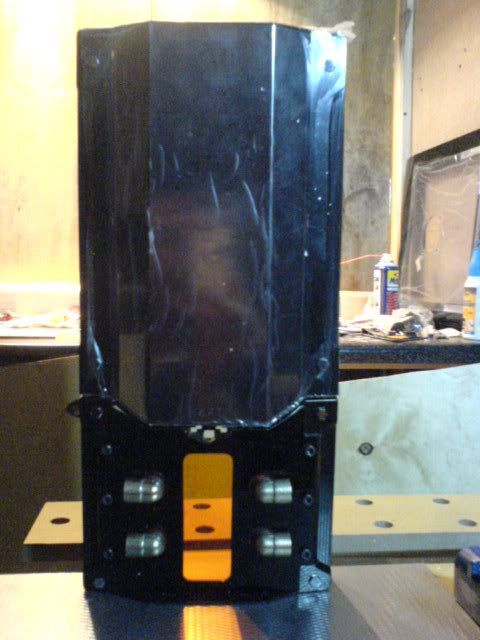
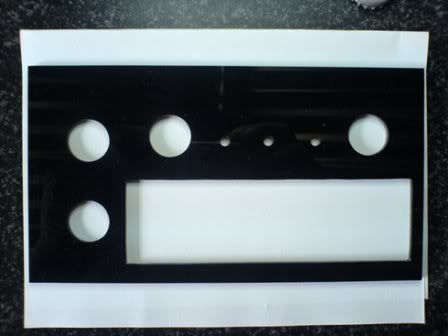
AAALLLLLRRIGHTY then. I have completed both front panels(top and bottom), last weekend.
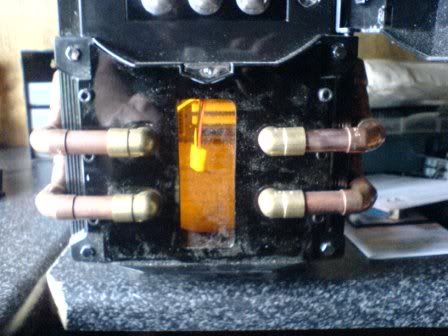
The oval hole between the pipes did not look right, so I made the corners more square:
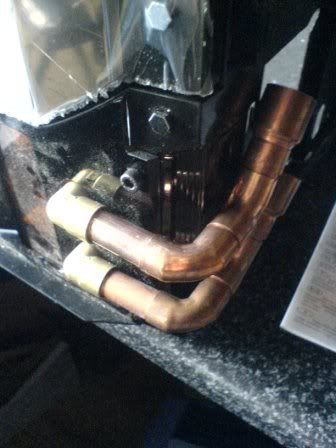
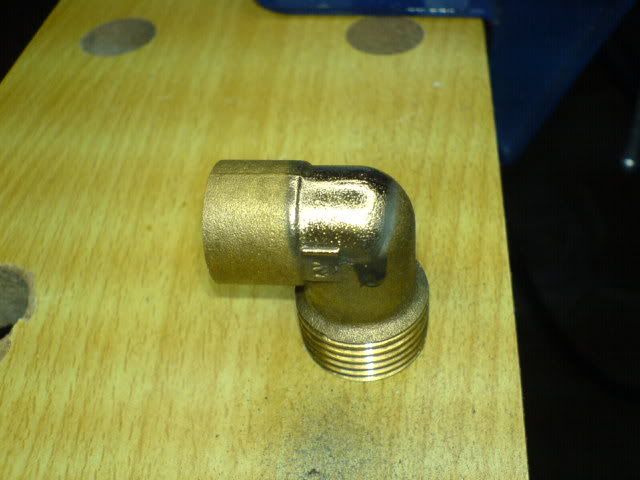
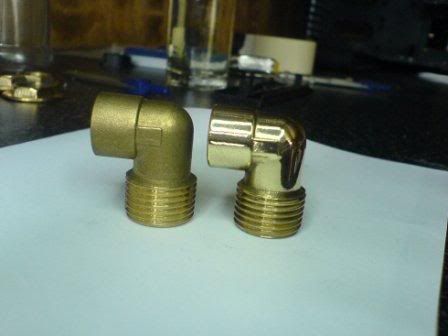
Polished up the 90's(since I have the brasso now
):
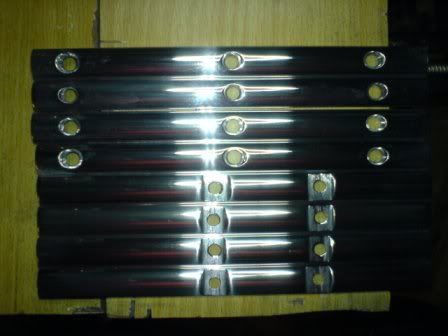
Removed the covers:
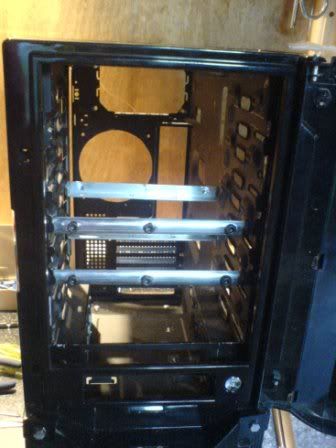
And assembled the whole shebang. Here it is with the front door closed:
And the front door open
:
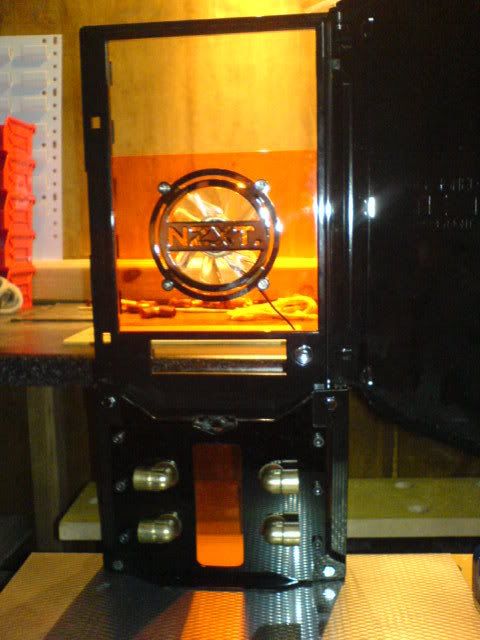
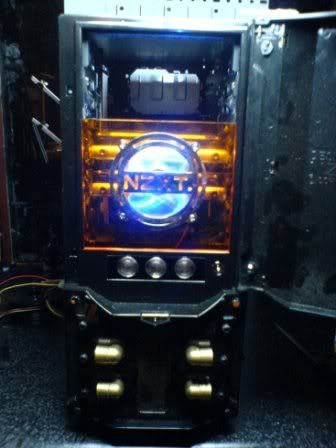
The next couple of shots are tricked, because I do not have the lighting installed yet, I used a bright light in the background. It kinda gives me an idea of the overall result that I want to achieve, once lighting is installed:
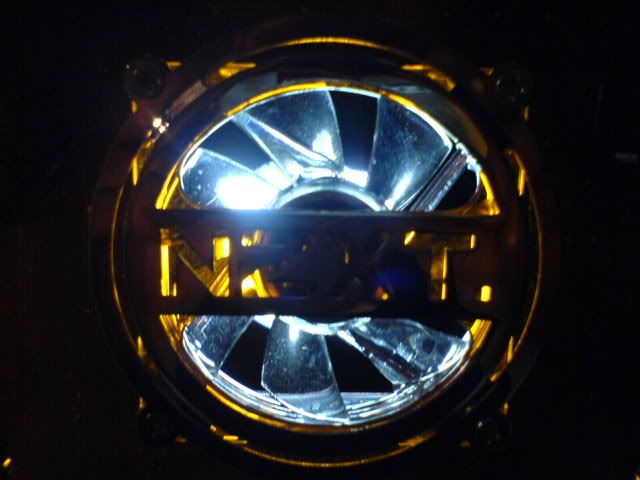

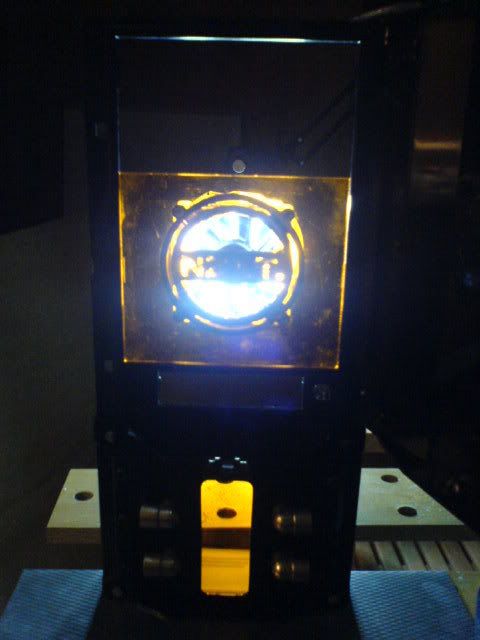
I know it is bright, but with the right amount of lighting things will be less stark. I'll be doing some work again over the weekend, but I am done with the front now...until I change my mind, that is

Cheers,
Peter
Posted: 30 Nov 2007, 09:00
by Skidd
Looking good man!

I like the idea of the piping you using, gives it a nice industry look to it.
Posted: 30 Dec 2007, 10:11
by Lithe_Joint
Posted: 30 Dec 2007, 10:48
by Obituary
Looking really AWESOME! Nice work
Posted: 30 Dec 2007, 11:42
by DAE_JA_VOO
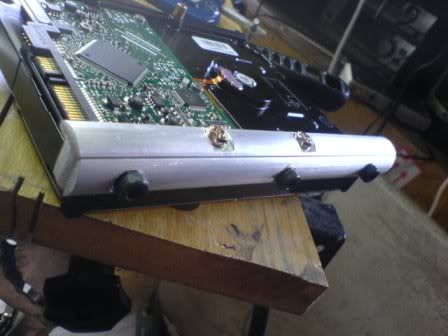
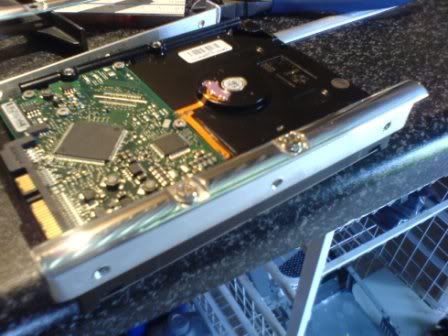
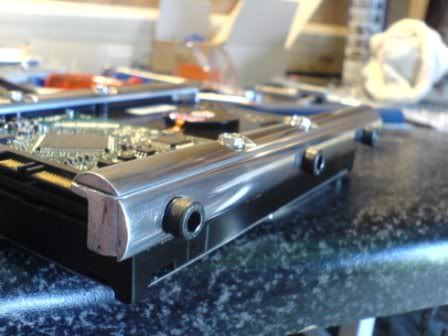
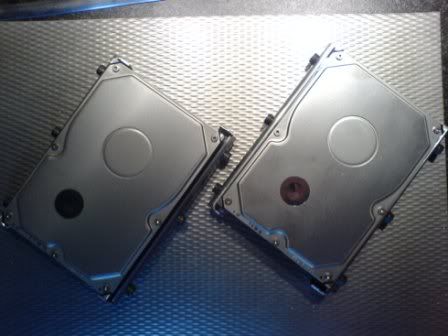
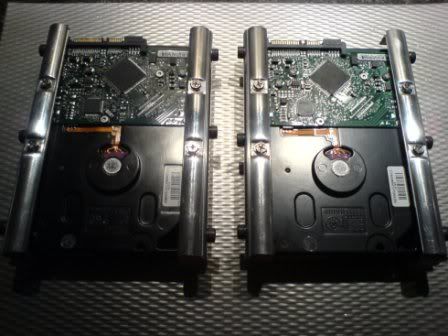
Those HDD mounts are frikken seksi!!! Very good work dude!
Posted: 30 Dec 2007, 18:36
by WAJeff
Looking really good bro!!!!!
Cant wait to see the finished case
Gonna go down as one of my personal favourites! Keep the updates coming
Posted: 31 Dec 2007, 13:26
by Vampyre_2099
I can't wait to see the finished product, I'm really excited
Posted: 03 Jan 2008, 07:40
by Samaya
Damn I should've checked this mod earlier. WOW dude that looks really great. Awesome job on the HDD brackets. 8O 8O

Posted: 03 Jan 2008, 08:09
by Lithe_Joint
Thanks for the positive feedback, guys!
I am having a real hard time getting my ODD mount sorted, due to space constraints.
I'm just glad no one can hear me swearing my head off, everytime my measurements are inacurate
...it is actually boils down to a real comedy of errors to be honest

.
Posted: 03 Jan 2008, 10:47
by Vampyre_2099
I think thats the best part for us as the audience, is watching guys screw up and then have to start again. Its the worst thing when you're modding yourself but when you look at other peoples mods and hear about how they manage to mess it up, it just helps remind us that we're human
Posted: 07 Jan 2008, 17:51
by Lithe_Joint
Human indeed, Vampyre

.
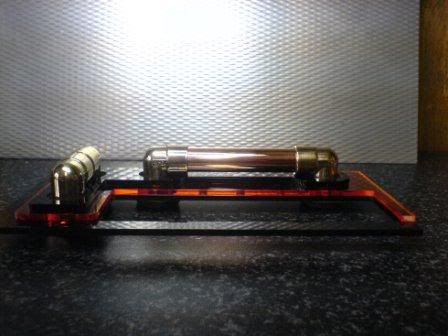
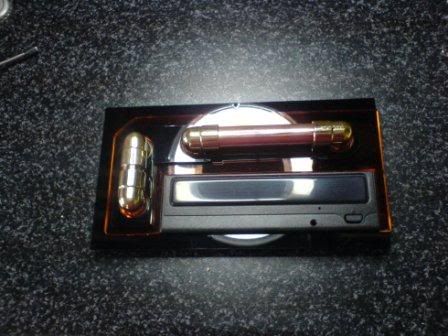
And so, without further ado, here it is then:
I made a- what would seem to be, in retrospect- half assed attempt at getting a plan to paper before the event. This helped me absolutely didly squat, as the idea I had did not fit into the space which I designated in the case.
Note to self: Do not think it must be like that...make sure it is like that

One entire evening wasted and nothing to show, you see
Anyway, I fell back on my usual "measure and fit" method, which takes twice as long imo, but is absolutely spot on, in the end
What the f... aha pics at last
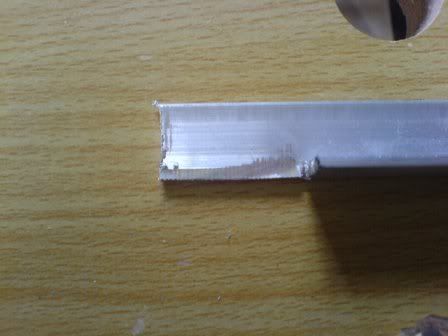
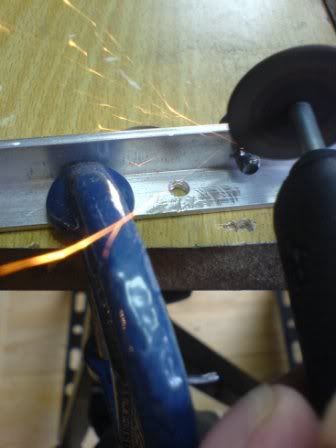
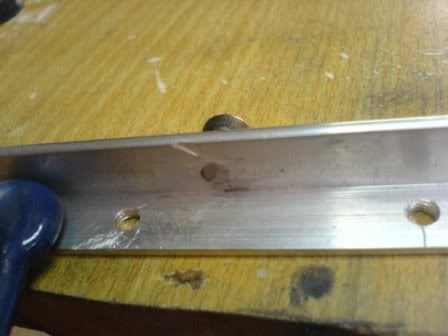
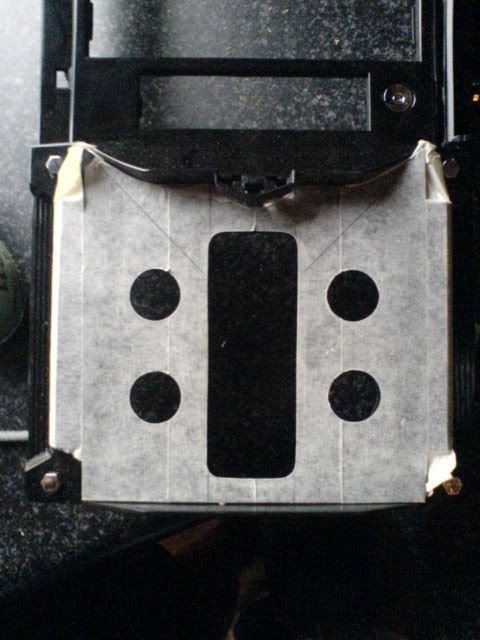
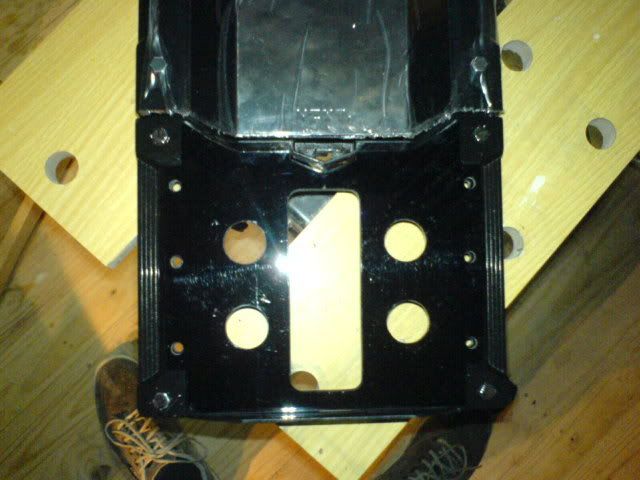
The initial cuttings:

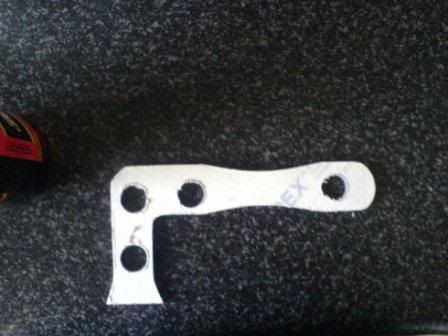
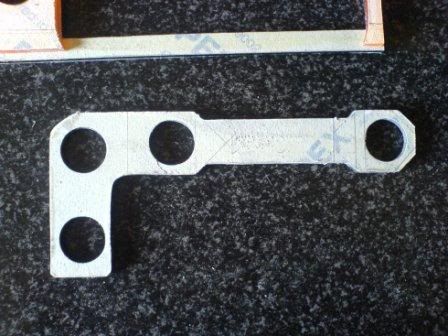
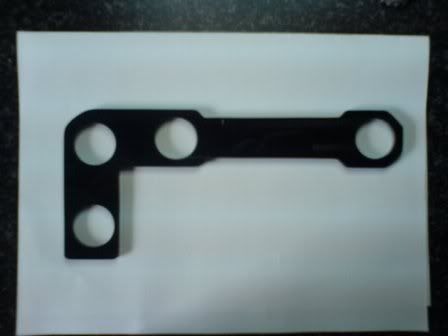
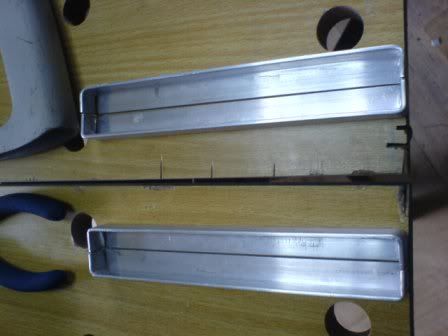
You know, I could go on like this but here is it is a bit faster:
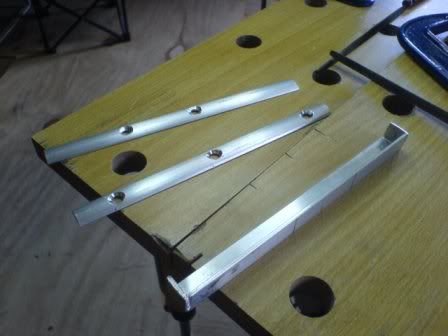
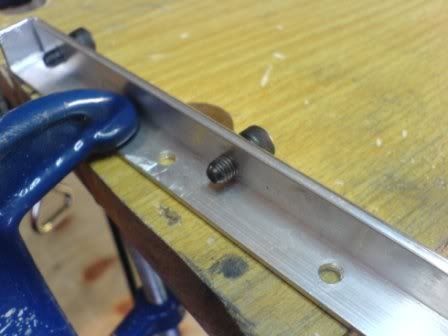
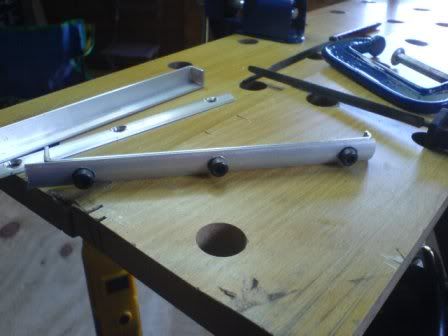
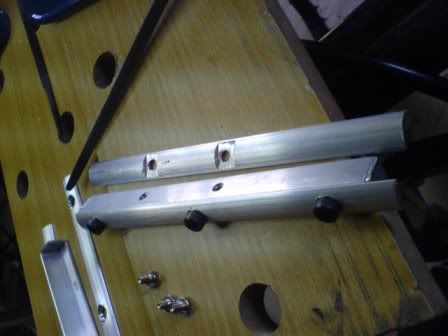
Then some mid fitting:
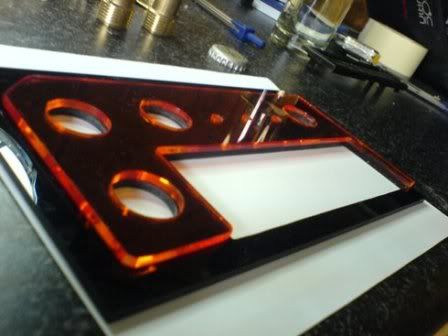
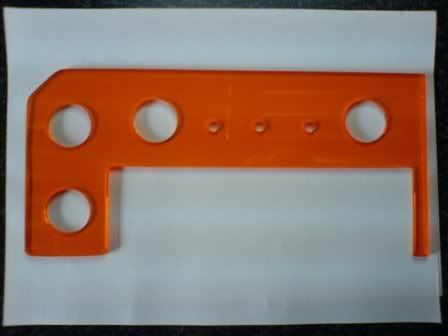
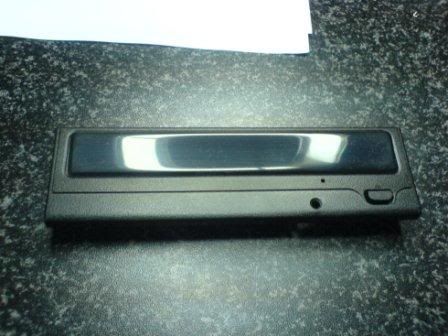
It was a brain storm...a polished tray cover WOOOOT!

And some pipe polishing...
And the (almost) finale:
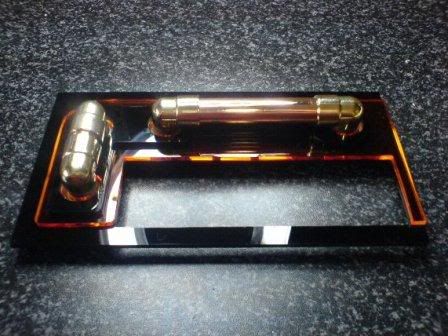
Layered:
What I like is that at any angle, the light refraction is different. In this pice you would not say that there is an amber insert...

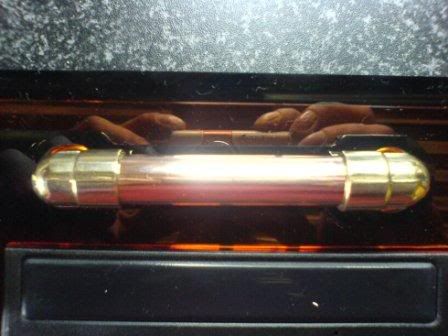
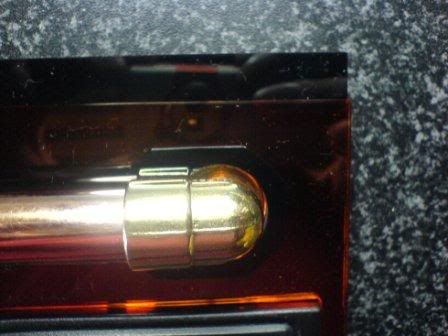
Of course I had to take some gratuitous( now where is that flippin' dictionary) close-ups:
And a final final shot:
Hope it was worth the wait
Cheers,
LJ
Posted: 07 Jan 2008, 18:22
by Lithe_Joint
Pics are up
Posted: 07 Jan 2008, 18:28
by Obituary
looking really GUD! Keep up teh awesome work and keep those pics coming
Posted: 07 Jan 2008, 18:38
by WAJeff
Looking flipping amazing dude!!! You doing a really good job with that plexi
Keep up the brilliant work bro
Posted: 07 Jan 2008, 18:39
by I34z1k
Um dude.... Really nice stuff, but PLEASE don't talk about pipe polishing on here
Posted: 07 Jan 2008, 18:50
by Lithe_Joint
I34z1k wrote:Um dude.... Really nice stuff, but PLEASE don't talk about pipe polishing on here
Bwahahahaha
OK, how about buffing my poles?
Thanks Guys! Mucho Grande Appreciative.