Page 5 of 9
Posted: 04 Jul 2007, 07:27
by Lithe_Joint
DAE_JA_VOO wrote:Cool

Just a question, why are all of you moaning like girls about the Zalman not being black? We're frikken modders, MAKE IT BLACK!!


As much as I'd love to, there are some critical things that need to be considered.
1. It was fairly expensive, and I don't realy want to stuff it up.
2. I have to test it and see if it is working...you know..in case I need to exchange it.
3. I will take a pic soon, with the front panel assembled, and we can have a pol on how well or not the controller compliments the case. If it does not suit...well then

Posted: 07 Jul 2007, 07:09
by Lithe_Joint
Vote time people
Here are 2 pics that show how the fancontroller looks with the front panel mounted. Tell me: should I go for broke and change the colour or not?


Voting is open until the 22nd, after which a decision will be made.
Posted: 09 Jul 2007, 13:19
by Lithe_Joint
*bump*
Any votes? Black or silver ?
Posted: 09 Jul 2007, 13:22
by Druggs
sliver

Posted: 09 Jul 2007, 13:31
by Anthro
Silver, it is going to break down the monotony of the image.. not saying it is bland, but it will definitely make a difference..or am I not making sense ?!~
Posted: 09 Jul 2007, 13:48
by Lithe_Joint
Anthropoid wrote:Silver, it is going to break down the monotony of the image.. not saying it is bland, but it will definitely make a difference..or am I not making sense ?!~
Yes, it makes sence...but I will be doing other things to "un-blandinate" the panel

Posted: 31 Jul 2007, 10:44
by Lithe_Joint
Hi Guys, long time no write...
I have finally gotten my teeth into something which may or may not be a total f-up at the end. Sofar, I have cut 3 pieces of perspex with varying results due to lack of concentration or something.
Here are some shots:
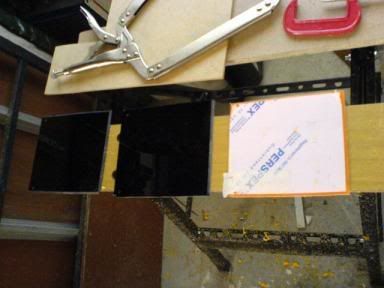
Obviously I am far from finished with these. I will post more updates soon.
Posted: 07 Aug 2007, 13:25
by Lithe_Joint
Posted: 07 Aug 2007, 13:44
by Slasher
Looks real sweeet dude...
How did u fix it in place though?
Posted: 07 Aug 2007, 14:11
by Lithe_Joint
Thanks man!
It is not fixed in place yet, as I am not finished, but it fits in very tight and requires a great deal to pop out. Once it is affixed permanently, I will use a spot of glue to keep it in place.
Posted: 12 Aug 2007, 06:34
by Lithe_Joint
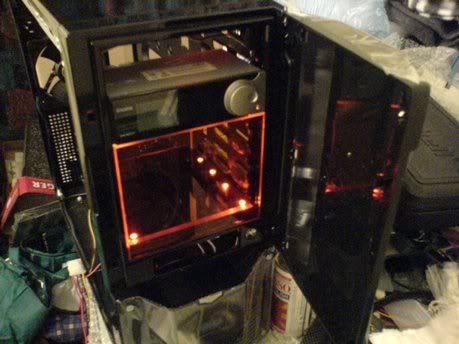
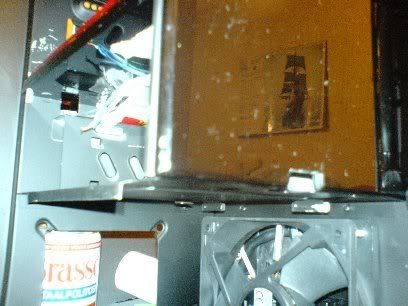
A small update, guys.
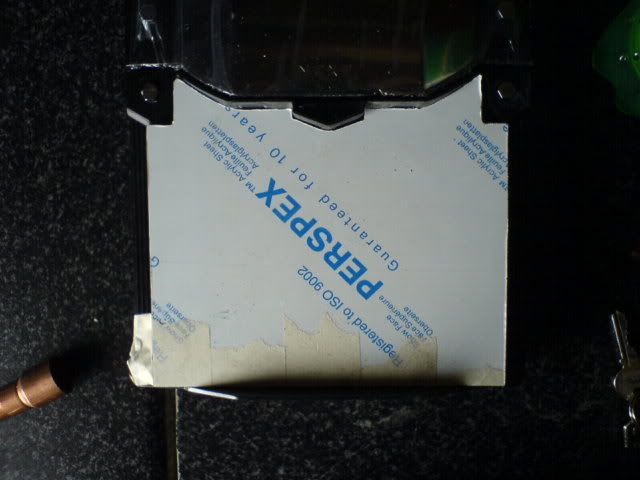
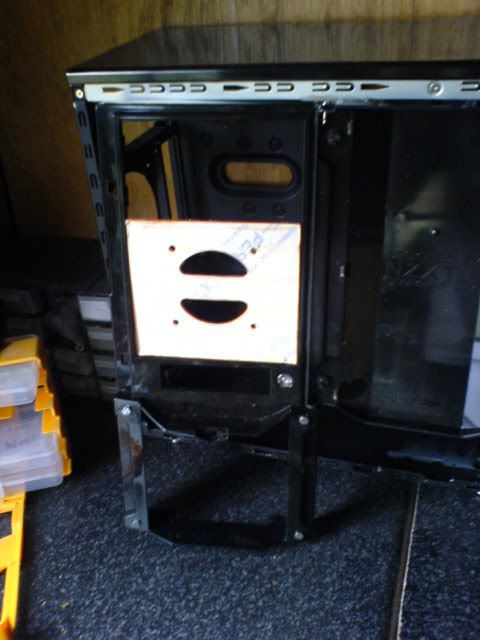
I needed to clean up this drive cage:
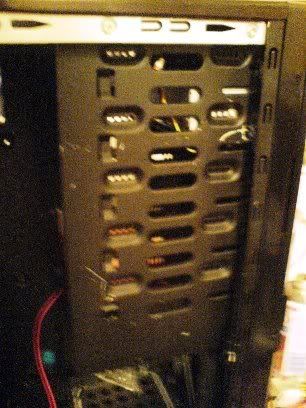
After cutting and polishing I fitted the panel:
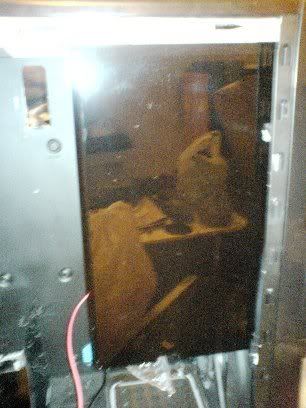
This panel fits exactly
, and once I have made all the other panels, will be screwed into place.
Since this is such a small update, I did not bother with including it on my site.
Cheers
Posted: 12 Aug 2007, 18:07
by WAJeff
Looking good my man. Good work :bigups:
Posted: 12 Aug 2007, 20:30
by Samaya
I seriously like that red plexi you have used. It is something not only different but very unique as far as I can tell. Very awesome dude, nice work.
Posted: 13 Aug 2007, 09:57
by Lithe_Joint
Thanks Guys, much appreciated.
@ Samaya: I tried a lot of different combinations with little test samples before I settled on this colour scheme. Shees, it was extremely difficult to make up my mind because of the vast selection available.
I am realy glad you like it.
Posted: 13 Aug 2007, 17:46
by Skidd
Im liking that orange plexi
Posted: 23 Aug 2007, 08:48
by Lithe_Joint
Thanx Dude
.
A bit off topic but relevant nonetheless: I am moving into my new abode, and will be setting up my workshop soon, so updates will be delayed for a week or so.
Thanks again for the interest guys.
Posted: 31 Oct 2007, 07:32
by Lithe_Joint
Hi,
You know what happens...leave something for too long and it all turns into a hazy fog.
Anyway, here is an update.
The plan: PIPEWORX
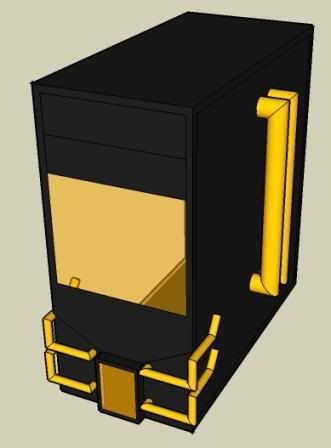
I must say, in retrospect it was much easier drawing this picture than it was getting to the final product.
Let me explain:
This was my first attempt and a simple one at that. The idea was to attach the pipes directly to the grill.
As you can see, not very tidy and the thing looks like a chicken flatty

This was my second attempt:
I tried bending a piece of perspex to fit over the grill in order to hide whatever was behind it. It worked to a certain degree...but still chicken flatty material

As you can imagine, my enthusiasm was really starting to take a beating. I left everything as is and slept on it...you know what I mean?
Not that I realy slept because all I could think of was how the hell am I going to sort this out????
Then in a moment of clear thinking (which does not happen all that often), it came to me.

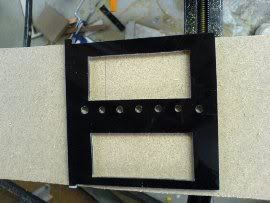
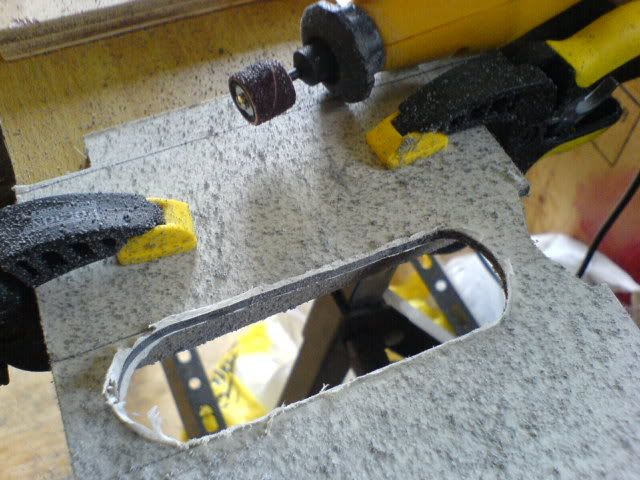
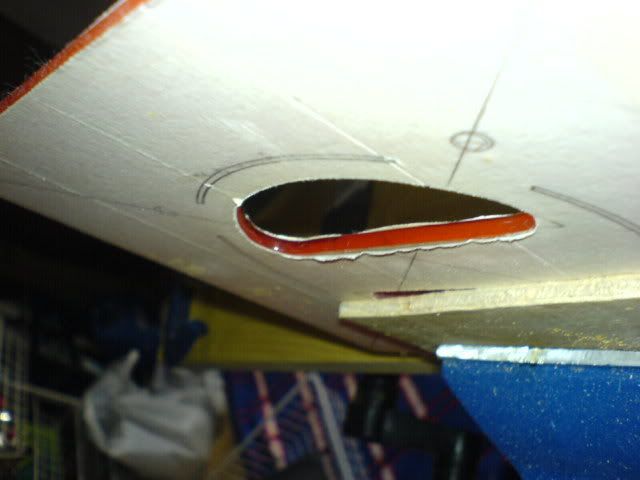
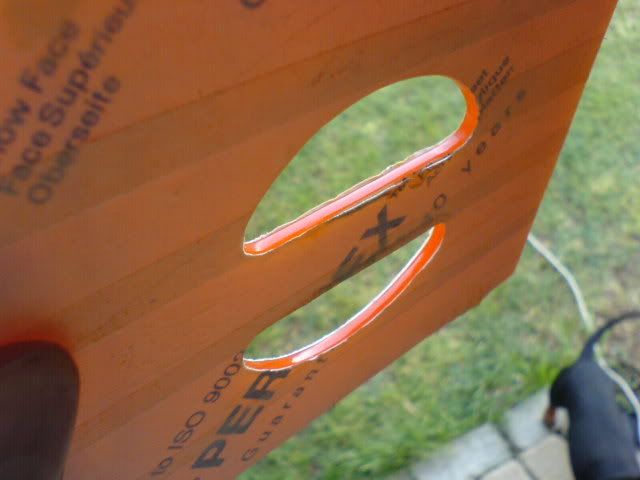
Attempt numero 3:
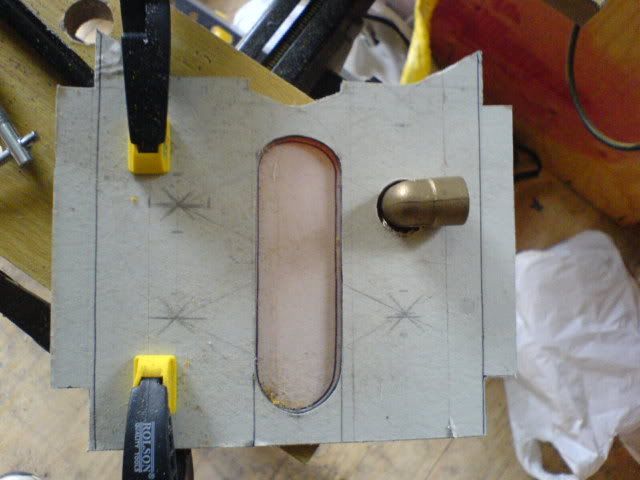
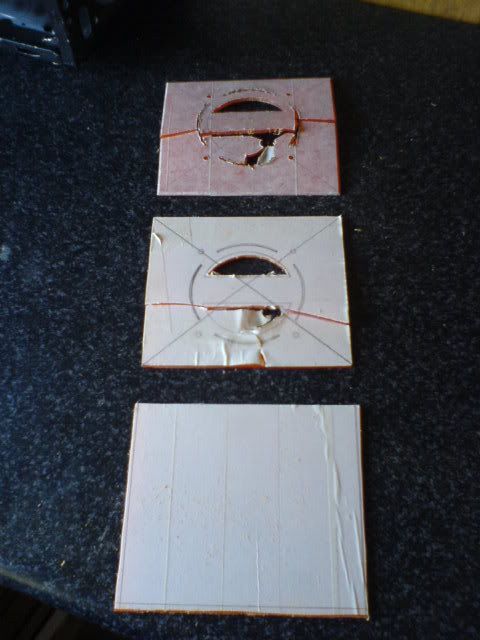
Template marked out
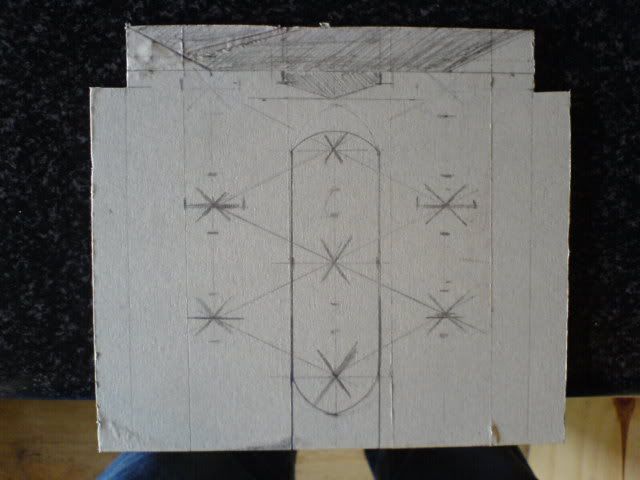
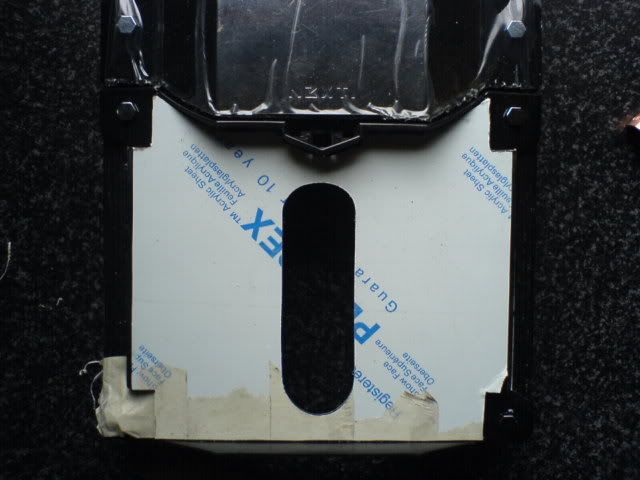
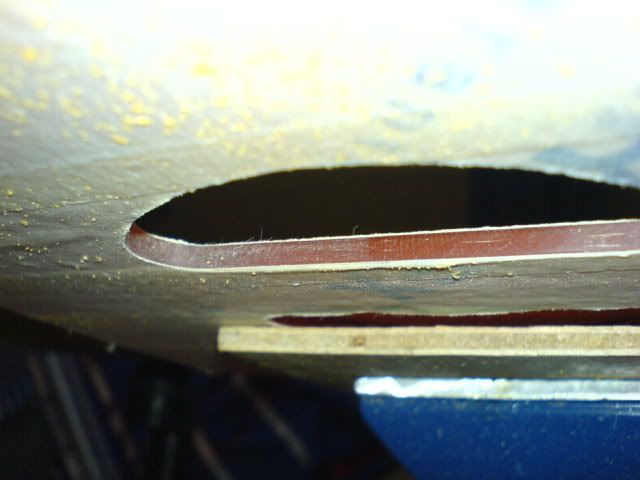
Perspex cut and fit
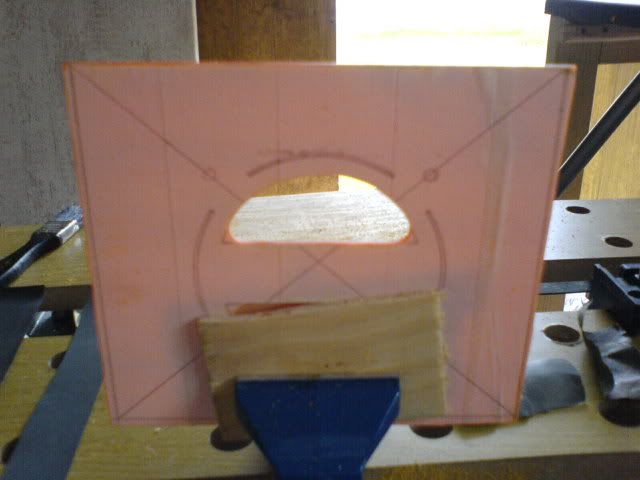
oval shape cut out
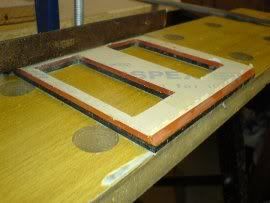
Another test fit
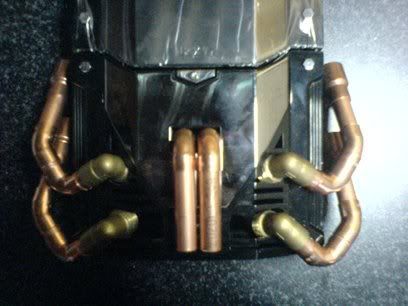
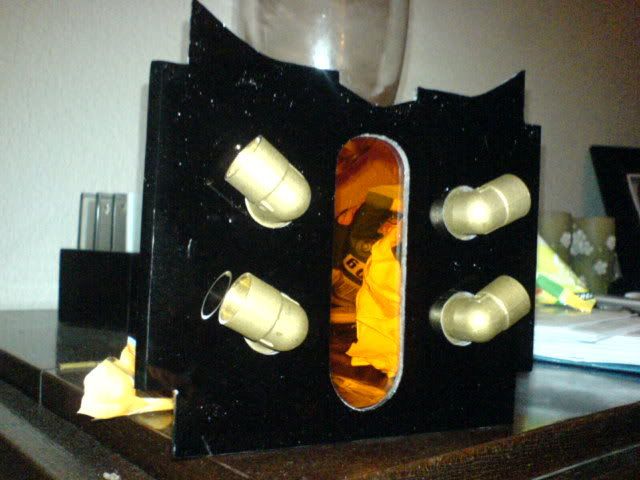
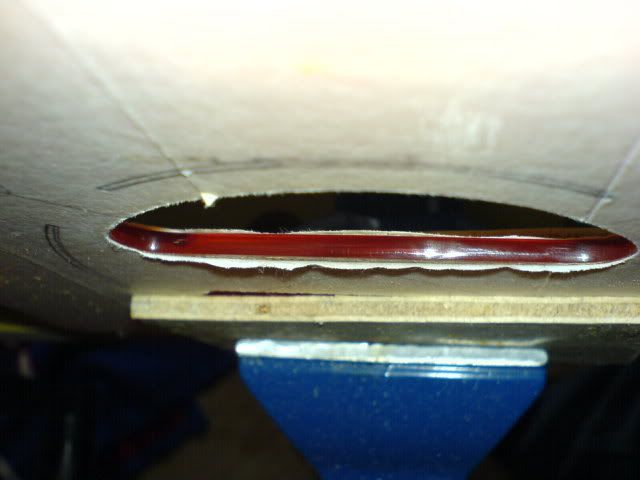
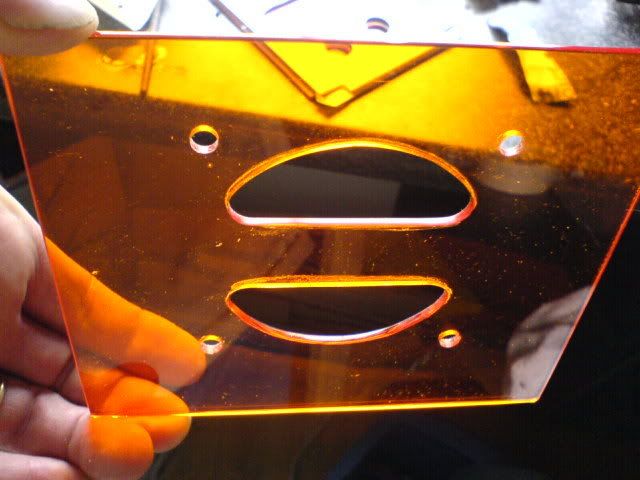
Then the amber backing and pipe fitment
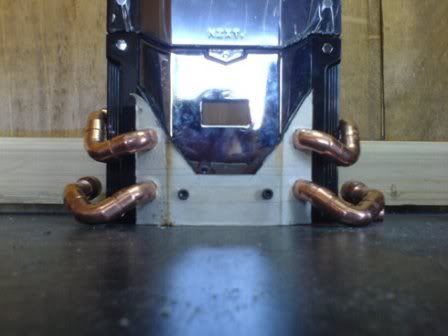
Yet another test fit, this time with pipes in place
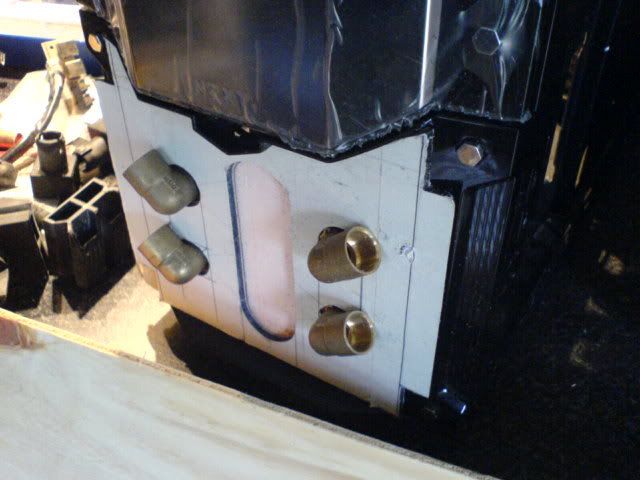
.
Now, amped because of my brainwave I have put the end product on my pianno to admire until next weekend. You may notice that it needs some refining around the edges, so this is what will take place until then.
Here is a parting shot:
There is a very cool effect which I am working on, but more about that later...
Cheers
Peter.
Posted: 31 Oct 2007, 07:36
by Skidd
Awesome man, looking good hey. I love that orange
Posted: 31 Oct 2007, 07:57
by DoOb
dam you burst my pipes, doing some really great work, good to see another project back in action, Sweet LJ
Posted: 31 Oct 2007, 09:43
by DAE_JA_VOO
Hey that's looking good! Nice work man
Posted: 31 Oct 2007, 09:56
by ecthelion
oooo nice!
Posted: 31 Oct 2007, 12:05
by Samaya
Nice man. This is going to look really cool.
Posted: 31 Oct 2007, 18:24
by psYChowIt
That is awesome! Great idea!
Posted: 19 Nov 2007, 08:06
by Lithe_Joint
Hi Guys and Gals,
Update time!
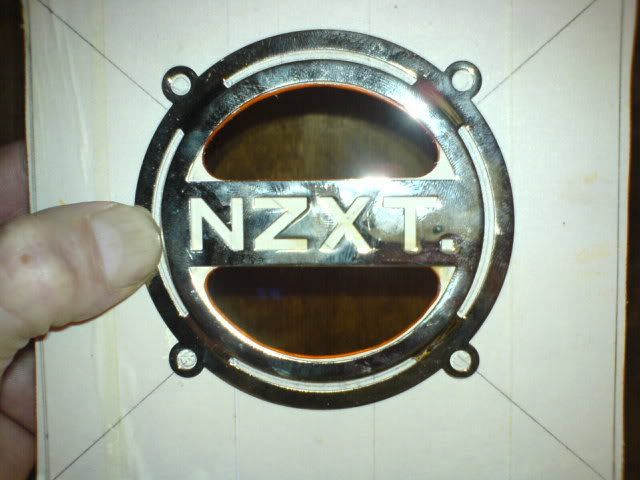
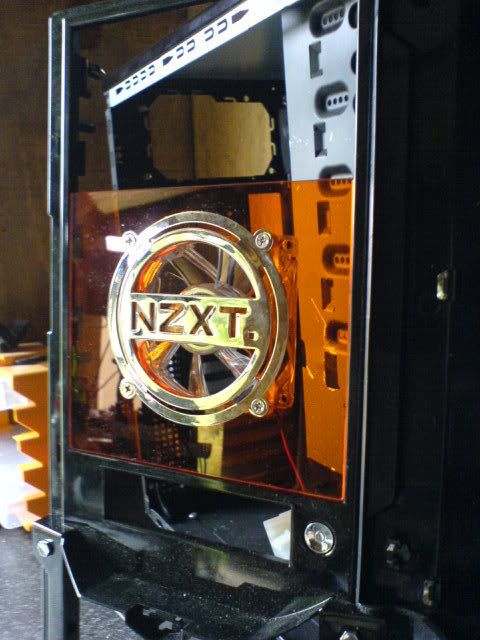
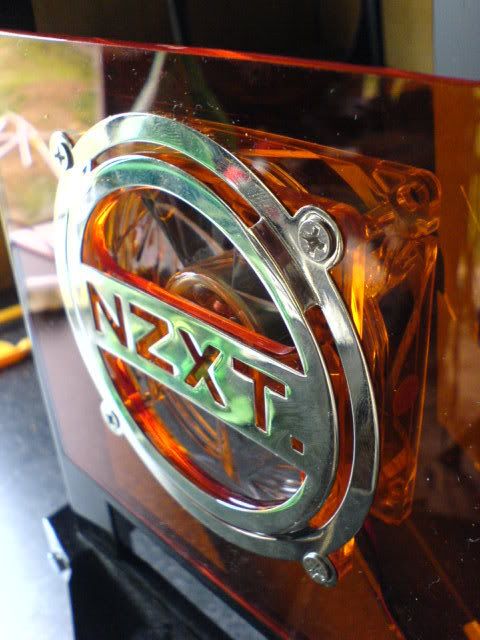
Remember the amber square which I fitted in the centre of the front panel? Well, this seemed rather at odds with the new lower piped part and after seeing what Bill was doing with Project Phenom, I decided to pay a little tribute to the case manufacturer.
A nasty surprise and a third panel later (after figuring that using a jigsaw was too hazardous),
I whipped out the good old rotary tool with much better results
A couple of shots with which you guys will be quite familiar with:
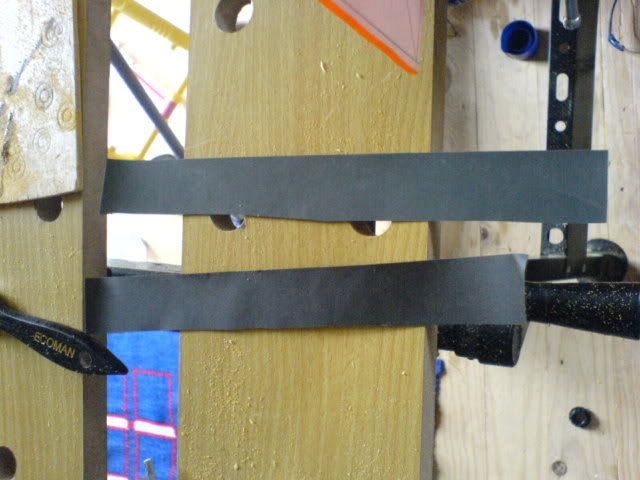
I chose a different weapon to get to the end result:
Same: 800 and 1200 grit sandpaper cut into strips
But this is a bit off the wall:
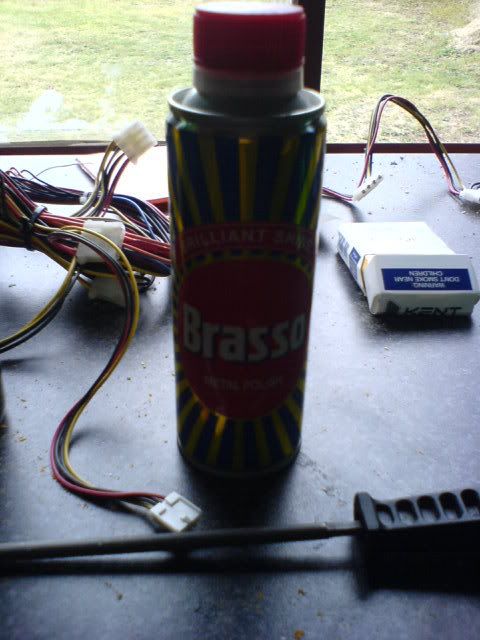
See, if you used this on a soft cloth, and you rub the particular item at the speed of light, a generous amount of heat is produced which kinda melts the edge to a super shine. A word of warning

You will need to have a high resistance to pain or use a mega thick layer of cloth between your skin and the work item 'cause the heat will get ya...(

a rotary tool with buffing wheel is just too fast- I tried- and I ended up melting the perspex instead of polishing it)
End result?
A fangril test fit...
And a front panel fine-adjustment...
finally allowed me to be brave enough to rip the protective layers off
And voila, the end result:

Due to the stages that VPO is going through, a complete pic will only be revealed when every part has been premade, and when everything is ready for assembly.
Cheers,
Peter.
[/img]
Posted: 19 Nov 2007, 08:26
by Skidd
Wow that is looking good and its a nice idea as well, like I have said before, Love that orange perspex
Keep up the good work man!